Why Your Hair Breaks in Winter (And How to Stop It)
Every winter, I hear some version of the same thing. “I didn’t change my routine at all, but my hair is suddenly snapping when I brush it.” And honestly? That is such a fair thing to be confused about. Your hair was fine in October. You didn’t get a new brush. You didn’t start doing anything differently. And now you’re finding little broken pieces everywhere.
Here’s the thing: you did not do this. Winter did. And once you understand why it happens, the fixes actually make sense instead of just feeling like a random list of chores.
So let me walk you through what is actually going on with your hair in cold weather, and then we’ll go tip by tip through what to do about it.
Why Winter Air Is So Hard on Your Hair
Your hair is made of keratin, which is a protein that is held together by a layered structure. The outermost layer, the cuticle, is like a set of overlapping shingles on a roof. When those shingles lie flat, your hair looks smooth, retains moisture, and resists breakage. When they lift, your hair loses moisture fast, gets frizzy, snaps more easily, and attracts static like a magnet.
Cold, dry winter air is specifically designed (not really, but it feels that way) to mess with that cuticle. Here is the double problem most people do not think about. Outside, the cold air has very low humidity, which pulls moisture out of your hair shaft through a process called diffusion. Research on hair fiber physicochemistry and structure confirms that the cuticle layer is responsible for holding moisture inside the cortex, and when it is compromised by environmental dryness, that moisture loss speeds up significantly. So you step outside and your hair starts losing water.
Then you come inside, and the indoor heating system is running. Heated indoor air is also extremely dry. So your hair is getting hit with two different kinds of dry air, back to back, all day, every day, for months.
Less moisture in the hair shaft means less flexibility. Less flexibility means more breakage. That is the whole story.
Before We Get Into the Tips: Breakage vs. Shedding
Quick note because this confuses so many people. Breakage and shedding are not the same thing. If you are seeing shorter pieces, mid-length strands snapping when you brush, and lots of little flyaways at your hairline or crown, that is breakage. If you are seeing longer strands with the white bulb at the end, that is normal shedding (most people shed 50 to 100 hairs a day). Winter breakage is what we are fixing today. If you are seeing truly alarming amounts of shedding (not breakage), that is worth a conversation with a dermatologist.
Tip 1: Stop Rubbing Your Hair Dry
This is the tip I wish someone had told me in my salon-assistant days before I watched it cause so much unnecessary damage up close. Most of us grab a bath towel, flip our hair forward, and scrub it dry. This is incredibly rough on wet hair. Hair is at its most fragile when it is wet because the water temporarily weakens the hydrogen bonds inside the shaft. Scrubbing creates friction that roughens the cuticle and literally snaps shorter lengths of hair off.
The American Academy of Dermatology specifically recommends against this, and their guidance on hair damage habits lists rough towel drying as one of the top mechanical damage culprits. In winter, when your hair is already moisture-deprived and more brittle, this is even worse.
The fix: switch to a microfiber towel or an old soft cotton t-shirt.
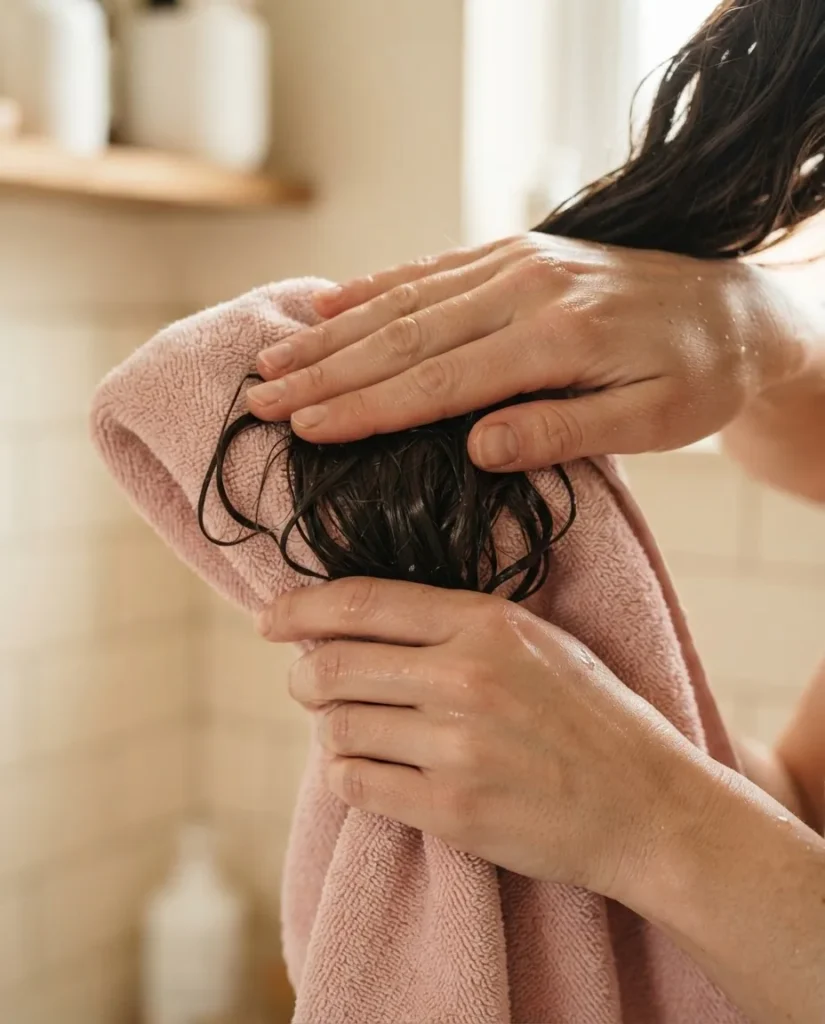
Gently squeeze and press the water out of sections. You are not drying your hair, you are just removing the dripping water before air or diffuser drying takes over.
For beginners: If you have been doing the turban-wrap-and-scrub thing your whole life, just switching this one habit can make a noticeable difference within a few weeks. It is free and it takes about thirty seconds.
Tip 2: Deep Condition Every Single Week in Winter
In spring and summer, most healthy hair does fine with a deep conditioner every two to four weeks. In winter, you need to think of it more like a weekly reset. Your hair is losing moisture faster than it normally would, so you have to replace it more often.
A deep conditioner is different from your regular rinse-out conditioner. It is heavier, it is designed to sit on the hair for five to thirty minutes, and it actually penetrates the hair shaft to restore lost moisture and smooth the cuticle. You can use heat (a shower cap and a warm towel or a hooded dryer) to help it absorb better, but honestly even cold deep conditioning works if you leave it on long enough.
For fine hair: You do not need to slather a heavy butter-based mask all over your lengths. Focus the deep conditioner from mid-shaft to ends and keep it light near the roots. Look for words like “moisture” and “hydration” on the label rather than “repair” or “protein,” which can make fine hair stiff.
For thick or coily hair: You can be more generous. Apply to sections while hair is damp, use a wide-tooth comb to distribute it, cover with a shower cap, and let it sit for at least fifteen to thirty minutes. Your hair can typically handle and will love richer formulas.
Budget-friendly options that consistently come up in stylist and reviewer conversations: Aussie 3-Minute Miracle (around $5 at most drugstores), Garnier Fructis Sleek and Shine mask (around $4), and Pantene Gold Series Deep Conditioner (around $7). These are not fancy, but they do the job.
Tip 3: Pay Attention to What Is In Your Products
You don’t need to become a cosmetic chemist. But there are a few ingredient categories worth understanding for winter.
Humectants are ingredients that attract moisture, things like glycerin, aloe vera, and hyaluronic acid. They are great for hair, but with one important catch in winter: they pull moisture from the surrounding environment. When the air is humid (high dew point), they pull moisture from the air into your hair. When the air is very dry (low dew point, which is most of winter in cold climates), they can do the reverse and pull moisture out of your hair shaft into the dry air around it. If you have curly or coily hair and your curl creams or gels are loaded with glycerin, you may notice more frizz and dryness in winter specifically because of this.
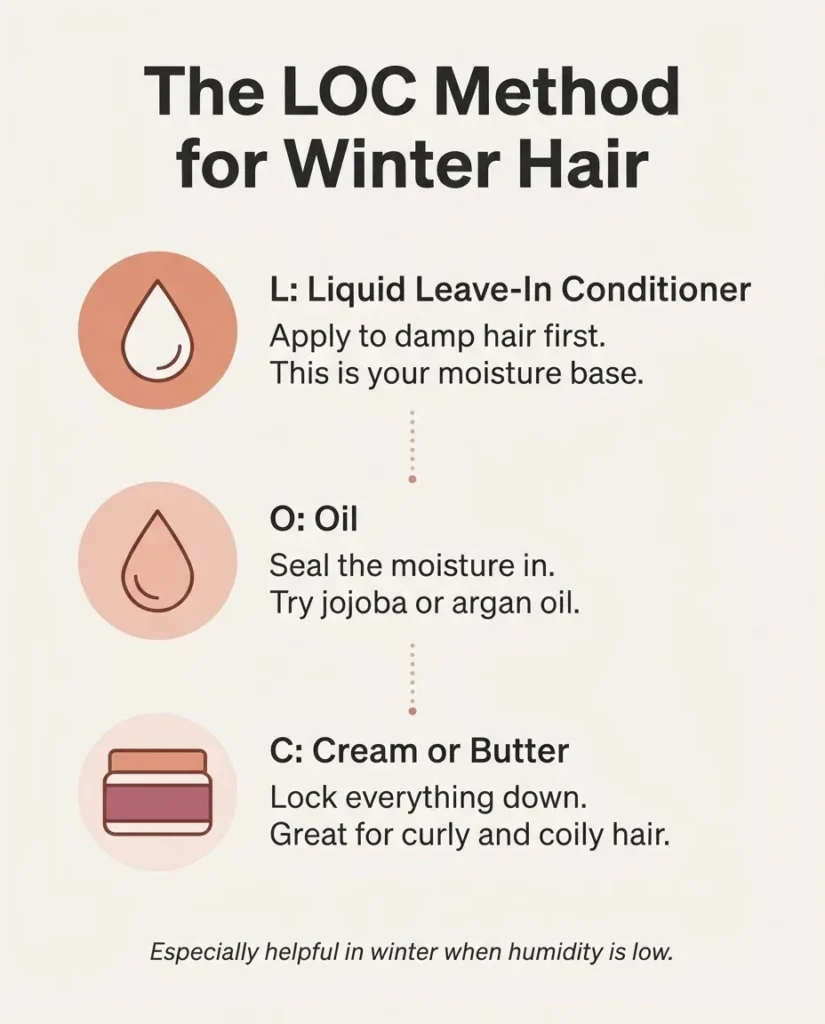
This does not mean you have to avoid glycerin entirely. It means pairing it with an occlusive layer. Occlusives are sealing ingredients: oils like jojoba, argan, or castor, and butters like shea. Applying a small amount of oil on top of your leave-in conditioner or styling product locks that moisture in before it can escape. This is the basic idea behind the LOC method (Liquid, Oil, Cream) that many curly and coily hair communities swear by, and it works especially well in winter.
Tip 4: Line Your Hat (Seriously, Your Hat Is Snapping Your Hair)
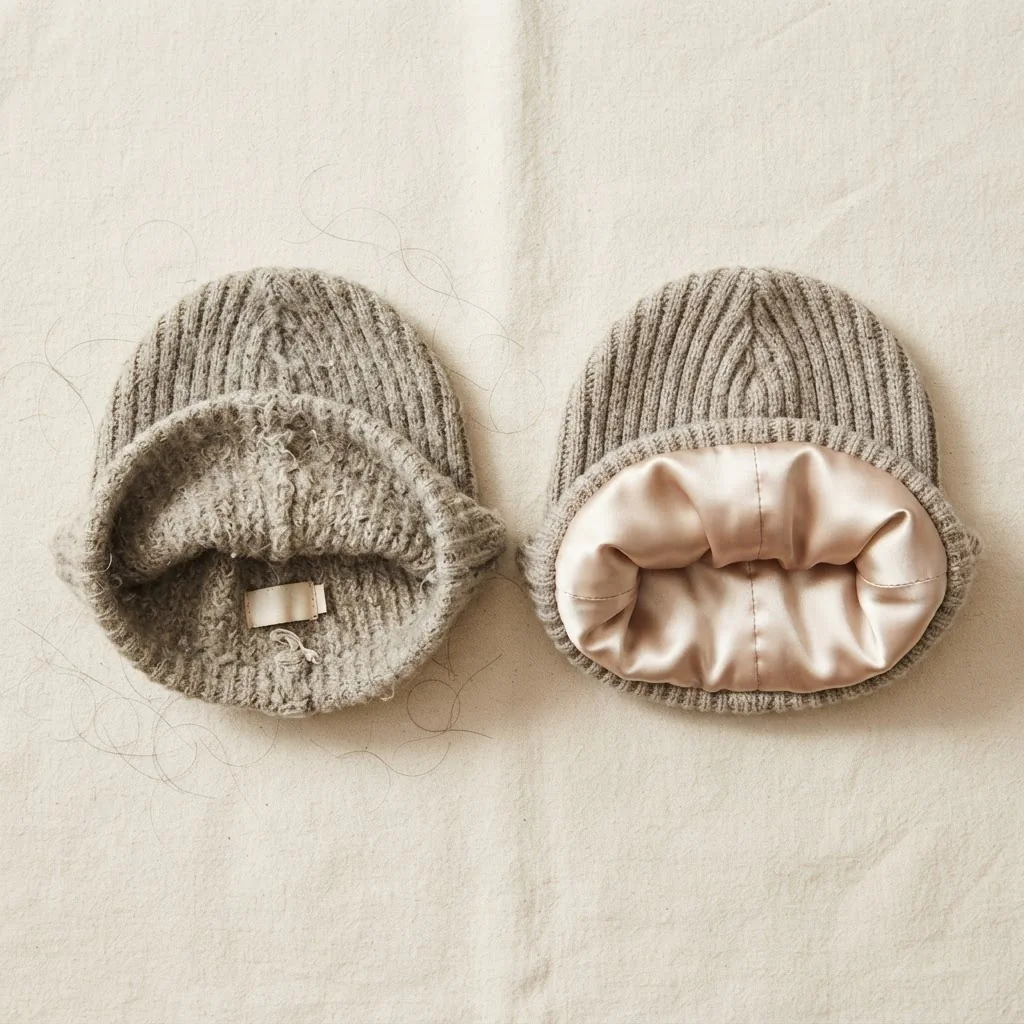
This is one of the most underrated winter hair tips and one of the least talked about online. Wool and raw cotton hats create friction against your hair every single time you put them on and take them off. That friction roughens the cuticle, causes static, and over time physically breaks hair fibers. If you are wearing a wool beanie every day and wondering why you have breakage at the crown and hairline, this is likely your culprit.
Research from TRI Princeton, a leading hair research institute, found in their Fabric Factor study on pillowcases and hair accessories that friction between fabric and hair varies significantly by material, with silk creating the least friction and cotton creating the most. The same principle applies directly to hats and scarves.
The fix is straightforward: buy a satin-lined hat or beanie. You can find them for $10 to $25 on most platforms, and they feel just as warm because the insulating layer is still wool or fleece on the outside. Alternatively, wear a thin silk scarf or satin cap underneath any hat you already own.
Tip 5: Protect Your Scalp, Not Just Your Strands
A lot of winter hair care advice focuses entirely on the hair shaft and ignores the scalp, which is a problem because your scalp is the foundation your hair grows from. When the scalp gets dry, flaky, or irritated, it affects the health of new hair before it even fully emerges.
Research published in the journal Dermatology and Therapy confirms that scalp condition directly impacts hair growth and the quality of emerging hair, meaning a chronically dry or inflamed scalp is not just uncomfortable, it can affect how strong and healthy new growth comes in.
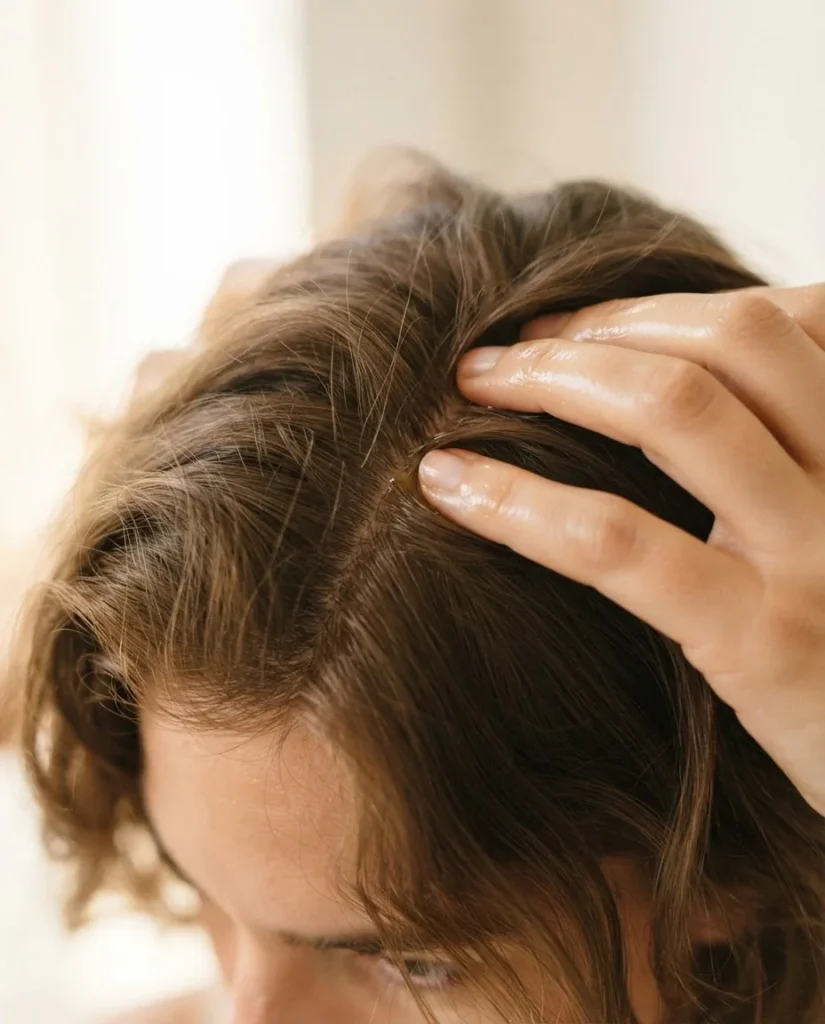
For a dry winter scalp, a gentle scalp oil massage once or twice a week helps. Jojoba oil is a great option because its molecular structure is close to your scalp’s natural sebum and absorbs without leaving a heavy residue.
For dandruff or significant flaking (which can be seborrheic dermatitis, not just dry scalp, and those are treated differently), a zinc pyrithione or ketoconazole shampoo used once a week works well. If your flaking is severe, itchy, or does not respond to over-the-counter options, that is worth a check-in with a dermatologist.
Tip for beginners: Do not scratch your scalp aggressively when it is dry and itchy. I know it is tempting. But your nails can cause small abrasions that make irritation worse. Use the pads of your fingers and a gentle circular motion.
Tip 6: Wash Your Hair Less Often, But Do It Right
Cold weather actually slows sebum production a little, which means your scalp produces slightly less oil than it does in summer. For most people, this means your hair stays “fresh” a bit longer and you don’t need to wash as often. Washing strips the natural oils that protect the hair and scalp, so over-washing in winter is actively working against you.
If you are currently washing every day, try stretching to every other day. If you are already at every two or three days, stay there. Use dry shampoo at the roots between washes to absorb any oil without stripping the scalp.
When you do wash, use warm water, not hot. Hot water strips oils from the scalp and lifts the hair cuticle, making it easier for moisture to escape after you step out of the shower. Cooler water rinses actually help the cuticle lie flat, which locks moisture in better.
For curly and coily hair types: Consider swapping one of your weekly shampoo washes for a co-wash (conditioner-only wash) during winter. It cleanses without stripping, and it adds a moisture boost at the same time.
Tip 7: Never Go Outside With Wet Hair in Cold Weather
I know this sounds dramatic. But this is genuinely one of the most damaging things you can do to your hair in winter, and it is not talked about enough. Here is why: when wet hair is exposed to below-freezing temperatures, the water inside the hair shaft can freeze. Ice crystals are sharp and they can physically damage the cuticle and cortex from the inside out. Even in temperatures that are cold but not quite freezing, wet hair is far more fragile and prone to snapping than dry hair, and the wind makes it worse.
If you have a morning routine that involves washing and then rushing out the door, try to shift your wash to the evening, use a diffuser on low heat, or at minimum blow dry your hair briefly on a cool or warm setting until it is at least 80% dry before going outside. This is a case where a quick five-minute blow dry is actually the healthier choice.
Tip 8: Use a Heat Protectant Every Time, Winter Included
There is a temptation to think heat protectant is more of a summer concern, like sunscreen. It is not. Heat protectant is relevant any time hot tools touch your hair, and if anything, winter is when your hair is already more fragile and less able to recover from heat damage.
Heat protectant products work by forming a thin film over the hair surface that slows heat conduction and distributes temperature more evenly, reducing direct thermal trauma to the cuticle and cortex. Lab Muffin Beauty Science, a chemistry PhD-led beauty science resource, has a detailed breakdown of how heat protectants actually work at the ingredient level that is worth reading if you want the full science. The short version: they do actually work, and they are not optional.
Look for something with dimethicone or cyclomethicone in the ingredients, and apply it to damp or dry hair before any hot tool use. Budget pick that stylists repeatedly recommend: TRESemmé Thermal Creations Heat Tamer Spray (around $5 to $8).
Tip 9: Sleep on Something Softer
Your pillowcase is quietly roughing up your hair for six to eight hours every night. Cotton is the main offender because its woven fibers create friction against the hair cuticle, causing the same kind of surface roughening as a wool hat, just slower and all night long. Satin and silk pillowcases have a smoother surface that reduces that friction significantly.
TRI Princeton’s testing, which I mentioned earlier in the hat friction section, found that silk produces the least friction against hair of any fabric tested, with satin polyester coming in as a close and much more affordable alternative.
You do not have to spend $60 on a mulberry silk pillowcase. A polyester satin pillowcase does most of the same work for $8 to $15.
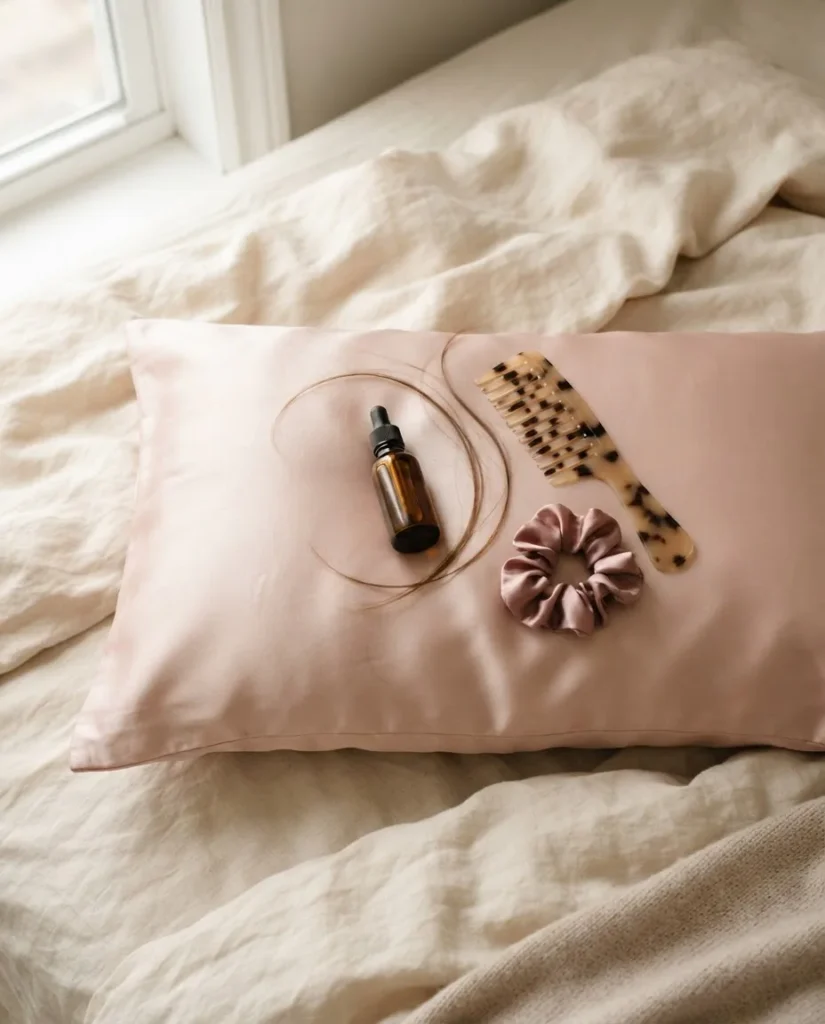
If you want to try this before committing, a satin hair bonnet or bonnet-style sleep cap achieves the same effect and is even cheaper.
Tip 10: Handle Detangling Gently and Never on Dry Hair
Detangling dry hair in winter is asking for breakage. When hair is dry and already moisture-deprived from the cold weather, it has less elasticity, which means it will snap instead of stretch when you pull a brush through a knot. The AAD’s guidance on healthy hair care tips specifically recommends starting at the ends and working upward when detangling, never from root to tip, because the root-to-tip method forces tangles down the hair shaft and increases breakage significantly.
The right way: apply a leave-in conditioner or a detangling spray to damp hair. Use a wide-tooth comb. Start from the ends and slowly work your way upward to the roots. No yanking. Take your time. If you have thick or curly hair, work in sections.
For beginners who rush detangling: I get it, mornings are chaotic. But this is one of those cases where five extra minutes now saves you noticeably less breakage over a whole winter.
Tip 11: Use Protective Styles Strategically
A protective style is any style that tucks your ends away and keeps them from exposure to the environment. Braids, buns, low twists, and even a simple low bun with a silk scrunchie all count. The key word is “strategically.” You don’t have to live in a bun from November through March. But on days when you’re going outside in cold wind, wearing a hat, or just rushing through a busy week, a protective style reduces the amount of manipulation and friction your ends are getting.
Your ends are the oldest and most fragile part of your hair. They have been through the most heat, the most detangling, the most everything. Winter is hard on ends specifically because they have less natural sebum reaching them (your scalp’s oil travels down the shaft and drier, more porous ends absorb it quickly). Tucking them away is a simple act of protection.
One thing to watch: do not put your hair in protective styles that pull too tightly. Tension at the hairline and scalp causes a different kind of breakage and, over time, can cause traction stress on the follicle. A loose, comfortable braid or bun is ideal.
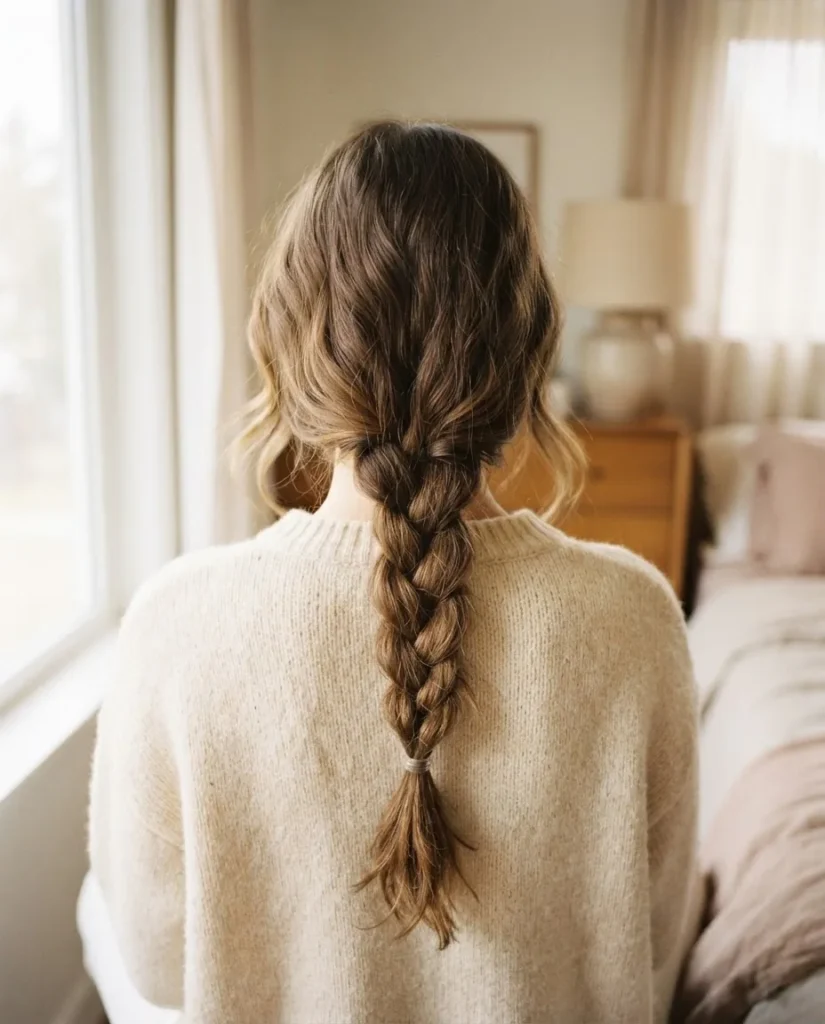
If your scalp feels sore after a style, it is too tight.
Tip 12: Trim More Often in Winter, Not Less
I know. Trimming feels like losing progress. But hear me out. Split ends do not just stay split. They travel up the hair shaft and cause breakage higher and higher. If you go into winter with already-split ends and skip your trim because you are “trying to grow your hair,” you will end up cutting off more in spring than you would have if you had trimmed going into the season.
You don’t need a big chop. Ask your stylist for a “dusting” or a micro-trim, which is usually just half an inch to one inch off, enough to remove the split and damaged ends without any noticeable length loss. Doing this going into winter and then again mid-season (if you’re already prone to breakage) is genuinely one of the most effective things you can do for winter hair health.
A Note on Patience
Winter hair care is not an overnight fix. If your hair has already been through a few months of cold-weather damage, it will take a few consistent weeks of better habits before you notice a real difference. That is not a failure, it is just how hair works. Hair grows about half an inch per month, and the health you build with better habits takes time to show up in the strand.
You are not starting over. You are just pivoting. Every small habit change, whether that is sleeping on satin, switching to a gentler towel, or adding a weekly mask, adds up over a whole season. By spring, your hair will genuinely feel different.