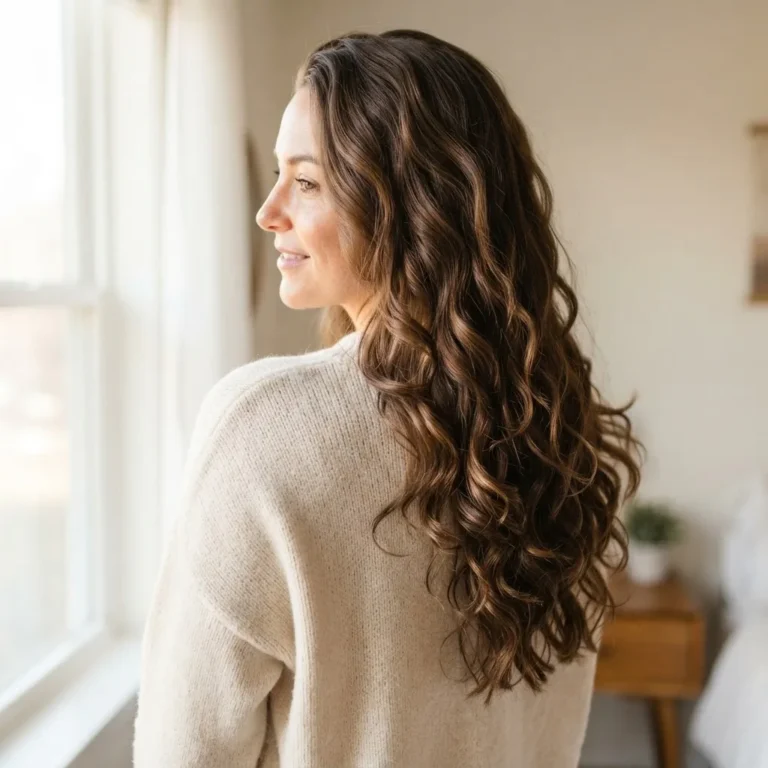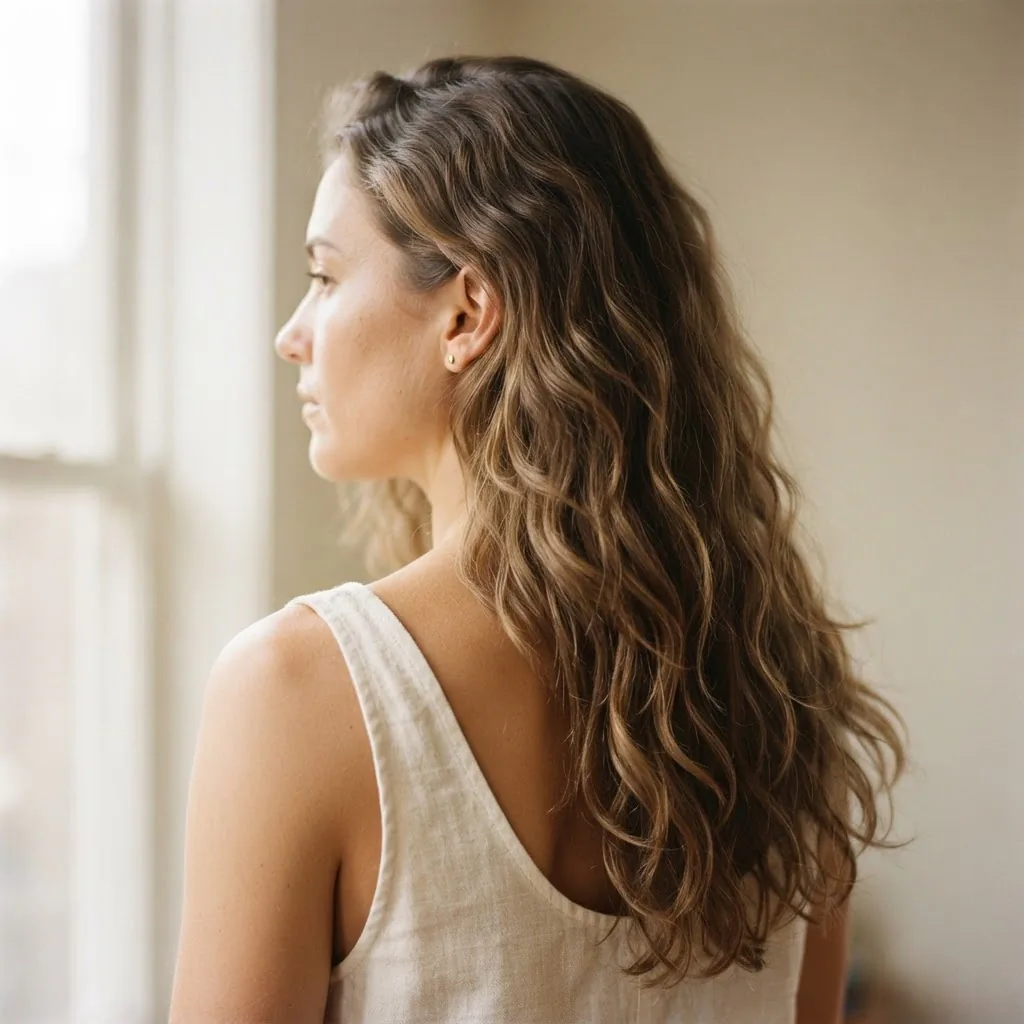
Beach Waves Without Heat: 10 Methods That Actually Work
I have a confession. Before I ever learned how to use a curling iron properly, I was obsessed with beach waves. Not the tight ringlets, not the Hollywood curls. The loose, effortless, “I spent the weekend at the coast” kind of wave. The problem? My technique with a curling iron was, let’s say, enthusiastic but chaotic. The kind of chaotic that results in uneven sections, one side wavier than the other, and hair that smells faintly singed by noon.
Then I started working at a salon in Austin and watched stylists create incredible texture on clients who hadn’t touched a single hot tool. Braids, twists, scrunchies, silk rods. The methods looked almost too simple. But the results? Genuinely gorgeous.
Here’s what I’ve learned since then: you don’t need heat to get beach waves. You need moisture, the right technique for your hair type, and enough time to let your hair actually dry in the shape you want. That’s it. No iron, no risk of crispy ends, and no spending money on tools you don’t need.
Below are 10 methods that consistently deliver real results, matched to real hair types, with honest notes about difficulty, timing, and where beginners tend to go wrong.
Before You Start: The Science Behind Why This Works
Understanding this one thing will make every heatless method on this list click. Your hair is made of a protein called keratin. When it’s wet, those protein bonds are temporarily broken and your hair becomes flexible, moldable. As your hair dries into whatever shape it’s in, those bonds re-form. That’s it. That’s the whole secret behind every heatless wave technique in existence.
This is also why it matters so much that your hair is fully dry before you take anything out. If you pull your braid out while your hair is still damp in the middle, the bonds haven’t fully re-formed yet and your wave will drop or frizz out within the hour. Many beginners skip this step, get disappointed, and think the method “doesn’t work.” It worked. They just rushed it.
The flip side of all this is why heatless methods are genuinely better for your hair over time. Repeated heat styling causes measurable damage to the hair cuticle, and the higher the temperature, the worse the damage, as research published in the journalAnnals of Dermatology has documented in detail. Choosing heatless methods on regular styling days isn’t just a Pinterest trend. It actually protects your strands in the long run.
What You Need Before You Pick a Method
Most of these methods need very little. A few basics that help across the board:
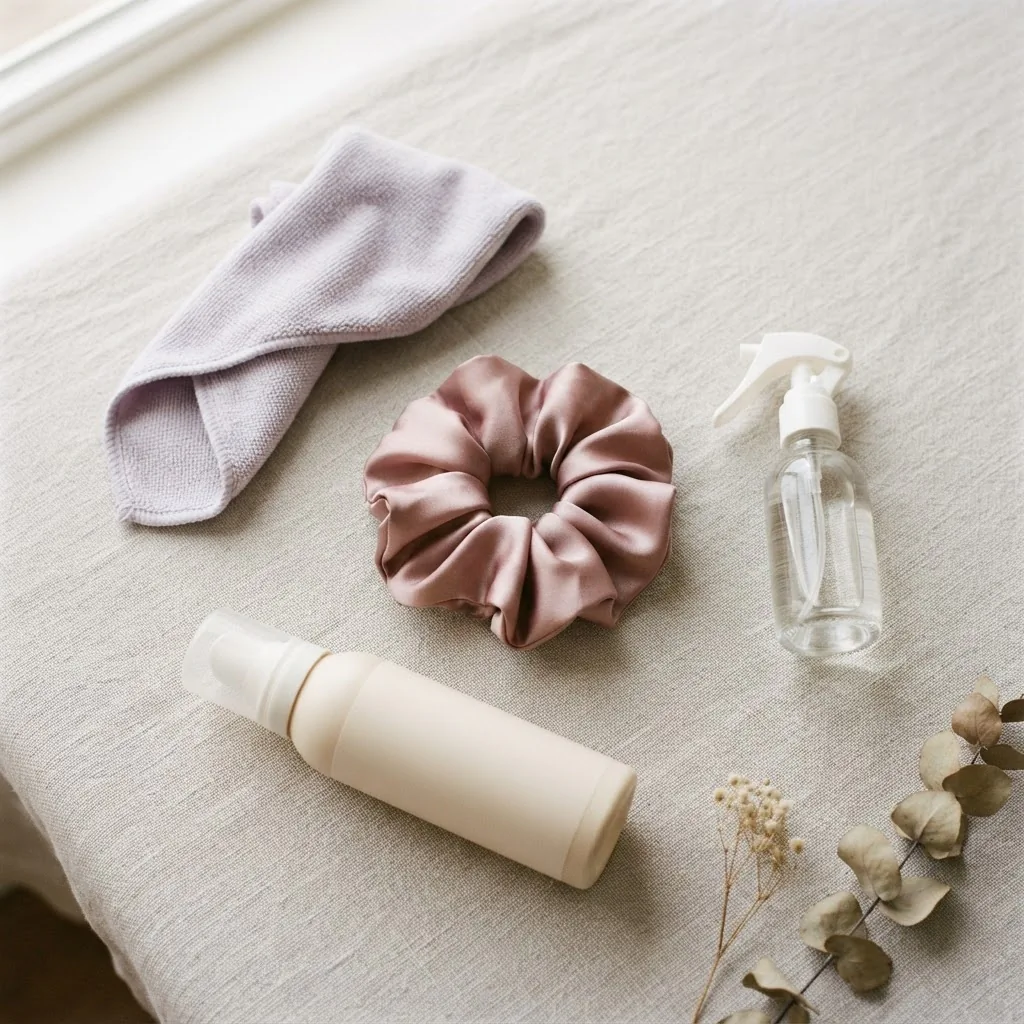
- Damp (not soaking) hair. Freshly washed and towel-blotted is ideal. You want hair that’s maybe 60 to 70 percent dry. Too wet and it’ll take forever or develop a mildew smell if wrapped overnight. Too dry and the wave won’t set.
- A light product to help the wave hold. A mousse, a light curl cream, or a texturizing spray worked through damp hair before you style gives the wave something to grip. More on sea salt spray specifically below.
- Time. Most methods need 4 to 8 hours, which is why overnight is the classic timing. Same-day methods are noted where they apply.
- Soft hair ties. Regular elastics leave creases. Silk or satin scrunchies, velvet elastics, or even strips of soft fabric are your friends.
The 10 Methods
1. The Overnight Two-Braid
This is the method I always recommend to absolute beginners. It’s foolproof, it’s free, and it works on almost every hair type and length.
Starting with damp hair, divide it down the middle into two equal sections. Braid each side loosely from the root to the tip and secure with a soft scrunchie. Loose is the key word here. A tight braid gives you crimps. A loose braid gives you waves.
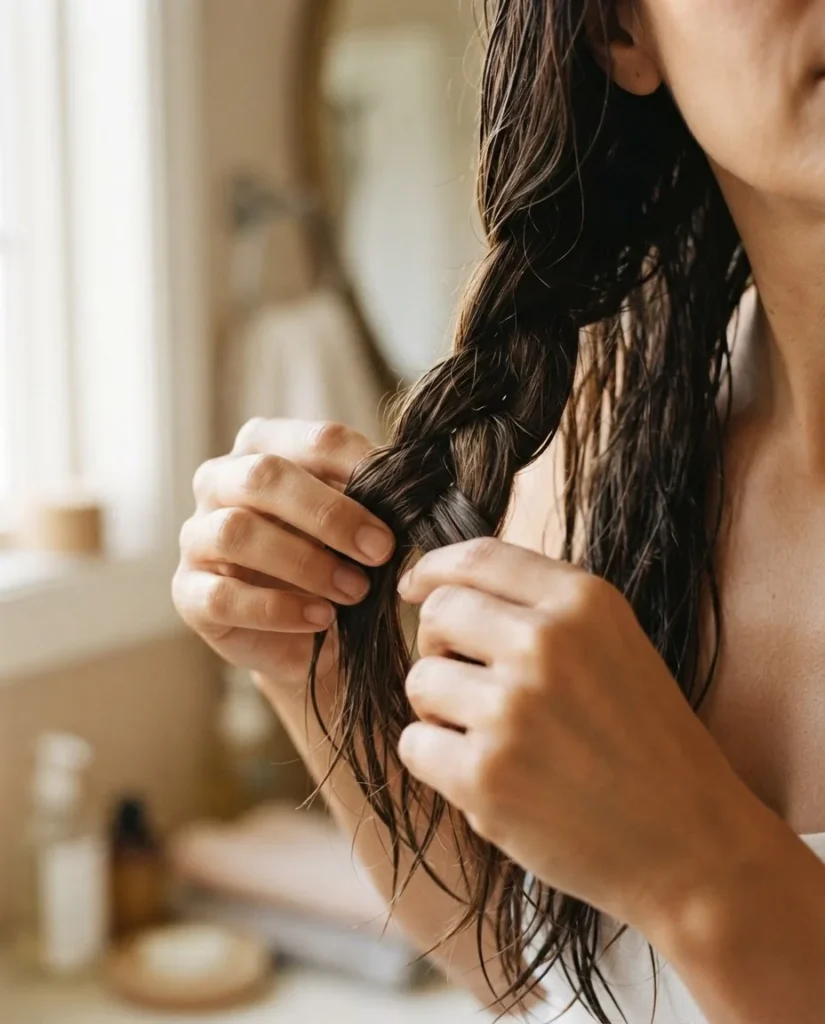
Sleep on it (a silk or satin pillowcase helps reduce frizz overnight), wake up, undo the braids, and separate gently with your fingers. Do not brush. Use a tiny drop of hair oil on your palms and scrunch lightly to smooth any frizz.
For fine hair, this works beautifully as long as you use a light-hold mousse or texturizing spray on damp hair before braiding. Fine hair without any product tends to drop waves quickly. For thick or coarse hair, you can braid more sections (three or four braids) for more consistent waves through the density.
Difficulty: 1/5. Timing: overnight.
2. The Dutch Braid for Tighter Wave Patterns
The Dutch braid (an inside-out French braid, braided under instead of over) produces a slightly tighter, more defined wave than a regular three-strand braid. If you want waves with a little more body and bounce rather than ultra-loose movement, this is the one. It also works better on medium to thick hair because the technique naturally adds volume at the root.
The method is the same as above, but with each section going under instead of over as you work down. Two Dutch braids overnight, undone gently in the morning.
Fair warning for beginners: Dutch braiding on yourself has a learning curve. If you’re not comfortable with it yet, the regular two-braid method gives beautiful results too.
Difficulty: 3/5. Timing: overnight.
3. Rope Twists
Rope twists are genuinely one of the most underrated heatless wave methods and they’re extremely beginner-friendly. Divide damp hair into sections (two sections gives looser waves, four to six gives tighter definition). Take one section, split it into two strands, and twist each strand individually in the same direction (say, clockwise). Then wrap those two twisted strands around each other in the opposite direction (counter-clockwise). Secure the end with a soft scrunchie.
The result when you unravel in the morning is softer and more natural-looking than a braid, with a lovely diagonal texture. It’s especially good for wavy hair (2A to 2C) that already has some natural movement, since the rope twist enhances what’s already there rather than imposing a pattern.
Difficulty: 2/5. Timing: overnight or 4 to 6 hours.
4. The Scrunchie Stack (The TikTok Method)
This one went viral for a reason. It’s fast, it requires nothing but scrunchies, and it delivers genuinely pretty waves.
Starting with damp hair, divide it into two to four sections depending on your hair thickness. Take one section and slip a scrunchie around it near the root. Instead of pulling your hair all the way through the last loop, stop halfway so the scrunchie grips a folded bundle of hair. Roll the next scrunchie down a few inches below the first and repeat, working your way down the section until you run out of hair. You’re essentially using the scrunchies as soft rollers, stacking them down each section.
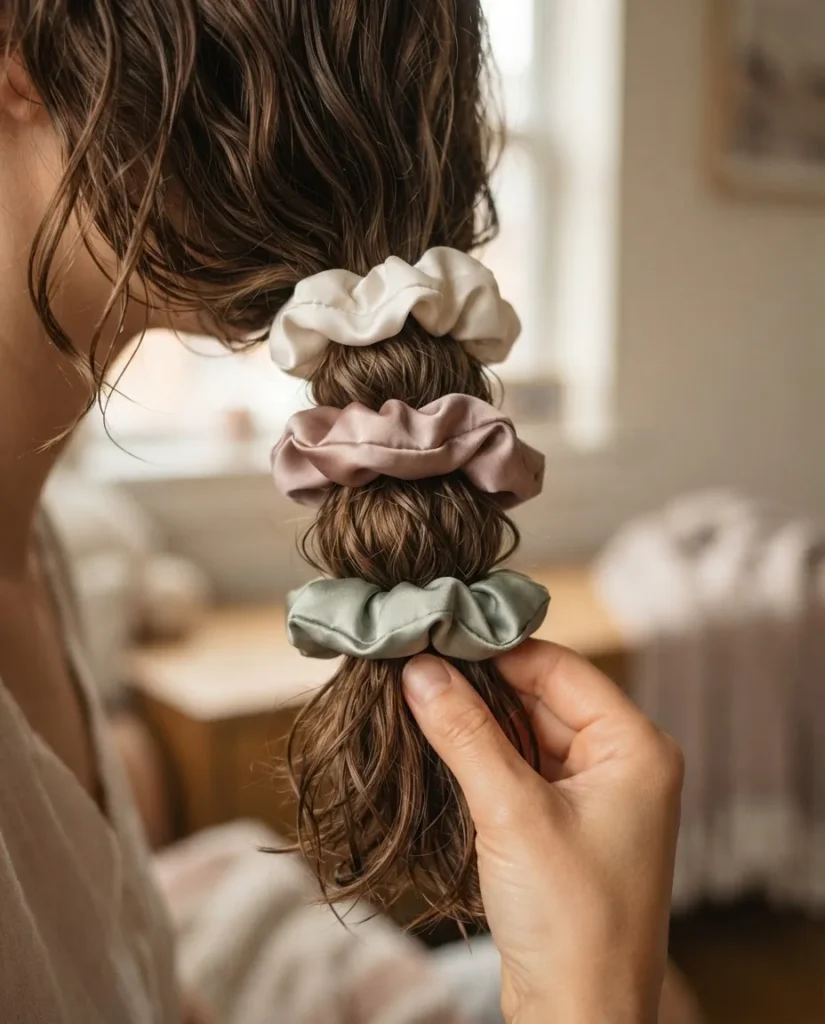
Leave in until fully dry (overnight is safest), then slide them off gently and finger-comb. The result is a relaxed, slightly undone wave. Medium hair loves this method. Very fine hair may need a stronger-hold product underneath to make it last. Very thick hair may need more scrunchies per section.
Difficulty: 2/5. Timing: overnight.
5. The Robe Belt Method
This one sounds a little weird. It delivers really lovely results. Take the soft fabric belt from a bathrobe (any soft, non-elastic cord or even a long fabric strip works). Hold one end against the top of your head at the crown and begin wrapping small sections of damp hair around the rope, alternating sides as you work down. Think of it like wrapping a ribbon around a wand. Secure the end at the nape and tie or clip the robe cord in place.
The shape of the wrap, combined with how the hair dries, produces a soft, undulating wave that looks very natural and quite different from a braid. It works best on shoulder-length to long hair. It can be done front to back (for face-framing waves) or split into two sections for more volume.
Difficulty: 3/5. Timing: overnight.
6. The Headband Wrap (Great for Short to Medium Hair)
Slide a soft, stretchy fabric headband around your head just above your ears. Take small sections of damp hair and begin wrapping them up and over the headband, tucking the ends underneath. Work your way around your head, continuing to add and wrap sections until all your hair is wrapped around the band.
This method is particularly good for shorter hair that doesn’t have enough length to braid, and it produces a softer, looser wave than the braid methods. The size of the sections you wrap determines how much wave you get: smaller sections, more defined waves; larger sections, softer movement.
One important tip: the headband needs to stay snug on your head overnight. If it’s too loose and slides, your sections will unravel and you’ll lose the wave pattern. Choose a wide, grippy headband rather than a slippery one.
Difficulty: 2/5. Timing: overnight or 4 hours.
7. Pin Curls
Pin curls are a classic for a reason. They give you control over the size and direction of each wave, and they’re one of the best same-day heatless options since smaller sections can dry in 3 to 4 hours.
Take a small section of damp hair, smooth it between your fingers, and roll it toward your scalp to form a flat coil. Secure it flat against your head with a small clip or a bobby pin. Repeat all over. The smaller the section, the tighter the wave. Once dry, release each pin curl, let them cool and settle for a few minutes, then break them up gently with your fingers.
This method has the highest setup time of any on this list, but the payoff is very pretty waves with a slightly retro, feminine quality. It’s also the easiest method to control direction: rolling all curls back gives you a lifted, voluminous wave; mixing directions gives you a more tumbled, natural look.
Difficulty: 3/5. Timing: 3 to 4 hours, or overnight.
8. Bantu Knots for Loose Waves (Not Tight Coils)
Bantu knots traditionally produce defined spirals, but there’s a modified approach that gives you gorgeous loose waves instead. The trick is working with larger sections and leaving the knots a little looser than you normally would for defined curls.
On damp hair, divide into sections (6 to 8 for loose waves, more for tighter definition). Take one section, twist it into a rope, then wrap the rope around itself at the root until it forms a small coil, and tuck or secure the end. Let dry completely. When you release and gently separate with your fingers and a drop of oil, you get beautiful, bouncy waves with real body.
This method deserves wider love in the heatless wave conversation. It works on a wide range of hair textures, including natural hair and type 3 curls where other heatless wave methods often under-deliver.
Difficulty: 3/5. Timing: overnight.
9. The Heatless Curl Rod (The Dedicated Tool)
If you want to invest in one piece of heatless wave gear, a velvet or silk heatless curl rod is genuinely worth $10 to $15. It’s a long, soft rod that you position at the crown, then wrap sections of damp hair around in alternating directions before securing with the included scrunchies.
The result is consistent, uniform waves from root to tip, which is harder to achieve with braids or twists that tend to give you more texture at the mid-lengths and ends than at the roots. Stylists consistently recommend the silk version if you can stretch to around $30 to $46 for less frizz and breakage overnight, especially on fine or color-treated hair.
What the tool does that DIY methods struggle with: it holds the hair in a consistent wave direction across your whole head rather than the pattern-on-pattern you can sometimes get from braids. If you want very “done” looking heatless waves, this is your method.
Difficulty: 2/5. Timing: overnight.
10. Scrunching With Sea Salt Spray and Air-Drying
This is the most effortless option on the list and it works best for naturally wavy or lightly textured hair that just needs a little encouragement, not a full wave reset.
On towel-blotted damp hair, flip your head forward and scrunch a sea salt spray or texturizing mousse into your hair from ends to roots. Scrunch. Don’t smooth, don’t brush. Let it air-dry completely, either naturally or with a diffuser on the lowest setting. Once dry, scrunch again to break up any crunch.
The caveat here is honest and worth reading before you grab your bottle. Sea salt spray adds texture by drawing moisture out of your hair shaft, which is what creates that tousled, piecey wave pattern. As Davines explains in their updated haircare editorial, overuse can deplete moisture, disrupt the cuticle, and cause breakage, particularly in already-dry or color-treated hair. It’s a genuinely useful product used a few times a week with a good moisturizing conditioner routine. It’s not something to drench your hair in daily, especially if it’s already fragile.
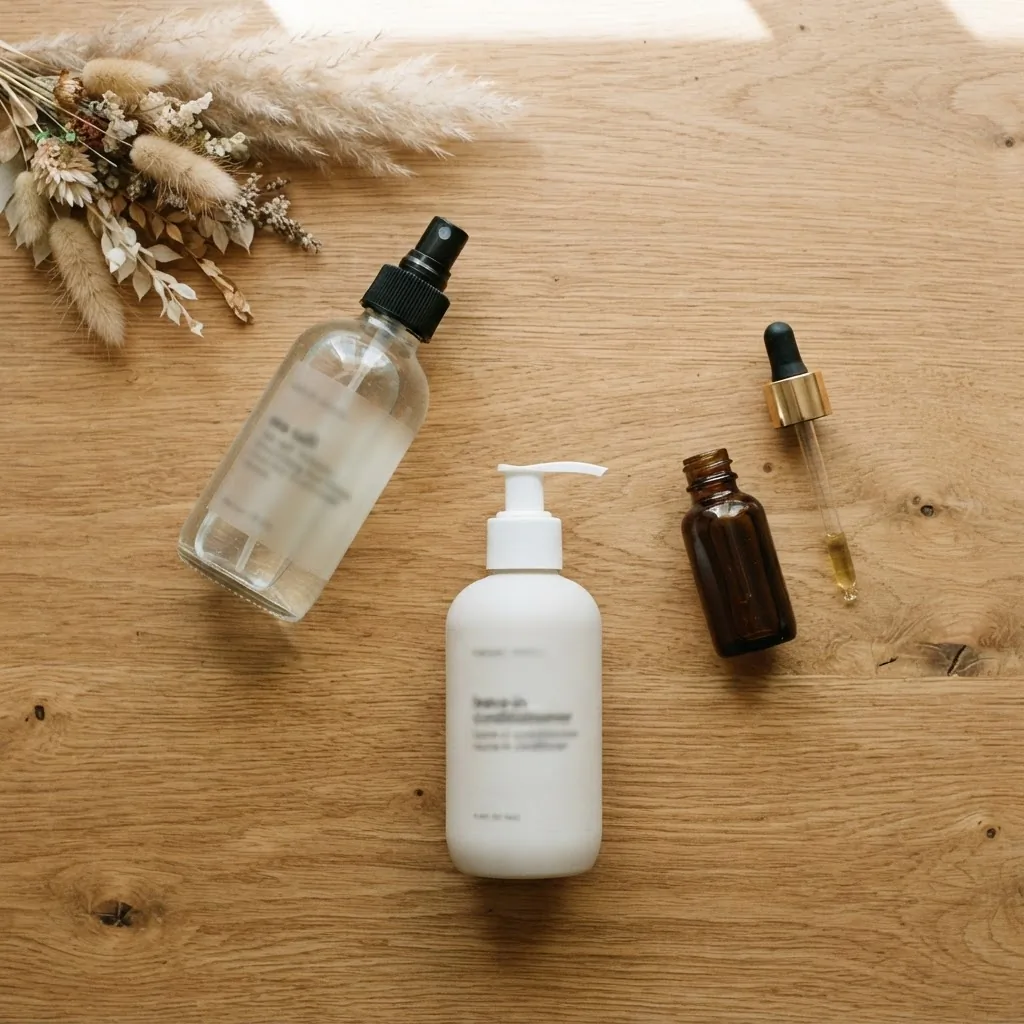
For a gentler DIY version, some people use Epsom salt (magnesium sulfate) diluted in water with a little aloe vera gel, which produces a similar texture effect with less drying impact. The Wellness Mama sea salt spray recipe does exactly this and is a popular starting point for those who want to mix their own.
Difficulty: 1/5. Timing: same day, 1 to 3 hours depending on hair thickness.
Hair Type Guide: Which Method to Start With
This is the question I know you’re really asking, so let me be straight with you.
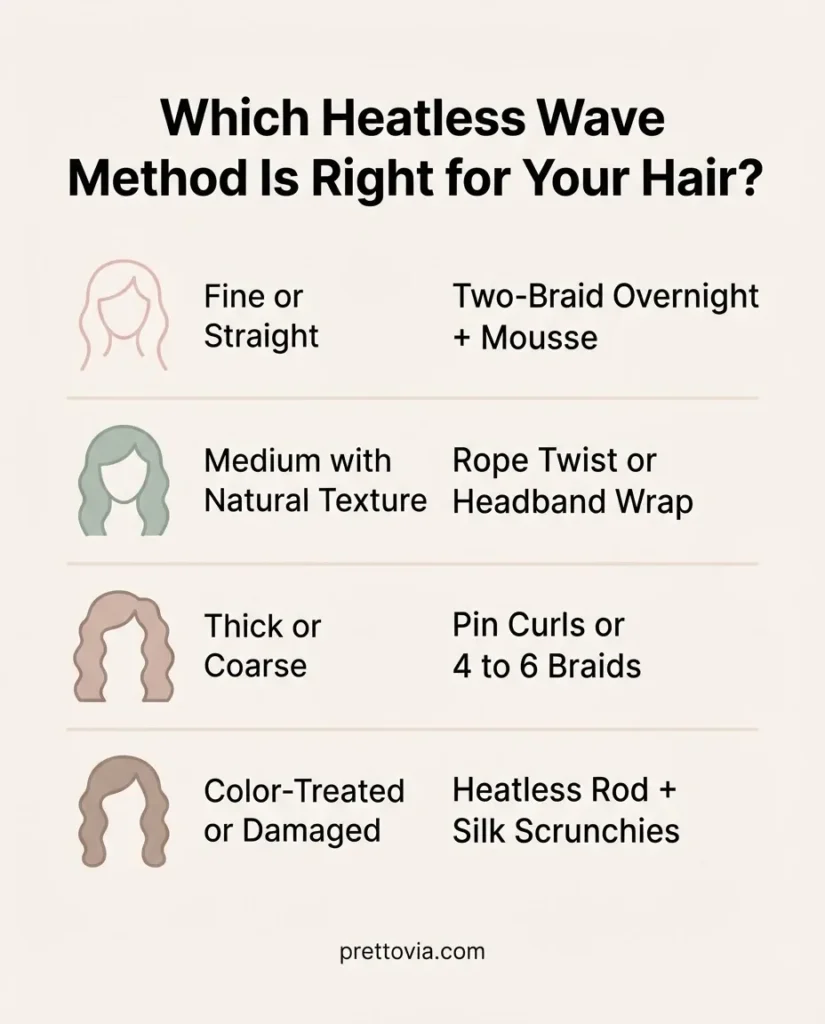
If you have fine, straight hair, the overnight two-braid with a light mousse underneath is your most reliable first experiment. Fine hair needs product to hold a wave and it needs to be completely dry before you remove anything. The scrunchie stack is also beginner-friendly for fine hair. Skip the robe belt until you’ve got some practice because the sections can be harder to manage with slippery fine strands.
If you have medium hair with a little natural texture, you have the most options. Almost every method on this list will work well for you. The rope twist and the headband wrap tend to produce the most natural-looking results for medium wavy hair.
If you have thick or coarse hair, the priority is using more sections, not fewer. Two braids won’t cut it for very thick hair because the interior of each braid won’t fully dry overnight and the wave will fall. Try four to six braids or the pin curl method in more sections. A heatless curl rod is worth the investment for thick hair because it keeps tension consistent across the whole head.
If you have color-treated or heat-damaged hair, you’re genuinely doing the right thing by exploring heatless options. The American Academy of Dermatology includes limiting heat styling among its key recommendations for protecting hair health. Silk tools and satin scrunchies are worth prioritizing over rough elastics, and skipping sea salt spray in favor of a curl cream or mousse will keep damaged strands from getting drier.
Why Your Waves Aren’t Lasting (Troubleshooting)
This is the section most articles skip. Here’s where it usually goes wrong and how to fix it.
Waves fell flat by noon. Almost always a product issue (no hold product used, or hair was too dry when the product was applied) or a dry issue (hair wasn’t fully dry before you took the style down). Add a light mousse or texturizing spray to damp hair next time, and give yourself more time.
I got crimps, not waves. Your braid or twist was too tight. Go noticeably looser than you think you need to. The wave forms from the curl pattern, not from the tightness of the braid.
One side is wavier than the other. Usually because one side dried faster (say, if you slept on that side more) or the sections weren’t even. Try to make your sections mirror images of each other and sleep on a silk pillowcase to reduce friction.
I got frizz instead of waves. You either touched your hair too much while drying, or you brushed the waves out instead of finger-combing. Once the waves are out, fingers only. A tiny drop of oil smoothed over the top layer tames flyaways without collapsing the wave.
Nothing holds in my hair. Very thick, coarse hair is genuinely the hardest for heatless waves because the weight of the hair pulls against the wave pattern. Try the pin curl method with a strong-hold gel, and give it a full 8 hours or more to dry.
A Quick Word on Hair Health
Going heatless is one of the best things you can do for your hair, especially if you’re growing out damage or trying to get your hair to a healthier place. Keeping heat styling to special-occasion use and reaching for heatless methods for your everyday looks genuinely adds up over time.
The AAD’s healthy hair tips also include using a wide-tooth comb on wet hair instead of a brush, and minimizing how much you manipulate wet hair before it’s drying into place. Both of these pair naturally with heatless wave methods where you’re setting your hair and then leaving it alone to dry rather than constantly working it.
The Honest Bottom Line
Heatless waves have a small learning curve. The first time you try a method, it might not come out exactly like the Pinterest pin that inspired you. That’s normal. It’s not the method failing, it’s you and the method getting to know each other. Pick one technique, try it twice before you give up on it, and pay attention to whether your hair was the right dampness and whether you gave it enough time to dry.
Once you find your method, you will use it constantly. I reach for the two-braid or rope twist more than almost any other styling technique I know. No heat, minimal effort, and I wake up with hair I actually love. That’s the goal here: your pretty, made simple.