Your Scalp Care Routine for Thicker, Healthier Hair (Step by Step)
Let me tell you something I wish someone had told me when I first started taking hair seriously: your scalp is not an afterthought. It is the whole foundation. Everything that grows out of it, the thickness, the shine, the length you’ve been trying to hold onto forever, starts with what’s happening at that skin level before a single strand even emerges.
I spent years as a salon assistant in Austin watching stylists field the same question over and over: “Why does my hair feel so thin?” And almost every time, the answer had something to do with what the client was (or wasn’t) doing to their scalp. Not their ends. Not their shampoo brand. Their scalp.
So if you’ve been treating your scalp like it’s just the part of your head that gets shampoo rinsed through it, this post is for you. I’m going to walk you through exactly how to build a scalp care routine that genuinely supports thicker, healthier hair, step by step, by hair type, with honest notes on what actually works and what’s just a trend in a pretty bottle.
Why Your Scalp Deserves Its Own Routine:
Think of your scalp as the soil in a garden. You can plant the most beautiful seeds in the world, but if the soil is compacted, dry, full of debris, or off in its chemistry, nothing grows well. Your hair follicles live inside your scalp, and the environment you create around them directly affects how thick and healthy the strands coming out of them are.
The beauty industry has caught onto this in a major way. The “skinification of hair” trend, which means applying the same ingredient-forward, layered approach to your scalp that you’d give your face, has been one of the biggest shifts in hair care over the past few years. And it makes complete sense. Your scalp is skin. It has pores (follicle openings), it produces oil (sebum), it can get congested, irritated, dry, or inflamed, and it responds to active ingredients just like the rest of your skin does.
The good news: a proper scalp care routine doesn’t require a whole new shelf of products. It requires a shift in how you approach the ones you already have, plus a few targeted additions that are easy to work into any budget.
Step 1: Understand Your Scalp Type First
Before you buy a single thing or follow a single step, you need to know what your scalp is actually doing. This sounds obvious but most people skip it, and then they wonder why a routine they copied from someone else isn’t working for them.
There are four basic scalp types you’ll see most often. An oily scalp produces excess sebum, gets greasy within a day or two of washing, and is often found on people with finer or straight hair. A dry scalp feels tight, itchy, and sometimes flaky (small, white, dry flakes that fall off easily). A sensitive or irritated scalp reacts to fragrances, sulfates, or environmental changes with redness, tingling, or persistent itching. And then there’s the classic combo scalp: oily at the roots with dry or damaged lengths and ends, which is incredibly common especially among people who use heat tools regularly.
Your scalp type tells you how often to wash, which ingredients to look for, and what to avoid. I’ll note the differences throughout each step below so you can adjust as you go.
Step 2: Choose the Right Shampoo and Wash the Right Way
Shampoo is your scalp’s first line of defense, but the way most of us use it is actually the problem. Here’s what the American Academy of Dermatology recommends, and it’s counterintuitive for a lot of beginners: you should apply shampoo primarily to your scalp, not the length of your hair, and let it rinse through the ends on its own as the water runs down. Scrubbing shampoo into your lengths strips moisture and contributes to breakage, especially if you already have dry or chemically treated hair.
As for how often to shampoo: if you have a fine, straight, or oily scalp, washing every one to two days is fine and sometimes necessary to prevent buildup from weighing your hair down. If you have wavy or curly hair, every two to four days usually works better. If your hair is coily or tightly textured, once a week or even less can be sufficient. The right frequency for your specific hair is less about a rule and more about paying attention to when your scalp starts feeling itchy, smelling, or looking weighed down.
A note on sulfates: sulfate-heavy shampoos (look for sodium lauryl sulfate or sodium laureth sulfate in the first few ingredients) are very effective cleansers, but they can be too stripping for dry, curly, or color-treated hair and scalps that are already dry or sensitive. A sulfate-free option is gentler and still cleans effectively. That said, if you have a very oily scalp or use a lot of product, a shampoo with some surfactant strength may actually be necessary to get your scalp truly clean. You don’t have to go sulfate-free as a rule. You just want to match your cleanser strength to your scalp’s actual needs.
Step 3: Deal With Buildup Before It Deals With You
Scalp buildup is one of the most underrated contributors to hair that looks and feels thinner than it should. When sebum, dead skin cells, dry shampoo residue, and styling product accumulate on your scalp and around the base of your follicles, they can create a physical barrier that makes hair look flat, grow more slowly, and sometimes contributes to excess shedding. As Healthline explains in their breakdown of scalp buildup symptoms and causes, this kind of congestion is different from dandruff (which is a scalp condition usually caused by an overgrowth of a yeast called Malassezia) and requires a different approach.
The solution is a clarifying shampoo, used once every one to two weeks depending on how much product you use. Clarifying shampoos deep-clean the scalp and strip away accumulated residue that regular shampoo misses. They’re not meant for every wash, because they’re strong and can be drying if overused, but rotating one into your routine every week or two genuinely makes a visible difference in hair fullness and scalp freshness.
Budget picks that consistently get good reviews: Neutrogena Anti-Residue Clarifying Shampoo (around $8), and Suave Essentials Daily Clarifying Shampoo (under $5). If you want to invest a bit more, Ouai Detox Shampoo and Living Proof Perfect Hair Day Triple Detox Shampoo are widely praised by both stylists and reviewers for their thoroughness.
Step 4: Add a Scalp Scrub or Exfoliant
Think of scalp exfoliation as the step that takes your routine from “pretty good” to “oh, this is actually working.” Just like exfoliating your face removes dead skin cells and keeps your pores clear, exfoliating your scalp clears away the buildup that sits around the base of each follicle and keeps the skin renewing properly.
You have two options: physical exfoliants, which are scrubs that use fine particles (like sugar, sea salt, or rice bran) to physically buff the scalp, and chemical exfoliants, which use ingredients like salicylic acid to dissolve excess oil and dead skin cells without scrubbing.
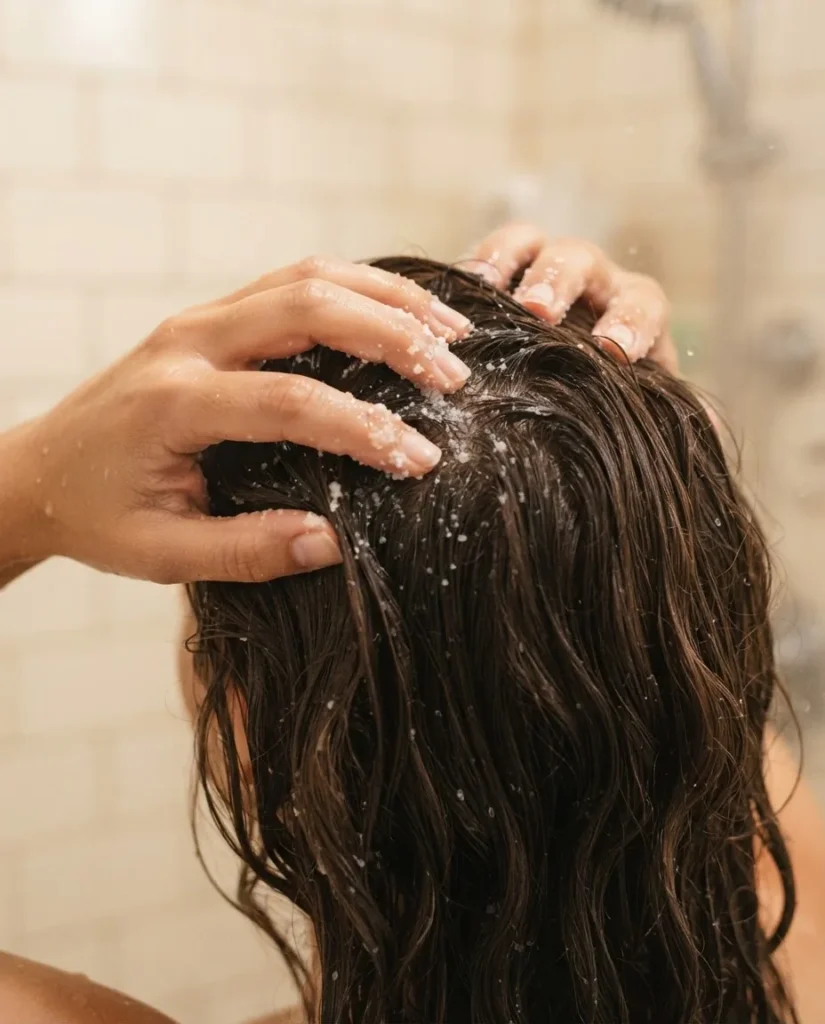
For sensitive scalps, a gentle chemical exfoliant is usually kinder than a gritty physical scrub. For oily or more resilient scalps, a scrub with a little texture feels satisfying and works well.
How to do it: apply the scrub to your scalp on dry or damp hair before shampooing. Section your hair and work the product into your scalp in circular motions with your fingertips. Let it sit for two to three minutes, then shampoo and condition as normal. Do this once a week maximum, and if your scalp is sensitive or already irritated, start with once every two weeks to see how your skin responds.
One important note: if your scalp is broken out, has open sores, or feels raw, skip exfoliation entirely until your scalp is calmer. And if you’re dealing with persistent redness, scaly patches, or what looks like more than normal flaking, please see a dermatologist rather than experimenting with products. Conditions like seborrheic dermatitis or psoriasis need a proper diagnosis and shouldn’t be treated with a DIY scrub.
Step 5: Make Scalp Massage a Non-Negotiable
This is the step that costs exactly zero dollars, takes four minutes, and has actual peer-reviewed evidence behind it. I love talking about this one because it’s the rare hair tip that is both very easy and genuinely supported by science.
A 2016 study published in the journal ePlasty, now indexed on the National Institutes of Health’s PubMed Central, found that standardized daily scalp massage over 24 weeks resulted in measurably increased hair strand thickness. Participants who received a four-minute daily scalp massage ended the study with thicker individual hair strands compared to their baseline. The researchers believe the mechanical stretching forces applied to the dermal papilla cells (the cells that control hair follicle cycling) stimulate them to produce thicker strands. That’s not influencer hype. That’s a published, cited study.
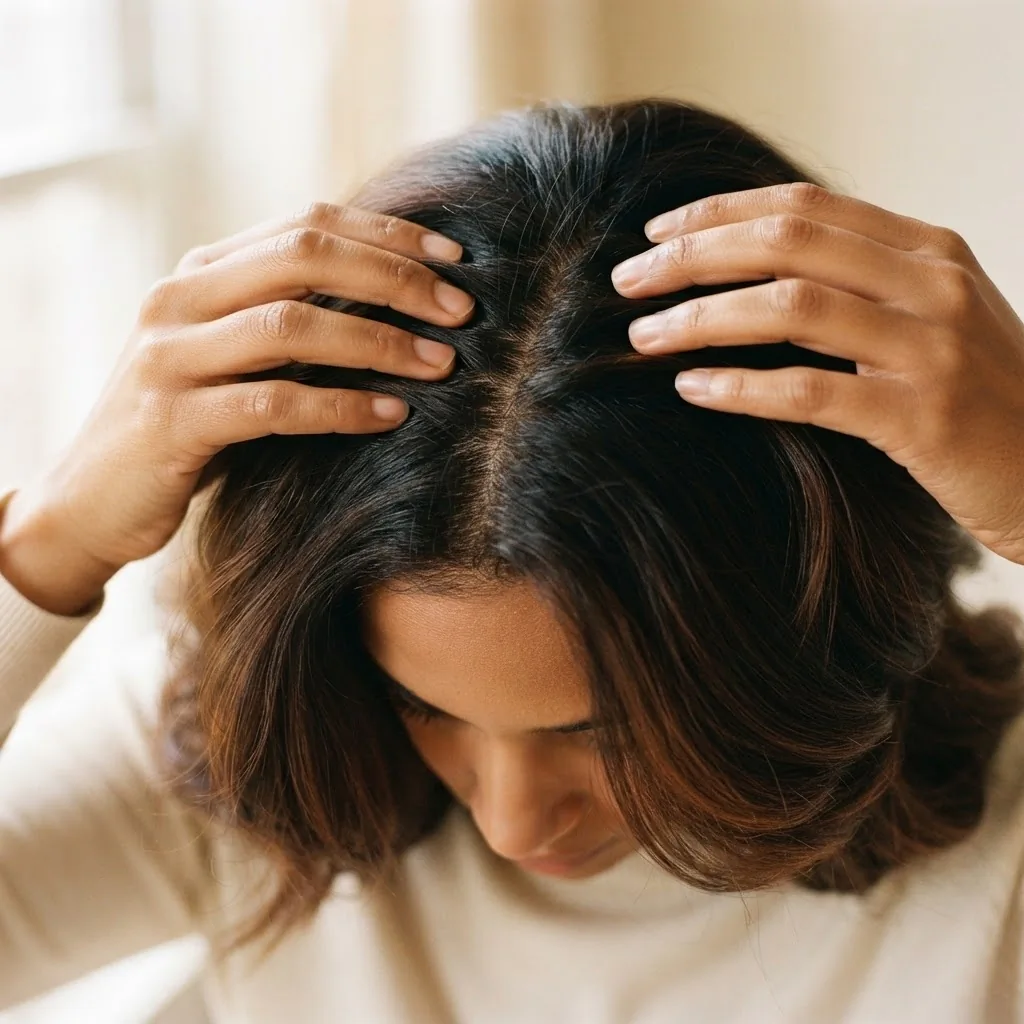
Here’s how to do it correctly. Use the pads of your fingers, not your nails.

Apply firm but gentle pressure in circular motions, working across your entire scalp from the nape of your neck to your temples and the crown. Spend about four minutes total. You can do this on dry hair before you shower, while you’re shampooing, or while a scalp treatment sits on your hair. You can also use a scalp massager tool, which you can find on Amazon for around $7 to $10 and which many people find gives a more consistent pressure than fingers alone.
If you only add one thing to your hair routine from this entire article, make it this. It’s free, it’s relaxing, and it has real evidence behind the thickness claim.
Step 6: Use a Targeted Scalp Treatment or Serum
This is where the “skinification” concept really clicks. Scalp serums and treatments are the equivalent of facial serums: concentrated, targeted formulas applied directly to the scalp to address specific concerns, whether that’s excess oiliness, dryness, slow growth, or thinning.
The ingredients that show the most consistent evidence for scalp health and hair thickness are worth knowing by name so you can shop with confidence.
Rosemary oil is probably the most talked-about natural scalp ingredient right now, and for good reason. A peer-reviewed study comparing rosemary oil to 2% minoxidil (the active ingredient in Rogaine) over six months found similar improvements in hair count at the six-month mark, with rosemary oil causing significantly less scalp itching as a side effect. That’s a notable finding. Rosemary oil is believed to improve circulation at the scalp and may help support the follicle environment. You can use a diluted rosemary oil product directly, or look for it as an ingredient in a scalp serum. Do not apply undiluted essential oil directly to your scalp without diluting it in a carrier oil like jojoba or argan first, as direct application of undiluted essential oils can cause skin irritation or sensitization.
Caffeine has shown the ability to penetrate the scalp topically and has some evidence for counteracting the effects of DHT on follicles in lab and some clinical settings. A review published in PMC found that caffeine as an active cosmetic ingredient has genuine penetration ability and biologically plausible mechanisms relevant to scalp health, though researchers note that more large-scale clinical trials are still needed. Many popular scalp serums and hair growth shampoos include caffeine for this reason.
Niacinamide is excellent for reducing scalp inflammation and supporting barrier function, which creates a healthier environment for hair follicles overall. Peppermint oil has some research suggesting it improves circulation at the scalp. Biotin in topical form has limited clinical evidence for hair growth, but it’s widely used and generally well-tolerated.
For beginners who want a straightforward recommendation: look for a lightweight scalp serum containing rosemary oil, caffeine, or both. Apply it to a clean, dry or slightly damp scalp a few times a week by sectioning your hair and dropping it directly onto the scalp. Massage it in gently with your fingertips. You don’t need to wash it out unless the formula says to.
Budget option: The Ordinary Multi-Peptide Serum for Hair Density (around $25) is one of the most consistently recommended affordable options.
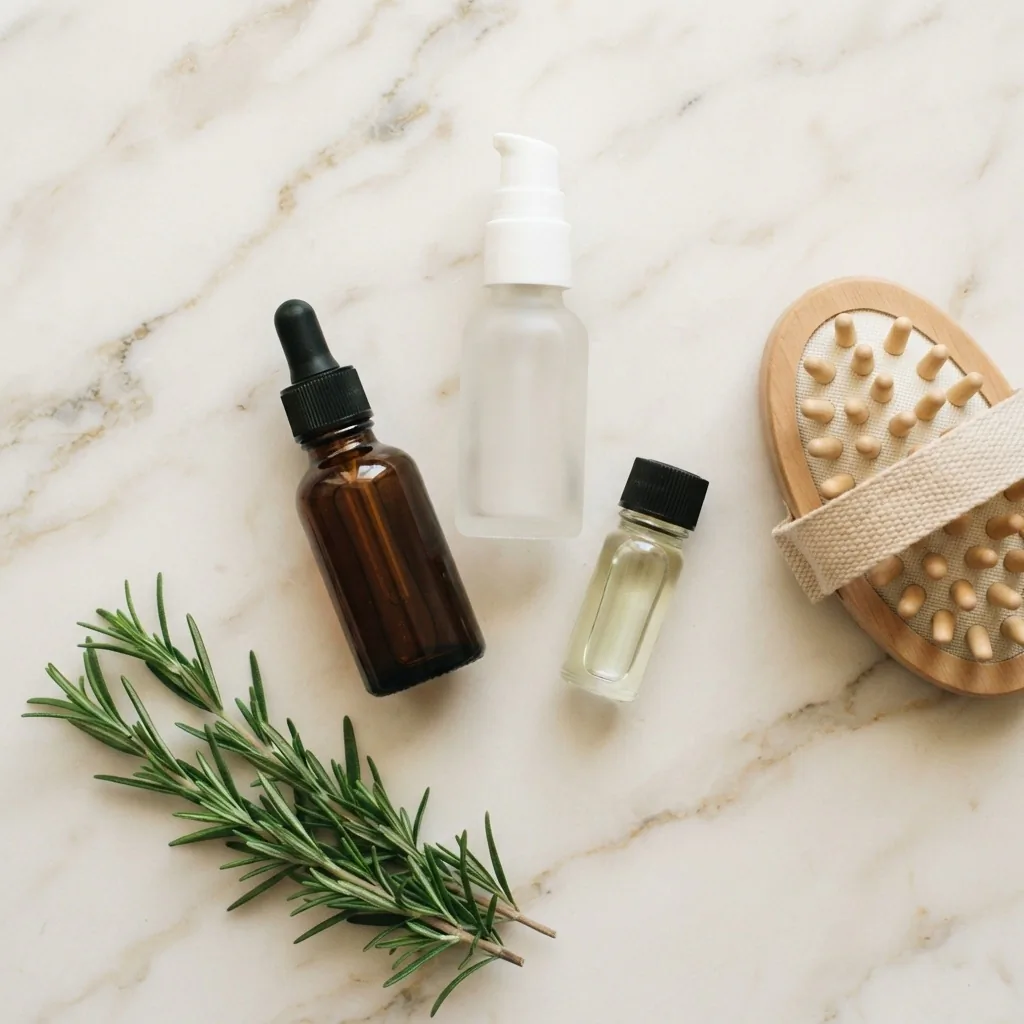
Higher-end picks that reviewers frequently cite include Vegamour GRO Serum and Kérastase Initialiste.
Step 7: Condition Your Lengths, Not Your Scalp
Conditioner is essential for healthy hair, but applying it to your scalp is one of the most common beginner mistakes I see. Conditioner is designed for the mid-lengths and ends of your hair, where your natural scalp oils don’t reach on their own. Putting it on your scalp adds heaviness and can contribute to the exact buildup we just spent two steps clearing away.
After shampooing, squeeze excess water from your hair and apply conditioner from mid-length to the ends. Let it sit for two to three minutes (or longer if you’re using a deep conditioning treatment), then rinse with cool water. Cool water helps seal the hair cuticle, which makes strands look smoother and shinier.
If you have curly or coily hair, you may want to experiment with the “co-wash” method, which uses a cleansing conditioner in place of traditional shampoo on most wash days, supplementing with a clarifying shampoo every one to two weeks. This keeps your scalp clean without the dryness that can come from frequent shampooing on highly porous or textured hair.
Step 8: Protect Your Scalp From Heat and Mechanical Damage
Hot tools don’t just damage your hair strands. Repeatedly applying intense heat close to your scalp can affect the follicle environment and contribute to chronic inflammation over time. The same is true of tight hairstyles worn consistently: according to the American Academy of Dermatology’s guidance on hair care that matters when hair loss is a concern, styles that pull tightly at the root for extended periods can lead to a type of hair loss called traction alopecia, which can cause permanent follicle damage in severe cases.
This doesn’t mean you need to give up your buns or your flat iron. It means being smart about how you use them. Keep heat tools a couple of inches away from your scalp. Alternate tight styles with loose ones. Wear a satin or silk scrunchie instead of a tight elastic.
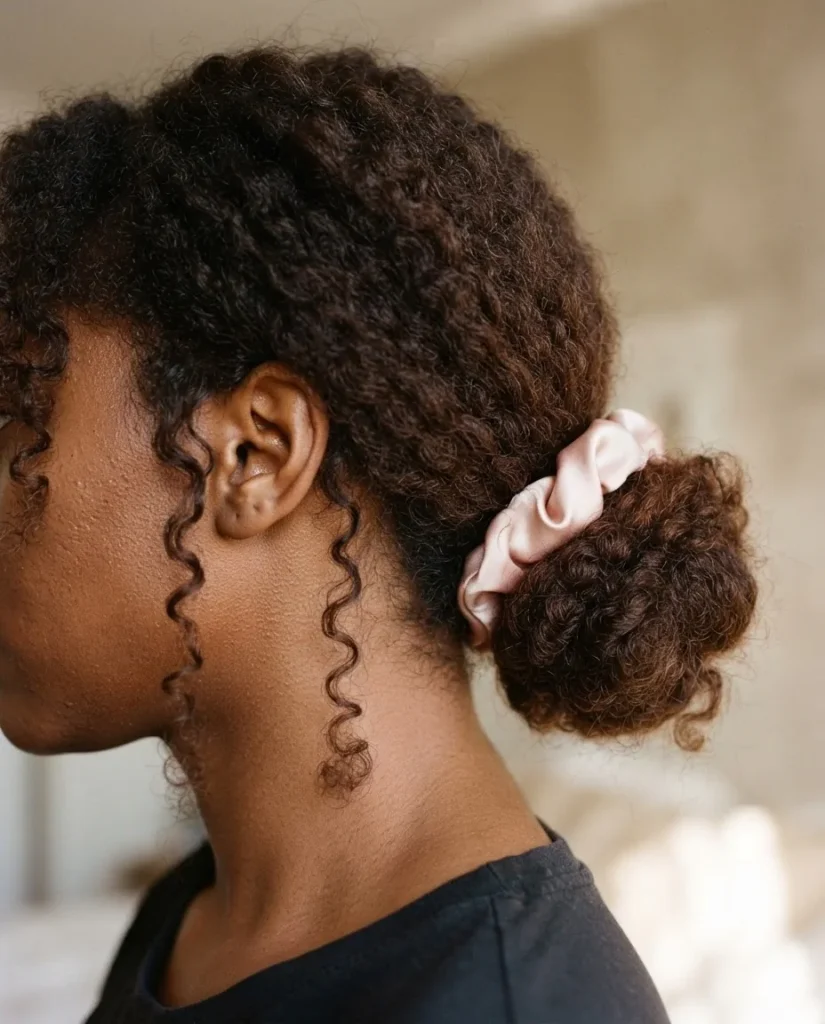
Sleep on a satin pillowcase to reduce the friction and moisture-stripping that cotton pillowcases cause overnight.
These feel like small changes, but they add up in a real way over weeks and months of consistent practice.
Step 9: Build Your Weekly Scalp Care Schedule
One of the biggest reasons beginner routines fail is that people add new steps without a clear schedule, forget which ones they did, and give up by week two.
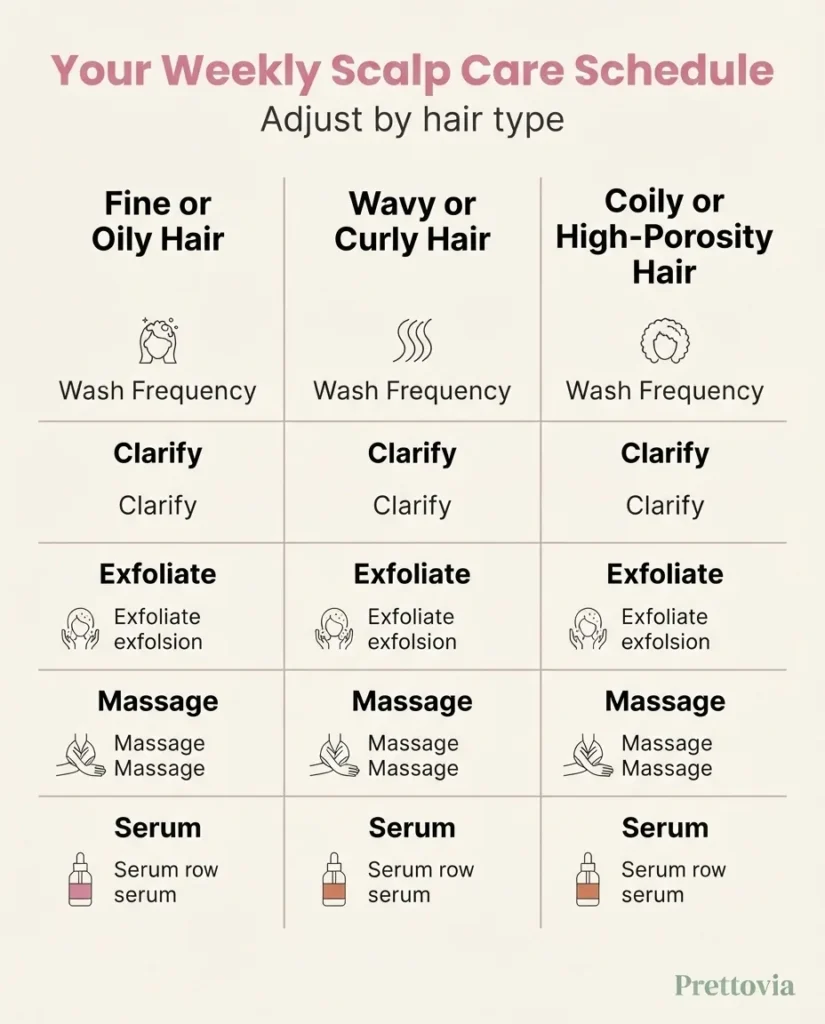
Here’s how a simple scalp care week looks for different hair types so you can see it as an actual plan.
For fine or oily hair: wash every one to two days with a gentle shampoo that’s appropriate for your scalp type. Do a clarifying wash once a week. Add a scalp scrub on the same day as your clarifying wash. Massage your scalp daily for four minutes. Apply scalp serum on non-wash days two to three times per week.
For wavy or curly hair: wash every two to four days. Clarify every one to two weeks. Exfoliate every one to two weeks, adjusting based on sensitivity. Massage daily. Apply serum two to three times per week.
For coily or high-porosity hair: wash once a week or less, alternating between a clarifying wash and a co-wash. Exfoliate every two weeks. Massage daily. Apply serum as needed.
Starting small is always smarter than starting with everything at once. If you’re new to this, begin with just the massage and the clarifying shampoo swap, do that consistently for four weeks, and then layer in exfoliation and a serum. Building habits slowly means you’re actually more likely to stick with it.
Step 10: Know When Your Scalp Needs a Dermatologist, Not a Product
I want to end with this because it matters and too many people ignore it. If you’re dealing with significant hair shedding, persistent itching or burning that doesn’t improve with a gentle routine, large flaky patches, scalp tenderness, or visible bald patches, please see a board-certified dermatologist. There are legitimate scalp conditions including seborrheic dermatitis, psoriasis, scalp folliculitis, and androgenetic alopecia that require a proper diagnosis and treatment plan. No serum or scrub is going to fix those on its own, and guessing wrong can sometimes make things worse.
You can find a board-certified dermatologist near you through the AAD’s find-a-derm tool. It’s free to search and worth every bit of the effort if something on your scalp genuinely isn’t right.
What to Realistically Expect:
I want to be honest with you here because I think too many scalp care posts leave people with unrealistic expectations. Your hair grows approximately half an inch per month on average. A scalp care routine supports the environment that hair grows from, but it doesn’t override genetics, age, or underlying health conditions. What you can realistically expect from a consistent scalp care routine over six to twelve weeks is a cleaner, less irritated scalp, reduced buildup, potentially reduced shedding if buildup or product clogging was contributing to it, and over time (think several months of consistency), some improvement in strand condition and hair fullness.
The scalp massage study I mentioned earlier showed measurable changes after 24 weeks. That’s six months of daily four-minute massages. Results in hair are slow. Consistency is everything. Give your routine time before you judge it.
You’re not going to undo years of neglect in a week, and that’s fine. Every good wash day is a step forward. I promise it adds up.