How to Repair Damaged Hair at Home (Without a Salon Trip)
Let me tell you something I wish someone had told me at 20, standing in a dorm bathroom with a box of dark auburn dye and roughly zero knowledge of hair science: the orange situation that followed was not the end. I did not have to shave it off. I did not have to cry every day for a month (okay, maybe a few days). And most importantly, I did not have to spend a fortune to get my hair back to something I actually loved.
Damaged hair feels personal. It feels like you did something wrong, like you failed some test you did not know you were taking. But here is the truth. Almost every single person I watched in the salon chair during my years as an assistant in Austin had some level of damage, from the woman who had been bleaching her roots every four weeks for a decade to the college student who flat-ironed her hair daily since eighth grade. Damage happens. And most of the time, with the right approach and a bit of patience, you can absolutely do something about it at home.
This is not a list of ten oils to rub in your hair and hope for the best. This is a real, structured guide to understanding what is actually happening to your hair, and then fixing it in the right order, with the right things, for your actual hair type. Let’s get into it.
First: Figure Out What Kind of Damaged You Are
Before you buy a single product or try a single treatment, you need a quick self-assessment. Because “damaged hair” is not one thing. It is a spectrum, and what your hair needs depends almost entirely on what caused the damage in the first place.
Ask yourself which of these sounds most like your situation.
Heat damage shows up as dry, rough texture, frizz that was not there before, and ends that feel straw-like even after conditioning. Your hair may have lost its natural curl pattern if you have waves or coils. This comes from flat irons, curling wands, and blow dryers used too hot, too often, or without heat protection.
Color and chemical damage happens after bleaching, permanent dye, relaxers, or perms. Bleach damage in particular is aggressive because it works by opening and partially dissolving the hair’s internal structure to lift pigment. The result is porous, fragile, stretchy-when-wet strands that break easily.
Mechanical damage is caused by friction and tension: sleeping on rough pillowcases, tight ponytails, aggressive brushing, or rubbing hair with a terry cloth towel. This type often shows up as breakage at the hairline, crown, or anywhere a hair elastic sits regularly.
Dryness and neglect damage is less dramatic but very common: hair that has been consistently under-moisturized, over-washed with harsh shampoos, or exposed to sun, wind, chlorine, and hard water over time. It looks dull, feels rough, and splits easily at the ends.
Most people are dealing with a combination of two or more of these. That is okay. The strategies below address all of them.

The Breakage vs. Shedding Check
One more quick diagnostic before we get into solutions. When you brush or shower, are you losing hair? Look at the strands that come out. Shed hair has a small white bulb at the root end and is the full length of your hair. Breakage does not have that bulb, and the strands are short, sometimes very short, sometimes crinkled or kinked. Shedding 50 to 100 hairs a day is completely normal. Breakage at any significant amount is not normal and is the thing we are addressing here. If you are losing large amounts of hair with the root bulb attached and it is new or sudden, that warrants a conversation with a dermatologist because it may be related to something internal rather than external damage.
Way 1: Stop the Bleeding Before You Try to Heal
The single most important step in repairing damaged hair is not a treatment. It is stopping whatever is causing the damage. I know that sounds obvious, but I watched so many clients in the salon spend good money on repair products while continuing to blow-dry without heat protection on soaking wet hair every morning, and then wonder why nothing improved.
The American Academy of Dermatology’s guidance on stopping hair damage is a great reality check, and I recommend reading it if you want the dermatologist-backed version of what I am about to say. The habits that cause the most damage are: applying heat without protection, washing hair by vigorously rubbing shampoo into the length instead of just the scalp, brushing wet hair aggressively, using a regular cotton towel to scrub hair dry, wearing tight styles every single day, and going to sleep on a rough cotton pillowcase while your hair is still damp.
You do not have to eliminate everything forever. But while you are actively repairing, pulling back on the biggest offenders makes everything else you do work faster and better.
Way 2: Switch to a Gentle, Sulfate-Free Shampoo
Not every shampoo is created equal, and if your hair is already damaged, your shampoo might be quietly making things worse. Sulfates, specifically sodium lauryl sulfate and sodium laureth sulfate, are the surfactants that create that satisfying lather in most drugstore shampoos. They are effective cleansers but they are also strong enough to strip the natural oils that damaged hair desperately needs to hold onto.
Switching to a sulfate-free formula while repairing does not mean your hair will not get clean. It means you are cleansing without stripping the remaining moisture every time you wash. According to GoodRx’s dermatologist-reviewed overview of sulfate-free shampoo benefits, sulfate shampoos may pull significant natural oil from hair, leaving it dry and brittle. For damaged hair, that extra stripping is something you simply cannot afford right now. Good drugstore sulfate-free options are widely available at under $10 to $12, including lines from SheaMoisture, OGX, and Maui Moisture.
While you are updating your wash routine: shampoo the scalp, not the length. Work the lather gently into your roots and let it rinse through the ends. Scrubbing the mid-shaft and ends is one of the most common damage habits nobody talks about.
Way 3: Deep Condition Every Single Week (At Minimum)
Regular conditioner is a quick rinse-off that smooths the surface. Deep conditioner is the real treatment work. A deep conditioning mask sits on the hair for anywhere from 5 to 30 minutes and delivers moisture, slip, and ingredients that can actually penetrate the cuticle rather than just coat it.
For actively damaged hair, most stylists consistently recommend deep conditioning at least once a week. If your damage is significant, twice a week during the first few months of repair is not overkill. You can step back to once weekly as your hair improves.
When choosing a deep conditioner, look for ingredients like panthenol (provitamin B5), aloe vera, shea butter, glycerin, and hydrolyzed proteins. The Healthline breakdown of hair mask ingredients for dry, damaged hair is a solid reference for understanding which ingredients do what. Glycerin and aloe pull moisture into the hair shaft. Panthenol fills gaps in the cuticle. Proteins temporarily strengthen the strand.
One practical note: heat opens the cuticle and helps treatments penetrate more deeply. After applying your mask, put on a cheap plastic shower cap (or an old plastic bag in a pinch) and let the heat from your head do the work. If your bathroom is cold, a warm towel wrapped around the outside adds gentle ambient heat.
Way 4: Understand the Protein vs. Moisture Balance
This is probably the most important concept for beginners to understand, and it is one that almost no listicle ever explains properly. Damaged hair needs both protein and moisture, but not at the same time and not in equal amounts, and the wrong balance can make things actively worse.
Protein fills structural gaps in the hair shaft and temporarily strengthens the strand. Moisture gives the hair elasticity and flexibility. You need both. But here is the catch: too much protein without enough moisture makes hair feel stiff, brittle, and actually prone to snapping. Too much moisture without protein makes hair feel soft but limp, mushy, and stretchy in a way that leads to breakage when manipulated.
A simple way to test where you are: take a single wet strand and stretch it gently. Healthy hair stretches a little and then springs back. Hair that snaps immediately with almost no stretch needs moisture. Hair that stretches and stretches and stretches without springing back (elastic-like) probably needs protein.
If your hair is telling you it needs protein, look for products with hydrolyzed keratin, hydrolyzed wheat protein, or hydrolyzed silk protein in the first few ingredients. Use a protein treatment, wait a few days, then follow up with a deep moisture mask. Do not layer protein on protein.

Way 5: Try a Pre-Wash Oil Treatment
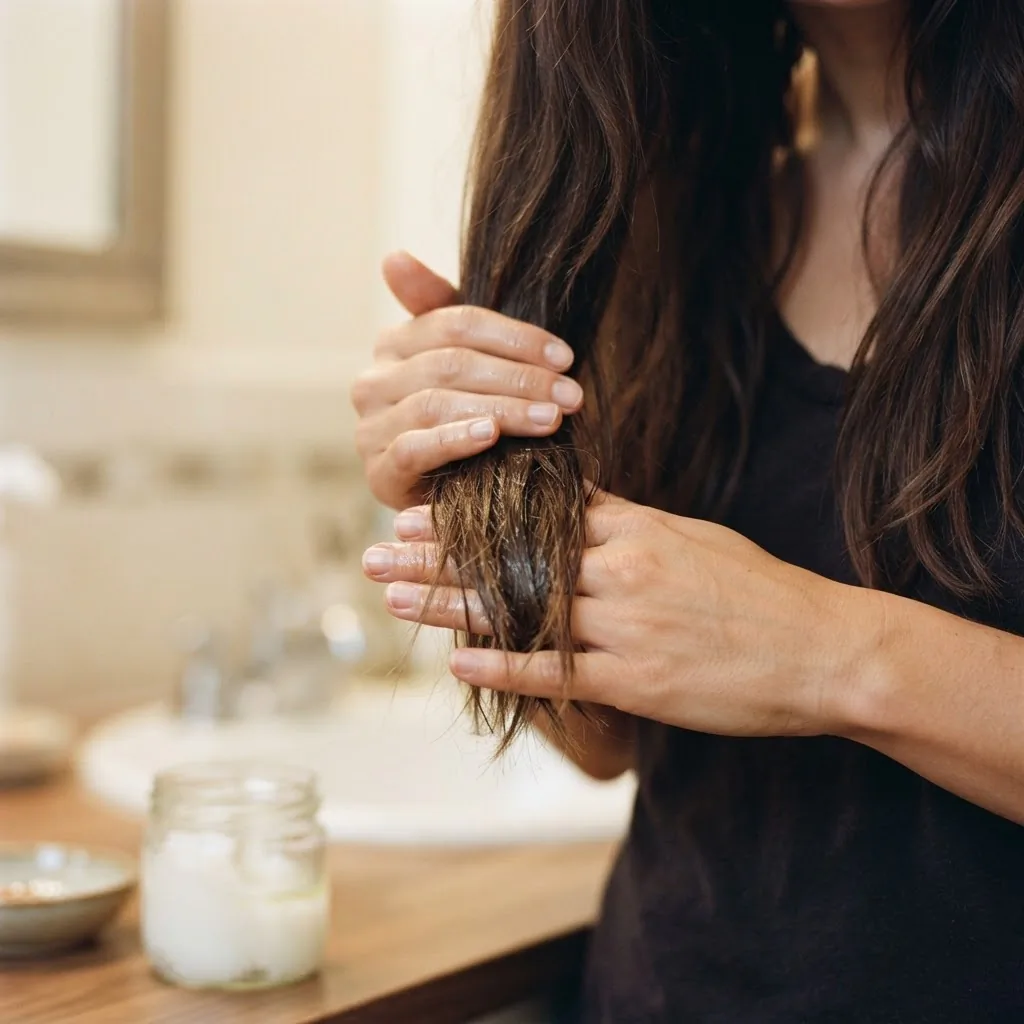
A pre-poo (pre-shampoo) oil treatment is one of the most underrated tools for damaged hair, and it costs almost nothing if you already have a bottle of coconut oil in your kitchen. The idea is simple: you apply oil to dry hair before washing, leave it for at least 30 minutes (overnight is even better), then shampoo and condition as usual.
The reason this works is that shampoo itself, even a gentle one, temporarily swells the hair shaft with water during the wash and can cause something called hygral fatigue in already damaged, high-porosity hair. Coating the hair with oil before washing reduces that water uptake and buffers the swelling. There is solid peer-reviewed science behind coconut oil specifically for this purpose. A study published in the Journal of Cosmetic Science (PMID 12715094) found that coconut oil was the only oil among coconut, sunflower, and mineral oil that significantly reduced protein loss in both damaged and undamaged hair when used both before and after washing. Sunflower oil and mineral oil did not show the same result. This is because coconut oil’s molecular structure is small enough and the right shape to actually penetrate the hair shaft rather than just sitting on the outside.
For coarse or thick hair, you can apply coconut oil quite generously. For fine hair, use a light hand because coconut oil can weigh fine strands down. A few drops of argan oil is a lighter alternative that still provides pre-wash protection without heaviness.
Way 6: Add a Bond Repair Treatment to Your Routine
If your damage is significant (bleach, repeated color treatments, excessive heat over a long period), a standard deep conditioner may not be doing enough on its own. This is where bond repair treatments come in.
Bond repair is a category of haircare products that goes deeper than traditional conditioning. Regular conditioners work on the outside of the hair. Bond repair treatments, at their best, work on the internal disulfide bonds inside the hair cortex that get broken during chemical and heat processing. The K18 science team explains this well in their breakdown of different types of hair damage and what happens at the molecular level: excessive heat erodes the cuticle layer and leaves the inner cortex vulnerable, while chemical damage breaks the actual structural bonds within the cortex itself.
The two names you will see most in this category are Olaplex and K18. Olaplex No. 3 Hair Perfector (around $30) is an at-home treatment you apply before shampooing and leave on for at least 10 minutes.
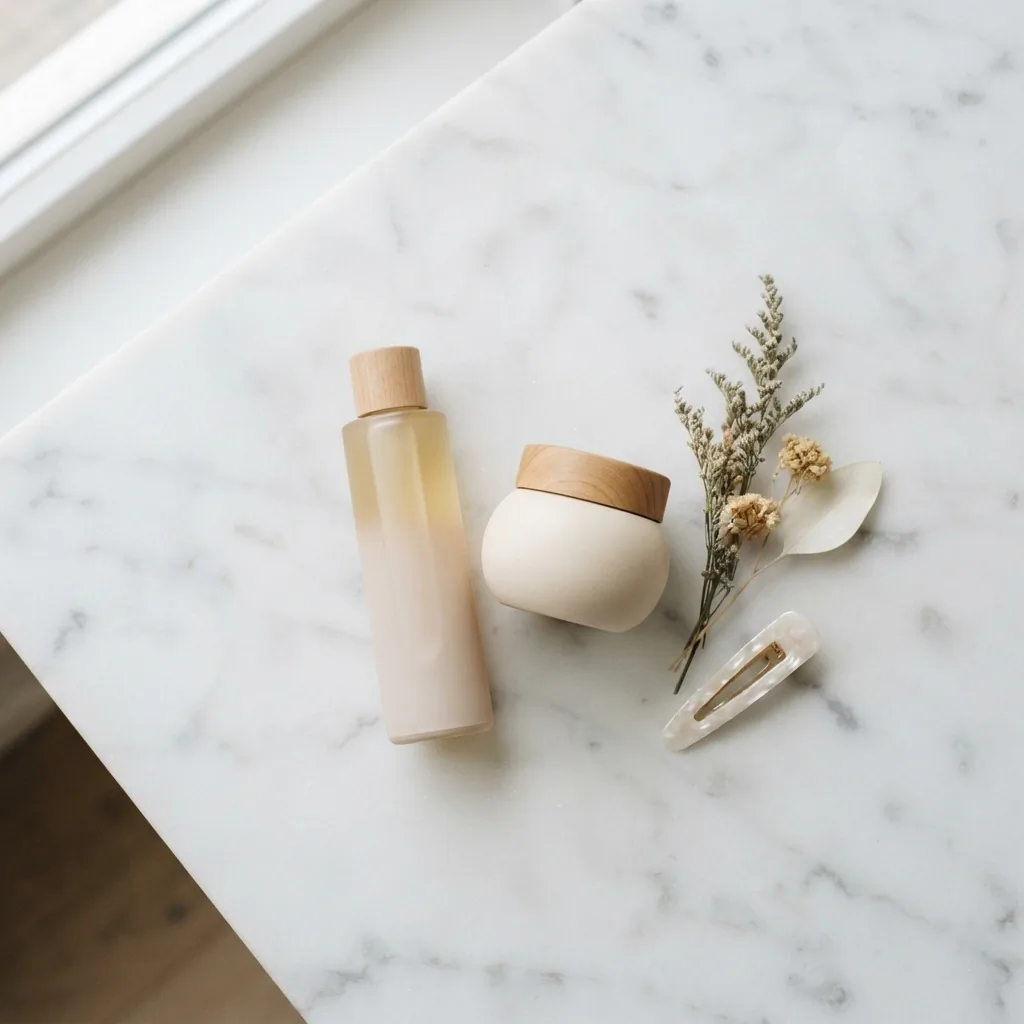
It targets and reconnects broken disulfide bonds. K18 Leave-In Molecular Repair Hair Mask (around $75 for the larger size) uses a biotech-developed peptide and is applied after shampooing as a leave-in. Both have strong followings and work by different mechanisms.
If the Olaplex or K18 price point is too much right now, the Redken Acidic Bonding Concentrate line is a consistently well-regarded mid-range option, and the Pantene Pro-V Miracles Miracle Bond Repair Conditioner at around $10 is a budget-friendly entry point that reviewers frequently mention as a solid starting place. It will not perform identically to the premium options, but it is genuinely better than doing nothing while you save up.
Way 7: Use a Heat Protectant Every Single Time, No Exceptions
I have to be honest with you about heat protectants. They do not make heat harmless. They do not make 450 degrees safe. What they do is create a barrier that slightly reduces the speed at which heat penetrates the hair shaft, lowers surface friction, and in some formulas adds a coating that absorbs some of the thermal shock. On already-damaged hair, that margin matters.
The AAD’s guidance on styling without damage recommends using the lowest heat setting that still achieves your style and allowing hair to partially air dry before applying any hot tool. Both of those habits combined with a heat protectant do meaningfully reduce the ongoing damage to hair that is already compromised.
A peer-reviewed study published in PMC/NIH (PMC12308778) specifically on heat-damaged hair models confirmed that heat exposure damages cuticle scales directly, and that even moderate temperatures produce structural changes. This is not to scare you out of ever using your flat iron again. It is to reinforce why the protectant step is non-negotiable when your hair is in repair mode.
Drugstore heat protectants that stylists and reviewers consistently recommend include Tresemmé Thermal Creations Heat Tamer, Chi 44 Iron Guard, and the Got2b Guardian Angel spray. If your hair is fine, go for a lightweight spray. If it is thick or coarse, a cream-based protectant often gives better coverage.
Way 8: Put Down the Terry Cloth Towel
This one costs almost nothing to fix and makes a noticeable difference. Standard bath towels have a rough looped texture that catches on hair cuticles and creates friction. When your hair is wet, the cuticle is swollen, open, and at its most vulnerable. Rubbing it with a terry cloth towel causes direct mechanical damage and frizz.
Switch to a microfiber hair towel (usually around $10 to $15 at most drugstores) or an old clean t-shirt. Instead of rubbing, blot or scrunch the hair in the direction of growth. That single swap reduces breakage and frizz, and it speeds up drying time too, which means less time under the blow dryer if you use one.
Way 9: Detangle the Right Way
The way you detangle damaged hair matters more than most people realize. Damaged hair is fragile and the cuticle is already compromised, so forcing a brush through dry, knotted hair snaps strands that were genuinely holding on.
The right approach: detangle on damp hair, not soaking wet and not bone dry. Apply a leave-in conditioner or detangling spray first to add slip. Use a wide-tooth comb or a wet brush, not a paddle brush or a fine-tooth comb. Start at the ends and work your way up in small sections, holding the hair above where you are combing to prevent pulling on the root.
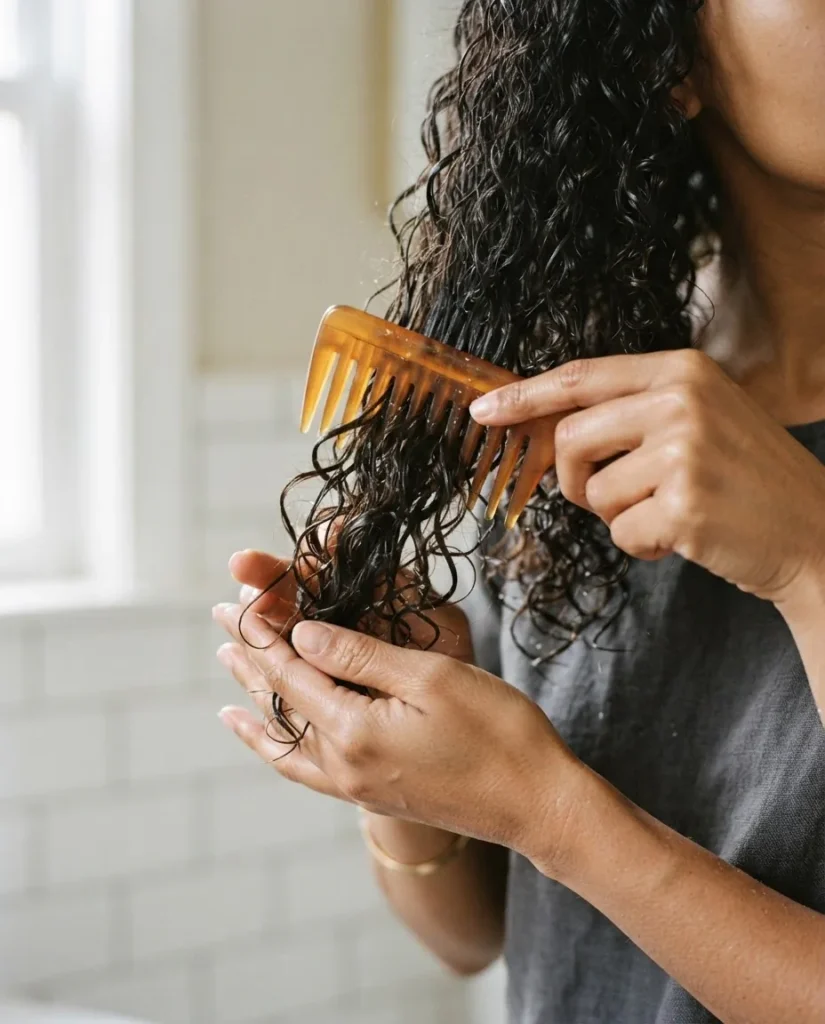
This bottom-up approach is something every stylist learns early and it genuinely reduces breakage significantly compared to starting at the scalp and dragging down.
Way 10: End Every Wash with a Cool Water Rinse
This one is free. After you finish rinsing out your conditioner, blast your hair with the coolest water temperature you can tolerate for 20 to 30 seconds. The cool water helps flatten the cuticle back down after it has been opened by warm water and the conditioning process. A flatter cuticle reflects light better (shinier hair), locks in the moisture from your conditioner, and creates a smoother surface that is less prone to snagging and breakage.
Is it the most dramatic step on this list? No. But it takes five seconds and it costs nothing, and those small free habits compound over time when your hair is in recovery mode.
Way 11: Get a Trim (Even When It Hurts to Think About)
Trimming your hair does not repair the strands that are already on your head. I want to be clear about that because a lot of beginners think a trim is a cure. It is not. But it does two very important things: it removes the split ends and breakage points that, if left alone, travel up the hair shaft and cause more damage higher on the strand, and it removes the most visibly damaged, straw-like length so the hair you are actively caring for can shine.
You do not need a dramatic chop. A half-inch to an inch trim every 8 to 10 weeks while you are in repair mode is usually enough to stay ahead of the split ends without sacrificing all the length you are growing. If your ends are visibly fried from bleach or severe heat damage, a more significant cut is worth considering. And I say that as someone who cried a little in a salon chair in Austin watching two inches of post-box-dye ends hit the floor. It grew back. It always does.
Way 12: Sleep on Silk or Satin
Cotton pillowcases absorb moisture from your hair while you sleep and create friction as you move around. For damaged hair that is already struggling to hold onto moisture and already prone to breakage, eight hours of cotton friction every night undoes a meaningful amount of your day’s care work.
A satin pillowcase costs anywhere from $8 to $20 at most stores or on Amazon. A silk pillowcase is more expensive (usually $30 to $60) but more durable and slightly better at moisture retention. Either is a significant upgrade over cotton for damaged hair. If you do not want to change your whole pillowcase situation, a satin bonnet or satin-lined sleep cap achieves the same result.
Way 13: Be Careful with DIY Kitchen Masks
I know every hair article on the internet includes a section about egg masks and mayonnaise and avocado, and I am not going to pretend those ingredients are completely useless. But I want to give you an honest take because I have seen a lot of beginners make things worse with DIY.
Egg yolk contains protein and can temporarily strengthen strands. Coconut oil as discussed above has real science behind it. Honey is a humectant that draws moisture in. These things can be genuinely helpful in the right context.
The problem is that most DIY masks are unpredictable in concentration and can lead to protein overload (eggs), excessive greasiness (too much oil on fine hair), or pH disruption (apple cider vinegar used too frequently or too concentrated). If you want to try a DIY approach, keep it simple: a coconut oil pre-wash is one of the safest and most evidence-backed options. Beyond that, a quality store-bought deep conditioner with clearly listed ingredients is generally more predictable and reliable than a kitchen experiment.
Way 14: Know When to Adjust for Your Hair Type
Everything above is a good foundation, but hair type genuinely changes what you need and how often.
If your hair is fine and straight, you will need lighter products (lightweight leave-ins, spray heat protectants, lighter oils like argan over coconut) and you should be cautious about over-conditioning, which can make fine hair limp and flat. Bond repair treatments are still relevant but use them in smaller amounts.
If your hair is curly or coily (type 2, 3, or 4), moisture is generally your most pressing need because the curl pattern makes it harder for natural scalp oils to travel down the hair shaft. Deep condition more frequently, use richer products without hesitation, and the LOC or LCO method (Liquid, Oil or Cream layering technique) can be a good framework for locking in moisture between wash days.
If your hair has been bleached or color-treated, bond repair is particularly relevant for you because chemical damage goes deeper than surface dryness. Protein treatments followed by deep moisture conditioning is the combination most stylists consistently recommend for bleach recovery.
If your hair has been chemically relaxed, it is in a permanently altered state and has specific needs around maintaining moisture and avoiding further mechanical stress. This is an area where consulting a stylist who specializes in textured, relaxed, or natural hair transitions is genuinely worth it, because the product and technique choices are more nuanced than a general guide can fully cover.
Way 15: Set a Realistic Timeline and Stay Consistent
Here is the honest version that nobody wants to hear but everybody needs: you cannot repair hair overnight. I know some products promise visible results in four minutes (K18 does, and in some ways it delivers on that at the surface level), but deep, structural repair of significantly damaged hair takes months of consistent care.
Hair grows roughly half an inch per month. If your damage runs through the length of your hair, some of the most damaged sections will not be fully replaced for a year or more, which is why the trim strategy matters alongside the treatment strategy. What you will notice first, usually within two to four weeks of a consistent routine, is that your hair feels softer, has less frizz, detangles more easily, and breaks less. That is real progress, even if it does not look dramatic yet.
Consistency is the entire game. A great deep conditioning session once in a while will not do what a simple, consistent weekly routine does over six months. You do not need expensive products. You need patience and a plan you can actually stick to.
The Short Version: What to Do First
If you are overwhelmed and just need a starting point, here is the minimum effective routine for someone beginning their repair journey. Start with a sulfate-free shampoo and a weekly deep conditioner. Add a microfiber towel and a wide-tooth comb. Do one pre-wash coconut oil treatment this week. Never skip heat protectant if you use heat. Sleep on something satin or silk.
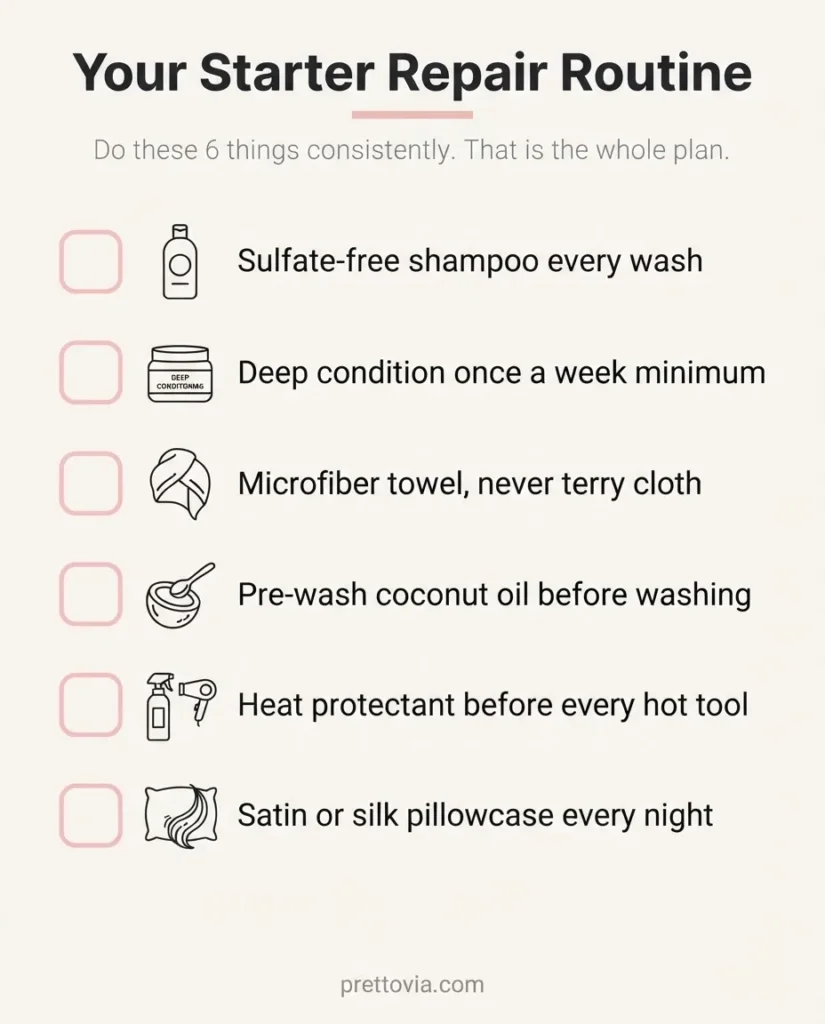
Trim in four to six weeks if your ends are visibly split.
That is it. Do those things consistently and you will see your hair respond. As your hair improves, you can layer in bond repair treatments and more targeted protein or moisture work. But you do not need everything at once. Start simple, stay consistent, and give it time.
You can do this. I genuinely believe that. Because I have watched it happen over and over again, in salons and in my own bathroom mirror.