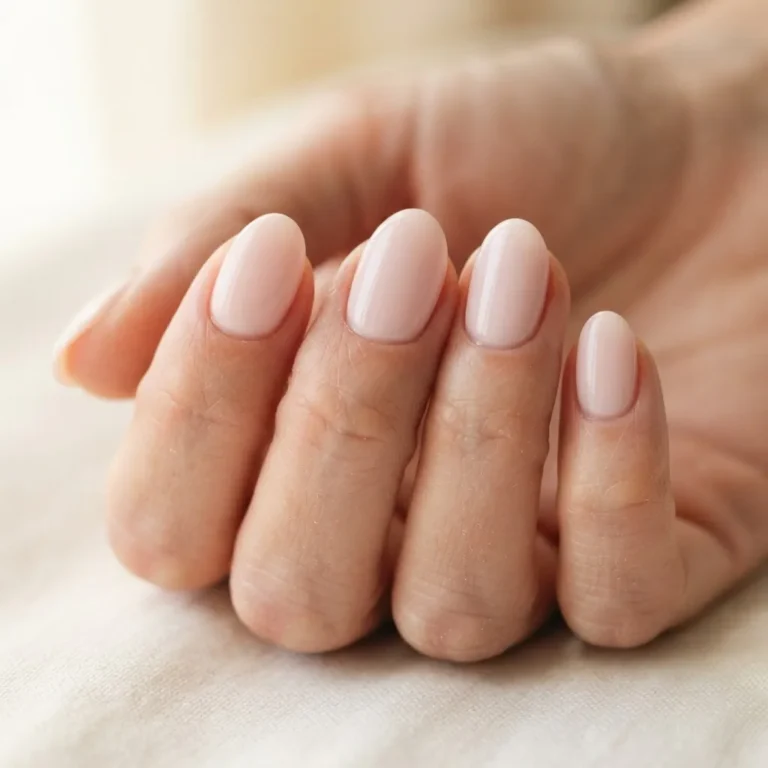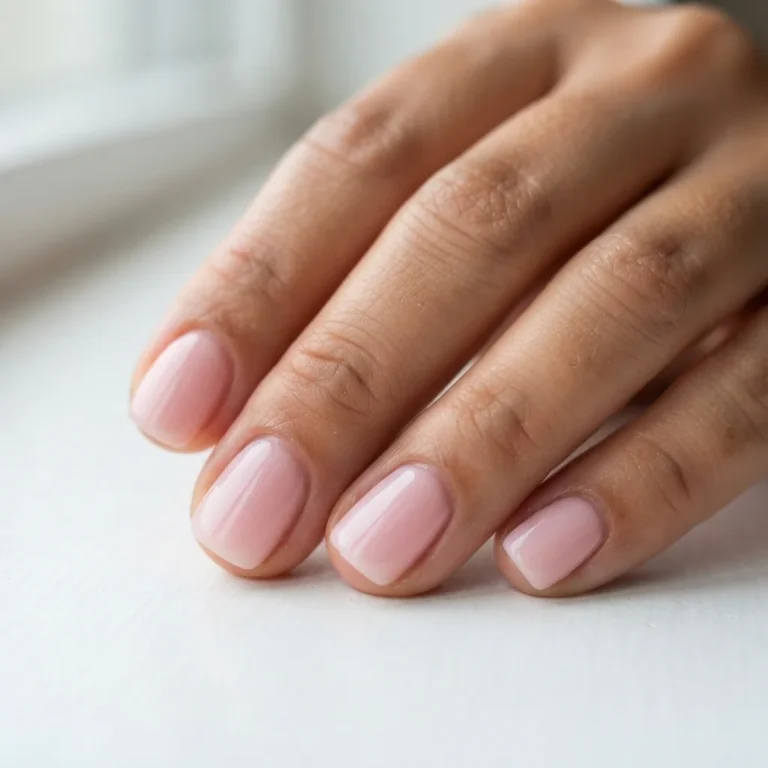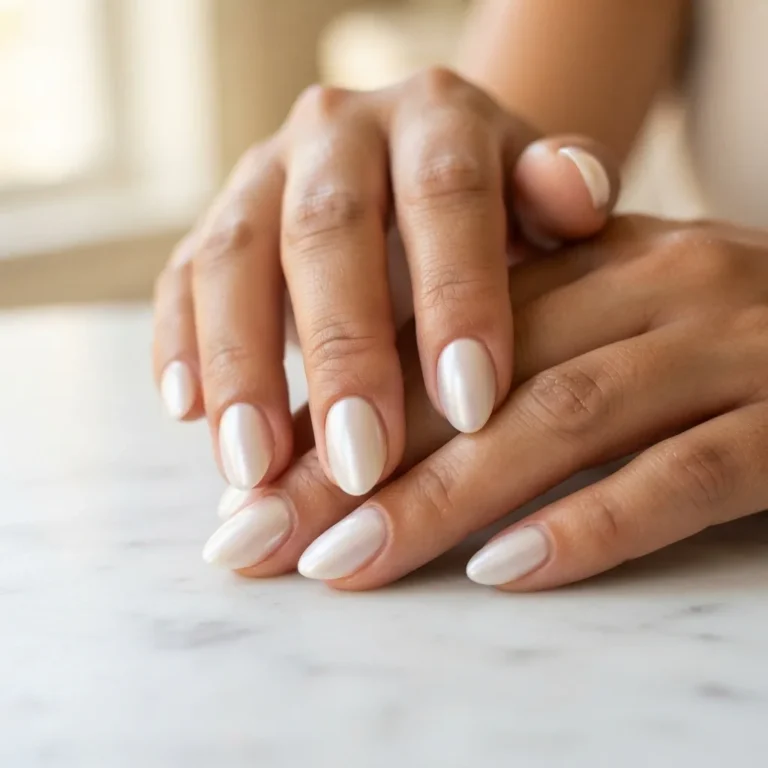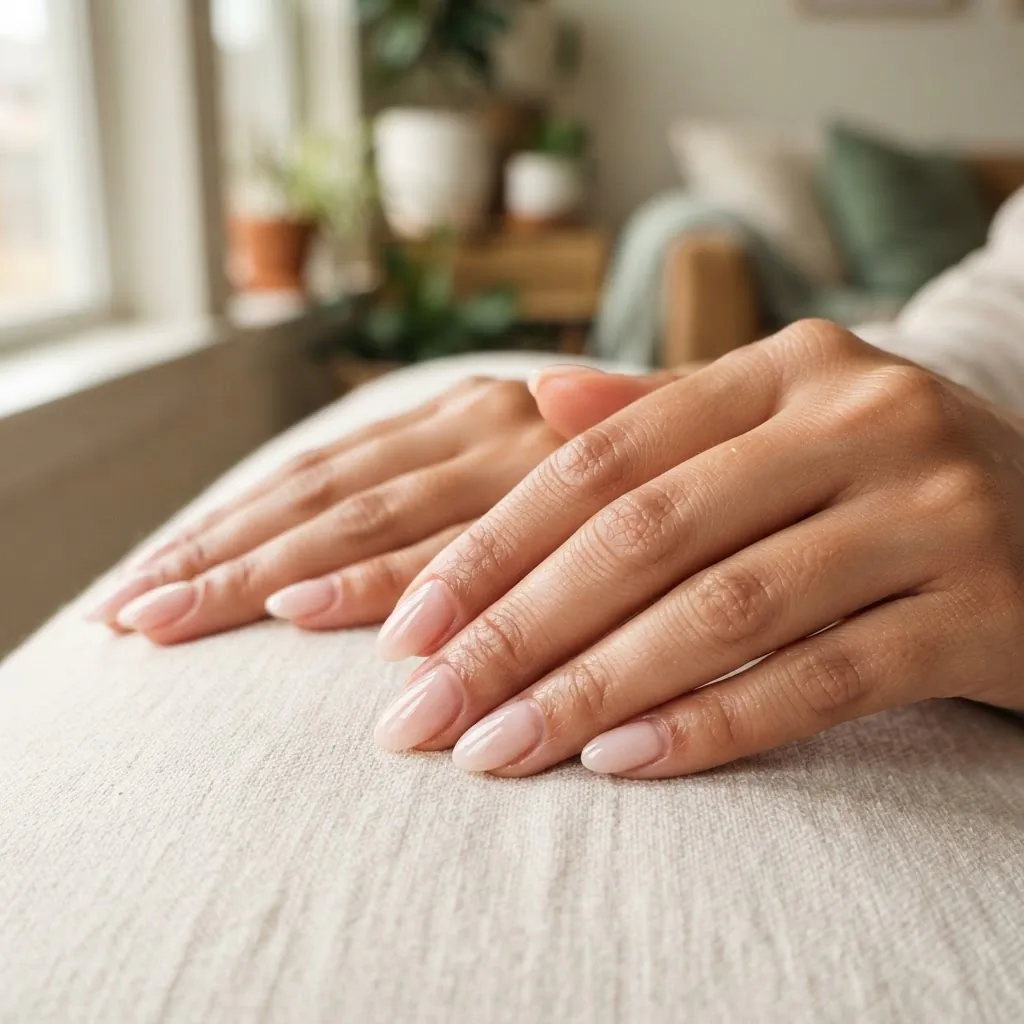
Polygel Nails at Home: A Beginner’s Step-by-Step Guide
I still remember the first time I saw a polygel set in real life. A coworker walked in with these perfect, natural-looking almond nails that somehow looked both strong and effortless. When I asked her what they were, she said “polygel” like it was the most obvious thing in the world. I went home, looked it up, convinced myself it was too complicated for a home setting, and then spent the next three months doing exactly that: learning it at home, one wobbly attempt at a time.
Here is the thing nobody tells you upfront. Polygel is genuinely one of the more beginner-friendly nail enhancement systems out there. It does not air-dry mid-application the way acrylic does, which means you have actual time to shape and adjust before you commit. It is lighter and more flexible than acrylic. And once you understand what each step is actually doing, and why, the whole process starts to feel a lot less intimidating and a lot more like something you can actually do on a Sunday afternoon in your kitchen.
This guide is everything I wish someone had handed me when I started. No fluff, no pretending it is instant, just real, honest steps with the context to back them up.
What Is Polygel, and Why Should You Care?
Polygel is a hybrid nail enhancement system. It sits between acrylic and hard gel: it has the strength and structure of acrylic, but it behaves more like a putty or clay during application, which makes it far more forgiving for beginners. Unlike acrylic, it does not start curing until you put it under an LED or UV lamp, so you are not racing against the clock. Unlike regular gel polish, it builds real structure and length. You can use it to add length with dual forms or nail tips, or you can apply it as an overlay directly on your natural nail for extra strength without added length.
If you have been curious about nail enhancements but felt like acrylic was too advanced and regular gel polish did not give you enough structure, polygel is the sweet spot you have been looking for. As Nails Magazine notes in their overview of polygel systems, polygel is more flexible than acrylic, stronger than hard gel, and lighter than both. That combination is exactly why it became such a hit in the at-home nail community.
What You Actually Need: The Honest Supply List
One of the things I love about polygel is that the starter supply list is actually manageable. You do not need a full salon setup. Here is what you genuinely need versus what is just nice to have.
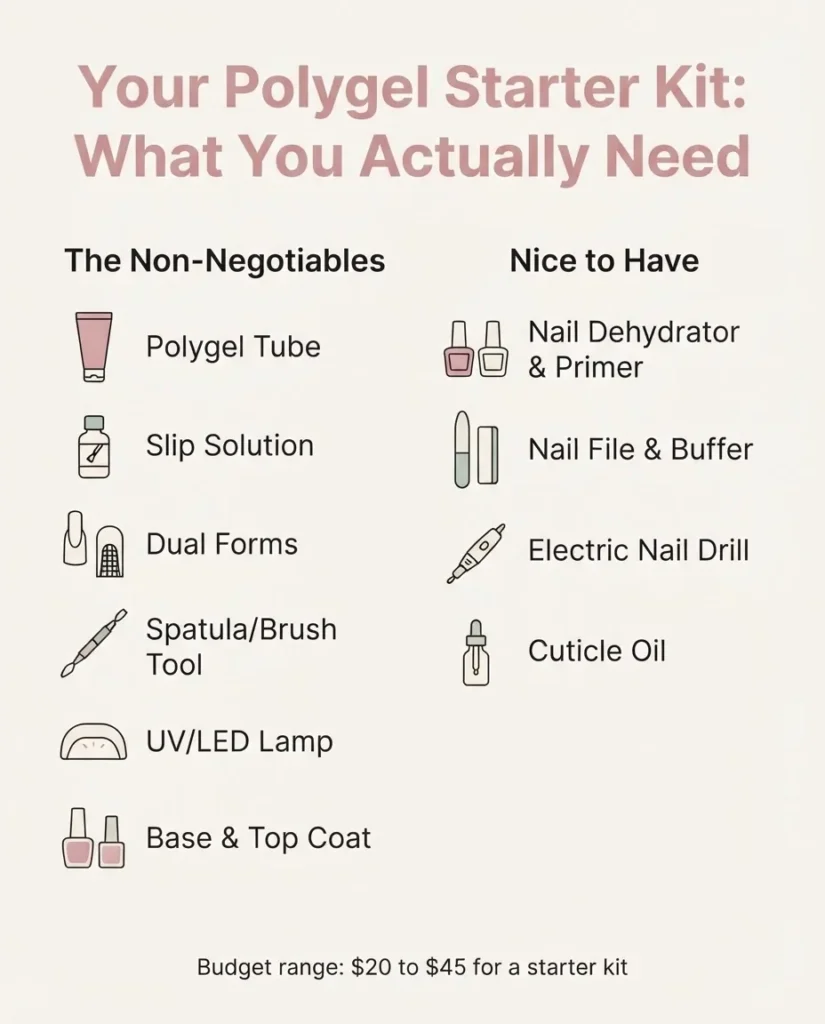
The non-negotiables are a polygel kit (which typically includes tubes of polygel in your chosen colors or a clear/cover pink), a slip solution or 70% or higher isopropyl alcohol, a dual forms set or a set of nail tips, a brush and spatula tool (most kits include this), an LED or UV lamp (I recommend at least 36 watts for polygel, more on why in a moment), a nail file in a 100/180 grit, a buffer, a nail dehydrator and primer, a base coat, and a gel top coat.
The nice-to-haves are a cuticle pusher, cuticle oil for after the appointment, a small dish for your slip solution, and an e-file if you want to get faster at shaping. You do not need a drill to start. Hand filing works, it just takes a little more time.
On price, beginner kits on Amazon and at retailers like Walmart generally run $20 to $45 and typically include the polygel, dual forms, slip solution, and a basic lamp. If the kit price seems too good to be true at under $15, the lamp wattage is usually the problem. A lamp that is too weak is one of the top causes of undercuring, which I will talk about in a minute.
Before You Touch the Polygel: Nail Prep Is Everything
I am going to say something a little dramatic: nail prep is more important than your technique. You can apply polygel beautifully and it will still lift off within a day or two if your nails were not prepped properly. This is the step beginners rush, and it is the step that determines whether your set lasts two weeks or two days.
Start by removing any old polish completely. Then push your cuticles back gently with a cuticle pusher, not a cuticle nipper. You are not cutting anything off, you are just moving that soft skin up off the nail plate. Why does this matter? Because gel, polygel, and any enhancement sticks to nail protein. If there is any skin sitting on the nail surface, it will lift and take your polygel with it. The American Academy of Dermatology’s tips for healthy nails specifically recommend gentle cuticle care without cutting the cuticle, and for good reason since cutting it can open the door to infection.
Next, lightly buff the shine off your natural nail with your buffer. You are not aggressively filing the nail down, you are just creating a very light texture for the polygel to grip. This is called “breaking the shine.” Buff gently. A few passes is all it takes. Over-buffing is how people thin their nails, so keep it light.
After buffing, brush off any dust, then apply your nail dehydrator and let it dry. Follow with your primer. These two steps are not optional glamour steps: the dehydrator removes oil and moisture from the nail surface, and the primer creates a chemical bond between your natural nail and the polygel.
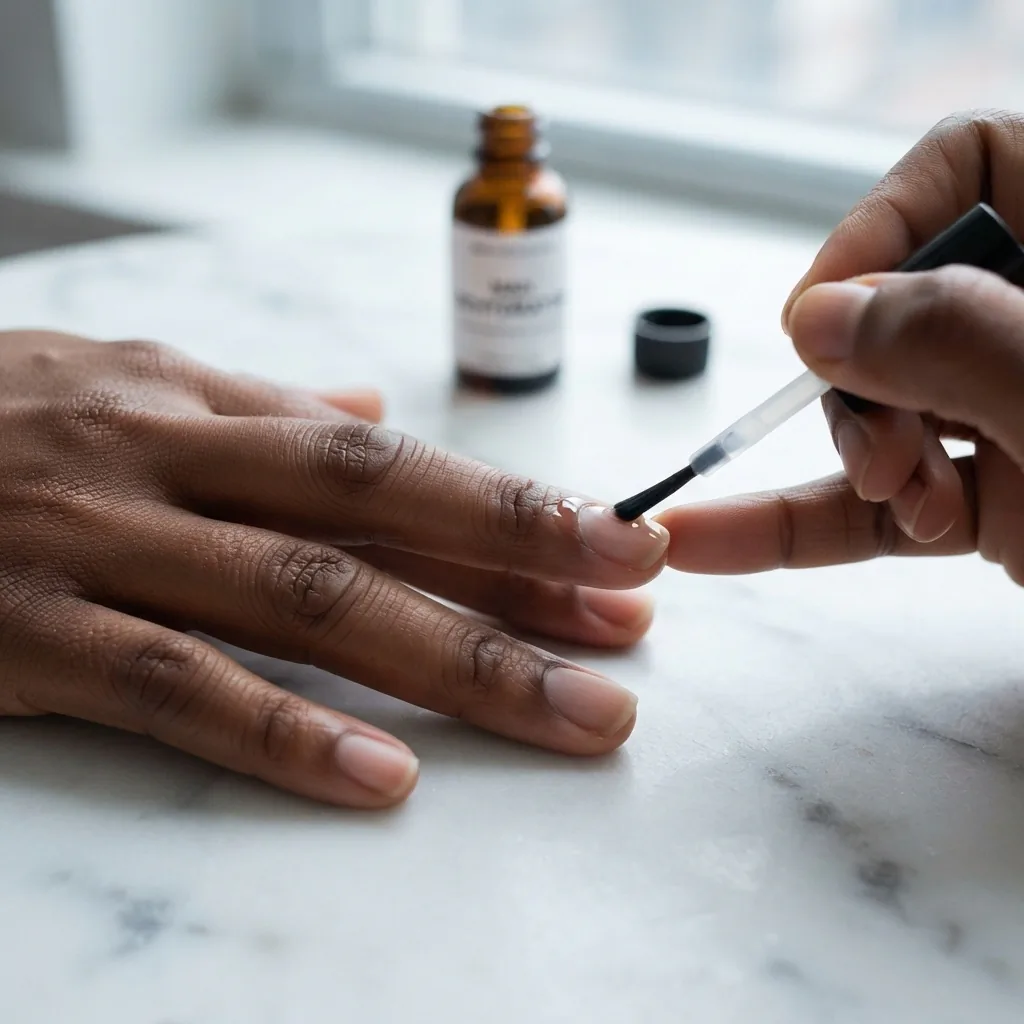
Skip them and your set will lift. Apply both sparingly, avoiding the skin around the nail, and let each fully dry before moving on.
Finally, apply a thin base coat and cure it in your lamp for the time specified by your brand, typically around 30 to 60 seconds in a good LED lamp.
Choosing and Sizing Your Dual Forms
Dual forms are the clear, curved plastic pieces that act as a mold for your polygel. They come in numbered sets and you are going to need to size each nail individually, which takes a bit of patience the first time but gets faster. The form should fit from edge to edge of your nail plate without overlapping your skin on the sides.

If it is too wide, it will flood the skin and cause lifting. If it is too narrow, your nail will look pinched. Size up if you are between two options.
For short nails or very bitten nails, dual forms can still work. The community consensus, backed by a fair amount of trial and error you can find on forums, is to choose forms that are slightly smaller than you might expect and keep the polygel build on the thinner side. Some people with very short nail beds find it easier to glue a short nail tip first and then apply polygel over it for more surface area. Either way, very short nails can absolutely do polygel. It just takes a little adjustment in approach.
The Application: Step by Step
Now for the fun part. Pick up a small pea-sized amount of polygel with your brush or spatula, place it into the center of the sized dual form, and spread it into a thin, even layer using your brush dipped in slip solution. The slip solution is what stops the polygel from sticking to your brush. This is why brushing dry into polygel does not work: you need that slip. The polygel should be thin at the edges near the cuticle and tip area and slightly thicker in the middle of the nail, which is called the “stress point” and is where most of the structural strength needs to be.
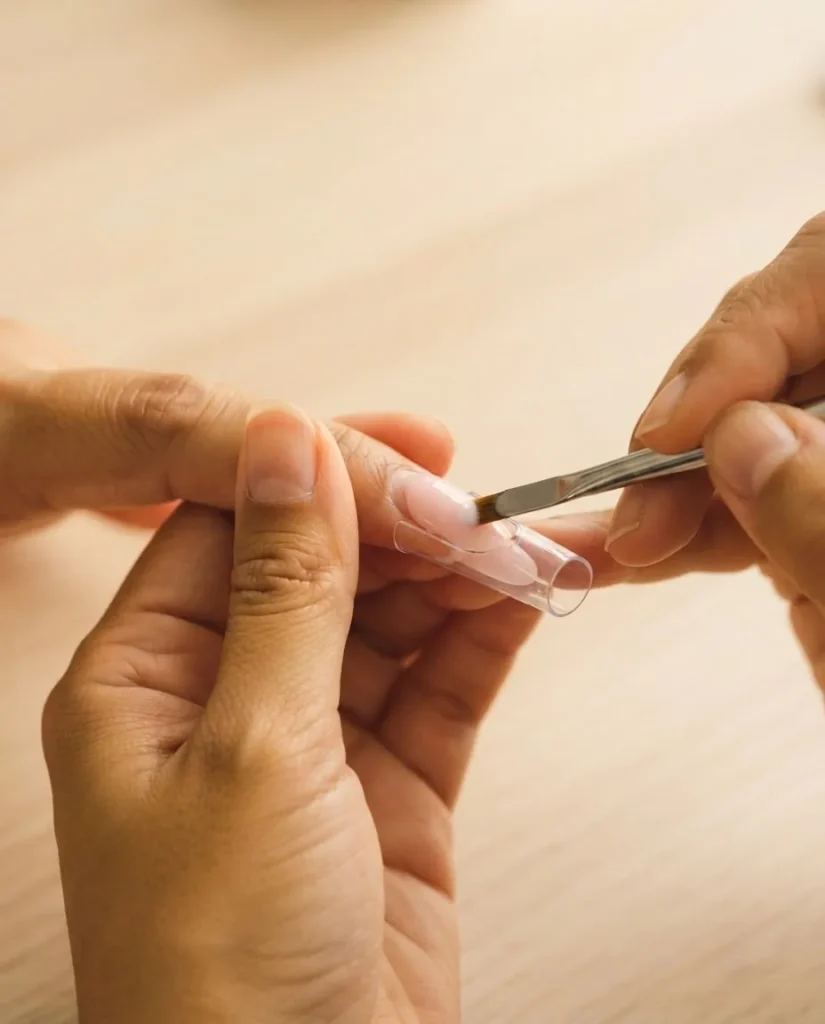
Press the loaded dual form firmly onto your prepped nail, starting from the cuticle end and rolling gently toward the tip. Hold it steady and make sure there are no air bubbles trapped underneath. Check the sides to make sure you have not flooded the skin. If you have a little polygel touching your skin, wipe it away with your brush and slip solution before you cure. Product on the skin is one of the fastest routes to lifting, and according to a 2024 peer-reviewed literature review published on NIH’s PubMed Central, accidental skin application of uncured acrylate products is also a known pathway to developing contact dermatitis. Keep the product on the nail plate only.
Once you are happy with the placement, cure the nail under your lamp. Follow your specific product’s instructions, but a general guideline is 60 seconds per nail in a 36W or higher LED lamp. Do not rush this step. Undercuring is one of the most common beginner mistakes and one of the most consequential. Undercured polygel stays gummy, which means uncured monomers remain on and around your nail, and that increases sensitization risk. After curing, gently wiggle the dual form off. The nail should be hard. If it feels soft or bendy, it needs more time under the lamp.
Why Your LED Lamp Wattage Actually Matters
This is something most beginner guides skip entirely, and I think it is one of the most important things to understand. LED lamps are not all equal. A low-wattage lamp (under 24W) that comes bundled in a very cheap kit may not cure polygel fully in the recommended time, especially with thicker or darker-colored polygels. A study published in the journal Skin Research and Technology and available via NIH’s PubMed Central examined UV nail lamp irradiance on human cells and found significant variability in output between lamps.
The practical takeaway for you as a home user: if your polygel comes out gummy even after curing for the full recommended time, your lamp may be underpowered. Upgrading to a 36W to 48W LED lamp (readily available for $20 to $40) is often the single fix that transforms someone’s results. And if you are wondering about the safety of UV/LED lamp use on your skin, the FDA classifies nail curing lamps as low risk when used as directed. Applying a broad-spectrum SPF to your hands before your session, or using UV-protective fingerless gloves, is a simple extra precaution that is worth doing if you do frequent sets.
Filing, Shaping, and Finishing
Once your dual forms are off, you will have the basic shape of your nail but it will need refining. The surface may feel slightly tacky (a normal inhibition layer from the gel top coat you have not applied yet) or slightly rough at the edges. This is where your file comes in.
Use your 100 grit file to shape the tip into your desired shape, coffin, almond, square, oval, whatever you are going for. Then use your 180 grit file to smooth out any uneven spots on the surface. Keep your file moving, do not press hard in one spot or you can create a dip. Dust everything off.
Apply a thin gel top coat over the entire nail surface, capping the tip by swiping the brush along the edge of the nail. This cap at the tip is something a lot of beginners miss, and it is why top coats chip or peel from the edge first. Cure the top coat for the time your brand recommends, typically 60 seconds. Wipe off any sticky residue with a lint-free wipe and your slip solution or cleanser, and finish with cuticle oil. Your nails are done.
Why Your Polygel Might Be Lifting (Troubleshooting for Beginners)
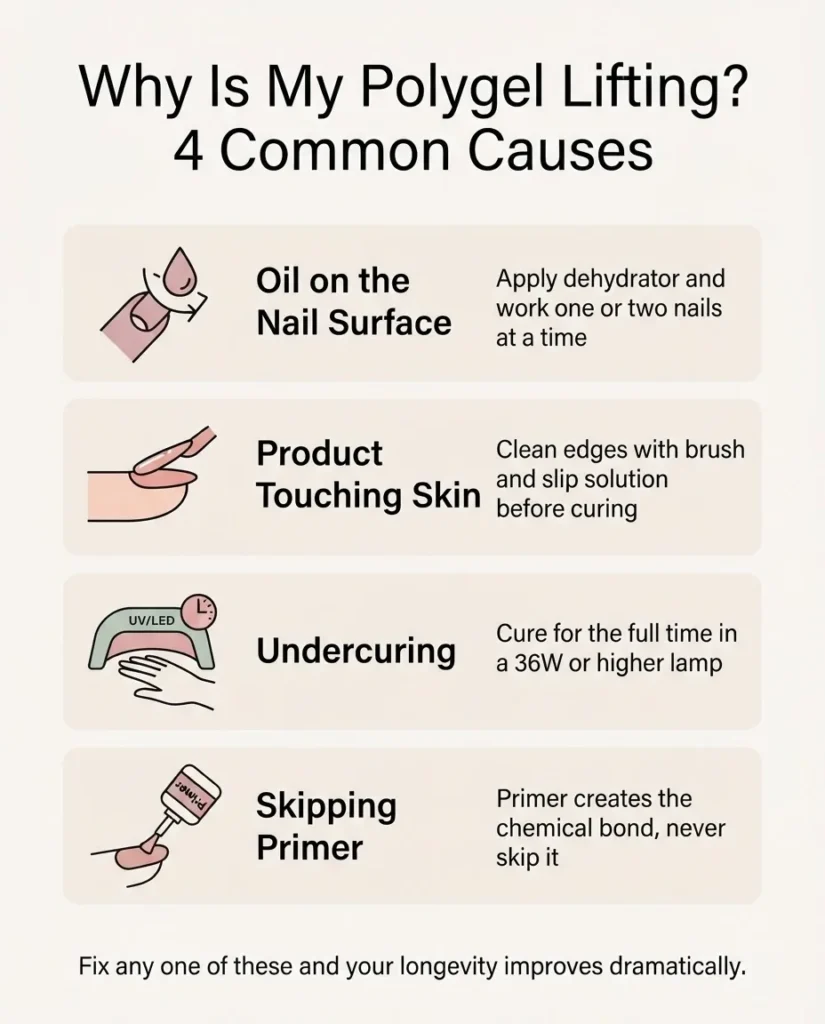
Lifting is the number one complaint I hear from first-timers, and it is almost always preventable. Here is the honest breakdown of the most common causes.
The most frequent culprit is oil on the nail surface. Even if you washed your hands before starting, natural oils come back fast. Apply your dehydrator and work on one or two nails at a time rather than prepping all ten and then going back to the first one twenty minutes later. The second most common cause is product touching the cuticle or skin. Any polygel that sits on skin rather than nail plate will lift that section up as the skin flexes and moves. Third is undercuring, which means the polygel never fully hardened and the bond to the nail plate is incomplete. And fourth is skipping primer, which removes the chemical adhesion that holds everything together. Fix any one of these and your longevity will improve dramatically.
If you are seeing lifting with discoloration under the nail, any green, yellow, or dark spots, stop and do not apply anything else. That can be a sign of bacterial or fungal growth under the enhancement. The American Academy of Dermatology has clear guidance on reducing damage from artificial nails and notes that this is exactly the kind of situation where you should see a dermatologist rather than keep layering product. I know it is not what you want to hear when you have just done a beautiful set, but your natural nail health comes first, always.
How Long Does Polygel Last, and When Do You Need a Fill?
With good prep and a proper cure, polygel sets typically last two to three weeks before you start seeing a visible gap at the cuticle as your natural nail grows out. Most home-users either do a full soak-off and redo at that point, or do a fill: filing down the existing polygel and adding fresh product to the growth gap.
Fills are more economical on product and less wear on your natural nail since you are not doing a full removal every few weeks. However, they do require a bit more skill in blending the old and new product seamlessly. As a beginner, doing full soak-offs until you get comfortable with the process is completely fine.
Safe Removal: Please Do Not Peel
I cannot stress this enough: do not peel or force polygel off. The urge is real and I understand it, but forcibly removing polygel takes layers of your natural nail with it. That is how you end up with thin, tender, damaged nails that take months to recover.
The right way to remove polygel at home is to either file off the bulk of the product first with your 100 grit file (leaving just a thin layer above the natural nail), then soak cotton balls in 100% pure acetone, lay them on each nail, wrap each finger in a small square of aluminum foil, and wait 20 to 40 minutes. Check periodically. The polygel should be soft enough to gently push off with a cuticle pusher. Do not scrape or force it. If it is not coming off easily, rewrap and soak longer.
After removal, your nails may feel sensitive. Apply a generous amount of cuticle oil and let your nails breathe for a day or two before your next set. If you are doing frequent sets, keeping those natural nails hydrated with cuticle oil daily is one of the best things you can do for their long-term health.
A Note on HEMA, Acrylates, and Knowing Your Skin
Most polygel products contain acrylate or methacrylate compounds, which are the same chemical family found in gel polish and acrylic nails. For most people, these are perfectly safe when the product is properly cured and applied correctly to the nail plate only. However, a small percentage of people develop a sensitization to these compounds over time or on first exposure, and it is worth knowing what to watch for.
Signs of a potential reaction include redness, itching, or swelling around the nail or on the skin that touched the product, as well as rashes that show up on your face, eyelids, or neck (which can happen when you touch your face during or after application). A 5-year study on acrylate allergic contact dermatitis published in NIH’s PubMed Central found that (meth)acrylates in nail cosmetics are a significant and growing cause of allergic contact dermatitis in both salon clients and DIY users. If you have sensitive skin or a known latex allergy, it is worth doing a small patch test before committing to a full set: apply a small amount of the base coat or polygel to the inside of your wrist, cure it, and check after 24 to 48 hours. If you experience any reaction during or after using polygel, remove the product carefully and see a dermatologist.
If you see “HEMA-free” on a polygel label, that means it does not contain hydroxyethyl methacrylate, a common acrylate that is among the most frequent triggers of sensitization in nail products. HEMA-free does not mean allergen-free, since the product may contain other acrylates, but it can be a good starting point for those who know they are sensitive.
Polygel for Short Nails: Yes, Absolutely
If you have short nails or nails that break easily, polygel as an overlay (no extension, just polygel layered directly over your natural nail) is one of the best things you can do. It protects and strengthens without adding dramatic length, and you still get that smooth, polished finish. You skip the dual forms entirely, just apply a thin layer of polygel over your prepped natural nail, shape it, cure it, and finish as normal.
For adding a little length to short nails, nail tips (glued on first, then covered with polygel) give you more control than dual forms on very short beds. Size your tips carefully and keep the length modest at first, because very long extensions on a short nail bed are more likely to snap.
You Are More Ready Than You Think
The first polygel set I ever did at home looked… fine, honestly. It was not Pinterest-perfect. One nail was a little thick, one had a slightly uneven edge, and I overcured the pinky so it went slightly tacky again when I tried to file it. I took a photo anyway, sent it to a friend, and she said “wait, you did those yourself?” That was enough. Second set was better. By the fifth set, I had a system.
If you can push a cuticle back, follow steps in order, and resist the urge to rush the cure time, you can absolutely do this at your kitchen table. You do not need steady hands from the start. You need patience, good prep, and the willingness to practice. The wobbles are part of it. That is how everyone starts.