Dip Powder Nails Step by Step: A Beginner’s First Guide
I want to be honest with you about something. The first time I looked at a dip powder kit, I thought there was no way I could do this at home. There were four different liquids, a powder jar, a little brush I did not understand, and a bottle labeled “activator” that I assumed I would somehow use wrong and ruin everything. I almost put it back in the box.
I did not put it back in the box. And two hours later, I had the smoothest, glossiest, most salon-looking nails I had ever done on myself. Not because I am talented. Because dip powder, once you understand what each step is actually doing and why, is genuinely one of the most forgiving at-home nail systems out there. No UV lamp required. No sculpting skill needed. No artistic steady hand. Just a little patience, the right prep, and this walkthrough.
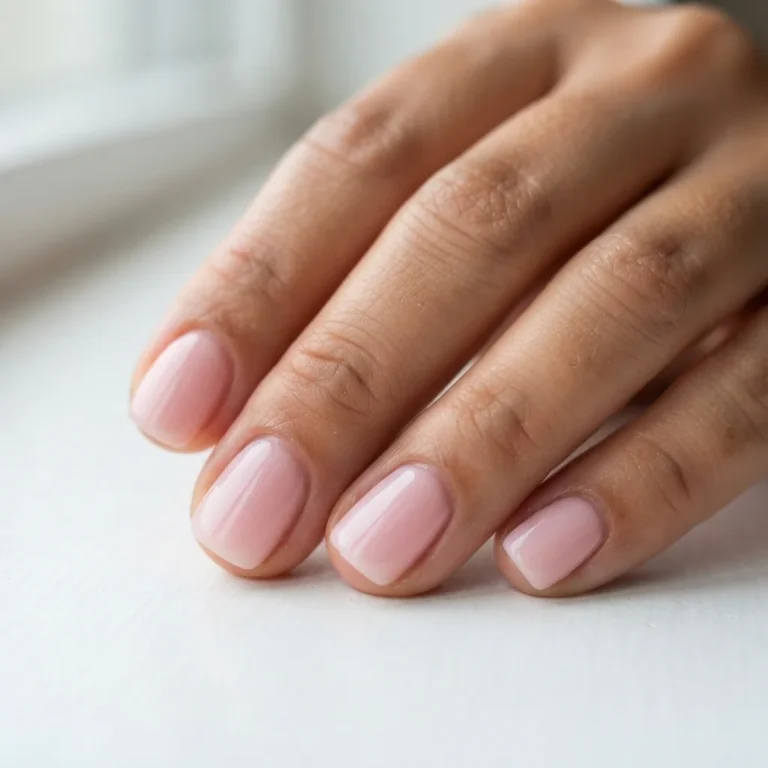
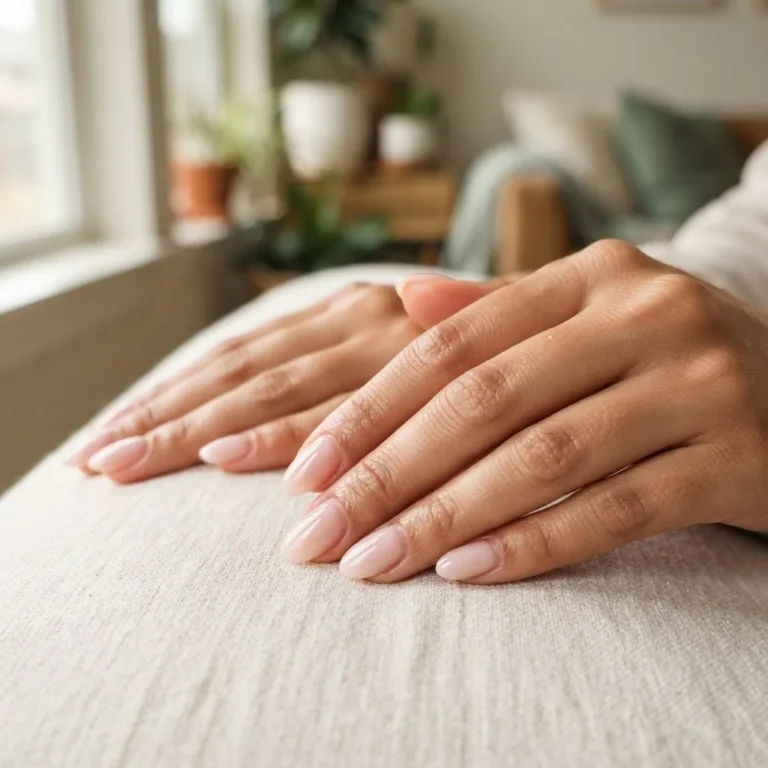
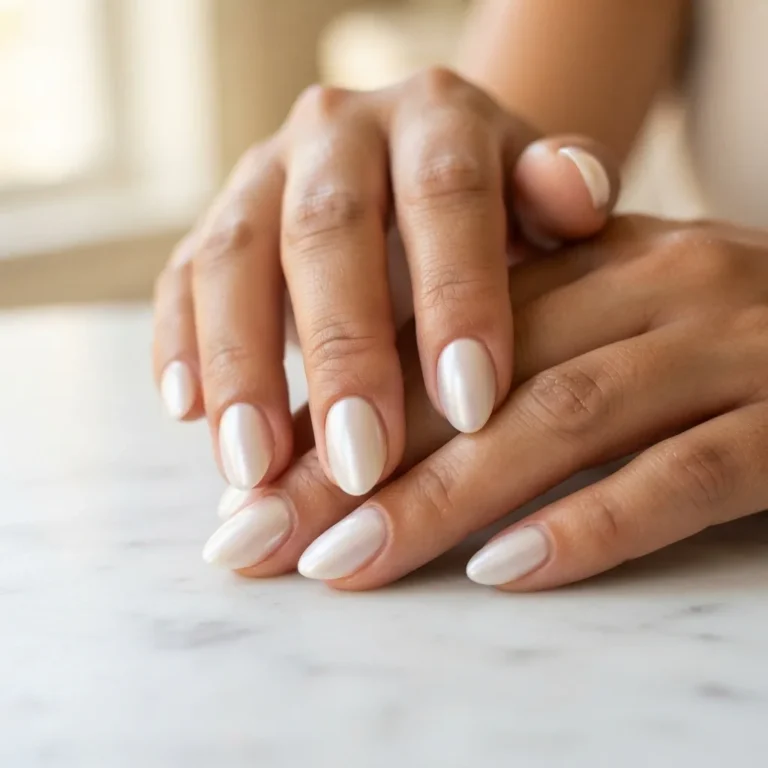
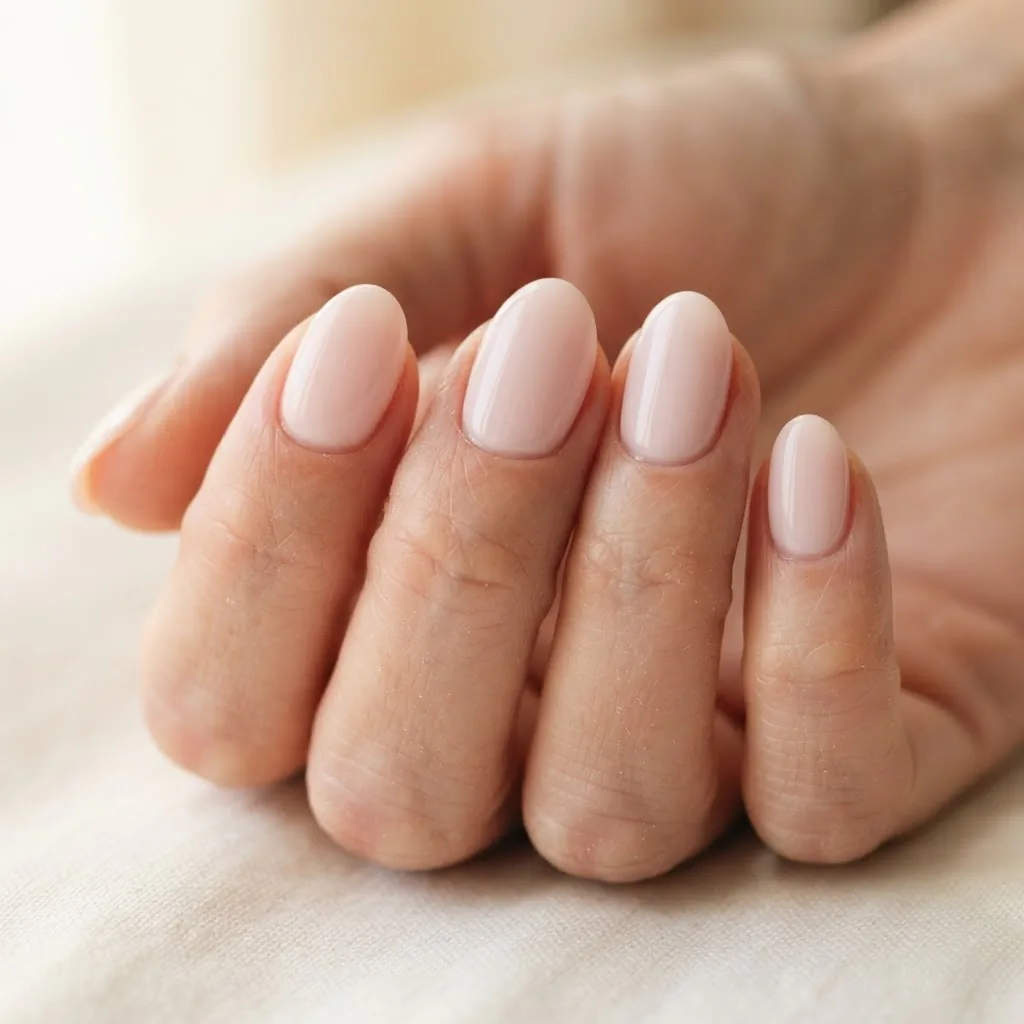
If you have been saving pink dip sets and glazed-donut shades on Pinterest and assuming they are not for you, they are absolutely for you. Let me show you exactly how.
What Is Dip Powder, and Why Do Beginners Love It?
Dip powder is a nail enhancement system that uses a combination of colored acrylic polymer powder and liquid activator to create a hard, glossy, chip-resistant manicure without a lamp. You coat your nail in a base liquid, dip it into colored powder, repeat that a couple of times to build up color and strength, brush on an activator that hardens everything, buff it smooth, and seal it with a top coat. That is the whole system.
The reason beginners tend to gravitate toward dip over gel is that there is no lamp involved, so there is no curing time to manage, no worry about under-curing or over-exposure. The powder builds naturally into a thicker, stronger layer than regular polish without the nail-sculpting skill that acrylics require. And the color options these days are stunning. From the sheeerest milky nude to full-coverage glitter and even shimmer chrome powders you can dust on top for an aurora effect, the range is real.
How long does it last? With good prep and application, most people report three to four weeks of wear before growth makes it look noticeably grown out. Chipping is minimal when the steps are done correctly, which is exactly why prep matters so much. We will get there.
One practical note before we go further: dip powder systems are acrylate-based, meaning the liquid components contain methacrylate monomers. The FDA’s nail care products overview covers the ingredient category in detail if you want to read into it further. Most people have no issues whatsoever, but if you have ever had a skin reaction to gel polish or acrylic systems, do a small patch test on one or two nails first and wait 24 to 48 hours before doing all ten. Itching, swelling, or persistent redness around the nail fold is a signal to stop and check in with a dermatologist. This is not a “scary disclaimer” kind of thing, just good, honest information that the brand-blog tutorials skip over.
What You Will Need: The Full Shopping List
You do not need to spend a fortune to start. A decent beginner kit runs between $25 and $45 and will include most of the liquids you need.
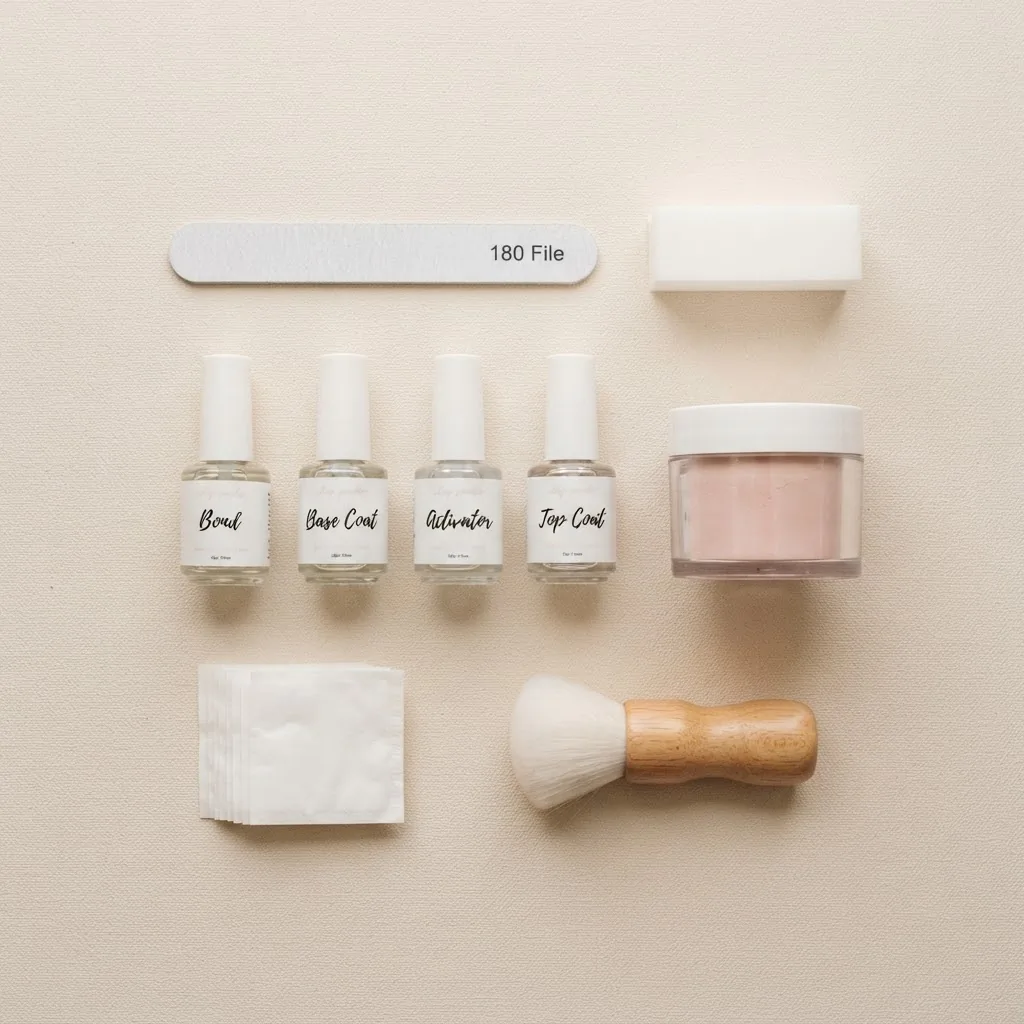
Here is what a full setup looks like:
- A dip powder starter kit with bond (also called a nail dehydrator or primer in some systems), base coat, colored powder or two, activator, and top coat
- A 180-grit file for shaping
- A 220-grit or higher buffer block for smoothing the surface
- A cuticle pusher (rubber-tipped or metal, your preference)
- Lint-free nail wipes and isopropyl alcohol (or a dedicated nail prep liquid)
- A small dust brush for sweeping off excess powder
- Cuticle oil for afterward
Budget pick: Brands like Revel Nail and Kiara Sky have starter kits in the $25 to $45 range that consistently get strong reviews from beginners for their liquids’ consistency and color payoff. SNS is another brand with wide availability.
Dupe tip: You do not need a branded nail dehydrator. Plain 70% isopropyl alcohol on a lint-free wipe does the same job of removing oil from the nail surface before you start.
What you do NOT need: A UV or LED lamp. This is one of the biggest misconceptions about dip powder. Gel polish needs light to cure. Dip powder does not. The activator creates the hardening reaction all on its own. This also means you do not need to worry about UV exposure to your skin during application, which is a genuine concern with gel systems and worth being aware of.
Before You Dip: Nail Prep Is 80% of the Result
I want to spend real time here because prep is where almost every beginner goes wrong, and it is the single thing that determines whether your dip powder nails last three weeks or three days.
Start with clean, dry nails. Wash your hands, then wipe each nail with isopropyl alcohol on a lint-free pad. This removes the natural oils and any lotion residue from your nail plate. Oils are the enemy of adhesion. Even if your hands feel clean, there is always a film. The wipe-down takes 30 seconds and it makes a visible difference.
Next, gently push your cuticles back using a cuticle pusher. You want to expose as much of the nail plate as possible without forcing anything. Do not cut your cuticles. Cutting living skin creates a pathway for bacteria, and the American Academy of Dermatology consistently advises against it as part of healthy nail care practice. Pushing back is all you need.
Then file your nail to your chosen shape using your 180-grit file. Work in one direction rather than sawing back and forth, which causes micro-tears in the nail edge. Then take your buffer and very lightly buff the surface of the nail plate. You are creating microscopic texture for the base liquid to grip. This step is often skipped and should not be. Light touch, just enough to remove the shine.
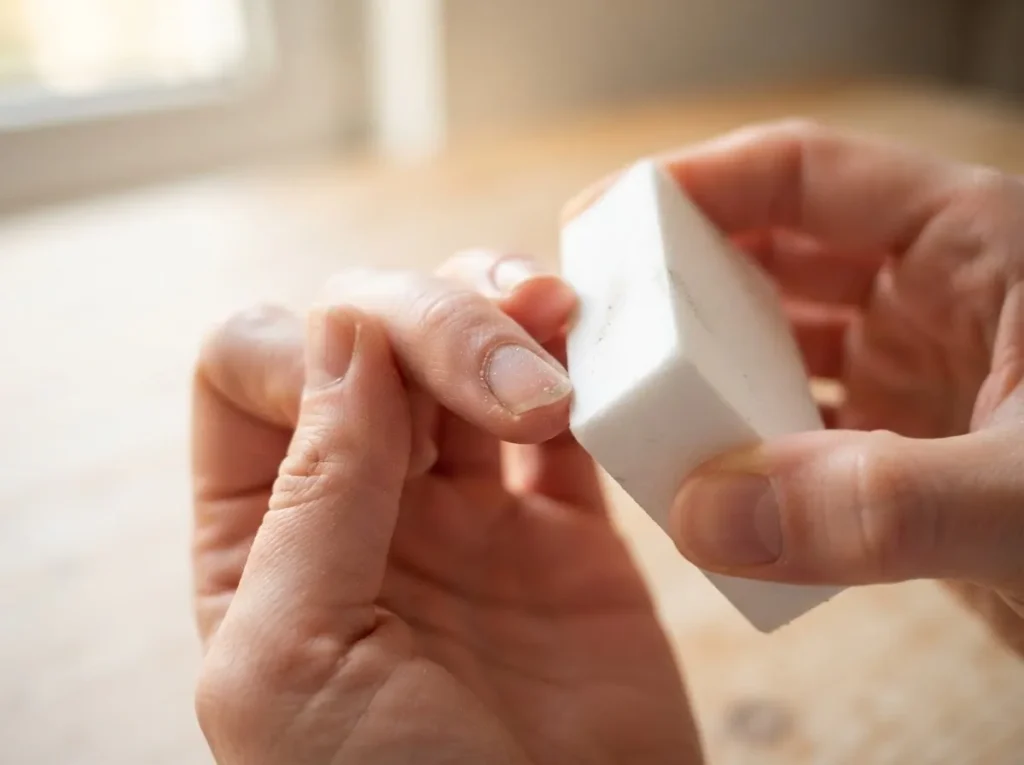
One more wipe with the alcohol pad after buffing, because buffing creates dust. Then you are ready.
Short nail note: If your nails are very short, this whole system still works beautifully. In fact, dip powder can add strength and a little length illusion to short nails when applied in thin, even layers. Oval and squoval shapes tend to look the most elongating on shorter nail beds. Check out Dipwell’s guide specifically for short dip nails, which has some great color and shape pairing ideas for shorter lengths.
The Step-by-Step Application: What Each Liquid Is Actually Doing
Here is where a lot of tutorials fail you by just listing steps without the “why.” I want you to understand each product so you can troubleshoot if something looks off.
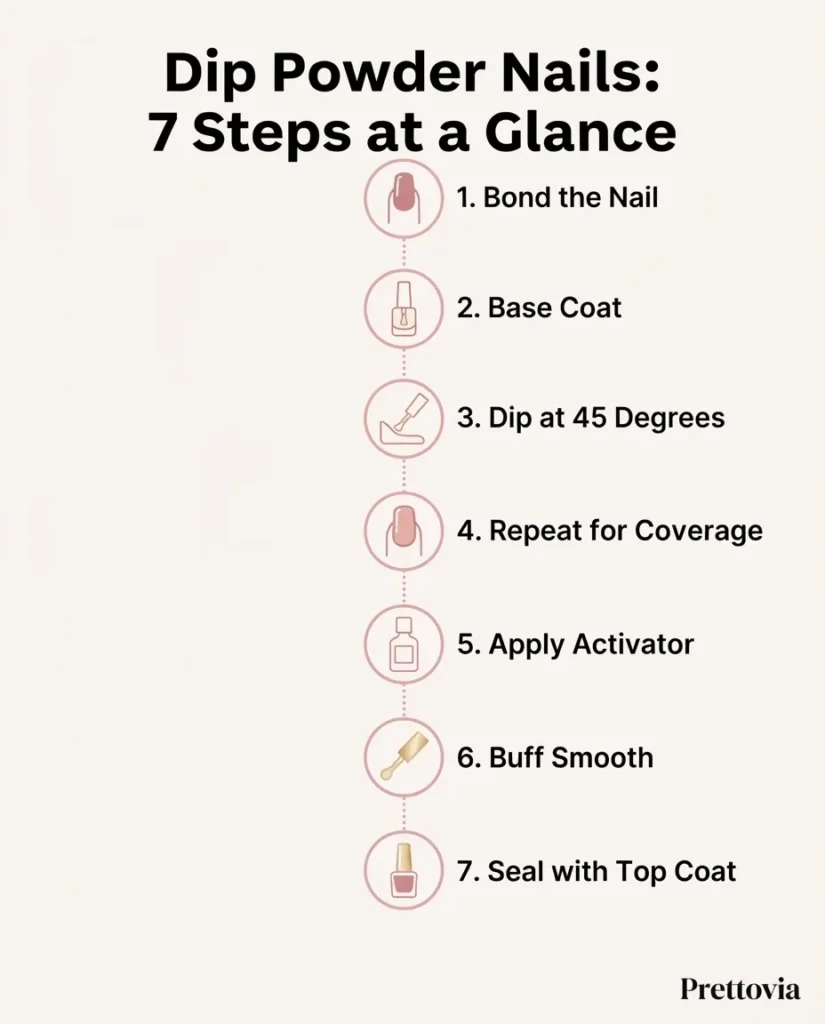
Step 1: Apply the Bond
Some kits call this a primer, a bond, or a nail dehydrator. It goes on first and is designed to help the subsequent base coat adhere to the natural nail plate. Apply a thin, even layer to all ten nails and let it fully dry. It dries almost instantly. Do not skip this.
Step 2: Apply a Thin Layer of Base Coat to One Nail and Dip
Here is the most important technique tip in this entire article: work one nail at a time. Base coat, then dip, then move to the next nail. Never apply base to all ten and then dip, because the base coat starts to set quickly and uneven coverage is the result.
Brush the base coat on thinly. Stay about 1 to 2 millimeters away from the cuticle. Flooding the cuticle is the most common cause of lifting at the nail base, so that little gap is intentional. Tilt the container toward you so you can dip your nail in at a 45-degree angle. Hold for two to three seconds, then lift slowly. Tap off any excess powder gently against the inside of the jar lid. Do not blow on it.
Step 3: Repeat for a Second Layer of Color
Let the first layer sit for five to ten seconds, then repeat: thin base coat on the same nail, dip again at 45 degrees. Two layers is usually enough for full opacity with most colors.
Very sheer shades might want a third. Glitter powders sometimes need an extra layer to build up coverage. Keep each layer thin. Thick base coat layers are the number one cause of that lumpy, uneven texture that looks amateur.
Step 4: Apply Activator and Let It Dry
Activator is the chemical partner to your base coat. When they meet, they harden. Apply a thin layer of activator over the powder on your completed nail. Now here is the step that beginners almost universally rush and regret: let it dry completely. At least 60 to 90 seconds per nail. The activator needs to fully react before you touch it. If you buff while it is still processing, you get a rough, sandy, streaky surface that no amount of top coat will fix. Set a timer if you have to.
Step 5: Buff to Smooth
Once the activator is fully dry, take your 220-grit buffer and smooth the surface in gentle strokes. You are not removing product, just leveling out any dip texture. Work gently, especially near the cuticle. Dust off the surface completely with your dry brush, then wipe with an alcohol pad.
Step 6: Second Activator Layer
A quick second thin layer of activator strengthens the set and gives you a cleaner base for the top coat. Let this dry fully too.
Step 7: Top Coat, Then Top Coat Again
Apply a thin layer of top coat, making sure to cap the free edge (run the brush along the very tip of your nail). This sealing step is what keeps moisture and daily wear from sneaking in underneath and causing lifting. Let it dry for a minute, then apply a second thin layer. Your top coat is doing a lot of structural work, not just giving you shine, so two coats is the standard.
Why Dip Powder and Gel Are Different (and When Each Makes More Sense)
The question I get most often from first-timers is whether dip is better than gel. The honest answer is that it depends on what you want.
Dip powder builds more thickness and rigidity than soft gel polish, which makes it more resistant to everyday physical impact. For people who type a lot, do dishes, or generally live with their hands, dip tends to outlast gel polish. Gel polish is usually softer and more flexible, which some people prefer for the feel on natural nails. Gel also gives you more versatility for intricate nail art since you can cure thin detail layers at each stage.
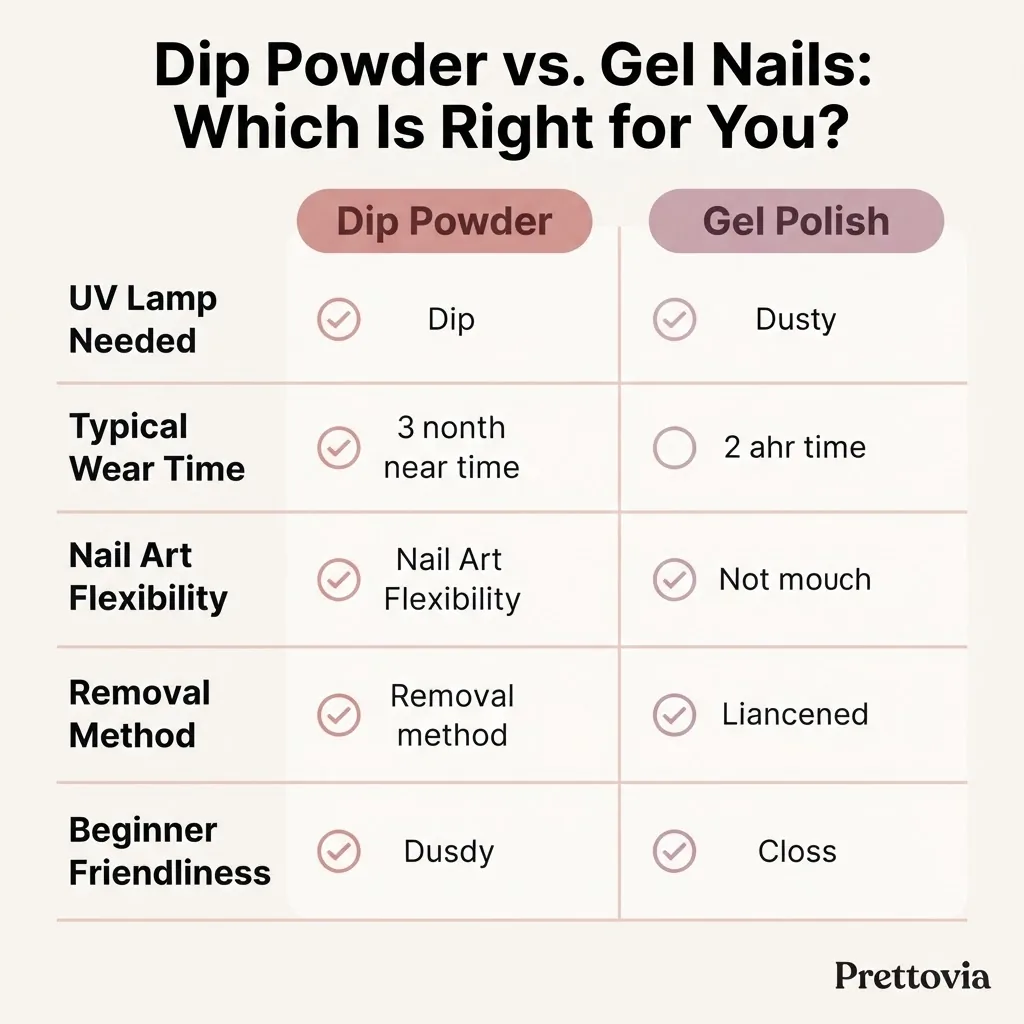
Dip is harder to do nail art on top of (though not impossible, more on that below).
Neither is inherently safer than the other for your nails, which is something the beauty internet often gets wrong. Both systems use acrylate-family chemistry. A peer-reviewed literature review on DIY nail cosmetics confirms that allergic contact dermatitis is the most commonly reported adverse event across gel, dip, and acrylic systems, primarily linked to (meth)acrylates in the liquid components. Proper application technique (thin layers, no skin flooding, correct curing or activation) significantly reduces the risk of sensitization because it limits uncured monomer contact with skin. That is another reason to take the steps seriously.
Trending Finishes You Can Do With Dip
One of my favorite things about dip right now is how well it pairs with trending finishes that feel very Pinterest-coded.
Ombre and aurora dip: Most brands offer gradient or “sunset” powder shades that transition between two tones within one powder. You dip one section first with a lighter color, then overlap with a deeper shade at the base. It takes a steady hand on the angle but is genuinely doable after a little practice.
Chrome over dip: This is the glazed-donut trick. After your fully cured and buffed dip set, apply a clear gel top coat (yes, this part does need a lamp), cure it, then rub chrome powder over the tacky surface with a silicone finger or eyeshadow applicator. Seal with another clear gel top coat. The result is that liquid-mirror, Hailey Bieber-coded chrome shine.
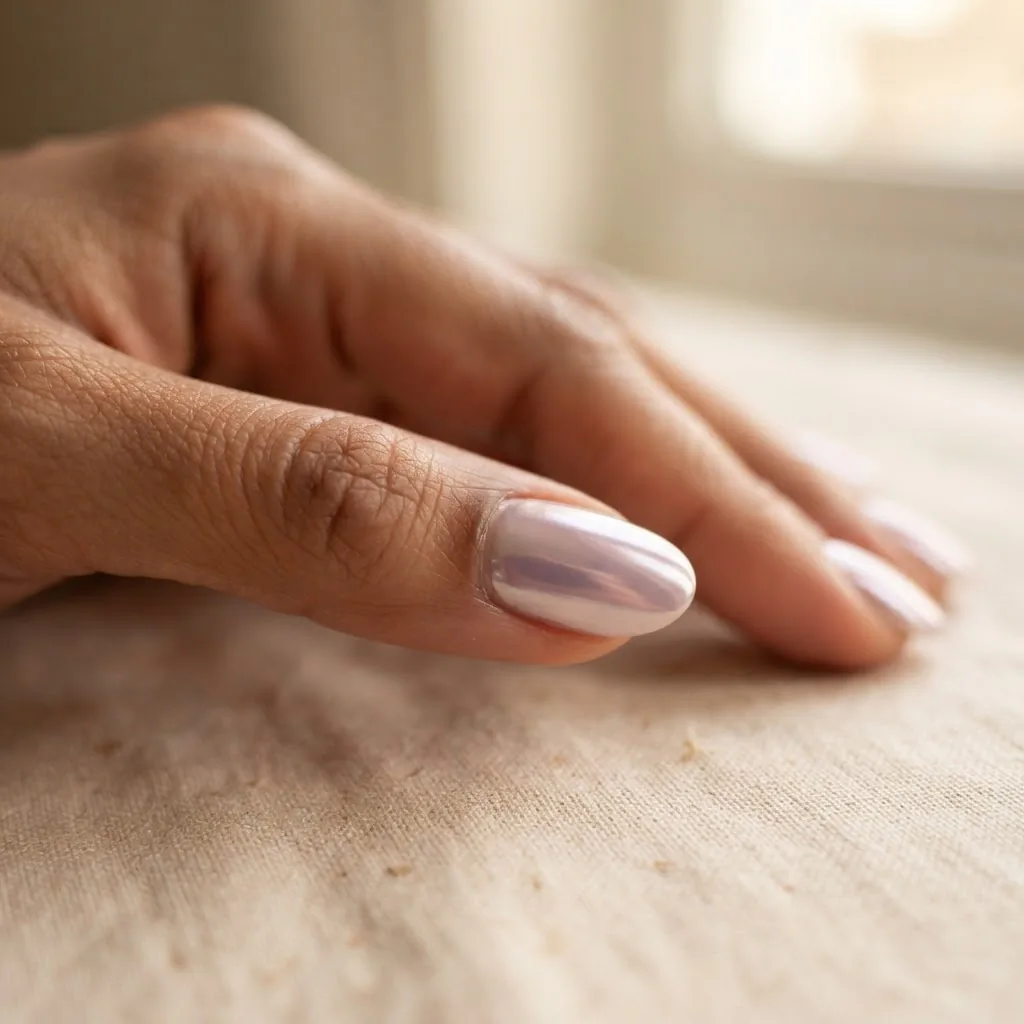
It is a two-product system but the effect is extraordinary.
Shimmer and glitter dip powders: These go on exactly the same as solid color. The glitter particles are already in the powder, so you literally just dip. This is one of the easiest ways to get a “complex-looking” manicure with zero extra technique.
Nail art on top of dip: Once your dip set is buffed, smooth, and top-coated, you can absolutely add nail art using regular nail polish or gel polish pens. Flowers, abstract lines, stamping, even simple dot work. Let it dry, then seal with another layer of top coat.
Troubleshooting: The Most Common Beginner Problems
Lifting at the cuticle after a few days. Almost always a prep issue or a flooding issue. Make sure your dehydration step is thorough, and keep your base coat 1 to 2 millimeters from the cuticle.
Gritty or rough surface under the top coat. The activator was not fully dry when you buffed. There is no fix for this set, but next time set a timer for the activator dry time.
Powder is thick and lumpy. Your base coat is going on too thick, or you are double-dipping your powder jar (putting a coated nail back in for a second dip without applying fresh base). Always apply fresh base before each dip.
Top coat is cloudy or has brush marks. You are moving too slowly or pressing too hard. Top coat should be applied with light, quick strokes. Speed is your friend here.
It all popped off at once. This is usually a bond failure from oil on the nail plate. Make sure your alcohol wipe step is thorough and that you did not wash your hands between wipes and application.
Skin reaction or persistent itching. Stop wearing the product and let your nails breathe. If symptoms persist, see a dermatologist. This is not a failure, it is just your skin telling you something, and it is worth knowing before you do another set.
Removal: The Step That Protects Your Natural Nails
Safe removal is where a lot of the “dip powder ruined my nails” stories actually come from, and they almost always trace back to peeling or picking rather than to the product itself. The American Academy of Dermatology has solid guidance on minimizing damage from artificial nails, and the single most consistent advice is this: soak it off, do not peel it off.
Here is how to do it cleanly at home. File the top coat off the surface of each nail gently with your 180-grit file. You are breaking the seal, not filing through the whole system. Then soak cotton pads in 100% acetone, press one against each nail, and wrap with foil or use nail soak-off clips. Wait 15 to 20 minutes. The dip should slide off with gentle pressure from an orange stick or cuticle pusher. If it is not budging, re-wrap and give it another 5 to 10 minutes. Do not scrape aggressively. Do not peel.
After removal, your nails may feel a little thin or flexible. That is normal. Apply a nail strengthener and generous cuticle oil, and give your nails a few days of regular polish or breathing time before your next dip set. This is not damage from the dip powder itself, it is a normal response to any enhancement system, and it reverses with a bit of care.
If you notice lifting with any discoloration underneath, yellowing that does not clear, or pain, see a doctor or dermatologist before redoing the set. Those can be signs of a fungal or bacterial situation under the nail that needs attention, not more nail product.
Caring for Your Natural Nails Between Sets
Keeping your natural nails healthy means your dip sets will look better, last longer, and come off more cleanly. A few things worth making habit: keep nails trimmed and filed between sets, hydrate your cuticles daily with cuticle oil (this is the single highest-return nail care habit in my kit), avoid soaking your hands for long periods right after a fresh dip set, and wear gloves for heavy cleaning or dishwashing when you can.
The AAD’s dermatologist-approved tips for healthy nails are a genuinely good resource for the basics, including how to file correctly, why your cuticles are there for a reason, and what changes in your nails are worth showing a doctor. Worth bookmarking.
A Note on Ingredients and What to Look For
This section is short but I want it in here because I think informed readers make better choices. Dip powder systems are polymer and acrylate-based. The liquids, specifically the base coat and activator, are where sensitization risk lives if it appears at all. A published safety review of nail products in the PMC database notes that (meth)acrylates are the most common source of allergic contact dermatitis in nail cosmetic users, and that risk increases when liquid product makes repeated contact with the skin around the nail. The practical takeaway: keep your liquids off your skin, cap the free edge properly, and use thin layers every time.
If you want to check the ingredient category context at the regulatory level, the FDA’s nail care products page breaks down how the agency approaches methacrylate monomers and other common nail ingredients.
You Are More Ready Than You Think
Here is what I want you to remember from all of this: the only genuinely hard part of dip powder nails is slowing down enough to let each step do its job. The prep wipe. The thin base coat layers. The activator drying time. The gentle soak-off. None of it requires artistic talent. None of it requires a steady hand. It requires patience and a willingness to do it imperfectly the first time and learn from it.
I made every mistake in this article at least once: the gritty surface, the lifting on day two, the thick lumpy layers that looked nothing like the Pinterest photo. And I tried again. And it got better. And then one day I sat down after a long workday in my Chicago apartment with a cup of tea and a powder I had been waiting to try, and my nails came out looking like something I would have saved on Pinterest two years earlier.
If I can do it after a 10-hour workday, you can absolutely do it on a Sunday afternoon. Go pick your color and let me know how it goes.