Everything I Wish I Knew Before Trying Press-On Nails
Let me tell you about my first press-on nail experience. I applied them to one hand, stepped back to admire my work, and watched one slide slowly off my index finger like a tiny tragic goodbye. The rest lasted maybe 36 hours, including one that came off in a bowl of soup. It was not a great week.
Here is the thing, though. That failure had absolutely nothing to do with press-on nails being bad. It had everything to do with me skipping prep, guessing my sizes, and having zero idea that nail glue and my oily nail beds were not friends without a little help first. Once I actually learned the technique? Press-ons became one of my favorite tools in my nail kit. I reach for them before travel, before events, before days when I want a salon-quality look and zero desire to sit under a lamp.
So this is the guide I needed then. Everything I know now about making press-on nails look real, last long, and come off without drama. If you’ve had a bad experience, I promise it was probably prep, not you.
The Mindset Shift That Changes Everything
Before we get into technique, I want to address the one thing that trips most beginners up before they even open the box: the belief that press-on nails are a compromise. Like they’re the lazy version of a “real” manicure. They’re not. They’re a completely different skill set with their own rules, and once you learn those rules, the results genuinely surprise people.
Press-on nails have also come a long way from the plastic stickers of the early 2000s. Modern kits use ABS plastic or soft gel, they come in hundreds of shapes and finishes, and the adhesive systems are genuinely strong. The problem is that most beginners apply them like stickers and then wonder why they fall off. The secret is treating the application process more like a mini manicure and less like a shortcut.
That said, I’ll be honest: press-ons are not completely without trade-offs. The FDA’s nail care products guidance notes that nail glues contain ingredients, primarily cyanoacrylate-based compounds, that can cause sensitization or allergic reactions in some people, particularly if glue contacts the skin repeatedly. And a 2024 Cleveland Clinic statement from dermatologist Dr. Taryn Murray confirmed that the main risks of press-on nails are infections, allergic reactions, and damage to the nail unit, especially when nails are worn too long or removed incorrectly. I mention this not to scare you, but because you deserve the full picture. Done right, press-ons are safe and fun. Done carelessly, any artificial nail system can cause issues.
Okay. Now let’s do this right.
Step One: Sizing Is Not Optional, and Most People Get It Wrong
This is the single biggest reason press-ons look fake or fall off early, and it is almost never talked about in beginner guides.
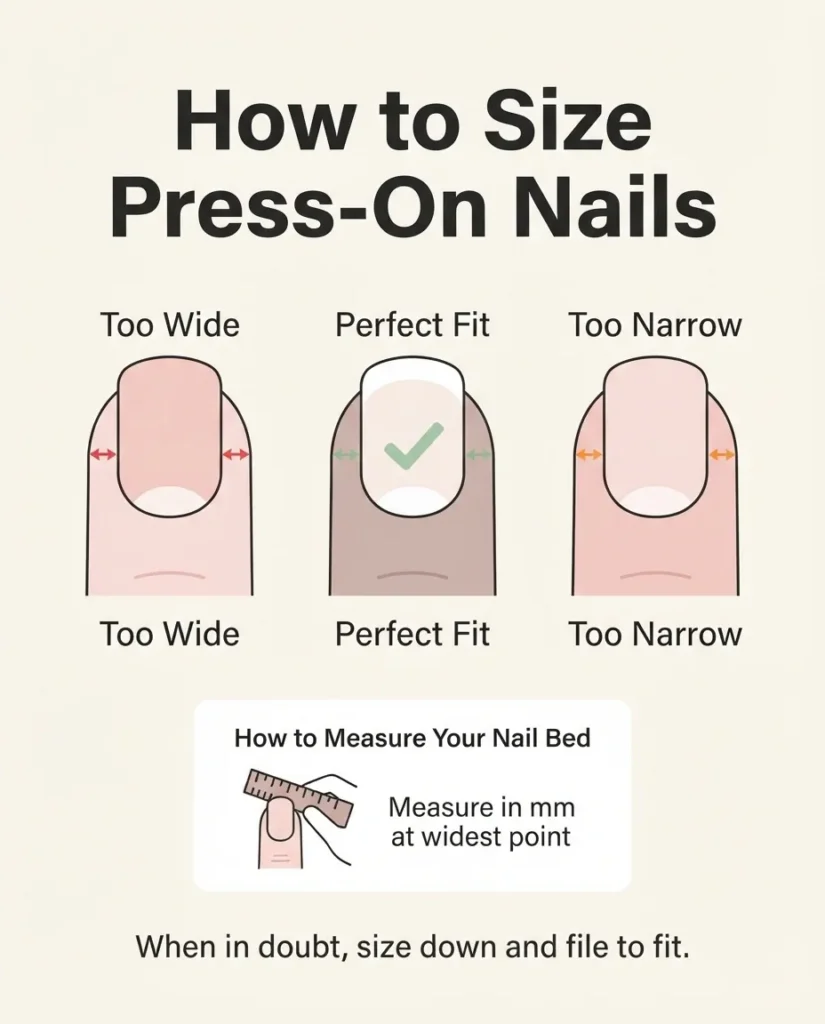
Most kits come in sizes labeled 0 through 9 or XS through XL. The temptation is to grab whatever looks closest and call it good. Please don’t do that. A press-on that is even slightly too wide will lift at the edges within hours. One that’s too narrow will look like a floating island on your nail bed and pop off almost immediately.
What you actually want is a press-on that fits side wall to side wall across the widest part of your nail, with no overhang and no gap at either edge. If you’re between two sizes, go smaller rather than larger. You can always file the sides of the press-on to narrow it slightly, and that little extra effort pays off in days of extra wear.
For a more precise fit, some press-on sellers, especially on Etsy, use millimeter measurements across the nail bed. If you find a kit you love and want to reorder confidently, measure your nail beds in mm at their widest point with a flexible tape or a ruler. Write them down. It’s a little nerdy and completely worth it.
Short nail note: If your natural nails are very short, look for kits specifically labeled “extra short” or “XS length.” Almond, oval, and round-tipped press-ons tend to work better on short nail beds because they elongate the finger visually without creating the leverage problem that long coffin or stiletto shapes create on a very short natural nail. Square tips on short nails can look blocky and are more prone to catching and popping off.
The Prep Routine That Determines Everything
Here is something I tell everyone who has ever had a press-on fall off early: 80% of longevity is determined before you ever open the glue. Prep is not glamorous. It is not the part you film for TikTok. But it is the entire reason some people’s press-ons last two weeks and others last two days.
Push back your cuticles, but don’t cut them. Use a rubber or wooden cuticle pusher after a warm shower when the skin is softened. You want a clean nail plate that starts right at the cuticle line, because any skin between the press-on and your nail is a lifting point. The AAD strongly advises against cutting your cuticles, since they act as a protective seal against bacteria and fungi, and damaging them increases infection risk. Push gently, don’t trim.
Buff the shine off your nail plate. This is one step most beginners skip entirely, and it is absolutely critical. Your natural nail has a slight sheen to it, and glue bonds poorly to shiny surfaces. Use a light-grit buffer (around 180-grit or the lightest side of a multi-sided buffer) and give each nail one or two gentle passes. You’re not removing layers of nail, you’re just scuffing the very surface. It should look slightly matte after, not ground down.
Wipe with isopropyl alcohol or a nail dehydrator. This removes oil, moisture, and any buffing dust. Oil is the enemy of nail glue. Seriously, skip this step and your press-ons will lift from the center outward no matter what else you do. A pre-packaged nail wipe or a cotton pad soaked in 70% or 90% isopropyl alcohol does the job. Do not touch your nail plate after this step. Not even to scratch. Your finger’s natural oils transfer instantly and undo everything.
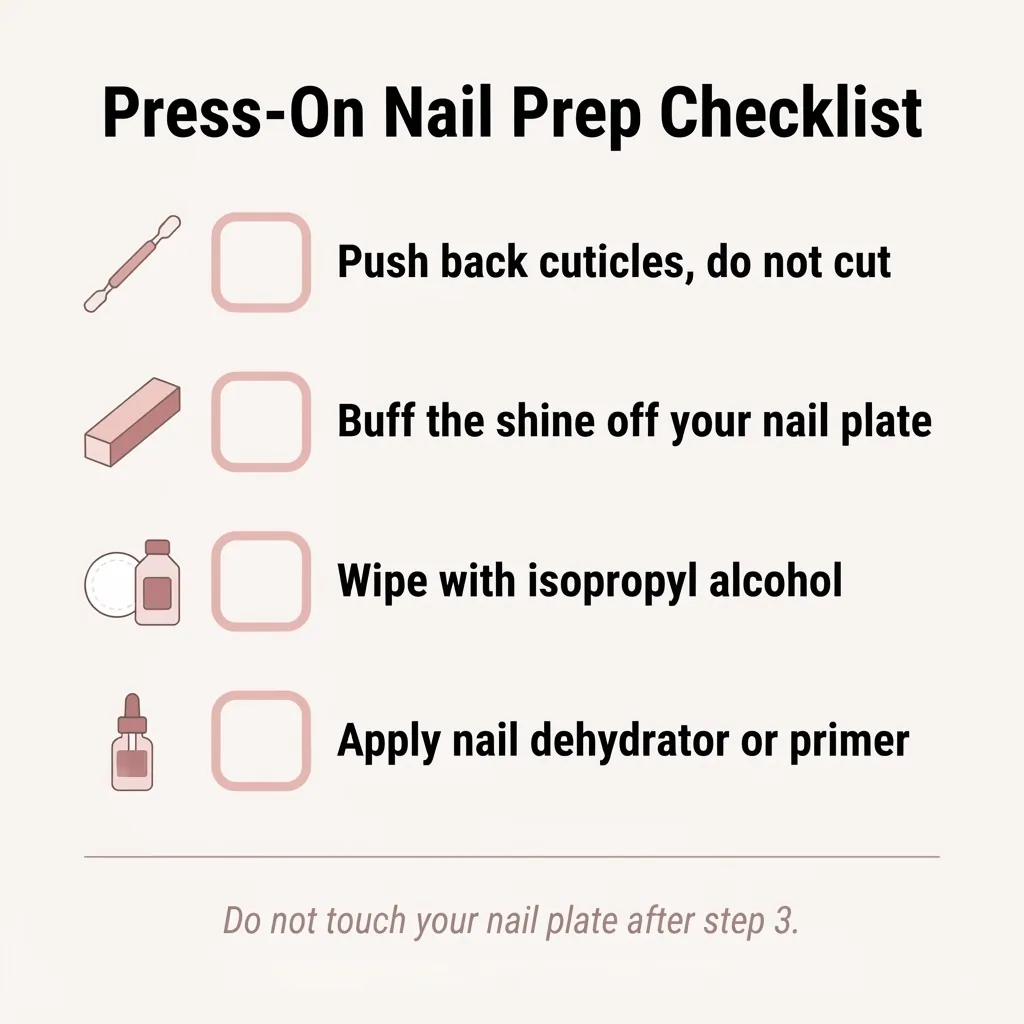
Optional but powerful: nail primer or dehydrator drops. Some press-on kits include a small bottle of dehydrator, and if yours does, use it. If not, a drop of nail dehydrator on each nail bed after your alcohol wipe creates a slightly tacky surface that gives adhesive something extra to grip. This step is particularly helpful if you have oily nail beds or live somewhere humid.
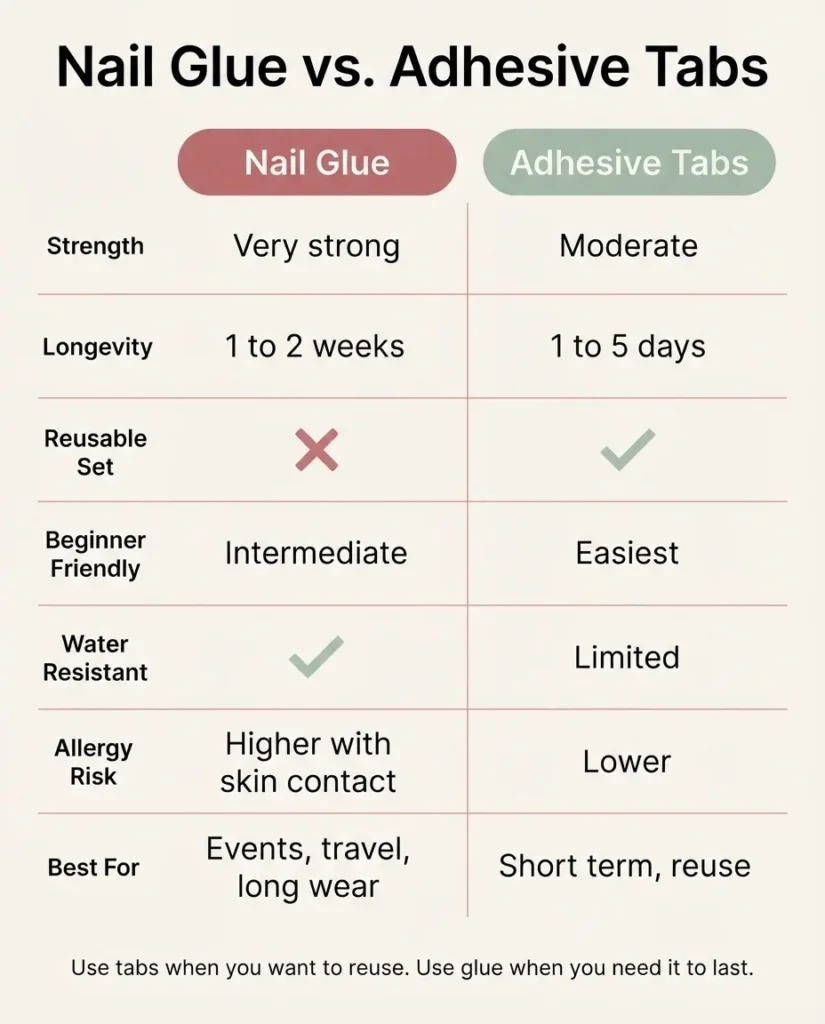
Glue vs. Adhesive Tabs: The Honest Breakdown
This debate is real and the answer genuinely depends on what you need.
Nail glue is stronger, full stop. The cyanoacrylate formula creates a hard, fast bond that holds up to hand-washing, dishes (with gloves, please), and general life. If you’re wearing a set for a wedding, a vacation, or anything longer than a few days, glue is the way to go. The downside is that glue makes reuse difficult, removal requires more effort, and repeated skin contact can increase the risk of developing a sensitivity over time. A peer-reviewed case study published in the journal Contact Dermatitis found that cyanoacrylate-based glues used for false nails were responsible for a significant portion of adverse reactions in a cohort of nail glue exposure cases, including symptoms in people who had used these products without issue before. This is not a reason to panic, but it is a reason to be careful about keeping glue off the surrounding skin.
Adhesive tabs are gentler, more beginner-friendly, and allow you to reuse your press-ons. They typically last one to five days depending on the brand and your nail prep. They’re perfect for a weekend event, a work trip, or a “trying out this shape” situation where you’re not ready to commit to glue. The trade-off is that tabs are more vulnerable to water and sweat, so they’re not ideal for multiple-day heavy wear.
My actual routine: I use a thin layer of glue on the press-on itself and a small dot of glue on my nail plate, wait about 10 seconds for both to get slightly tacky, then press. This is sometimes called the “double glue” technique and it consistently gives me a stronger bond than doing one or the other.
The Application Itself: What Actually Matters
Most of the guidance you’ll find online says to “press firmly and hold.” That’s technically correct and completely insufficient. Here’s what that actually means in practice.
Start from your pinky and work toward your thumb on each hand. This keeps you from accidentally bumping freshly applied nails with the hand you’re still working on.
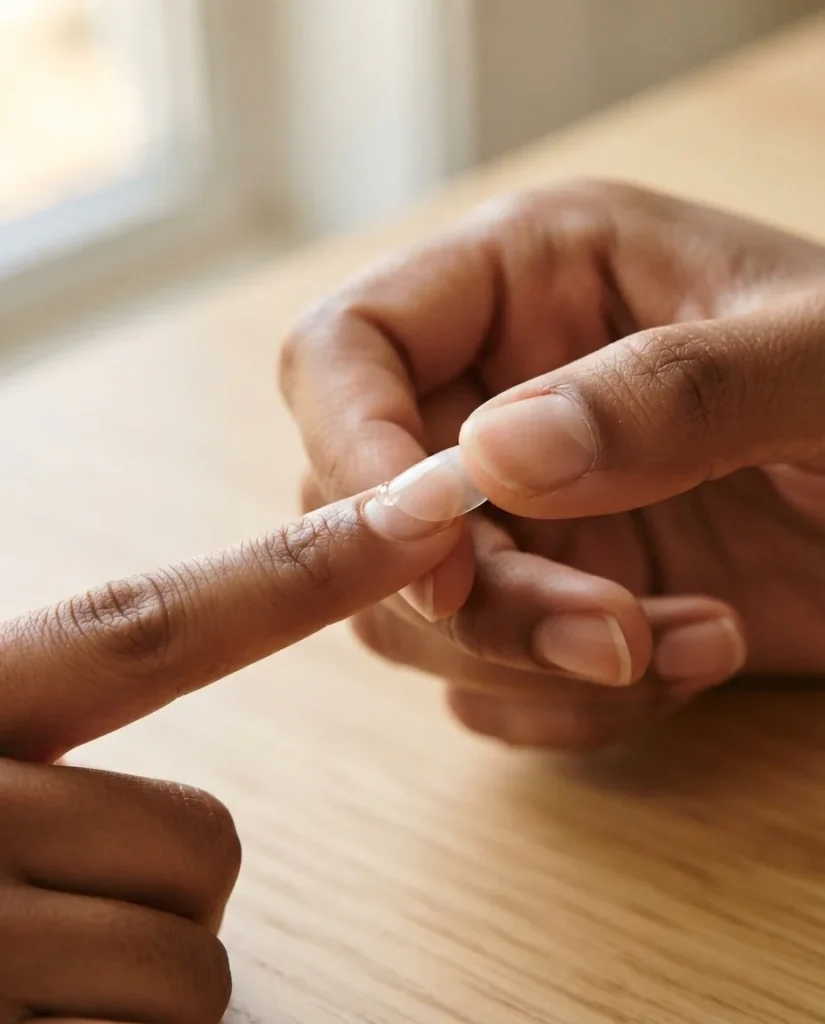
Pick up the press-on and place it at a 45-degree angle with the tip pointing slightly away from you. Make contact with the cuticle edge first, angling it down onto the nail plate. This dramatically reduces the air pockets that cause lifting. Once the cuticle edge is seated perfectly, press the rest of the nail down flat.
Now hold it. Not for five seconds. For a full 30 seconds, pressing from the center outward to the edges. I usually press the center, then rock my thumb from left edge to right edge a few times, then press down along the tip. The bond forms during this hold, not during the placement. This is where most people rush, and it costs them days of wear.
Do not wash your hands, do them dishes, or go swimming for at least one hour after application, and ideally two.
The glue needs time to fully cure and reach its full strength.
The cuticle gap: This is the thing that makes press-ons look obviously fake. If there’s a visible gap between the press-on and your cuticle, either you didn’t push your cuticles back enough, or the nail is sitting slightly too high. Once applied, you can’t really fix this, which is why sizing accurately and pushing cuticles back before application matters so much. If you notice a small gap after application, a thin layer of clear polish painted along the cuticle edge can help blend it visually.
Making Them Last: The Maintenance Hacks That Work
Okay, so your set is on. Beautiful. Here’s how to keep it there.
Apply a thin coat of top coat over the entire press-on, including the tip edge. This seals the seam where the press-on meets your natural nail and dramatically slows lifting at the tip. Reapply every two to three days. Gel top coat under a UV/LED lamp is even better if you have one, and it adds a chip-resistant shine that makes press-ons look especially polished and real.
Wear gloves for washing dishes and cleaning. Prolonged water exposure is one of the fastest ways to loosen press-on nails, whether you used glue or tabs. Hot water and soap break down the adhesive bond over time. It’s not that you can never get your hands wet, it’s that soaking them repeatedly accelerates lifting. A pair of rubber gloves costs almost nothing and extends your set by days.
Keep cuticle oil away from the nail plate while wearing press-ons. I know, I know. Cuticle oil is usually a good thing. But when you’re wearing press-ons, apply it only to the skin around the nail, not on the nail itself. Oil that migrates under the press-on edge softens the adhesive and causes lifting from the sides.
Avoid using your nails as tools. Do not open cans, peel stickers, or pry anything open with your press-on nails. This is the fastest way to pop a nail or crack the tip.
If an edge starts to lift slightly, don’t ignore it and don’t pull. Apply a tiny drop of nail glue under the lifted edge using a brush or toothpick, press the edge down, and hold for 30 seconds. This saves the nail and keeps moisture from getting underneath.
The L’Oréal Paris tips on making press-on nails last longer also make a good point about choosing a shorter length if you want longevity. Longer nails create more leverage on the natural nail plate, which means any impact or snag puts significantly more stress on the bond. If you’re new to press-ons and want them to actually stay on, start with a shorter or medium length and work your way up.
Short Nails and Press-Ons: Yes, This Can Work
A lot of people assume press-on nails only work on medium or long natural nails. This is not true, but there are a few adjustments that help.
First, look for press-on kits specifically marketed as “short” or “XS.” Several brands now make these specifically for nail biters and people with naturally short nail beds. The press-on itself is shorter in length, which means less leverage, better proportion, and a more natural look.
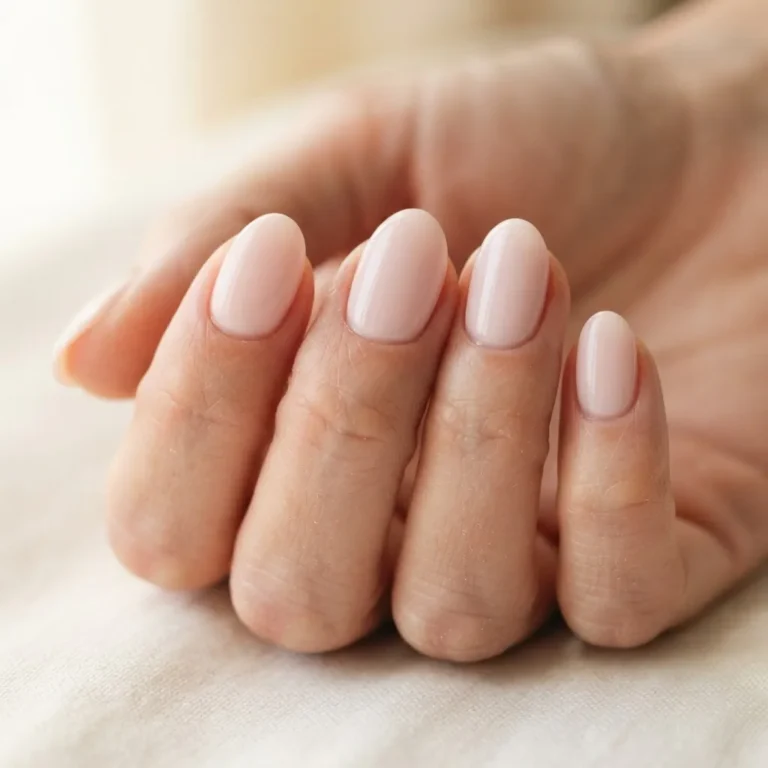
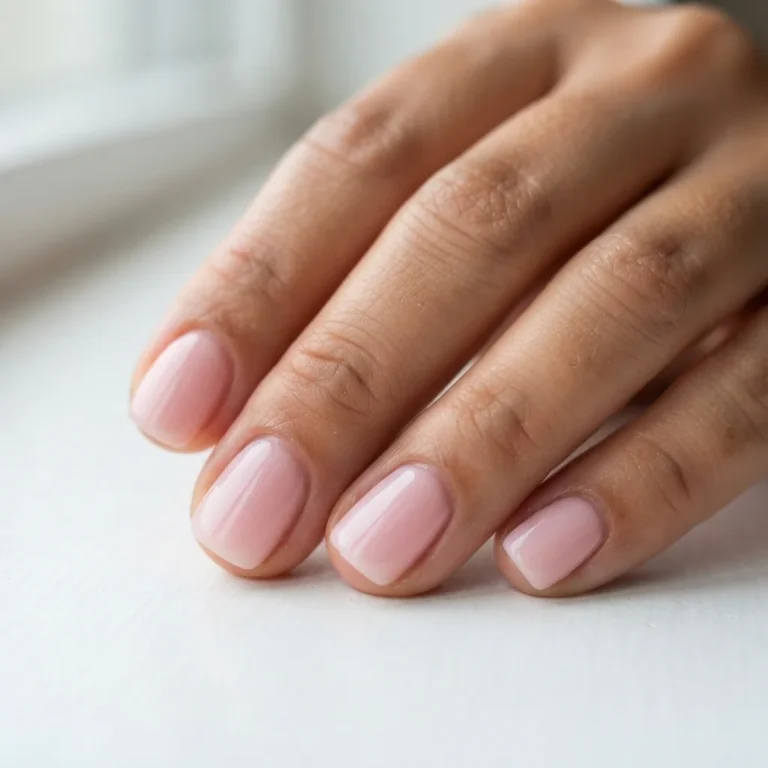
For shape on short nails, round, oval, and soft almond are your best friends. These shapes follow the natural curve of a short finger and look intentional rather than stuck-on. Avoid extremely long coffin or stiletto shapes on very short natural nails because the ratio creates that “obviously fake” look that most people are trying to avoid.
One more thing: if your natural nails are very short, make sure the press-on still covers from your cuticle line to at least a few millimeters past your natural nail tip. If the press-on ends at or before your natural nail tip, there’s no overlap to grip, and the bond will be weak.
The Allergy and Sensitivity Question
This section matters, and I’d rather you know this before you’ve used the same nail glue for six months.
Nail glue is predominantly cyanoacrylate. This compound is generally safe for skin-adjacent use when it doesn’t directly contact the skin in large amounts. However, repeated skin contact, especially if glue gets onto your cuticles, surrounding skin, or under the nail, can lead to sensitization over time. Once sensitized, even small amounts can trigger a reaction, and sensitization to acrylates can potentially cross-react with other acrylate-containing products.
According to research published in the journal Contact Dermatitis, HEMA (2-hydroxyethyl methacrylate) is a well-documented contact allergen found in many nail adhesive and gel formulations, and repeated exposure in non-cured or semi-cured form is the most common route to sensitization.
What this means practically: try to keep nail glue off your skin. If you get any on your cuticle or surrounding skin, wipe it off immediately with a dry cloth before it sets. Don’t pick dried glue off your skin, let it wear away naturally. If you notice any itching, redness, swelling, or rash around your nails during or after wearing press-ons, remove them gently and don’t reapply until you’ve spoken to a dermatologist. A reaction that develops is not a sign of bad luck; it’s your immune system telling you something specific about that ingredient, and it deserves to be taken seriously.
The Part Nobody Talks About Enough: Safe Removal
This is where I see the most nail damage happen, and it is entirely avoidable. Do not force, peel, or yank your press-on nails off. I know the temptation is real when one is lifting. Peeling a press-on off when the glue is still bonded pulls layers of your natural nail plate with it. That’s what causes the thin, bendy, split nails that people blame on press-ons. The press-on didn’t damage the nail. The removal method did.
The two safe methods are warm water soak and acetone soak.
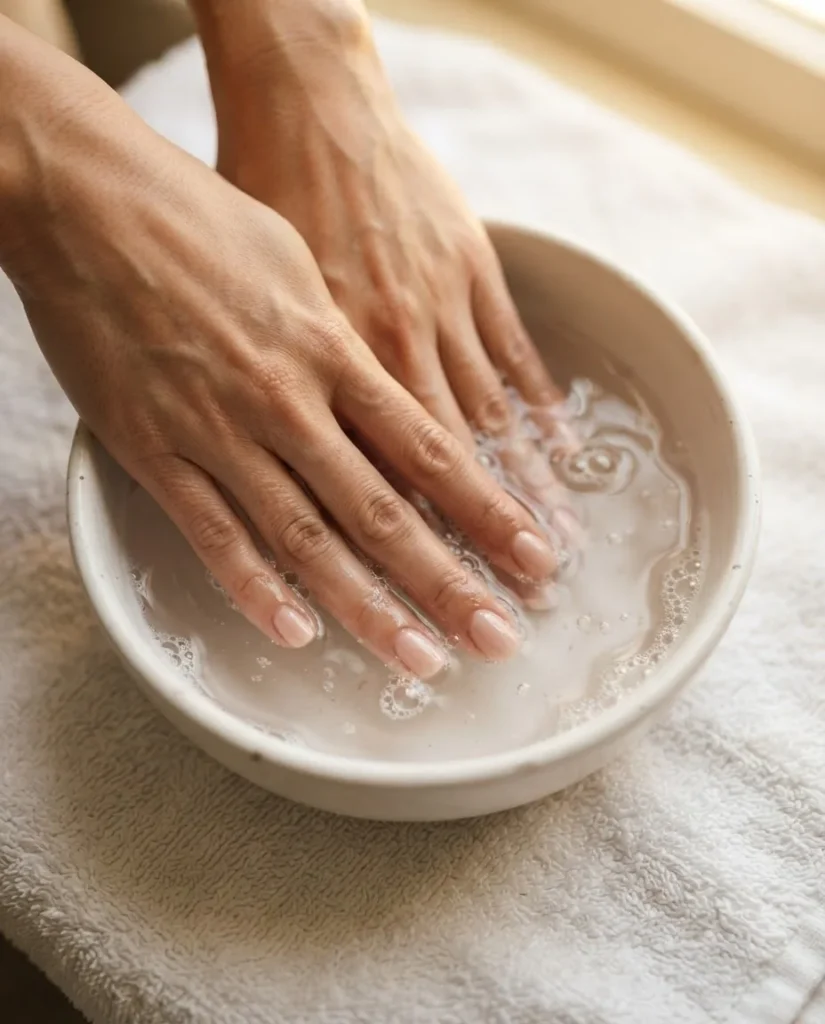
Warm water soak (best for tab-applied press-ons): Fill a bowl with warm, not hot, water. Add a small amount of dish soap and a few drops of any oil. Soak your nails for 15 to 20 minutes. The tabs will soften and the press-on can be gently slid off using a cuticle stick or the back of a spoon. Gentle rocking side to side helps. If it’s still resisting, soak for another five minutes.
Acetone soak (best for glue-applied press-ons): Pour pure acetone into a bowl or use pre-soaked acetone pads. Soak your fingertips for 10 to 15 minutes. The glue will soften and the press-on can be gently lifted with a cuticle stick. Never pull. If it won’t slide, it’s not ready. Soak longer.
Acetone is drying to both the nails and surrounding skin, so apply cuticle oil generously after removal.
After removal by either method, buff away any remaining adhesive residue gently with a fine-grit buffer. Then give your nails a rest. The AAD’s guidance on how to maintain healthy nails recommends keeping nails clean and dry, avoiding harsh products, and moisturizing the nails and surrounding skin regularly. Give your nails a few days between sets to breathe, and apply a nail strengthener or a nourishing base coat if they feel thin.
Watch for these warning signs: If you notice any discoloration (yellow, white, or green tinge) under the nail after removal, swelling, tenderness, an unusual odor, or any visible separation between the natural nail and nail bed, those are signs of a possible fungal or bacterial infection. See a dermatologist rather than trying to treat it at home or covering it with another set.
Can You Reuse Press-On Nails?
Yes, with the right approach. If you applied your press-ons with adhesive tabs, removal is gentle enough that the press-on comes off largely intact. Remove any tab residue by gently rubbing it away or using a small amount of acetone on a cotton swab, just on the inside of the press-on, not on your nail. Clean the inside with an alcohol wipe, let it dry completely, then apply a fresh tab before reapplication. Most good-quality press-ons can be reused two to four times this way.
If you used nail glue, the inside of the press-on will have dried glue residue that is difficult to fully remove without potentially damaging the nail itself. You can try filing the inside flat with a fine-grit file, but the fit and bond on the second wear tends to be less reliable. For reuse purposes, tabs are genuinely the better choice.
The “It Looks Fake” Problem and How to Fix It
The fake-looking press-on is almost always caused by one of three things: a visible gap at the cuticle, a shape that doesn’t suit the natural nail, or a finish that’s too thick or too glossy for the natural nail shape.
For the cuticle gap: prep and sizing, as covered above.
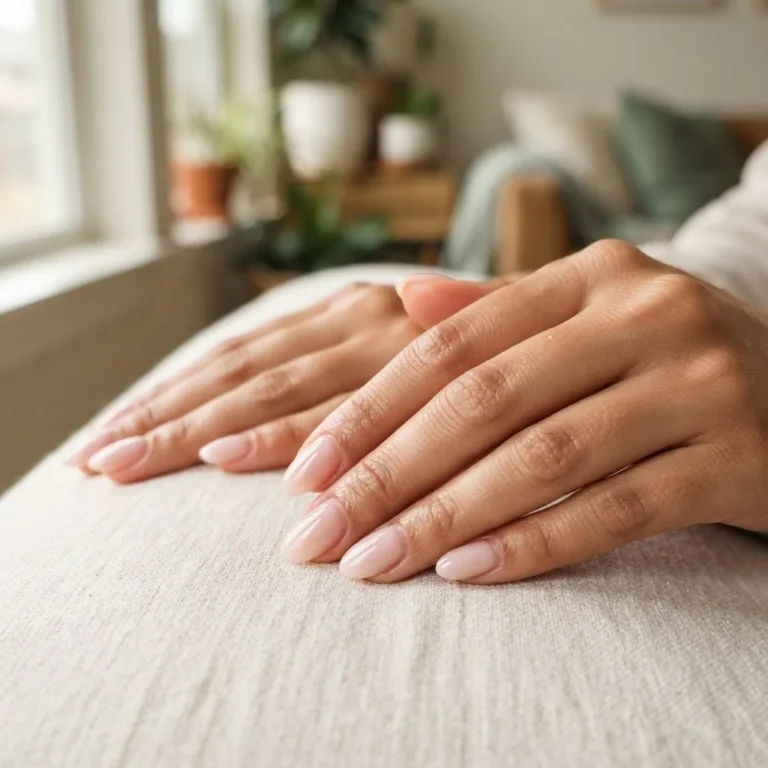
For the shape mismatch: spend time in the sizing step trying different shapes against your actual nail bed before committing. An almond or oval will look more natural on most finger shapes than a very squared coffin. The “natural” look is mostly about proportion.
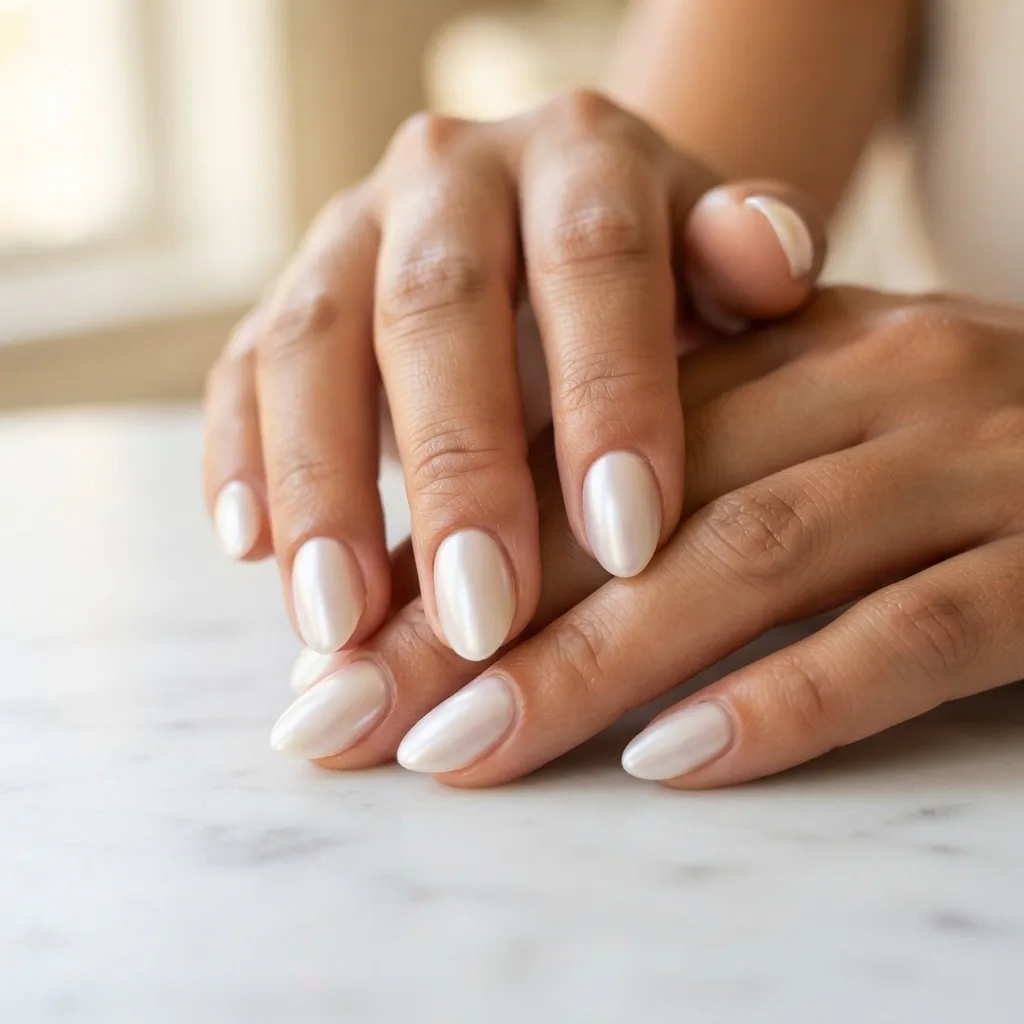
For the finish: high-gloss gel finishes look incredible in photos but can read as obviously artificial in real life on certain nail shapes. A soft satin or “glazed” finish tends to look more natural and integrated. If your press-ons look plasticky, a coat of a softening matte or satin top coat can tone down the glassiness and make them look more like a polished gel manicure.
One last thing: clean up the edges. After applying, look at each nail from the side and the front. If there are any small overhanging edges, file them gently to match the curve of your finger. This small step makes a genuinely significant visual difference in how real the set looks.
Your Starter Kit: What You Actually Need
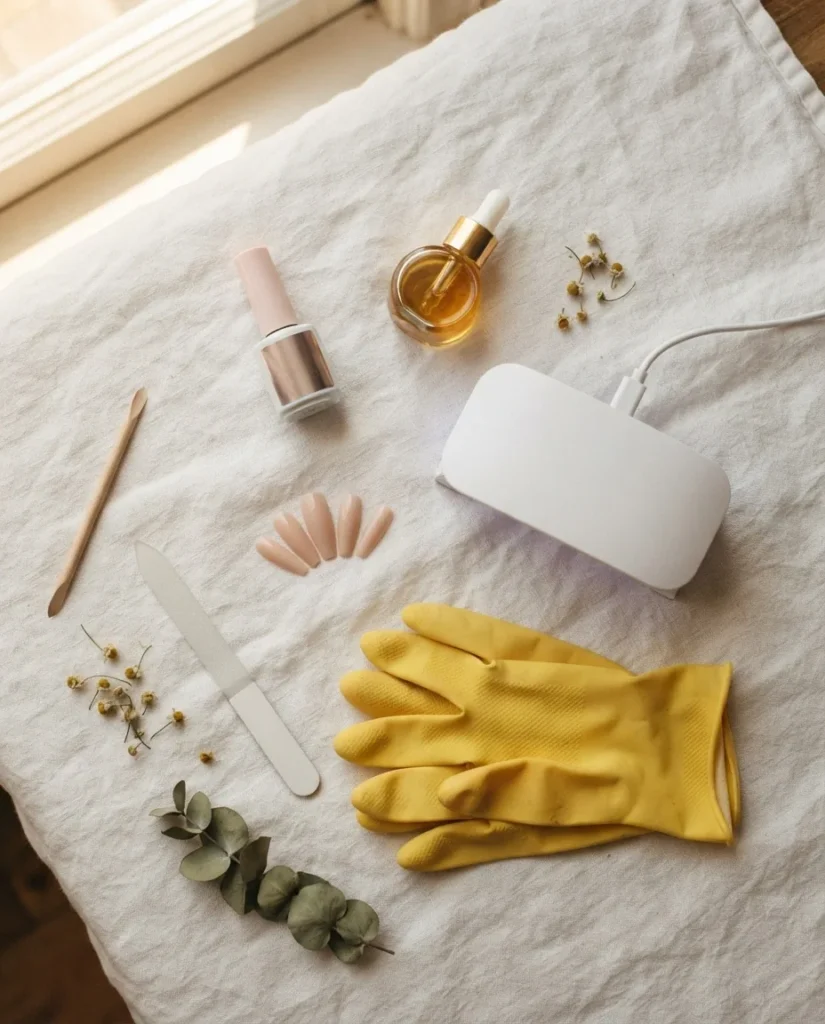
You don’t need much. Here’s what makes a real difference and what you can skip.
The things worth spending on are a good-quality buffer (not a cheap foam one that falls apart), a decent cuticle pusher, and 100% pure acetone for removal. Everything else can be drugstore-budget and still perform. A decent kit of press-ons runs anywhere from $8 to $25 depending on the brand and where you shop. Adhesive tabs are typically included in kits or sold separately for a few dollars. A small bottle of nail glue costs $3 to $8 at any drugstore and lasts for many applications.
The thing I’d skip for now is fancy nail primers marketed specifically for press-ons. Isopropyl alcohol from the drugstore does the dehydration job effectively for most beginners. Once you’re consistently getting week-plus wear and want to push further, that’s when a proper dehydrator is worth trying.
One Last Thing Before You Start
If I can go from watching a press-on slide off into soup to getting consistent two-week wear from my kitchen table in Chicago, you can absolutely get there too. The learning curve is genuinely not steep, it’s just specific. Prep matters. Sizing matters. Holding that nail down for a full 30 seconds matters more than any fancy product you can buy.
Start with a shorter length and a shape that flatters your fingers. Use tabs for your first few tries so you can remove and re-apply without stress. Give yourself one full application attempt to learn the sizing quirks of your nail beds, and by your second set you’ll already feel like you know exactly what you’re doing.
That’s the whole secret, really. One wobbly attempt, a little patience, and then suddenly it’s just something you know how to do.