Easy Morning Hairstyles That Actually Take Two Minutes
Let me be honest with you before we start. When I was a salon assistant in Austin, I watched clients come in on their lunch break apologizing for their hair. “Sorry, I just threw it up this morning, I ran out of time.” And every single time, the stylist would look at it and say something like, “That actually looks really good.” The thing is, most of those women had no idea what they were actually capable of doing in five minutes or less. They just needed someone to show them the steps and, more importantly, to be honest that it does not require a styling degree.
That’s this article. Not fifteen impossible looks dressed up as “easy.” Actual two-minute hairstyles, with real instructions, real tool lists, and real notes on which ones suit which hair types. I’m also going to tell you which ones work best on second-day hair (so you can plan your week, not just your morning), and when to use a heat tool vs. when to skip it entirely.
Ready? Let’s get into it.
The Morning Hair Reality Check (And Why Most Tutorials Fail You)
Here’s the part nobody talks about: most “quick” hairstyle tutorials aren’t actually quick for you if you’ve never done the look before. The first time you attempt a claw clip chignon, it might take seven minutes. The fifth time? Under ninety seconds. So when I say “two minutes,” I mean two minutes once you’ve run through it a couple of times. That’s real, honest information, and I want you to have it so you don’t feel like you failed if the first attempt takes a little longer.
Also worth knowing: how you prep your hair the night before (or even just how you sleep on it) makes a huge difference in how fast your morning goes. I’ll note prep tips where they’re relevant. This isn’t about adding steps. It’s about shifting some of the “work” to a time when you’re not rushing.
One more thing I want to flag before the styles: if you use heat tools daily, please do not skip a heat protectant. The American Academy of Dermatology’s hair styling guidance is really clear that heat is one of the most common sources of preventable hair damage, and that even reducing heat tool use a few days per week makes a difference. I’ll point out which styles in this list are completely heatless so you can sprinkle those in.
Now, the looks.
The Five-Minute Toolkit: What You Actually Need
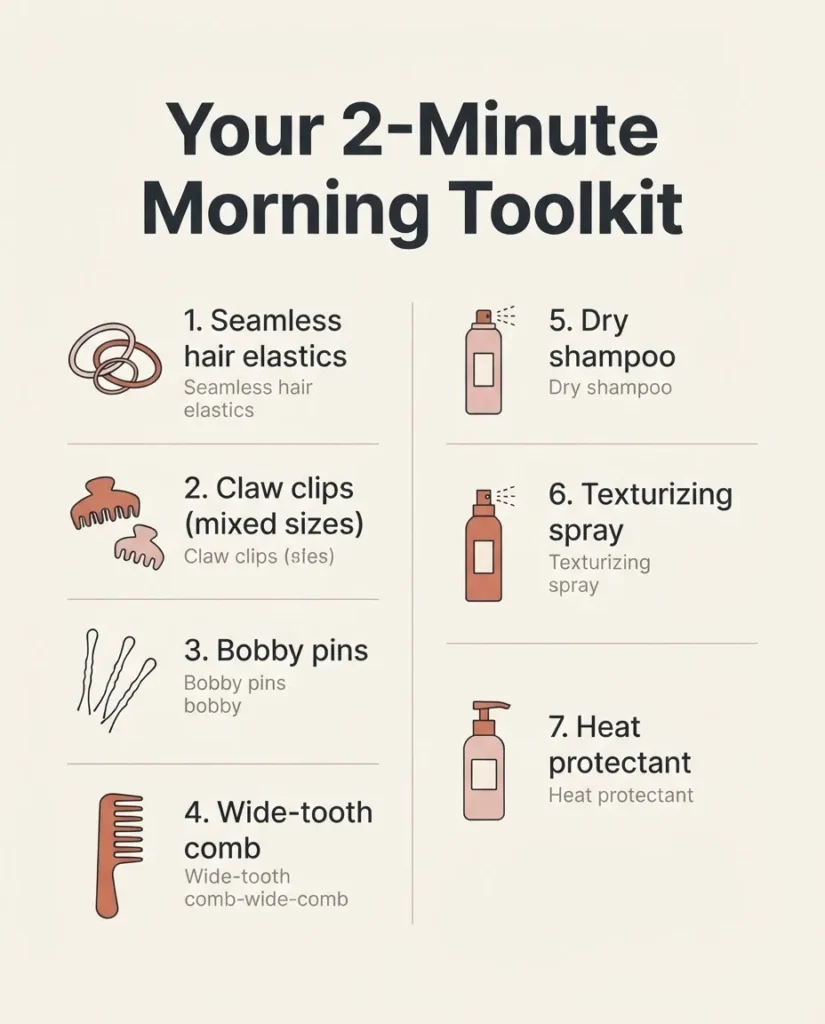
You do not need a cabinet full of products to do any of these styles. Here’s a genuinely minimal list:
- A few hair elastics (the seamless kind are gentler on hair)
- Two or three claw clips in different sizes
- A handful of bobby pins
- A wide-tooth comb or a Denman-style brush
- Dry shampoo for second-day starts
- A light-hold texturizing spray or a small amount of hair oil for finish
- A heat protectant spray for any style that uses a tool (more on this below)
That’s it. Every style in this article uses a combination of those items. I’ll specify what you need for each one.
Part One: The Classics, Upgraded
These are the styles most people already attempt but often feel like they’re doing slightly wrong. A few tweaks make all the difference.
1. The Effortless Low Bun
This is the style I default to when I have exactly ninety seconds and I cannot think of anything else. The reason it goes wrong for most people is that they try to make it too neat. The secret is the opposite: controlled messiness is the goal.
Gather your hair at the nape of your neck and twist it into a loose rope. Then wrap that rope around itself once and secure it with an elastic. Pull a few face-framing pieces out at the front with your fingers (never a comb, that makes them too sharp and structured). Then take your index fingers and gently tug the bun wider at the sides to make it look fuller and more intentional. That widening step is the one most tutorials skip, and it’s what makes the difference between “I gave up” and “I chose this.”
Best for: All hair lengths at or past the shoulders. Fine hair: use a texture spray first so it has something to grip. Thick or coily hair: this works beautifully with a little smoothing serum on the surface. Second-day hair: Yes, perfect. Dry shampoo at the roots first, then proceed.
2. The Twist-and-Pin Half-Up
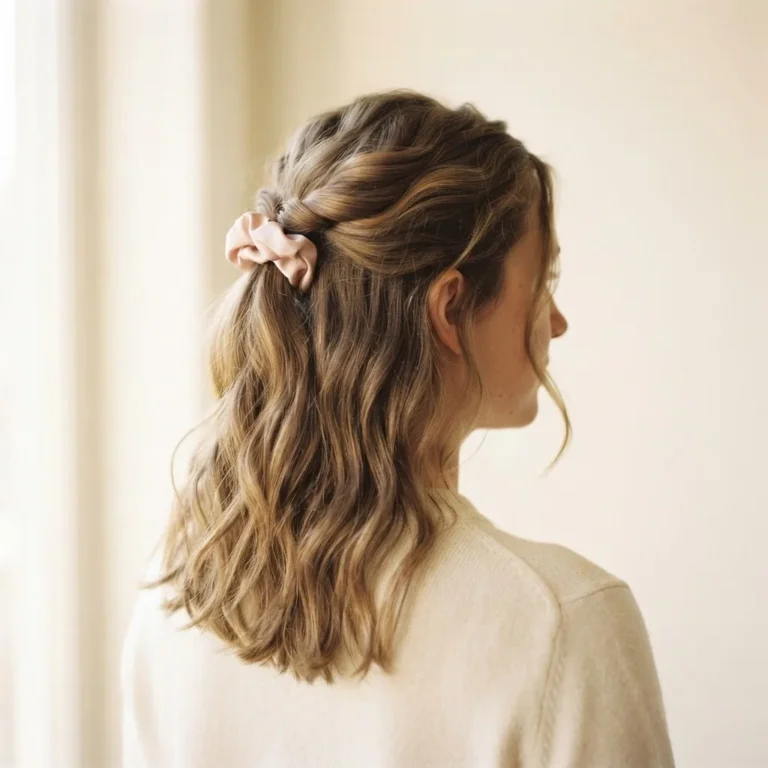
Take the top half of your hair, twist it loosely from the front toward the back of your head, and then fold it under at the midpoint and pin it flat. It takes about six bobby pins and looks like you spent twenty minutes on it. The trick is to cross your bobby pins in an X formation rather than using them in a single direction; crossed pins hold dramatically better, especially on fine or silky hair.
Best for: Medium to long hair. Works really well on wavy hair because the existing texture hides any unevenness. For very straight hair, a tiny bit of hairspray before you pin helps the twist stay put.
Second-day hair: Excellent. The slight texture of unwashed hair actually makes this easier to hold.
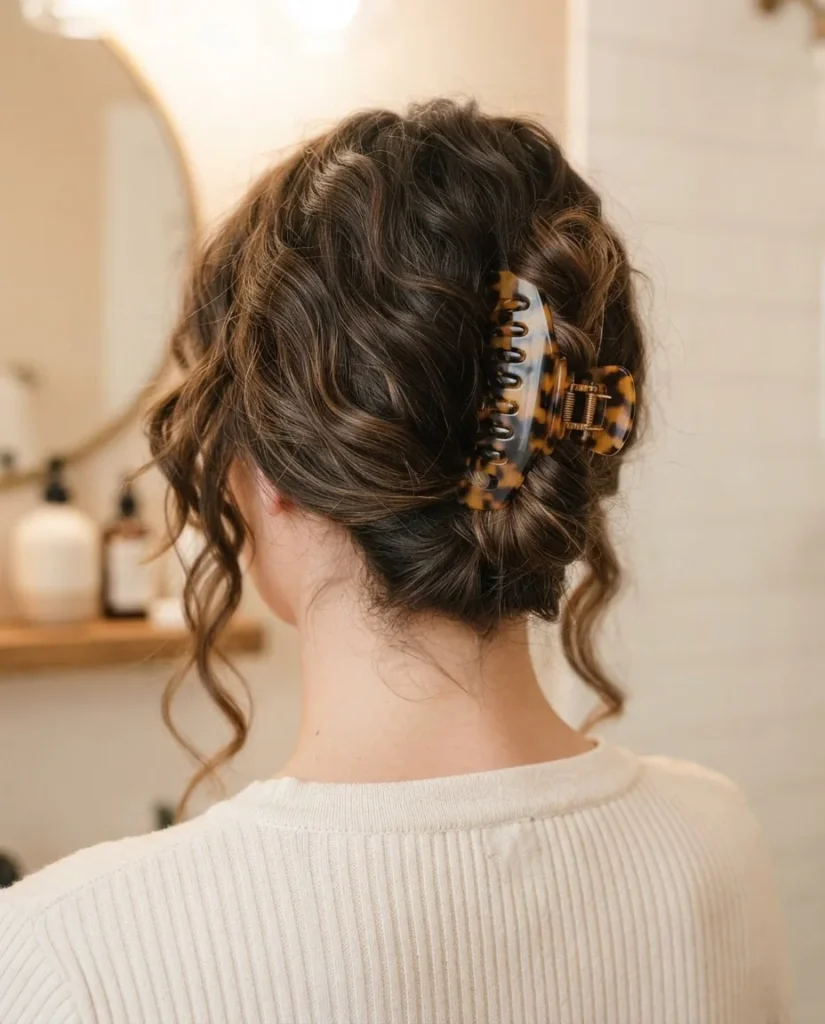
3. The Classic Claw Clip Updo
The claw clip is one of the easiest ways to nail a polished look with almost no skill required, which is why it keeps trending. There are two ways to do this that look completely different.
Version one: gather your hair into a loose ponytail at the back of your head, twist it once, fold the twisted length up toward the crown, and clip the claw through the folded hair vertically. Messy, volume-forward, very “off-duty model.”
Version two: gather a half-up section of hair at the crown, twist it back and clip it horizontally. This one works on shorter hair too, and it’s one of the most flattering looks for face-framing effect.
For thin or fine hair, clip in some volume before you clip: tease the crown section lightly with a wide-tooth comb first. For thicker hair, you may need a bigger clip than you think. A large clip on thick hair is always better than a small clip that’s fighting to stay closed.
Second-day hair: Made for it.
Part Two: Braid-Based Styles for Real Skill Levels
I know “braid” sounds immediately intimidating to a lot of beginners. I hear you. I spent months watching braids happen in the salon before I felt confident trying them myself. But the styles in this section are genuinely more accessible than they look, and if you want to start completely from scratch on braiding basics, Instructables has a beginner-friendly braiding walkthrough with photos at every step that I’ve recommended to people who truly have never braided before.
4. The Three-Strand Braid Low Pony
This is the version of a braid that everyone can do. Gather your hair into a low ponytail and secure it. Then braid the pony itself (three sections, right over middle, left over middle, repeat) and tie off the end. Once it’s done, gently tug the sides of the braid outward section by section to make it look fuller and more “Instagram.”
It takes under two minutes once you’ve done it a couple of times, and it looks far more deliberate than a regular ponytail.
Best for: Long and medium hair. Works on all textures. Beginner note: If your braid feels loose and messy at first, that’s actually the aesthetic. Don’t redo it. A slightly imperfect braid looks effortlessly stylish in a way a tight one doesn’t.
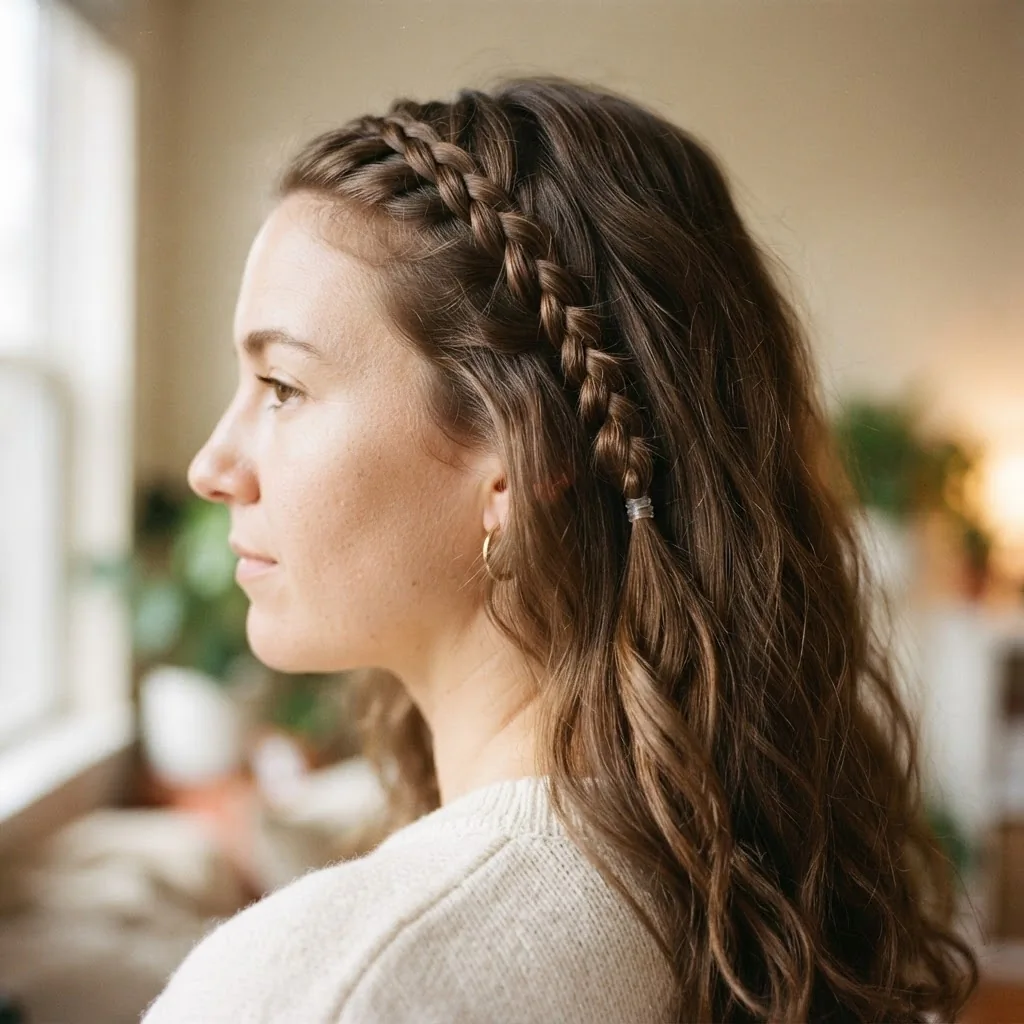
5. The Baby Braid Accent
Take a small section of hair from just beside your part, braid it all the way down (a simple three-strand), and leave the rest of your hair down. Secure the braid at the end with a tiny clear elastic and let it blend into the rest of your hair. That’s it. It takes about forty-five seconds. This is a huge Pinterest look right now because it gives down hair a “done” quality without actually doing anything to the rest of it.
Best for: Any length that’s at least chin length. Natural and wavy textures look especially beautiful with this because the accent braid contrasts the texture around it.
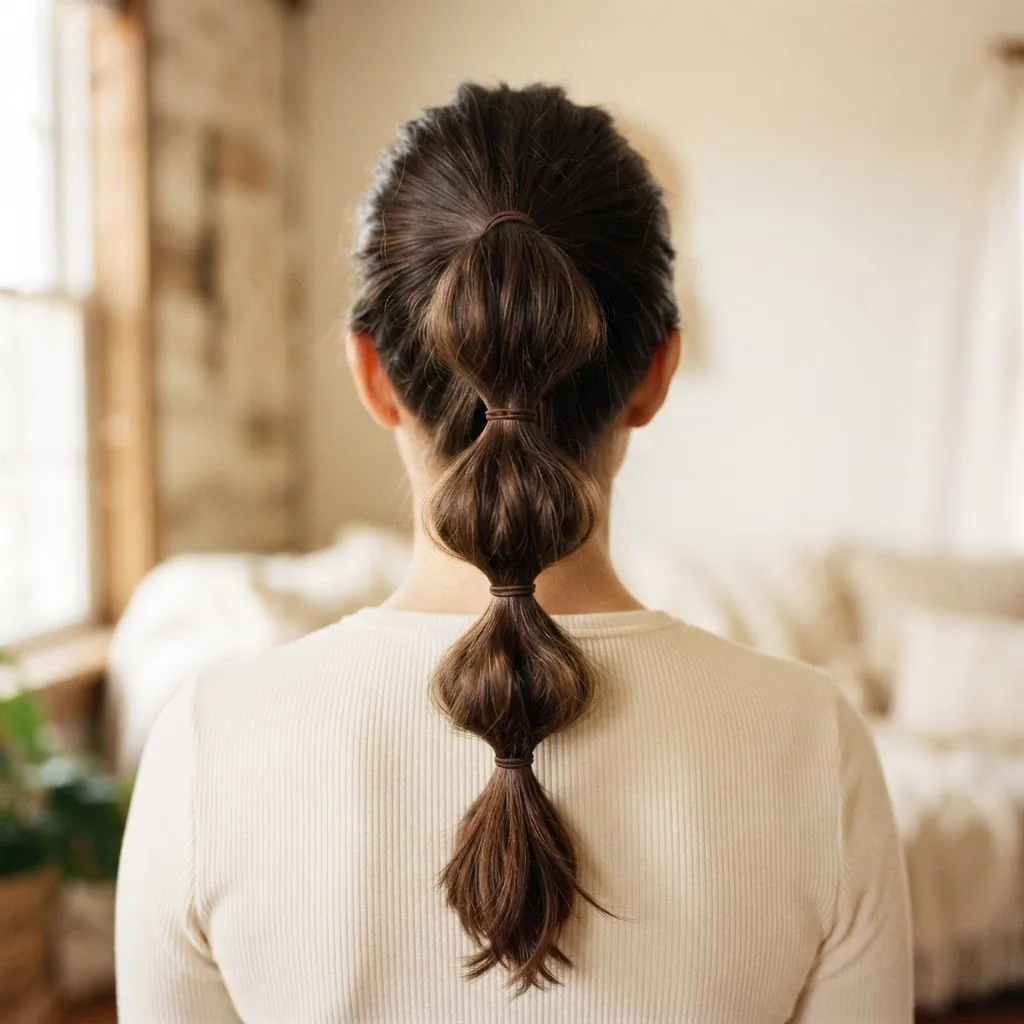
6. The Bubble Braid Pony
This is one of my favorite styles to recommend to people who want something that looks impressive without requiring actual braiding technique. A bubble braid is just a ponytail with multiple elastics spaced a few inches apart down the length, with each section gently “puffed” outward with your fingers to create a bubble shape. That’s genuinely all it is. No braiding, just elastics.
Pull your hair into a high or low pony, secure it, then add another elastic about two inches down and puff the hair between them. Repeat until you reach the end. For a full step-by-step of the technique and some of the variations you’ll see on Pinterest, HotBraids has a thorough bubble braid guide worth bookmarking.
Best for: Medium and long hair, all textures. On thick hair, the bubbles are naturally fuller. On fine hair, a bit of texturizing spray in each section before you puff helps create volume. Second-day hair: Great, second-day texture makes the bubbles hold their shape better.
Part Three: Ponytail Variations That Don’t Look Like a Ponytail
The basic ponytail gets a bad reputation for being boring. In reality, it’s the base for some of the most versatile quick styles out there. The difference is just a small detail or two.
7. The Wrapped Ponytail
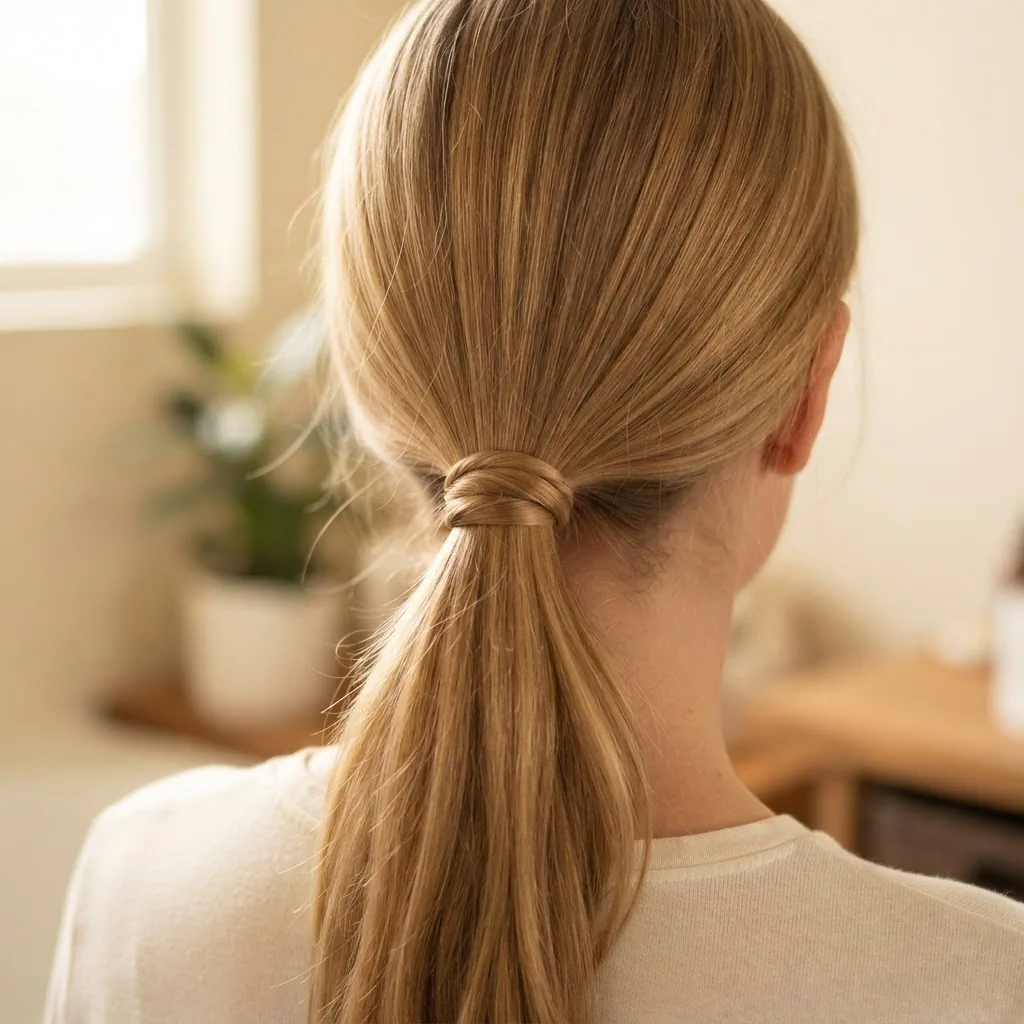
Do your normal ponytail. Then take a small strand from underneath the ponytail itself, wrap it around the elastic once or twice to hide it, and secure the end with a bobby pin underneath. This single step transforms a regular ponytail into something that looks intentional and polished. It takes about twenty extra seconds.
Best for: All hair types and lengths past the chin.
8. The High Textured Pony
Pull your hair into a high ponytail while blasting the roots with a blow dryer on high heat for about fifteen seconds before securing. This creates volume at the root that holds through the day. If you’re using heat even for just fifteen seconds, do apply a small amount of heat protectant spray first. Research published in PMC confirms that even low-temperature repeated heat exposure causes cumulative cuticle surface damage, so it’s worth making the protectant a reflex even for quick heat moments.
Best for: Straight and wavy hair. Fine hair especially benefits from the volume this creates. Heatless version: Flip your head upside down, gather and secure the ponytail while inverted, then flip back up. Same volume result, zero heat.
9. The Twisted Pony
Part your hair down the middle all the way to the nape of your neck, creating two equal sections. Twist each section toward the back, then combine both into a single ponytail and secure. The twist pattern at the sides creates a clean, intentional look that reads as much more styled than a standard pony. You can leave the ponytail loose and curly, or braid the tail itself.
Best for: All lengths at or past the shoulders, all textures.
10. The Side-Swept Low Pony
Everything to one side, secured low at the nape. The positioning alone changes the look entirely. Add a wrapped end or a satin scrunchie to elevate it. For wavy and natural textures, this is one of the most flattering and effortless options because side positioning tends to show off texture beautifully.
Part Four: Heatless Styles Worth Knowing
These styles require zero heat tools. Some of them also double as overnight sets, meaning you can sleep in them and wake up with styled hair for the next day.
11. The Satin Scrunchie Bun
Identical technique to the low bun in style one, but you use a satin or silk scrunchie instead of a standard elastic. This matters more than it sounds. Regular elastics create a crease point in the hair shaft and can snap fine strands over time. A satin scrunchie distributes tension more evenly and is gentler on the hair, especially on highlighted or chemically processed hair that’s more fragile. This is one of those really simple swaps with a genuine payoff.
12. The Sleep-Braid Waves
This one works the night before for the following morning. Braid your slightly damp hair into one or two loose braids before bed, sleep on a satin pillowcase, and take them out in the morning. You’ll have soft, wavy texture with zero heat. The waves are more defined on natural and wavy hair, and more relaxed on straight hair. Either way it gives straight hair some much-needed morning texture. Add a tiny drop of oil to your palms, smooth them over the surface, and your “hairstyle” is just leaving it down with beautiful texture.
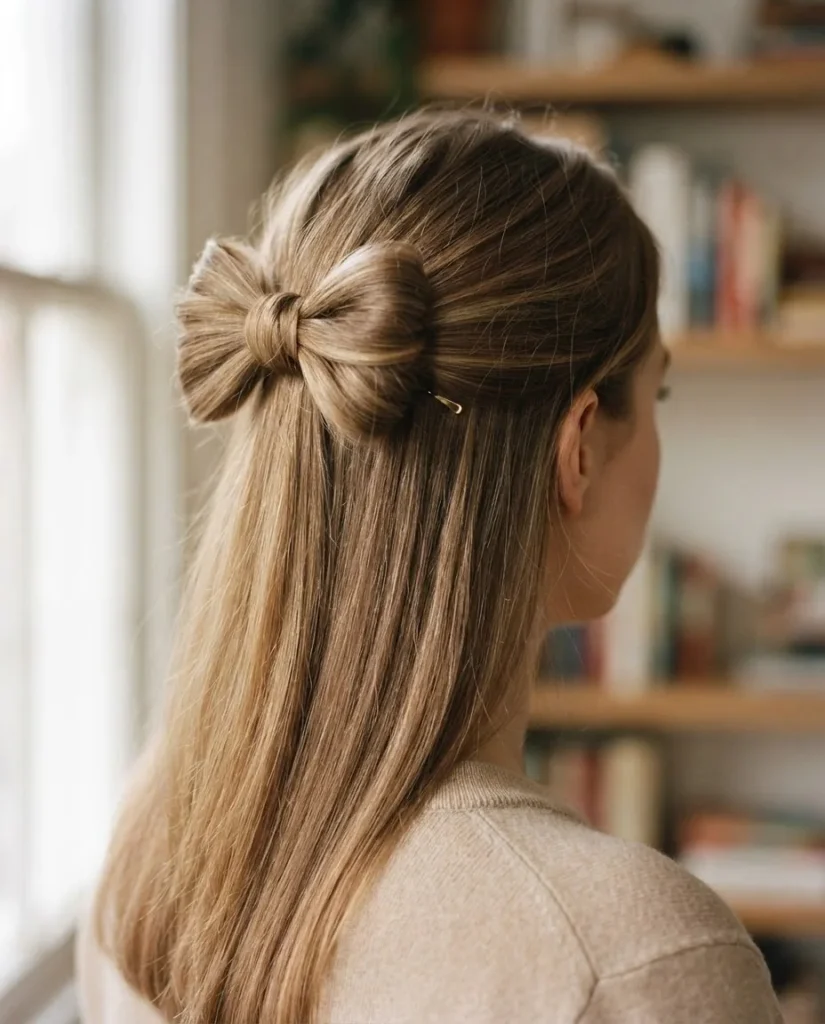
13. The Half-Up Hair Bow
Yes, the hair bow look that has been all over Pinterest. It’s easier than it appears. Pull the top half of your hair into a low half-pony, but on your last loop through the elastic, only pull the hair halfway through so you have a loop, not a full ponytail. Then take that loop and shape it into two bow “wings” on either side by gently pulling the loop apart. Tuck the remaining tail under and secure with pins. It sounds complicated written out, but watch it once on video and you’ll see it’s genuinely a two-minute look.
Best for: Fine to medium hair length. Thick hair can do this too with a slightly larger starter section.
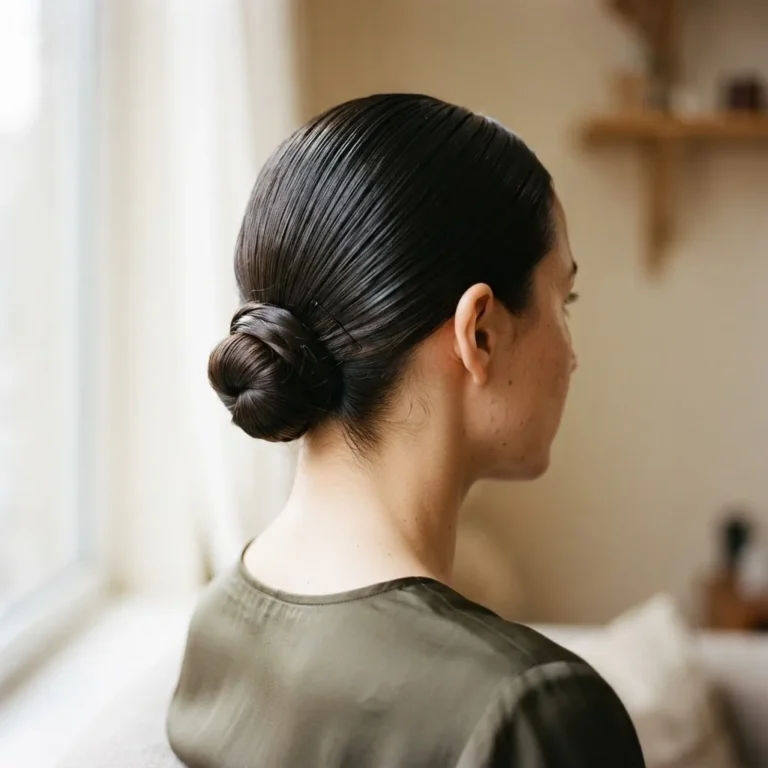
14. The Sleek Claw Clip Chignon
Apply a light styling gel or edge control along the hairline and at the roots. Smooth everything back (you can use a soft bristle brush here), gather at the nape, twist it up into a tight chignon shape, and clip. The “sleek” factor comes entirely from the smooth roots, not from any special skill. This is a great low-manipulation style for anyone managing breakage or trying to give their scalp a rest from tension-heavy styling.
Speaking of which: while pulling your hair up neatly every day looks polished, the AAD has noted that hairstyles worn tightly and repeatedly can contribute to traction alopecia, a form of gradual hair loss at the temples and hairline. This doesn’t mean avoid updos; it just means varying where you place your elastic, not always securing at the exact same tension point, and switching things up with loose styles regularly.
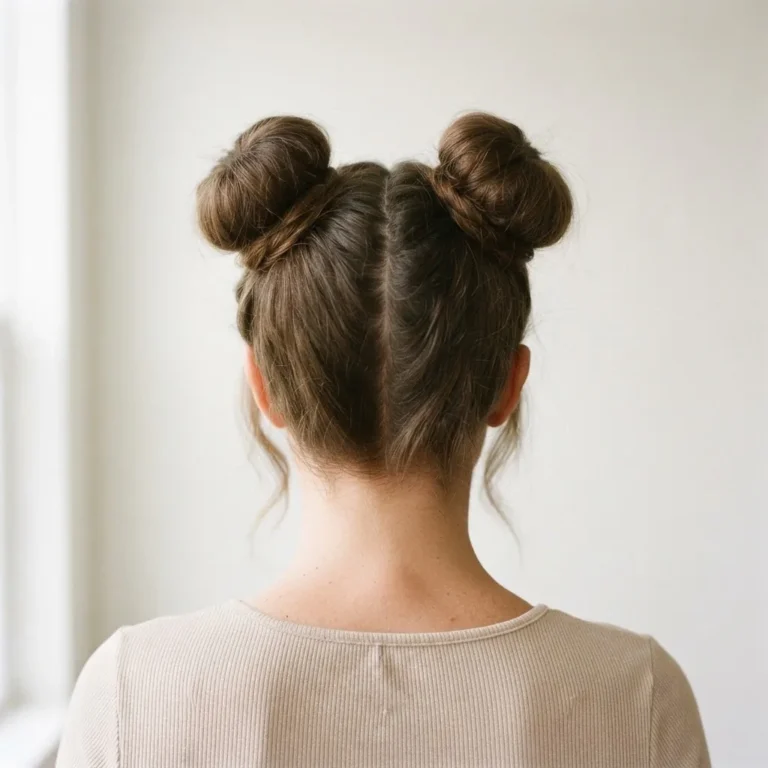
15. The Top Knot Bun
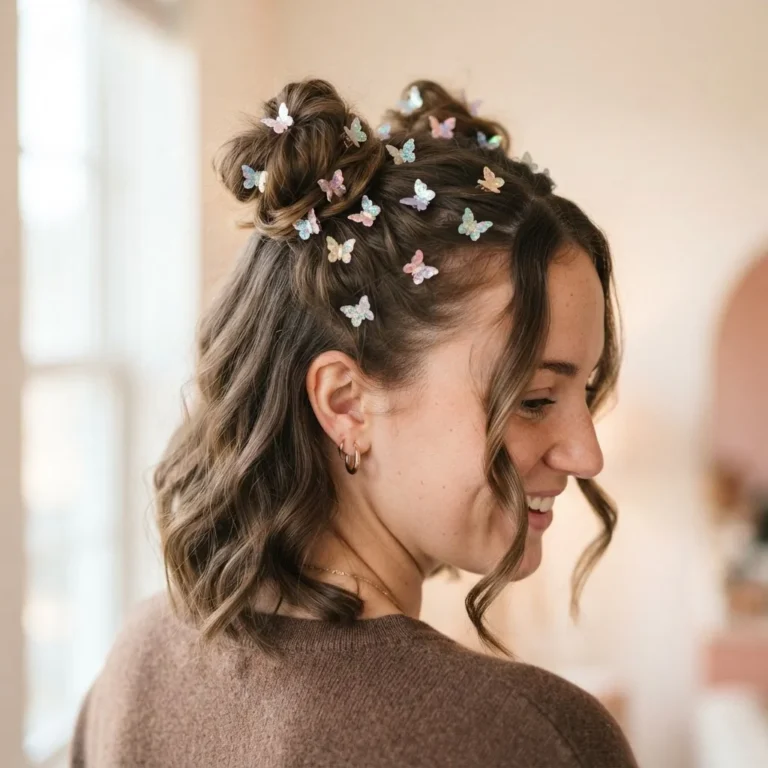
Gather all your hair at the very top of your head (higher than you think looks right, trust me), twist it loosely, and wrap it around into a bun. Secure with an elastic and pull a few pieces out at the front. That’s genuinely it. On shorter hair that doesn’t quite make it all the way, just secure what you can and let the shorter pieces fall naturally around the face. Those become face-framing pieces, not a mistake.
Best for: Works across all hair types. Very thick hair may need a bigger, stronger elastic.
Quick Adjustments by Hair Type
Because this is where most tutorials completely abandon you:
Fine and straight hair loses hold fastest. Your best friends are texturizing spray before styling, crossed bobby pins rather than single pins, and not over-brushing (which flattens any volume you create). Avoid elastics that are too tight as they can dent fine strands.
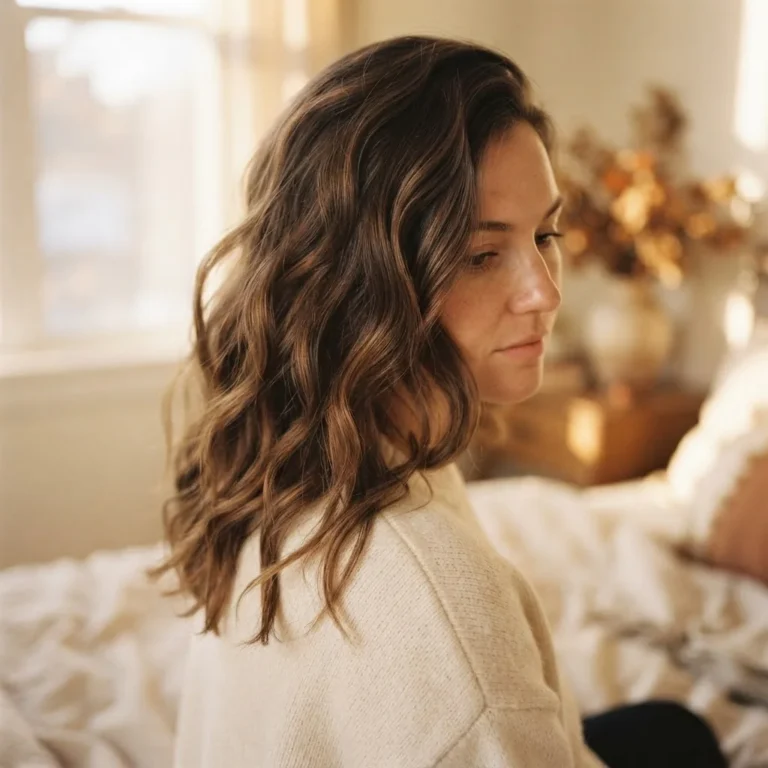
Wavy and medium-texture hair is actually the easiest hair to work with for quick styles because it has natural grip and enough texture to hold most of these looks without additional product. A scrunching motion with a small amount of leave-in or mousse refreshes your waves on second-day hair in about thirty seconds.
Thick and coily hair benefits from a tiny amount of smoothing cream or oil at the surface to control frizz without weighing hair down. Don’t fight the volume on most of these styles; work it in. A bigger claw clip and stronger elastics make a practical difference.
The Night-Before Trick That Makes Mornings Way Faster
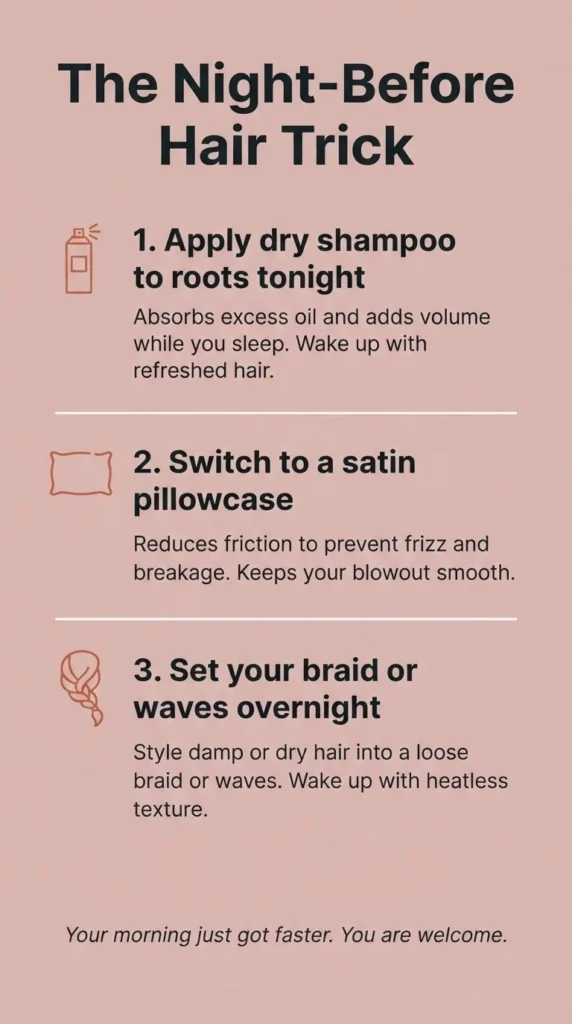
One of the most underrated things I picked up from watching stylists is that morning speed is almost always earned the night before. Three simple habits: apply your dry shampoo before bed rather than in the morning (it has all night to absorb and works better that way), sleep on a satin or silk pillowcase to reduce friction and morning frizz, and if you’re going to wear a braid or wave style tomorrow, start it as an overnight set the night before.
Following the AAD’s tips for healthy hair, including gentle detangling before bed rather than morning yanking through knots, is also a habit that pays off in both speed and hair health over time.
Before You Go: Honest Expectations
Two minutes is real. It is not a fantasy. But it does come with a small condition: you need to have run through the look a couple of times first, so your hands know what they’re doing when the clock is ticking. Give yourself one low-pressure run-through on a weekend morning.
Once your muscle memory is there, the two-minute claim holds up.
Pick two or three styles from this list that feel most like your vibe. Rotate them. Let your hair rest from heat a few days a week by leaning on the heatless options. And remember: the goal is not perfection. It’s feeling like you made a choice about your hair, because you did.
You’ve got this.