15 Easy No-Wash Hairstyles That Hide Greasy Roots Fast
Let me tell you something nobody says out loud: some of the most beautiful hairstyles you’ll see on Pinterest were done on second, third, or fourth-day hair. Grease is practically a styling product if you know what to do with it. The grip, the hold, the texture, the weight, they all work in your favor when you’re braiding, pinning, or twisting. The problem isn’t greasy hair. The problem is not knowing what to reach for.
I spent years in a salon in Austin watching stylists work with all kinds of hair, and I can tell you that the women who came in for updos on day-three hair often had the best results. Their hair held shape, took a pin without slipping, and braided like a dream. That said, I also know what it’s like to stand in front of a mirror with roots that look like you’ve been deep-frying something and absolutely no plan. That’s what this article is for.
Below you’ll find 15 hairstyles for greasy hair that are genuinely doable at home, organized by the type of look and adjusted by hair type so you know exactly which ones to try first. I’ll also cover what to do before you style, and one honest note about dry shampoo that I wish someone had told me sooner.
Before You Style: The Quick Two-Minute Prep
You don’t need dry shampoo to make these styles work, but if you have it, a little goes a long way. Here’s what’s actually happening when you spray it: dry shampoo uses starch-based or alcohol-based ingredients to absorb the excess sebum (the oil your scalp naturally produces) sitting at your roots. It doesn’t clean your hair, and it’s not a substitute for washing. But for a styling day, it gives you a bit of lift and reduces that flat, weighted-down look that greasy roots create. According to Healthline’s overview of how dry shampoo works, the starch particles physically bind to oil molecules and allow you to brush them away, which is why the “spray, wait 60 seconds, then brush” method actually matters. Don’t just spray and go.
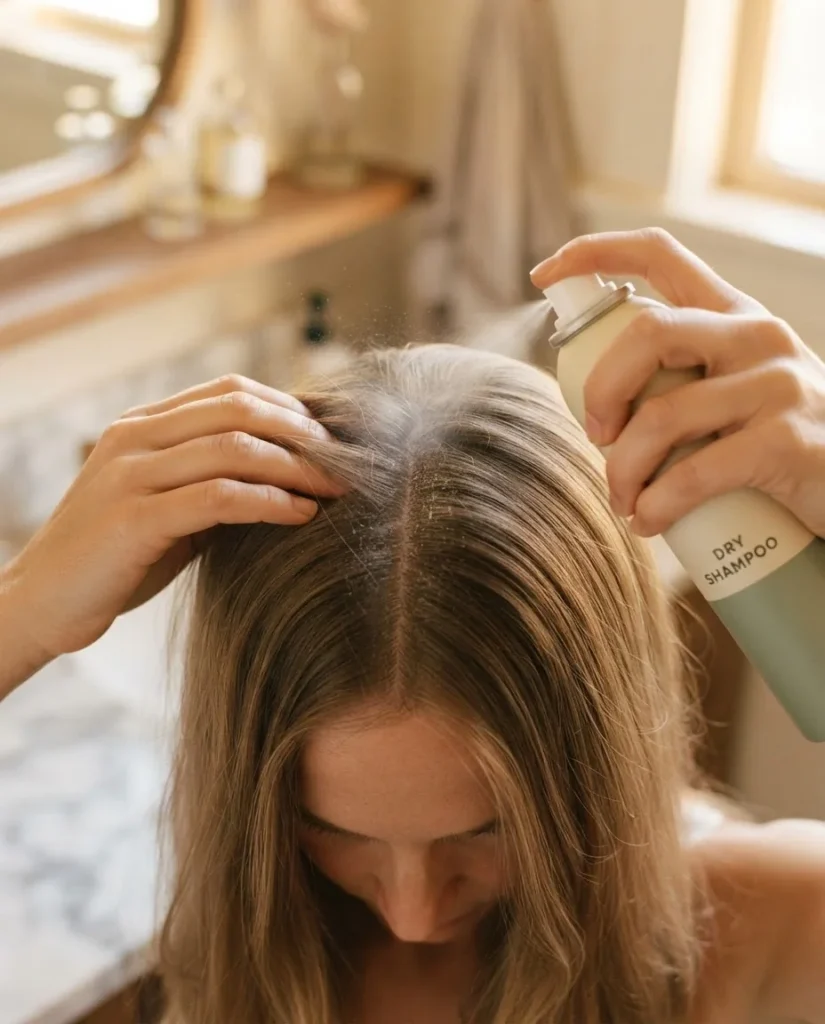
One thing worth knowing: the American Academy of Dermatology has a specific page on how to use dry shampoo safely, and dermatologists there are clear that if you leave dry shampoo sitting on your scalp without brushing it out, it can cause buildup that leads to hair breakage and shedding over time. If your scalp starts itching, burning, or feeling irritated after dry shampoo use, stop and give your scalp a proper wash. Used correctly and occasionally, it’s a great tool. Used every day as a washing substitute, it can quietly cause problems.
If you don’t have dry shampoo, don’t panic. A light dusting of cornstarch from your kitchen pantry works the same way in a pinch, just work a tiny amount into your roots with your fingertips, let it sit a moment, then brush it through. And honestly, several of the styles below don’t need any product at all.
The Styles: 15 Hairstyles for Greasy Hair, Organized by Type
Quick Updos That Take Under Five Minutes
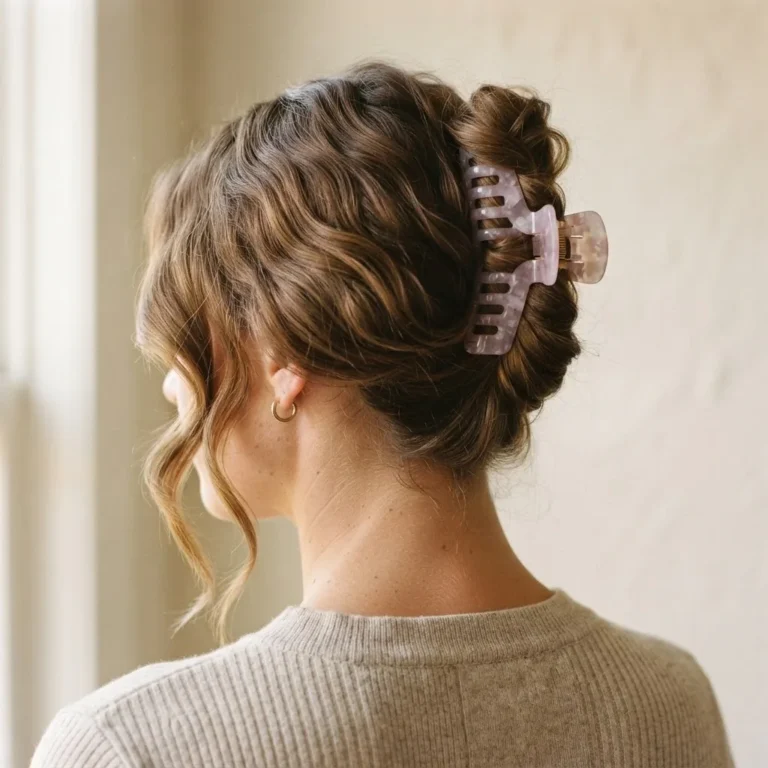
1. The Claw Clip Updo
This is genuinely the fastest route from greasy to chic on the menu. A claw clip gathers everything up, hides the roots by tucking them under the clip, and leaves pieces framing your face so the whole look feels intentional rather than desperate. The trick beginners miss is this: don’t try to make it perfect.
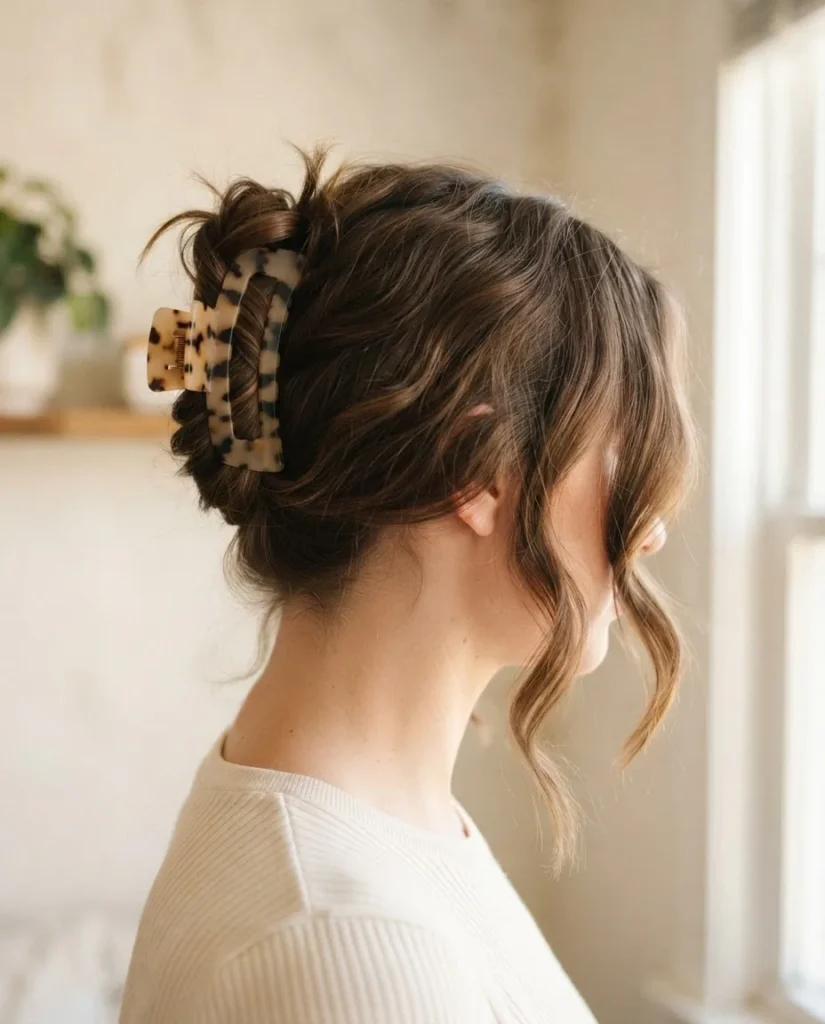
Twist your hair loosely before clipping, pull a few strands out around your face, and leave a little messiness at the top. Perfection here actually looks worse. Hair.com’s claw clip hairstyle guide shows a range of variations from the twist-and-clip to the half-up version, and it’s a great visual reference for the different ways to place the clip depending on your hair length.
Fine hair tip: Use a smaller clip and gather less hair so the clip can actually grip. Larger clips on fine hair tend to slip.
Thick hair tip: You may need two clips, one placed slightly behind the other, or a jumbo claw that can handle the volume.
2. The Messy Top Knot
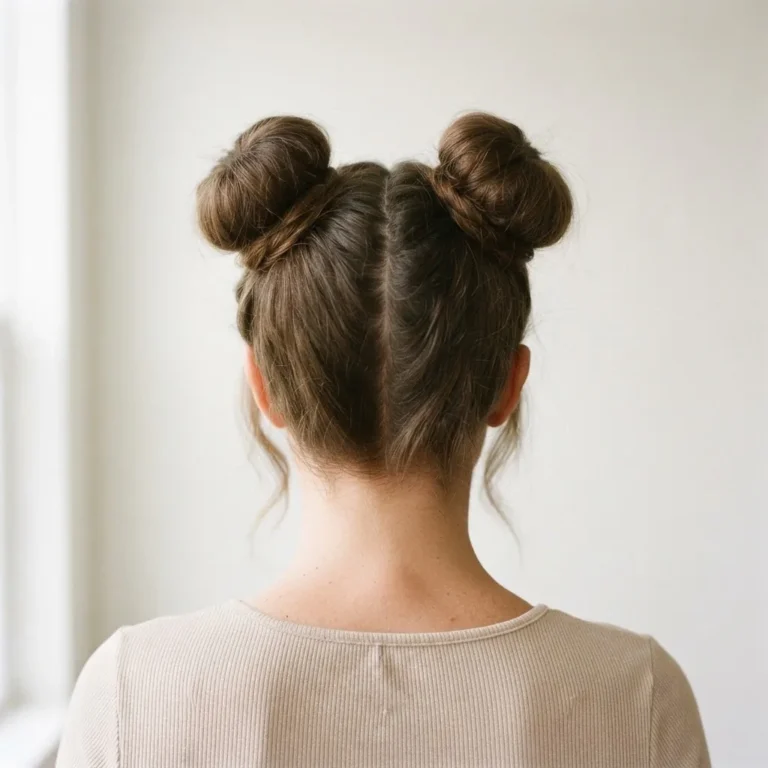
Twist your hair up into a bun at the crown, wrap it around itself, and secure with a hair tie and a few bobby pins. Pull it apart very slightly with your fingers so it looks deliberately undone. The messiness is the whole point with greasy hair because it distracts from the fact that the roots aren’t freshly washed. High placement moves the oiliest part (the roots) up and away from the most visible vantage point.
Curly and wavy hair tip: Don’t pull this too tight. Greasy curls respond well to a loose pineapple-style top knot where the curl texture shows through the top of the bun.
3. The Low Sleek Bun
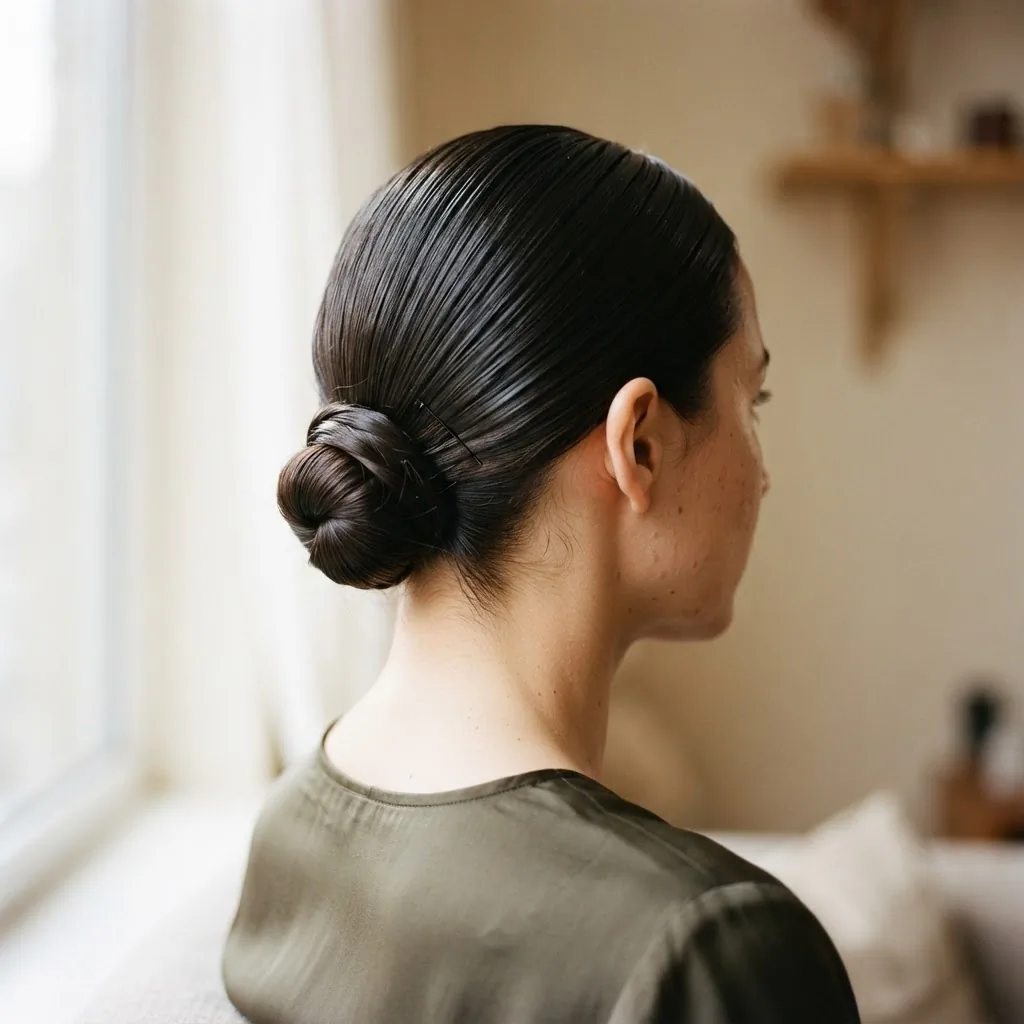
This is the “lean into it” move. Instead of hiding the oil, you use it. Smooth your hair back with a boar-bristle brush or a fine-tooth comb, gather it into a low ponytail, twist the tail, wrap it into a bun, and secure with pins. The natural oil makes your hair lie flat and shiny in a way that looks intentional and polished. This is the hairstyle that has a name on TikTok: the “wet look bun,” and people are actively trying to recreate the texture your greasy hair already has for free.
Fine hair note: Keep this low and tight rather than trying to create volume. Fine greasy hair draped smoothly looks elegant. Puffed up, it tends to look thin and strained.
Braids That Actually Work on Greasy Hair (And Are Easier Than They Look)
Here’s what nobody tells beginner braiders: oily hair braids better than clean hair. It holds sections together, doesn’t frizz out, and keeps the braid neat for hours. The people telling you braiding is hard have probably only tried it on freshly washed hair. Try it on day two or three and you might surprise yourself.
4. The Simple Three-Strand Braid
This is the first thing to try if you’ve never braided your own hair. Part your hair where you like it, gather it all to one side or straight back, divide it into three equal sections, and cross the right section over the middle, then the left section over the new middle, and repeat until you reach the end. Tie with a small elastic. When you’re done, very gently tug the sides of the braid to widen it slightly. This is called pancaking and it makes the braid look bigger and more intentional.
Drape it over one shoulder for a soft, romantic look, or keep it centered for something more sporty.
5. The Dutch or French Braid (Yes, You Can Learn This)
I know “French braid” sounds intimidating. But here’s the honest truth: if you can do a regular braid, you’re about 80% of the way there. The only difference is that with a French braid, you add small sections of hair from the sides as you braid down. With a Dutch braid, you cross sections under instead of over, which makes the braid sit on top of the hair instead of into it.
Greasy hair is genuinely the best practice hair for these techniques because the sections stick together and don’t slide around. Start at the crown, gather a small section, divide into three, and begin your braid while adding a thin strip of hair from each side with every crossing. Go slowly. Watch a tutorial once before you try it, and then put your phone down and just feel what your hands are doing. Most people get it by the second or third attempt.
Fine hair tip: Work with small sections and braid tightly at the top for grip.
Thick hair tip: Use slightly larger sections or the braid can become heavy and take forever.
6. The Milkmaid Braid
Braid two sections of hair, one on each side, then cross them over the top of your head and pin them in place.
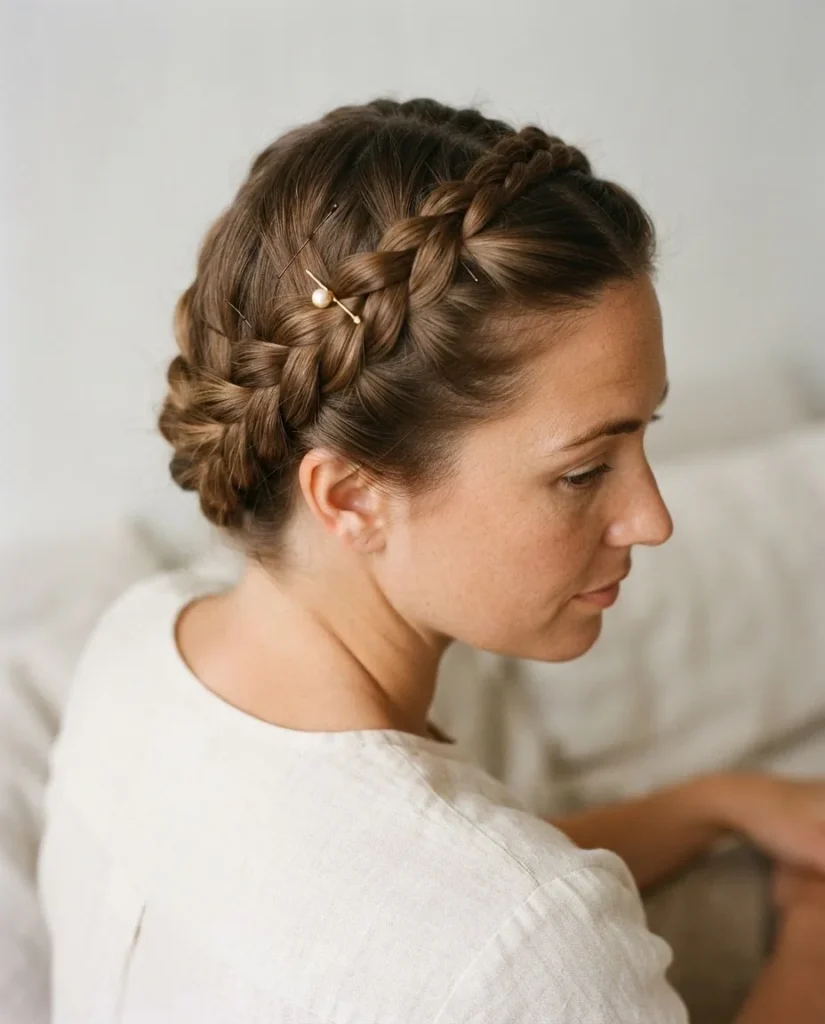
This style went massively viral because it looks like it took real skill but actually doesn’t require anything beyond two basic braids. The crossed-over placement hides the roots completely and the braids frame the top of your head beautifully. Add a small ribbon or a few bobby pins with pearl ends to dress it up.
7. The Rope Braid
Divide your hair into two sections. Twist each section in the same direction (let’s say both clockwise). Then twist the two sections around each other in the opposite direction (counterclockwise). Hold the end and it’ll stay. This one genuinely surprises people because it looks complex and is actually the easiest braid on this list.
Ponytails That Look Deliberate, Not Default
A plain ponytail often makes greasy hair look worse, especially on fine hair, because it shows exactly how flat and weighted the roots are. But a modified ponytail hides that almost entirely.
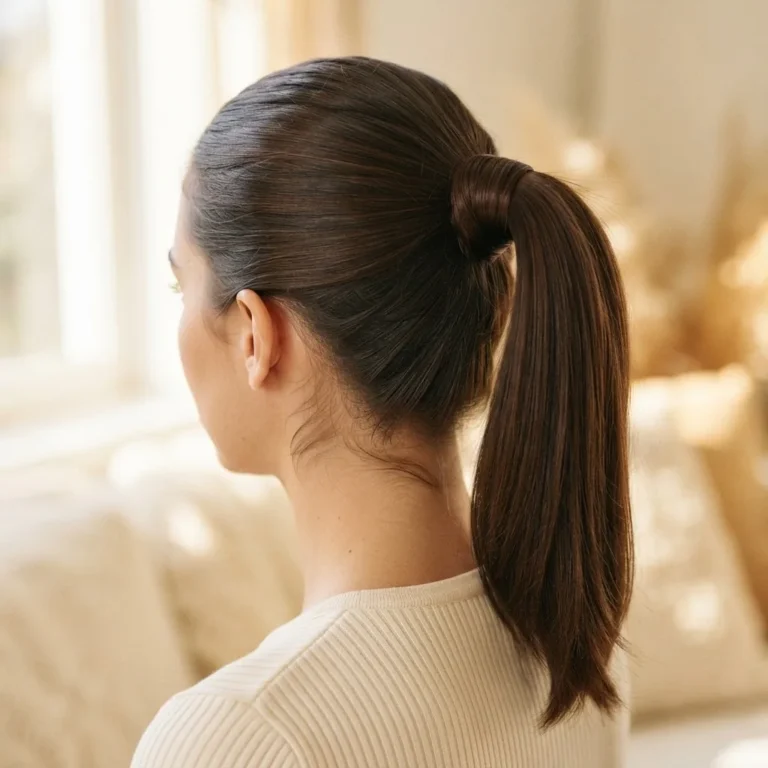
8. The Low Ponytail with a Wrapped Piece
Pull your hair into a low ponytail and secure it with a hair tie. Then pull out a small section from underneath the ponytail, wrap it tightly around the hair tie to cover it, and pin the end underneath with a bobby pin. This one detail transforms a basic ponytail into something that looks considered and stylish. It also draws attention to the tail rather than the roots.
9. The Bubble Ponytail
This trend is all over Pinterest right now and it is beginner-friendly. Pull your hair into a ponytail, then add a second small elastic about two inches below the first, and a third two inches below that. Gently tug the sections between each elastic outward to create the “bubble” effect. The more you puff each section out, the more voluminous it looks.
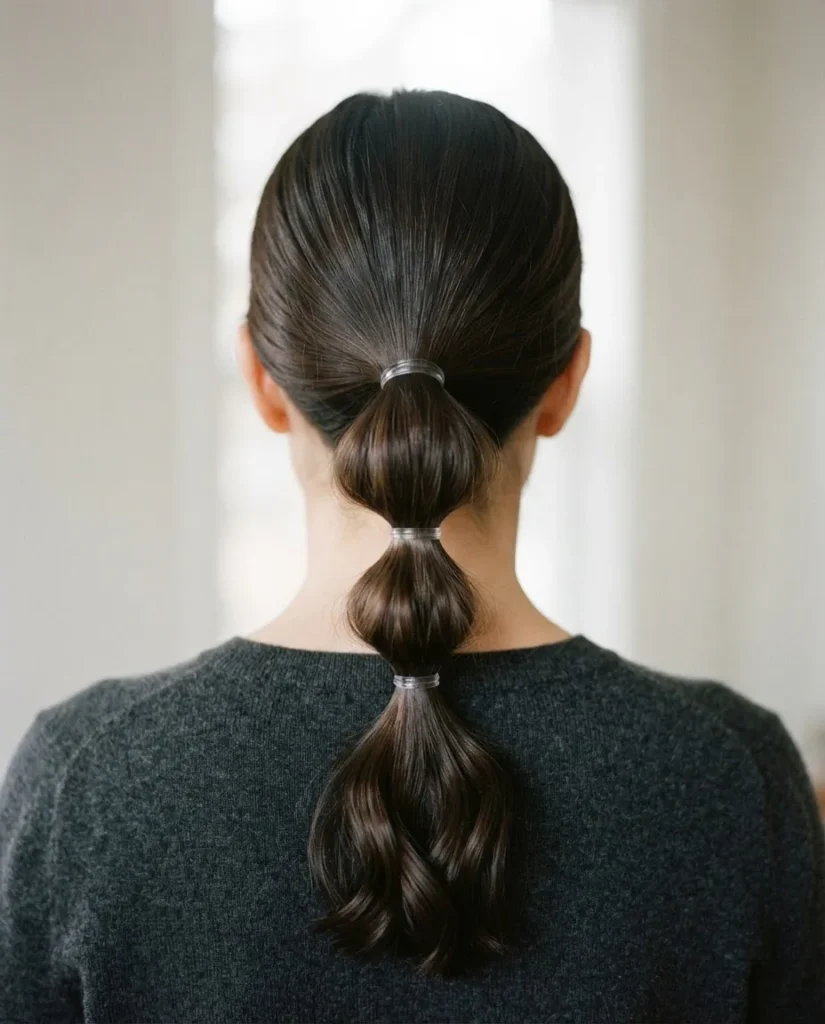
Greasy hair is actually great for this because it holds the puffed shape without collapsing.
10. The Half-Up Knot
Gather just the top half of your hair and twist it into a small bun or knot at the back of your head. Pin it or tie it. Leave the bottom half down. This keeps your worst roots (usually at the very top) pulled up and hidden while the cleaner mid-lengths and ends hang loose. It’s the classic “I did something with it” move.
Fine hair tip: Take slightly more hair into the top section to make the knot visible and substantial.
Accessory-Based Styles That Do the Work For You
Sometimes the smartest hairstyle for greasy hair isn’t a braid or a bun. It’s a piece of fabric.
11. The Headscarf or Bandana Wrap
Fold a square scarf or bandana into a triangle, place the long edge along your hairline, tie the two ends at the nape of your neck, and tuck in the tail. Or tie the knot at the top for a retro look. The scarf covers the most noticeably greasy area (the roots at the hairline and crown) entirely, and the effect looks chic rather than like you’re hiding something. This style is having a serious moment right now, channeling the early 2000s and the cottagecore aesthetic at the same time.
12. The Headband Pull-Back
A thick fabric headband pushed back a couple inches from your hairline pulls the root section back and up, creating instant volume and covering the flattest, oiliest zone. Add a twist before the headband for texture. This is a genuinely 60-second style.
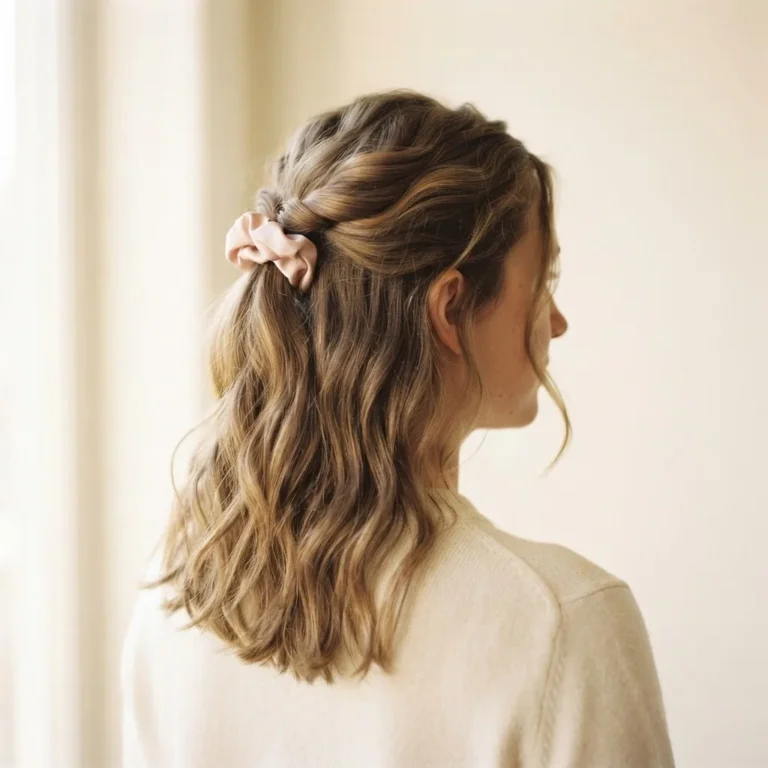
13. The Knotted Scrunchie Low Pony
A large, silky or velvet scrunchie at the nape of your neck immediately looks more intentional than a plain elastic. Add a loose twist to the section before tying, and let a few pieces fall at the sides. The scrunchie itself becomes a style element, not just a hair tie.
Styles for Curly and Wavy Greasy Hair
Curly and wavy hair textures don’t show oil the same way straight hair does, because the oil has to travel down a curved, coiled strand instead of sliding straight down. This means you often have more time before the grease is visually obvious. But when it does arrive, the curl pattern flattens and clumps in a way that feels heavy and limp.
14. The Pineapple with a Twist
Gather all your curls loosely to the very top of your head and tie with a soft scrunchie (never a tight elastic, which can create a dent in your curl pattern). Let the curls fall forward over the front. This “pineapple” method keeps the length of your curls intact while completely moving the roots out of the focal point. If you have wavy hair, scrunching a tiny bit of light hold gel into the mid-lengths before you pineapple can revive some wave definition.
15. The Defined Twist-Out Updo
If your curls or waves are looking limp and clumped together, separate a few of them by dividing them into thinner sections and twisting each one between your fingers. This re-defines the curl shape without adding heat. Then gather everything up into a loose half-up style and let the defined sections hang down. It looks intentional and takes about three minutes.
A Genuine Word About Wash Frequency (Because It Matters More Than You Think)
I want to gently address something. A lot of people who search for greasy hair styles are also quietly dealing with hair that seems to get oily faster and faster, no matter what they do. Sometimes this is connected to the overwashing cycle: stripping your scalp with harsh shampoo signals your sebaceous glands to produce more oil to compensate. But it’s not always that simple.
The AAD’s healthy hair tips page notes that if you have straight hair and an oily scalp, you may actually do well washing daily, because sebum travels down straight strands quickly. The advice to “wash less to train your scalp” is not universal and isn’t well-supported for everyone.
What the research does consistently show is that letting sebum build up for long periods isn’t neutral for your scalp. A peer-reviewed study published in Skin Appendage Disorders (Punyani et al., 2021) found that low wash frequency allowed sebum to accumulate and become chemically modified in ways that increase scalp irritation, flaking, and itching, while daily washing with a gentle shampoo showed no detrimental effect on hair quality. So if you’re stretching washes in the hope of “training” your scalp and things just keep getting greasier and more irritated, it may actually be worth washing more, not less, with a gentle sulfate-free or mild clarifying shampoo.
If you notice your scalp is consistently itchy, flaky, or inflamed alongside the greasiness, that’s worth mentioning to a dermatologist. Conditions like seborrheic dermatitis can cause excess oil production and are very treatable but need proper diagnosis rather than home guesswork.
And one more thing about those tight updos: if you’re relying on sleek pulled-back styles every single day to hide greasy roots, worth keeping in mind that the American Academy of Dermatology specifically flags hairstyles that repeatedly pull on the scalp as a risk factor for a form of hair loss called traction alopecia, especially around the hairline. Rotating your styles and keeping tension loose is always the smarter long game.
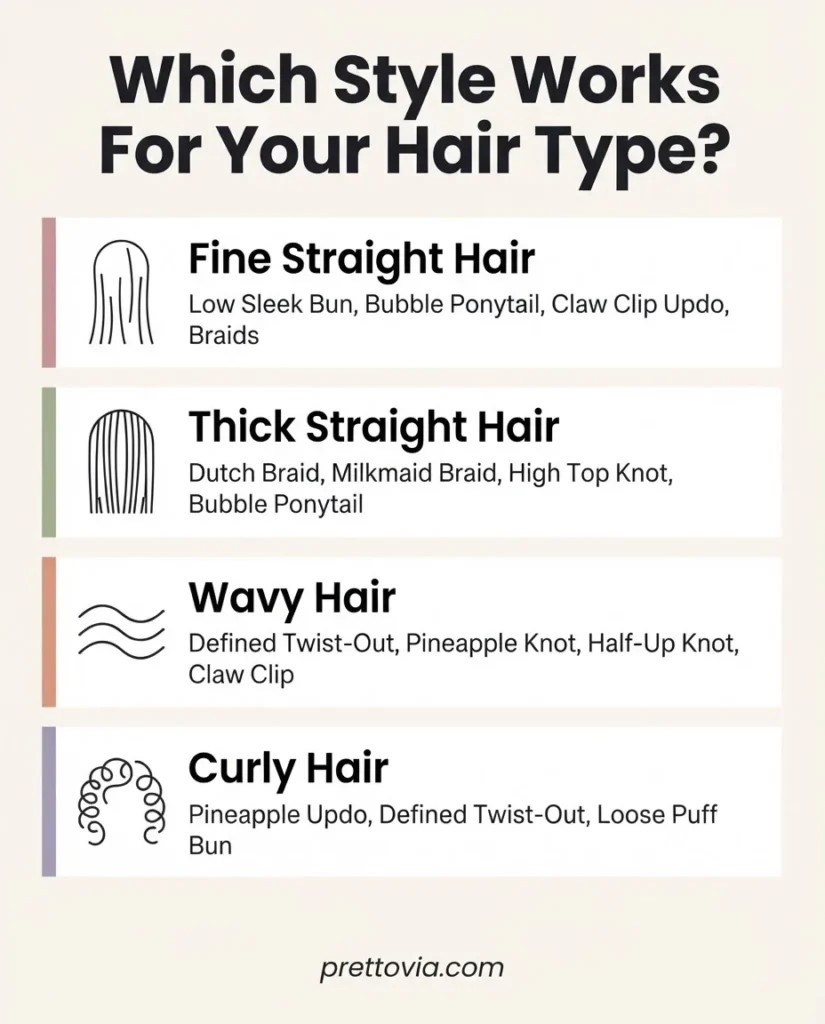
Quick Reference: Which Style Works for Your Hair Type?
For fine, straight hair, the oil shows fastest and the hair goes limp quickest. Your best bets are the low sleek bun (lean into the shine), the bubble ponytail (fake volume), the claw clip updo, and the braided styles where the braid texture hides the limpness. Avoid anything that needs volume at the roots because it’s a fight you’ll lose.
For thick, straight hair, you have more options and more forgiveness. Braids look especially full and impressive, and your hair will hold a messy bun without collapsing. Go for the Dutch braid, the milkmaid braid, or a high top knot.
For wavy hair, your texture already gives you a natural buffer, so focus on reviving the wave pattern (defined twist-out or pineapple) rather than hiding the hair entirely.
For curly hair, the pineapple and the defined twist-out updo are your friends.
Resist the urge to brush curly greasy hair flat into a sleek style because it tends to create frizz and breakage rather than the smooth effect you’re going for.