
10 Flattering Hairstyles for Thin Hair (With Real Volume Tips)
Let me be real with you for a second. I have watched so many thin-haired clients sit down in the salon chair with a Pinterest screenshot, absolutely convinced that the style they saved would “never work” on them. And then we would do it. And they would look in the mirror like they had been slightly betrayed by their own assumptions. Because thin hair can absolutely do this.
The trick is knowing which styles actually work with your hair’s natural behavior instead of fighting against it, and understanding the small technique adjustments that make the whole thing land. This is exactly what most tutorials skip: the “why,” the honest difficulty level, and the beginner-friendly version of every step.
So let’s go through 10 of the most flattering hairstyles for thin hair, with real talk on what to do, what to avoid, and how to get genuine volume that actually lasts longer than twenty minutes.
First, a Quick Thing: Thin Hair vs. Fine Hair
These two terms get mixed up constantly, and the difference matters for how you style.
Thin hair refers to the density of your hair overall, meaning the number of strands on your head.
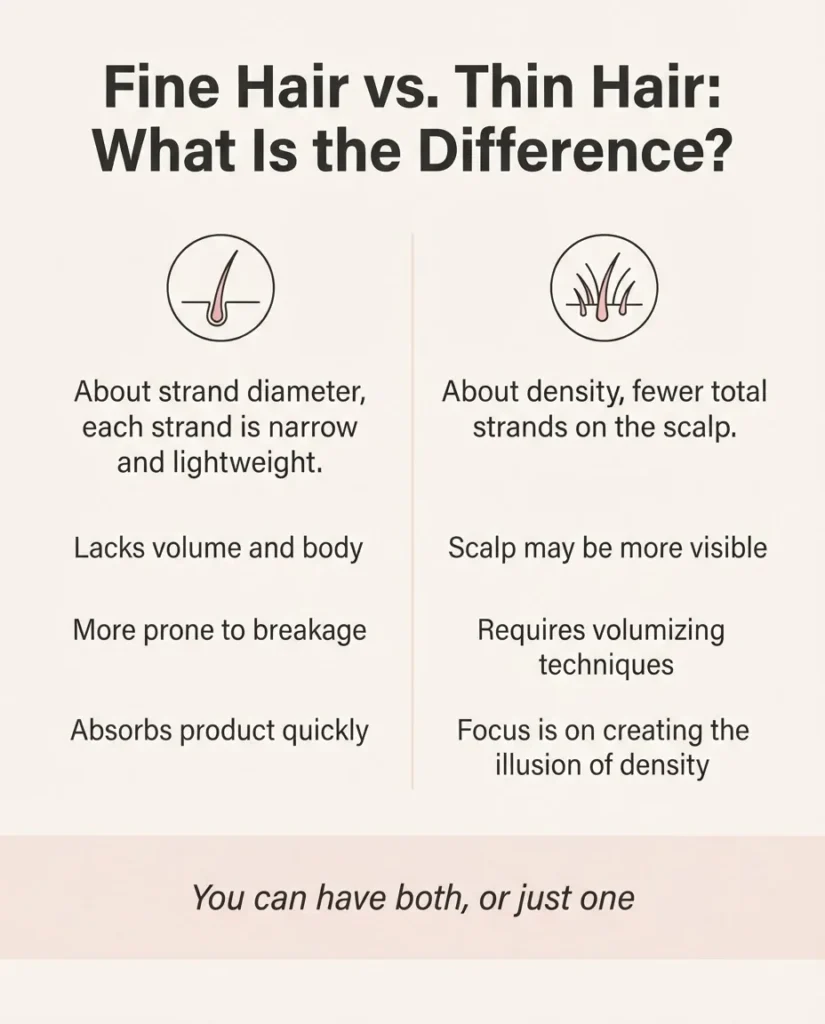
You can have thick individual strands but not many of them, and that’s thin hair. Fine hair refers to the diameter of each individual strand. Fine strands are narrow and can be more fragile, and they tend to go flat quickly. Some people have both, and some have one or the other. Most of the advice in this article applies to both, but I’ll flag where texture or strand thickness changes things.
Why Certain Styles Work (and Others Backfire)
Before we get into the looks, here is the one principle that will change how you shop for haircuts and plan your styles: weight distribution is everything.
Thin hair looks fullest when the weight of the hair is kept together, not scattered. That is why a blunt cut makes thin hair look thicker (solid edge, solid visual weight) and why heavy all-over layers can actually make thin hair look wispy (the ends are feathered and spread out, which just reveals how little hair is there). It is also why styles that lift the roots and add body at the top of the head read as fuller. You are creating an optical illusion, and it genuinely works.
With that in your brain, here are the 10 styles.
1. The Blunt Lob (This Is the Haircut I Point to First)
The blunt lob is a shoulder-length or collarbone-length cut with a clean, straight edge at the ends. No feathering, no heavy graduation, no wispy tips. Just a solid line. Stylists consistently recommend this cut for thin hair because that weight line creates the appearance of dense, full hair. Per the expert voices collected by Byrdie’s volume-boosting haircut roundup, the key is keeping one-length shapes with solid ends so that your hair reads as thicker at the tips.
You can wear this straight, add a loose wave with a curling iron, or even air dry it. On fine, straight hair, the blunt ends really do make a visual difference. You can also ask your stylist to add the tiniest bit of face-framing at the front without disturbing the weight line at the back.
Beginner tip: Ask your stylist specifically for “blunt ends with minimal layering.” A lot of stylists will automatically reach for layers, which is great for thick hair but can thin out fine hair further.
Difficulty: Very easy to maintain. You just need regular trims every six to eight weeks to keep the edge clean.
2. The Voluminous Root-Lift Blowout
This is a styling technique more than a cut, but it deserves its own number because it completely transforms how any hairstyle looks on thin hair. If you have never done a proper root-lift blow dry, this is the first one to learn.
Here is the method that works consistently well. Start on damp hair, not soaking wet. Apply a lightweight volumizing mousse or root-lifting spray at the roots only, not down the lengths, because products on the lengths of thin hair weigh it down fast. Flip your head upside down and begin drying on medium to high heat, using a round brush to section and lift small sections of hair up and away from the scalp. The upside-down flip is the move: it trains the roots to lift away from the scalp instead of laying flat.
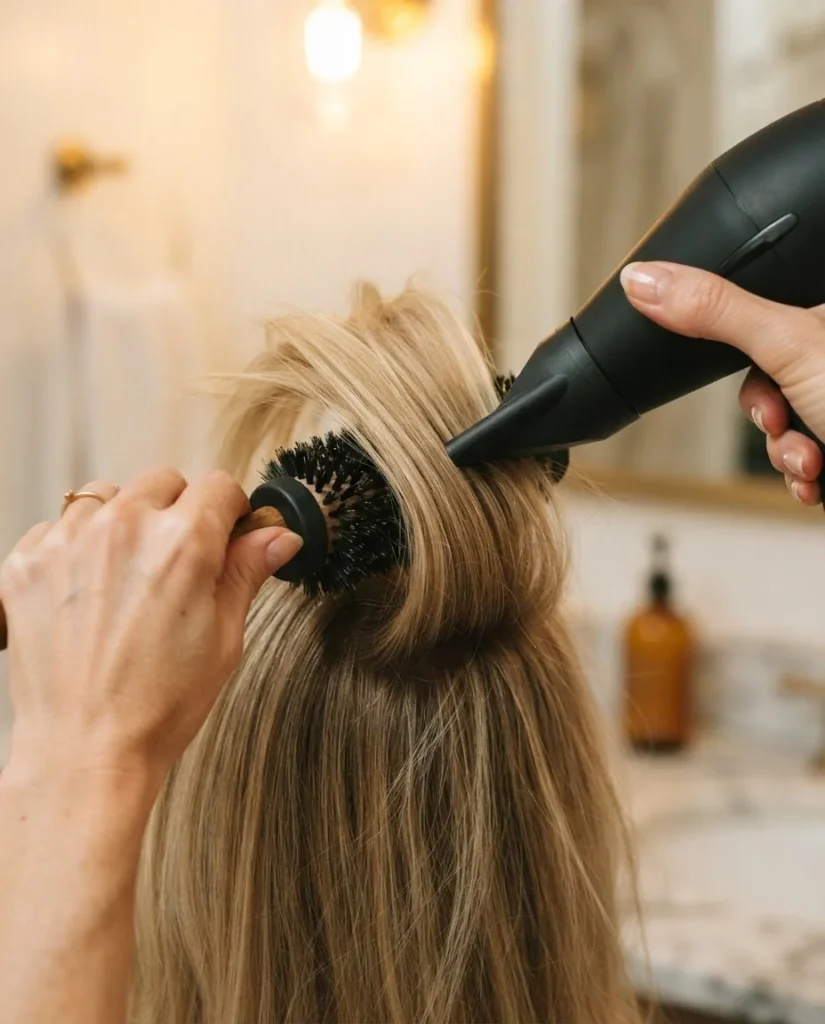
Once each section is mostly dry, flip your head back up, and finish each section by rolling the round brush up toward the root and aiming the dryer nozzle down the hair shaft. Finish every section with a burst of cool air, which sets the volume by closing the cuticle and helping it hold its shape longer.
This technique takes practice, honestly. The first few times feel awkward. But once you get the muscle memory, it is the single best thing you can do for thin hair volume at home.
Product note: You do not need an expensive mousse for this. Drugstore options that stylists and reviewers consistently mention for fine hair volume include lightweight foaming mousses and root sprays in the $6 to $15 range. Look for “volumizing” or “root lift” on the label, and avoid anything that says “smoothing” or “anti-frizz” because those formulas tend to flatten fine hair.
3. The Textured Ponytail (Not Just a Ponytail)
A regular ponytail on thin hair often looks flat and a little sad, and the elastic can reveal exactly how small the circumference of your hair actually is. The textured ponytail fixes this with a few extra steps.
Start by doing a quick root-lift blow dry or applying a dry shampoo to the roots before you pull up. Then, lightly backcomb the crown section (just two or three small sections at the top) before smoothing the surface over it. Pull your hair into a mid-height or high ponytail, then gently tug the sides of the ponytail base outward to widen it at the top before securing. Once it is in, use your fingers to gently pancake the ponytail itself, meaning pull the sides of the tail outward to spread it wider. This tricks the eye into reading it as a fuller tail.
You can also take a small section from the ponytail, wrap it around the elastic to hide it, and pin underneath for a put-together finish.
Difficulty: Beginner-friendly once you have the root-lift step down.
4. Curtain Bangs (With an Important Thin-Hair Note)
Curtain bangs are everywhere right now, and they genuinely do suit thin hair well when they are done correctly. The face-framing effect draws the eye inward toward your features rather than outward toward the hair, which works in your favor if your hair is sparse at the sides.
Here is the important caveat though: thin hair at the front already has less density, and curtain bangs take from that section. Reddit’s fine hair community is divided on this one, with some people finding that bangs actually make the hairline look even thinner. The trick is to ask your stylist to keep the bang sections from going too wide, and to keep them a bit longer so they blend easily into the rest of your hair. A wispy, barely-there curtain fringe is more manageable than a heavy thick one, which requires more density to pull off.
To style curtain bangs on fine hair, use a round brush on each side, rolling it outward and away from the center while directing the dryer nozzle downward. Finish with a tiny amount of hair oil on the tips only if they look dry. Avoid styling cream on the lengths because it can make thin bangs look limp and greasy fast.
5. Heatless Overnight Waves
This one is my personal favorite for thin hair because it is gentle, it actually works, and it gives thin hair a beautifully full look without any heat damage risk. Fine and thin hair is already more fragile than thick hair, and repeated high-heat styling can lead to breakage over time, which makes the thinness worse. Heatless waves sidestep that entirely.
The most accessible method for thin hair is the silk robe or heatless curling rod technique. On slightly damp hair (about 80 percent dry), wrap medium sections of hair around the rod or robe tie from ends to root. The smaller the sections, the tighter and more defined the wave. Sleep on it, wake up, and release. The result on thin hair is usually a soft, beachy wave that adds visual texture and bulk without weighing the hair down.
For thin hair specifically, the key is to not start with hair that is too wet. Very wet hair takes too long to set and the waves may not form properly. Medium-damp is the sweet spot.
The American Academy of Dermatology notes on their hair care guidance pages that gentle styling practices help protect the hair shaft and minimize breakage, especially for fragile or fine hair types. Heatless styling is one of the most beginner-accessible ways to keep styling and keep your hair healthy at the same time.
6. The Pancaked Braid
Braids and thin hair seem like they might not go together, but the pancaking technique makes them genuinely work. It is one of those tricks that looks hard but is actually pretty simple once you understand what you are doing.
Braid your hair first as you normally would, whether that is a simple three-strand braid, a Dutch braid, or a French braid. Keep the braid relatively tight as you go because you need material to work with in the next step. Once the braid is complete and secured, start at the bottom and work upward. Gently pull each loop of the braid horizontally on both sides, flattening and widening each section as you go. You are “pancaking” it, spreading the loops out to make the braid look significantly wider and fuller than it actually is. On thin hair, this technique is the difference between a braid that looks like a small rope and one that looks intentionally voluminous.
Color Wow has a detailed breakdown of this exact technique in their braid pancaking guide, which shows step-by-step how a celebrity stylist does it on fine hair.
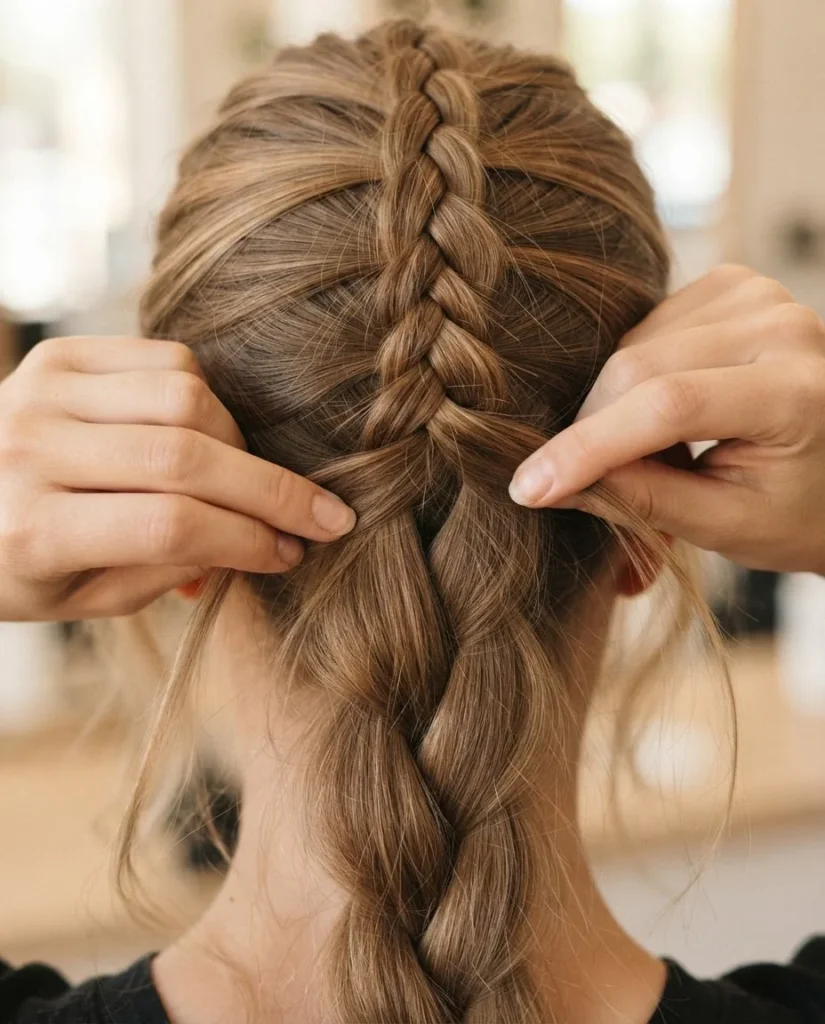
It genuinely changes the whole shape of the braid.
One caution: If you are already experiencing hair thinning or shedding, be mindful of braid tension. The AAD specifically notes on their hairstyles and hair loss page that tight braids, ponytails, and updos can cause traction alopecia over time, a type of hair loss from repeated pulling. Keep braids loose enough that you feel no scalp tension, and give your hair breaks from pulled styles regularly.
7. The Deep Side Part + Volume Flip
This one sounds almost too simple, but it is one of those things that stylists genuinely reach for. If you part your hair on the same side every day, your roots lay flat in that direction. Switching to the other side or creating a deep diagonal side part gives instant root lift because your hair is now falling against its natural direction.
Try a deep side part where the part runs diagonally from above one eyebrow to the crown, leaving a heavy sweep of hair on one side. This creates visual asymmetry that reads as fullness. Back in the salon, I watched stylists use this trick all the time as a fast fix when someone’s blowout had gone flat by mid-day. It looks like you did something intentional, and nobody needs to know it took fifteen seconds.
For extra lift, clip the roots at the crown while they are still warm from your blow dryer and let them cool in the lifted position before releasing. This sets the volume.
8. Velcro Roller Set (The Underrated One)
Velcro rollers are coming back in a major way, and thin hair people should be very happy about this. They give a beautiful bouncy lift and round-brush-style volume at the root without requiring any special skill with an actual round brush. That is a win.
On hair that is about 90 percent dry, section your crown area and roll medium sections of hair onto large velcro rollers. Roll upward and away from the head and let them sit for ten to fifteen minutes while you do makeup or get dressed. The heat from your scalp sets the lift. When you release them, use your fingers to gently tousle rather than a brush, which can flatten what you just created.
For thin hair, focus the rollers at the crown and the top front sections where flatness is most visible.
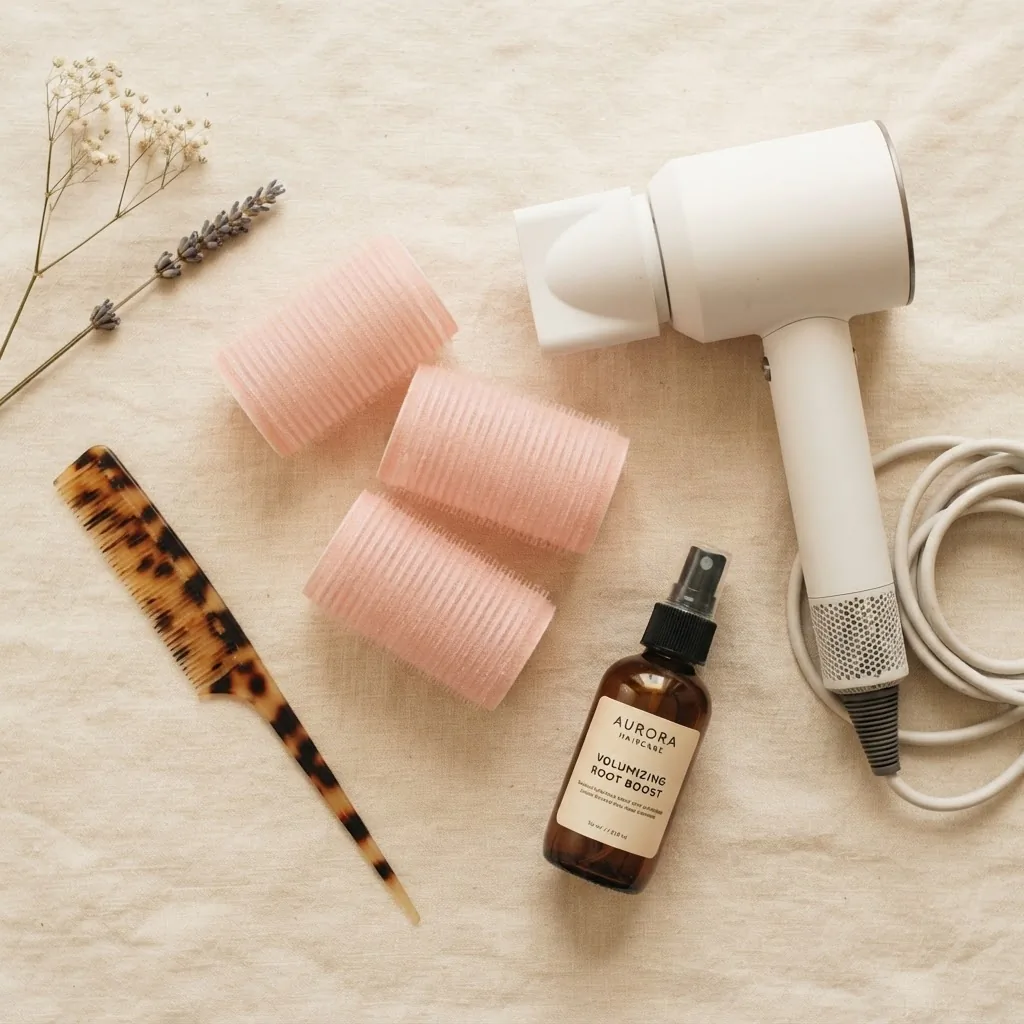
You do not necessarily need to roll all of your hair. Just the top third makes a significant difference.
Budget note: Velcro rollers cost anywhere from $7 to $20 for a set at most drugstores and online. They are one of the most cost-effective volume tools available, and they do not require any heat skill.
9. The Half-Up Twisted Top Knot
This one looks much harder than it is, and it is genuinely beginner-friendly. Take the top section of your hair (roughly from ear to ear and back to the crown) and gently backcomb it before doing anything else. Even just three or four light backcombing strokes at the root gives this section enough grip and body to work with.
Smooth the surface of that section lightly, then twist the whole thing loosely and pin it up into a soft top knot at the crown. You are not going for a sleek, tight bun here. The looser and slightly messier it is, the more volume it reads. Leave the bottom half of your hair down, which frames the face and adds the illusion of more hair overall. Pull a few face-framing pieces forward.
This style works especially well on people with thin hair at the crown because the backcombing + pinning actually fakes density right where you need it most.
Difficulty: Easy to medium. It takes a little practice to get the knot to sit without looking completely chaotic, but honestly a bit of chaos works in your favor here.
10. The Blunt Fringe (or Curtain Bang) Bob Combination
Pair a blunt bob with a fringe, whether that is a full blunt fringe or soft curtain bangs, and you have one of the most optically effective thin hair styles there is. Both elements create solid edges that make the overall hair look dense and intentional. The bob gives weight at the ends, and the fringe gives weight at the front, so everywhere the eye lands, there is a strong visual line.
This is a commitment hairstyle because it requires regular trims for both the bob length and the fringe, but the payoff is hair that looks much fuller than it is. According to Vogue’s best haircuts for thin hair guide, the kicked bob (where the ends curve upward slightly) and rounded bob variations work especially well because the internal shape adds additional body.
If you are not ready for a full fringe commitment, clip-in faux bangs are a genuinely good option to test the look before cutting.
The Product Layer: What Actually Helps Thin Hair
Getting the style right is only half the picture. The products you layer in before and during styling make a real difference to how long volume holds and how much damage you are preventing.
For thin hair, the consistent recommendations across stylists and reviewers are to use a lightweight volumizing shampoo, apply conditioner only from mid-length to ends (never at the roots, which weighs them down), and reach for a mousse or root-lifting spray on damp hair rather than heavy creams or oils. A light-hold hairspray at the end of styling helps lock in volume without crunch if you use it correctly: mist from about twelve inches away rather than spraying directly onto the hair.
Dry shampoo is a great between-wash tool for adding texture and absorbing root oil (which naturally flattens thin hair), but use it in moderation and make sure you are washing it out thoroughly, since buildup on the scalp can interfere with healthy hair growth over time. Healthline’s medically reviewed hair loss prevention guide highlights that gentle handling and avoiding product buildup are both consistent factors in keeping hair as healthy and full as possible.
A Note on Hair Health for Thin Hair
I want to be straight with you about something. Styling can do a lot. But if your hair has been thinning progressively rather than just being naturally low-density, no styling trick is a substitute for looking into the cause. Thinning over time can be related to hormonal changes, nutritional shifts, stress, or other factors that a dermatologist can actually help identify and address. A good patch of research for this is the AAD’s hair loss resource center, which covers causes and when to see a professional. If you have noticed significant changes in your hair density recently, it is genuinely worth a conversation with a doctor, not because it is scary, but because there are often real solutions once you know what you are working with.
For everyone else who has just always had naturally thin or fine hair: you have a lot to work with. We are just starting.
The Takeaway
Thin hair is not a problem to fix. It is a hair type to style strategically. The hairstyles that work best for it share a few things in common: they maintain weight at the ends rather than feathering it away, they use structure to create the optical illusion of fullness, and they lean into techniques like root lifting, backcombing, and pancaking to fake density where your hair needs it most.
Start with whichever of these ten looks feels most like you, try one new technique at a time, and be patient with yourself. Volume on thin hair is absolutely achievable. It just takes a different approach than what works on thick hair, and now you actually know what that approach is.