10 Half Up Half Down Styles That Actually Work for Beginners
You have saved at least one of these to Pinterest. I know because I have too, approximately forty-seven times. The soft twisted half-up, the braided crown detail, the effortless-looking “I just grabbed a clip” style that somehow looks incredibly chic. They all go into the board. And then wash day comes and you try to recreate one, and it either falls out by 10 a.m. or sits so flat on top that you just pull the whole thing down and start over.
I have been there. Salon-assistant Maddie could watch a stylist build a gorgeous half-up in two minutes flat and still go home and fumble through it in her own bathroom. This style looks deceptively simple, and that is partly what makes it frustrating for beginners. It seems like it should just work and then it doesn’t, and nobody tells you why.
So that is what this guide is. Not a celebrity gallery with a two-sentence caption. An actual breakdown: where to section, how high or low, what tools to use for your specific hair type, how to make it hold, and what to do differently if your hair is fine, curly, short, or thick. Ten styles total, each one genuinely beginner-doable. Let’s go.
Before You Start: The One Decision That Changes Everything
Before you even pick up a clip or an elastic, you need to figure out your section placement. This is the thing almost no tutorial talks about, and it is the reason so many half-up attempts go flat or look off.
The most common beginner mistake is pulling the section from too far back, which creates a low, droopy crown with no volume, or too far forward, which creates that pulled-tight helmet look from the top of your head. The sweet spot for most people is from roughly temple to temple, drawing an imaginary diagonal line that goes from just above your ears and arcs gently up toward the crown. Think of it as the top third of your head.
Your face shape should also influence this. If you have a round face, a slightly higher placement and a bit of volume teased at the crown helps elongate. If you have a long or narrow face, a flatter, wider section that keeps more hair down around your face is more flattering. If you have a heart-shaped face with a wider forehead, leaving more hair down around your cheeks and jawline balances the proportions beautifully.
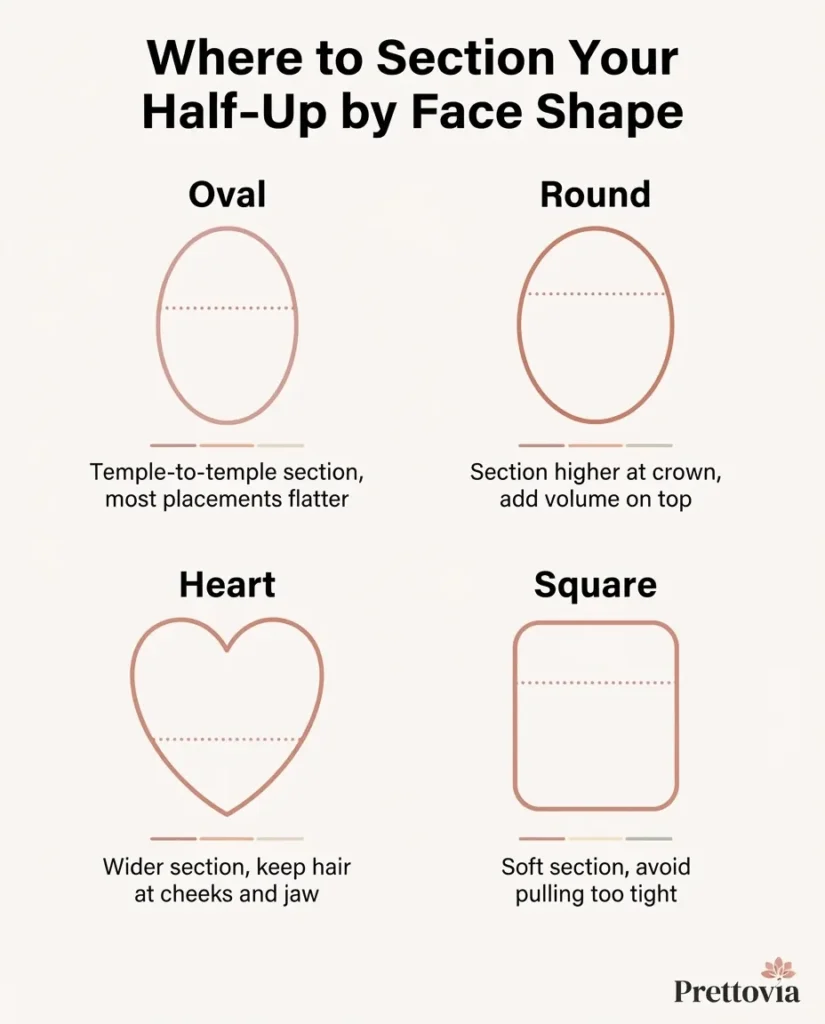
Celebrity stylists quoted in this InStyle roundup note that half-up styles “subtly snatch the face, just enough to lift the eyes and cheekbones without looking too structured,” and the section placement is what controls how much of that lift you get.
One more thing before we start: your texture matters for every single style below, and I will tell you exactly how to adapt each one. No one-size-fits-all here.
Your Tool Kit: What You Actually Need (and the Budget Versions)
You do not need a lot. Here is what shows up across most of these styles:
A claw clip is your best friend for volume and ease. For fine to medium hair, a medium-sized clip works well. For thick or natural hair, a jumbo clip is essential or it simply will not close. The good news: drugstore claw clips (usually $3 to $8) work just as well as the expensive acrylic ones for most hair types. The difference is mostly aesthetic.
Bobby pins are for when you want a more seamless, pinned look with no visible hardware. The wavy (grippy) side should always face your scalp. If you are losing bobby pins constantly, try crossing two pins in an X shape over the same section for double the grip.
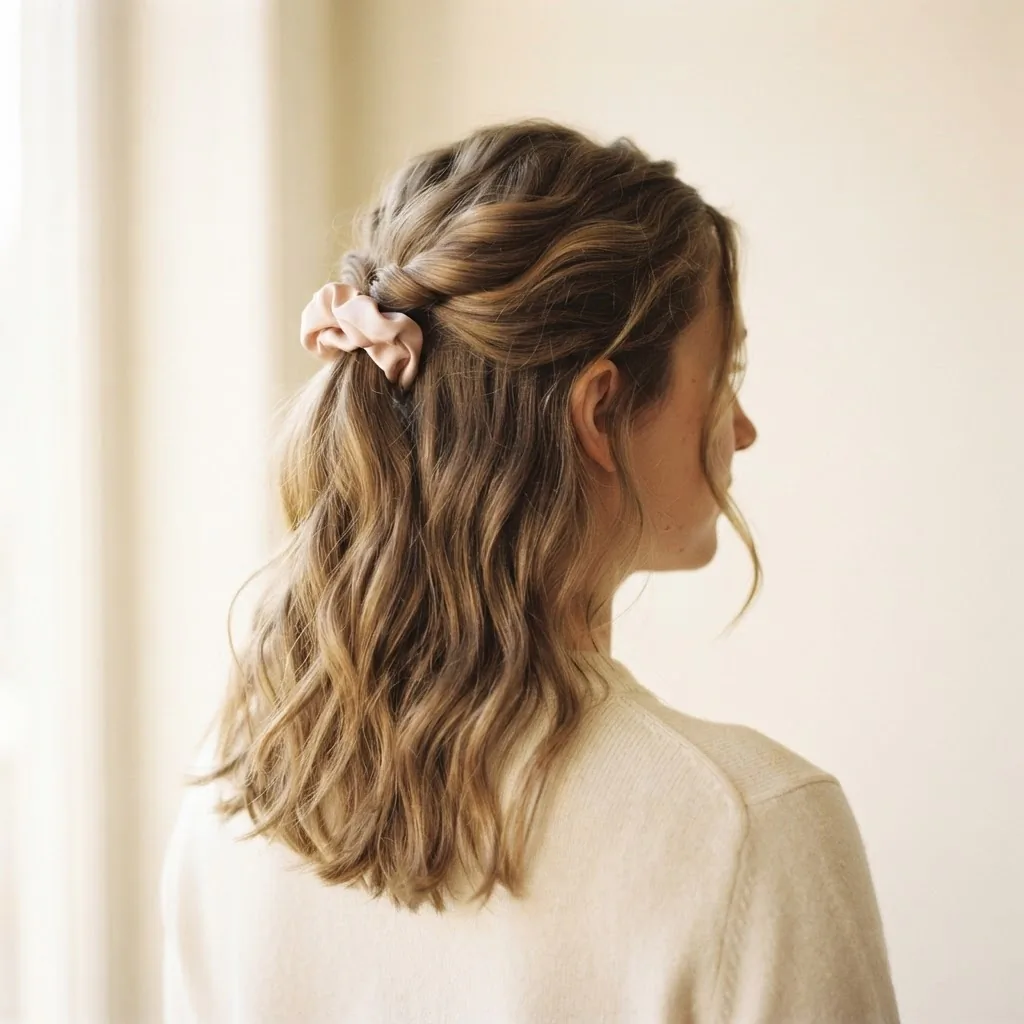
Satin or silk scrunchies are worth the swap from regular elastics, especially if you are doing half-up styles daily. Regular latex elastics create friction and can snap fine or color-treated hair over time. Satin and silk surfaces slide over the hair shaft rather than gripping and tugging, which is gentler with repeated use. You can find good satin scrunchies for around $8 to $15 for a multi-pack on Amazon or at the drugstore.
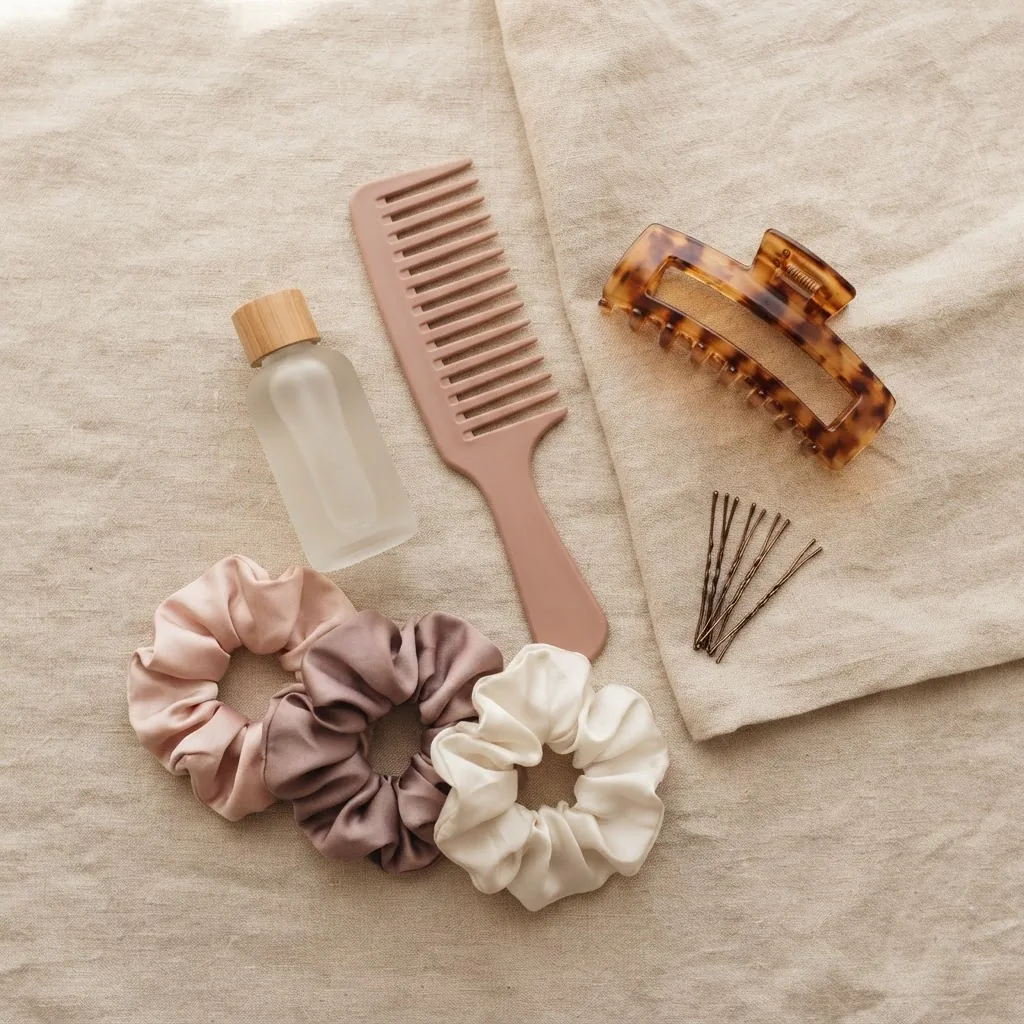
A texturizing spray or dry shampoo helps enormously if your hair is silky-straight or freshly washed, because very clean, smooth hair is notoriously slippery and will not hold a style. A light mist of texturizing spray adds just enough grip.
For fine or thin hair specifically: a volumizing mousse on damp hair before you even style sets you up for more body and hold. This is the single biggest fine-hair game-changer and most tutorials skip it entirely.
The 10 Styles
Style 1: The Classic Half Ponytail
This is the foundation. Everything else builds from here. Take your sectioned top hair, smooth it gently back with your fingers (or a wide-tooth comb for curly hair), and secure it with a satin scrunchie right at the crown. The key is tension: you want it snug enough to not slide, but not pulled so tight that it tugs at your hairline.
The topsy-tail trick makes this instantly more polished. After securing the elastic, loosen it slightly, split the hair directly above the elastic in half with two fingers, and flip the ponytail up through the gap and pull down to tighten. You end up with a braid-like detail at the base without actually braiding anything. It takes about thirty seconds and looks like you put in actual effort.
For fine hair: use a tiny elastic first, then cover it with a satin scrunchie over the top for a cleaner look while keeping the hold. Backcomb the roots of the top section very lightly before pulling back for instant volume.
Style 2: The Messy Bun Half-Up
This one is the “I threw this together and it looked great” energy that everyone wants. You pull your top section up like a ponytail, then instead of leaving the tail down, you loop it into a loose bun, tuck the ends under, and let a few pieces fall out intentionally. Secure with the same elastic and a couple of bobby pins to hold the bun.
The intentional messiness is what beginners get wrong here. They either make it too tight and neat (which looks studied, not effortless) or too genuinely messy (which just looks undone). The sweet spot is a bun that has a clear shape but with two or three face-framing pieces pulled out around the temples and one or two flyaways at the bun itself. Use your finger to gently tug the bun outward after you secure it, which makes it look full and relaxed rather than tight and small.
For curly or wavy hair: this style is gorgeous with your natural texture. Do not over-brush the top section before pulling it up, which just creates frizz. Instead, scrunch and gather with your hands and secure when the shape feels right.
Style 3: The Twisted Half-Up
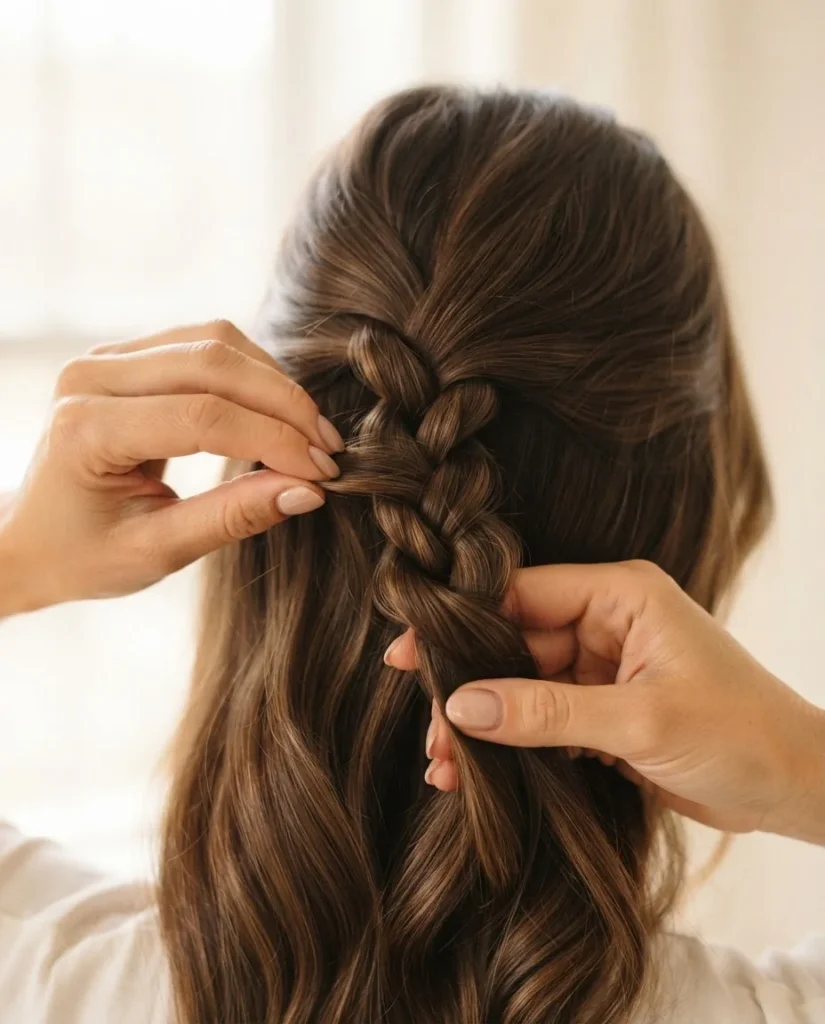
This one looks way harder than it is, and it photographs beautifully, which is why it is always going viral. Take a small section from one side of your part, twist it toward the back, and pin it. Then do the same from the other side. Let the two twists meet at the back of your crown and pin them together (or secure with a small elastic) underneath a piece of hair you wrap around to hide the join. That is it.
The keys: keep the twist fairly loose so it does not go flat, and pin close to the scalp rather than floating the pin in midair. For more visual interest, gently pull the twists apart slightly with a fingernail or bobby pin after pinning. This expands the twist into a broader, more visible rope shape.
This works on almost every hair type and length above chin length.
For very fine hair, a light mist of hairspray on each section before twisting helps the strands grip each other.
Style 4: The Braided Half-Up
This is the style I watched stylists do constantly back in the salon, and the beginner version is much simpler than what you see on Pinterest. You do not need a complex crown braid. Take a small section from one side, braid it simply (three-strand, no fancy technique needed), pull it across the back of the top section, and pin it. Braid from the other side and do the same. Secure everything in the center with one pin or a small clear elastic. That is a beginner braided half-up.
If you want it to look fuller and more editorial, gently pancake the braid: hold the base with one hand and use the other to pull the outer loops of the braid outward, one by one, which makes it look thick and loose rather than tight and flat.
For naturally curly or coily hair: braiding dry curl can be harder to work with because the texture adds grip in all directions. Carol’s Daughter’s guide to half-up styles for natural hair recommends working with stretched or slightly dampened hair for easier manipulation on this type of style.
Style 5: The Claw Clip Half-Up
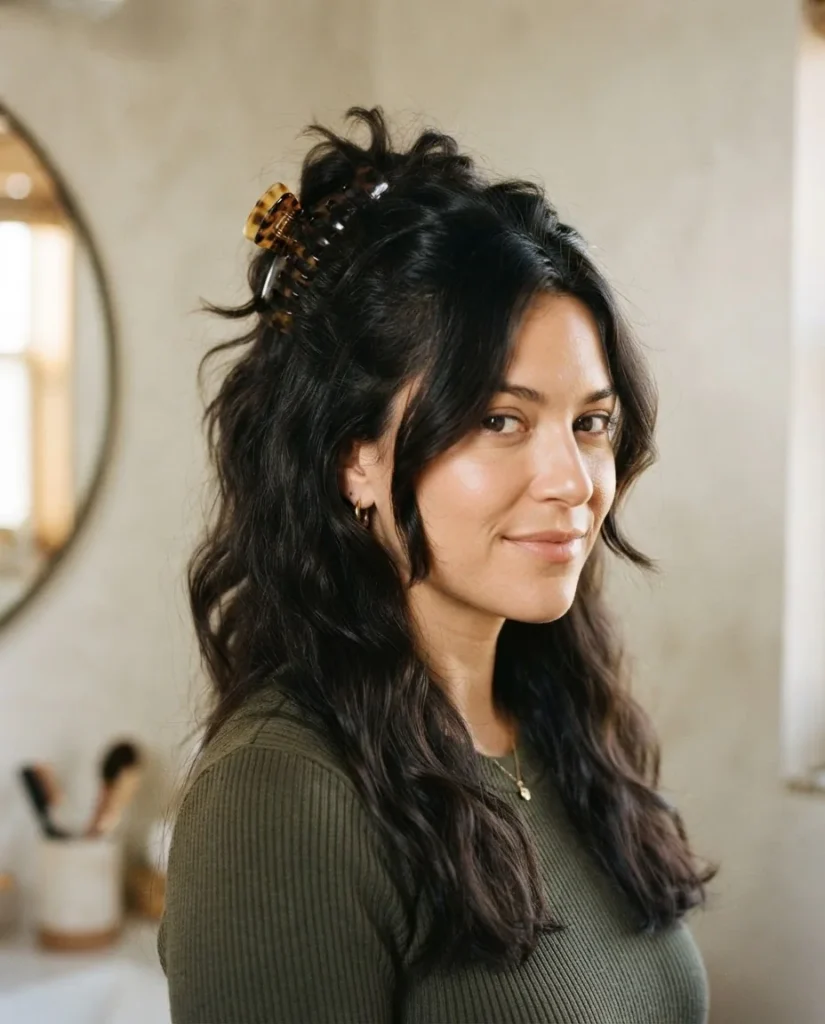
This is the style that has had a full viral renaissance over the last couple of years, and honestly it deserves it because it is the easiest, most forgiving, and most adjustable of all the half-up options. You gather the top section, twist it loosely, fold it up, and clip. Done.
The reason most beginners struggle with this: they are using a clip that is too small for their hair. If you have medium or thick hair and you are using a standard-sized clip, it is going to slide out. You need a clip that can close fully over your hair without straining the hinge. For thick or natural hair, go jumbo. For fine hair, any standard clip works but look for ones with a stronger spring mechanism, since fine hair tends to be slippery.
One styling note: the claw clip half-up looks most current when the bun or twist inside the clip is slightly messy and pieces fall around the face. If it is too neat and smooth it reads more dated. Let it be a little lived-in.
Style 6: The Sleek High Half-Up
This is the “snatched” version you see on celebrities at events and on the Hailey Bieber-adjacent aesthetic board. The top section is pulled back tightly and smoothly, no volume or messiness, and secured high at the crown with a small, tight elastic. The rest of the hair falls long and straight (or softly waved) below.
For this to look right, the top section needs to be smooth. Use a boar bristle brush or a fine-tooth comb to pull the hair back, and a small amount of edge control or pomade along the hairline to smooth down any baby hairs. Slick any flyaways down with a toothbrush lightly spritzed with hairspray.
This is one of the hardest half-up styles to do at home if you want it truly sleek because it requires smooth, cooperative hair. If your hair is naturally curly or coily, you will need it blow-dried and flat-ironed first for this particular look. If you want a sleek effect without heat, try it on silk-pressed or roller-set hair instead.
A note here about tension: the AAD cautions that tight hairstyles that pull repeatedly at the hairline and crown can lead to traction alopecia, a form of gradual hair loss caused by prolonged pulling on the follicles. If you love the sleek half-up, it is worth keeping it loose enough that your scalp is not under tension for hours, and varying the exact placement of your elastic so you are not stressing the same follicles every day.
Style 7: The Heatless Waves Half-Up
This is my personal favorite category because the combination of heatless texture with a half-up style looks genuinely gorgeous and requires zero hot tools. You create your waves or loose curls the night before using heatless methods (braids, bantu knots, flexi rods, or a foam curling rod set), sleep on it, shake out the curls in the morning, and then gather the top half into one of the styles above. Satin scrunchie is mandatory for this one, because a regular elastic will mess up the curl pattern where the section meets.
The half-up is actually the best showcase for heatless waves because the down portion shows off all that beautiful texture while the pulled-back section keeps it from feeling overwhelming. It is polished and effortless at the same time, which is the whole appeal. For overnight styles that give you the best wave result to work with in the morning, a thick bathrobe belt wrap or foam rod set tends to give the most consistent loose waves across hair types.
Style 8: The Curtain Bangs Half-Up
Curtain bangs and the half-up style are genuinely made for each other, and yet very few tutorials address how to adapt the half-up specifically when you have curtain bangs. The answer is: keep your bangs out of the gathered section entirely. Your curtain bangs should frame your face and fall forward on either side, while everything behind them gets pulled up. This creates a beautiful balance of framing pieces at the front and a clean, lifted look at the crown.
If your curtain bangs are at the in-between length where they keep wanting to fall into the gathered section, a light spritz of hold spray right after parting them helps them stay put. You can also use one very small, discreet bobby pin on each side to anchor the outer edge of each bang piece slightly back, which makes the face-framing look intentional rather than accidental.
Style 9: The Accessorized Half-Up
This is where half-up styling genuinely starts to feel like the looks you see on your Pinterest board, because the right accessory turns a basic ponytail or bun half-up into something editorial. The most current options in 2025 are satin bows tied around the base of the ponytail, pearl or gemstone pins tucked into the base of a bun, ribbon threaded through a half-up before securing (pull the ribbon through with a bobby pin), and oversized decorative claw clips. Marie Claire editors have noted in their editorial coverage that accessories like bows, barrettes, and metallic clips are among the most impactful ways to instantly elevate a half-up without changing the underlying style.
Budget note: the accessory is one of the few places where the dupe absolutely holds up. A satin bow scrunchie from the drugstore gives you the same visual effect as a $40 designer version. Same with pearl pins, rhinestone clips, and ribbon. You can put together a full accessory kit for a half-up rotation for under $20, and it genuinely looks the part.
Style 10: The Braided Half-Up for Natural and Curly Hair
This is the one I specifically want to address for anyone with 3A to 4C curl types, because almost every half-up tutorial assumes straight or wavy hair and leaves natural textures without a real adaptation. This style works with your curl pattern rather than fighting it.
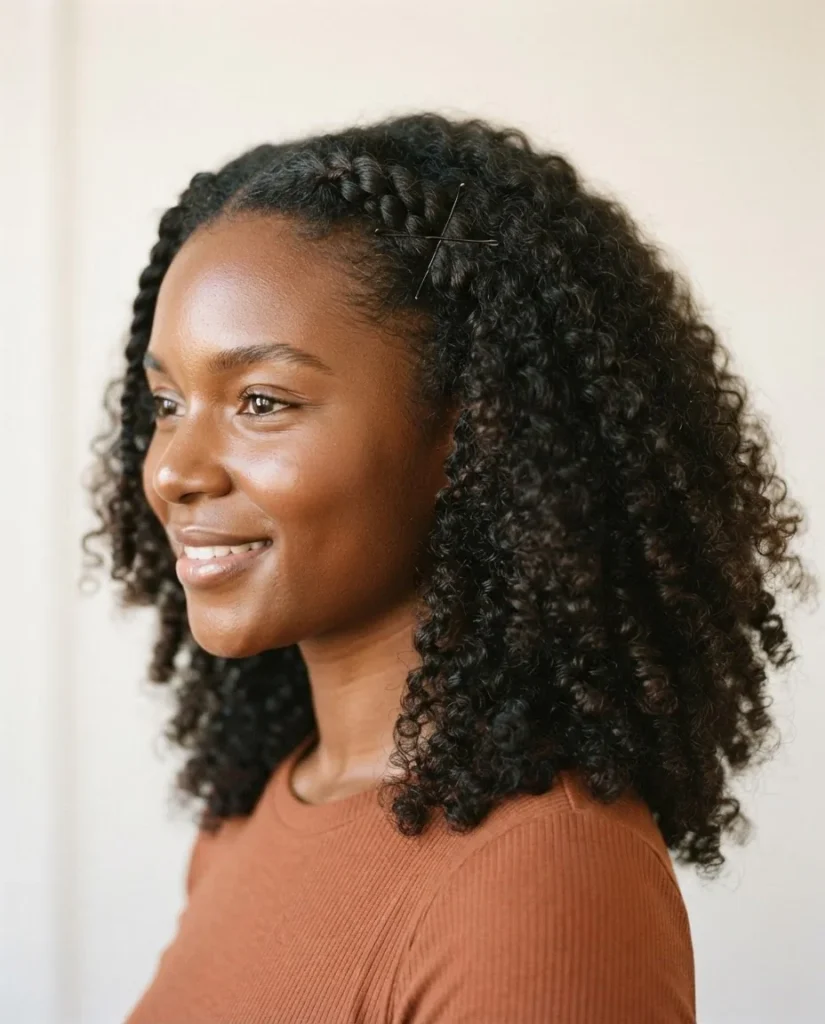
Start on moisturized, defined hair, whether that is a fresh wash-and-go or second-day curls. Take a small section from each temple area and two-strand twist each section toward the back (two-strand twists hold much better than braids on very coily hair because they work with the natural coil rather than requiring the hair to lie flat). Let the two twists meet at the crown and secure with a small elastic or two crisscrossed bobby pins. Leave everything else completely natural and down. Fluff the down section gently from underneath, not from the top, which preserves the curl definition rather than disturbing it.
For length and fuller curl volume, a satin bonnet the night before keeps the curl pattern intact so you are working with your best natural texture in the morning. This style takes less than five minutes once you know the technique and consistently looks intentional and beautiful.
Why Your Half-Up Keeps Falling Out (and How to Fix It)
This deserves its own section because it is the number one frustration across every hair type. There are really only four culprits.
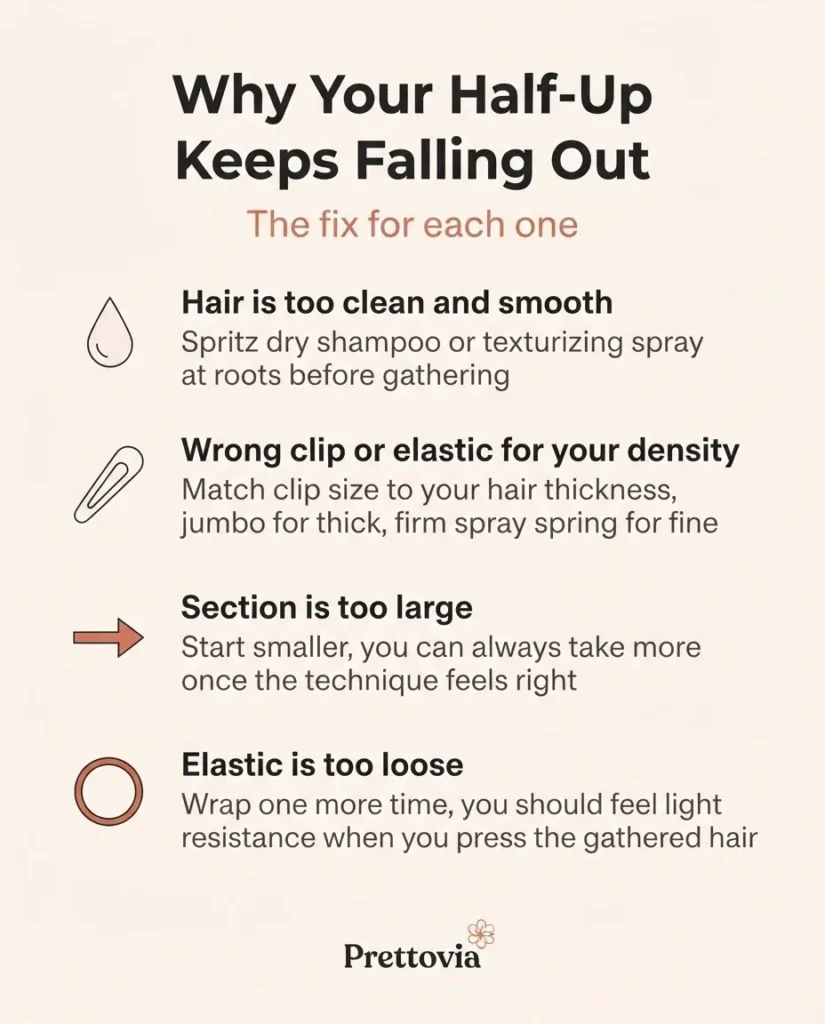
Your hair is too clean and smooth. Very freshly washed, conditioner-coated hair has almost no grip. A light spray of dry shampoo or texturizing spray at the roots of your top section gives the elastic or clip something to hold onto.
Your elastic or clip is wrong for your hair density. Fine hair in a clip that is too loose falls out. Thick hair in a clip that cannot fully close slides out. Match the hardware to the density.
Your section is too large. Especially for beginners, a smaller top section is easier to control and holds more reliably. You can always take the top section thicker once you have the placement and securing technique down.
You are placing the elastic too loosely. The elastic should have a bit of resistance when you press on the gathered hair. If it feels like it can slide without a lot of effort, wrap it one more time.
This is especially relevant for fine, silky hair which needs that extra wrap to stay put.
The Half-Up and Hair Health: A Quick Note Worth Reading
The half-up is one of the lowest-damage everyday hairstyles you can do, which is a genuine selling point if you are also focused on growing healthier hair. Because the hair is only partially gathered and not pulled all the way up or back, the tension on your follicles is minimal when done correctly. The main things to watch are using an elastic that is too tight (you should be able to slip two fingers under it after securing), always releasing your style before bed rather than sleeping in it with an elastic, and rotating the position of your elastic each day so you are not compressing the same section of hair repeatedly.
If you have noticed short broken pieces around your crown area or your hairline is looking thinner at the temples, tight elastics placed in the same spot repeatedly are a common cause. The AAD’s hair loss resource on hairstyles and traction is a genuinely useful read if you want to understand how styling habits affect follicle health long-term.
If you are dealing with significant breakage or thinning, it is worth checking in with a dermatologist before attributing everything to styling, since hair loss can have multiple causes that a professional can properly assess.
Putting It All Together: Which Style Is Right for You Today?
If you have five minutes and want something that holds: the claw clip half-up or the classic ponytail with a satin scrunchie.
If you have ten minutes and want something that looks like effort: the twisted half-up or the braided half-up.
If you want the Pinterest aesthetic with no heat: the heatless waves half-up with a satin bow.
If you have curtain bangs: Style 8 was written for you specifically.
If you have natural or coily hair: the braided half-up for natural hair (Style 10) or the accessorized version with a satin scarf wrapped at the base.
The beauty of half-up half-down styles is that they genuinely scale with your mood and your morning. On a quick day, it is a two-minute claw clip. On a day you feel like showing up, it is a heatless wave half-up with a bow. Same concept, completely different energy. Once you know the mechanics behind each variation, you will stop second-guessing the technique and just… do it. And that is exactly where you want to be.
For more on the full range of styles across different hair types and occasions, Marie Claire’s editor-curated roundup and wikiHow’s step-by-step visual guide are both solid references to bookmark alongside this guide.
Now go make the look yours.