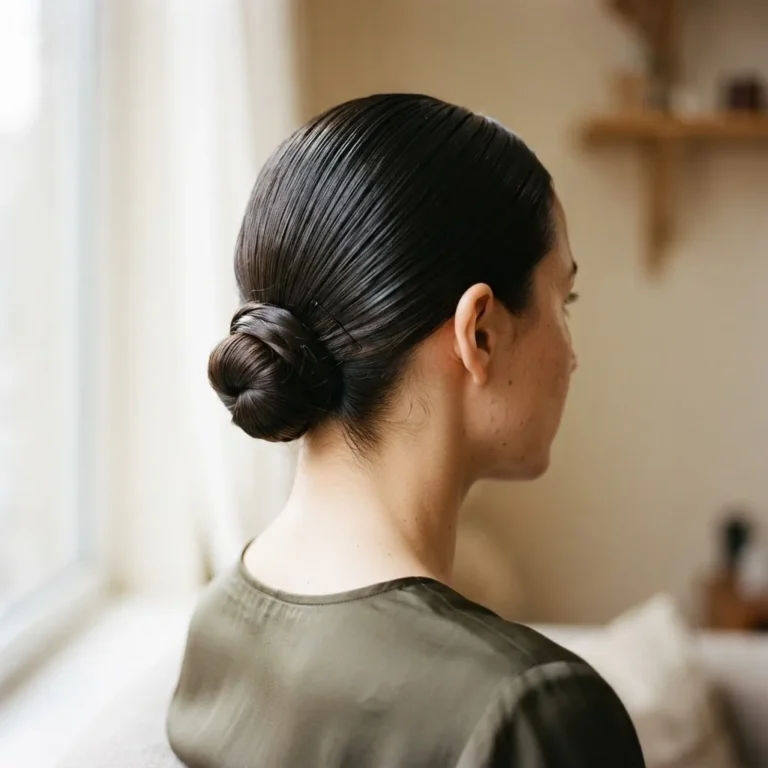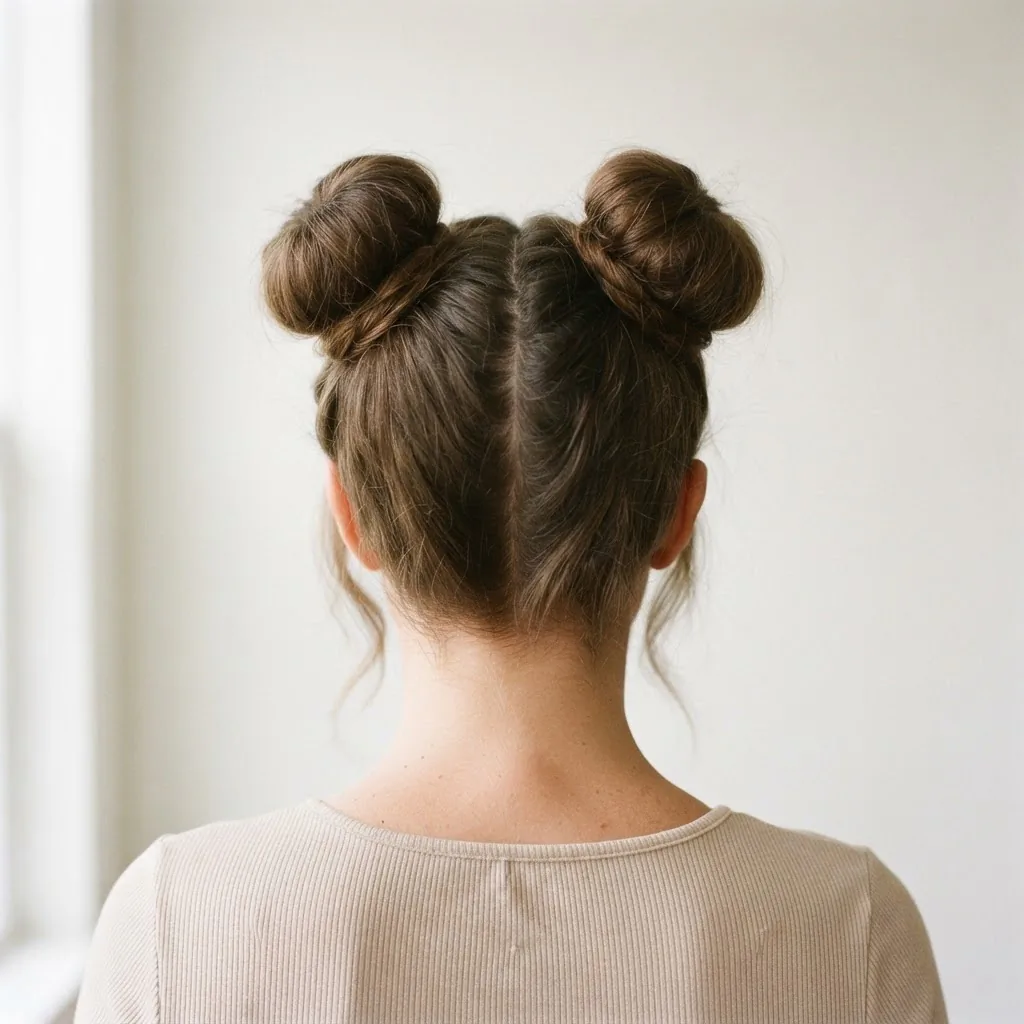
Space Buns Hairstyle for Beginners: No Frustration Here
Let me tell you something. I have been doing hair for a while now, between my years as a salon assistant in Austin watching stylists work and my own extremely humbling personal experiments, and space buns still trip people up. Not because they are complicated. They are genuinely not. But because every tutorial out there seems to assume your hair is medium-length, straight, freshly washed, and completely cooperative, and most people’s hair is none of those things.
So if you have tried to do the space buns hairstyle once, stared at the result in the mirror, and slowly let your arms fall to your sides in defeat, this one is for you. I am going to walk you through the full picture: the actual technique that works, what goes wrong and why, how to adapt the whole thing to your specific hair, and how to make them last through an entire festival day without turning into sad, slipping lumps by noon.
The good news? You can absolutely do this. Let’s go.
Why Space Buns Are the Right Choice for Festival Season
First, let’s talk about why this style is worth the effort. The space buns hairstyle has been having a genuine moment. After a strong Y2K comeback in the early 2020s, they are firmly in the 2025 festival hair conversation, and for good reason. They keep your hair completely off your face and neck (massive win in a hot outdoor crowd), they photograph incredibly well, and they are one of those looks that reads as intentional and put-together even in a messy version. There is a reason they have shown up in nearly every major festival hair roundup this year.
The style actually has a much longer history than most people realize. The double bun goes back centuries in Chinese traditional styling, where it was known as “shuangyaji,” or the double maiden bun. In Japan, a similar style is called “odango.” The English name “space buns” comes from Princess Leia’s iconic look in the original Star Wars films, and for more on the cultural roots of the style, Wikipedia’s history of the bun hairstyle is a genuinely fascinating read. Knowing the history makes me love the style even more, honestly. It is one of those looks that has been around the world and across centuries for a reason.
Today’s versions range from sleek and symmetrical to deliberately messy, from classic center-parted to zigzag-parted, from simple twist-and-pin to braided and gem-studded. The variations are huge, which is exactly why I want to lay out the foundation clearly before we start playing around.
What You Actually Need Before You Start
No gatekeeping here. You do not need much.
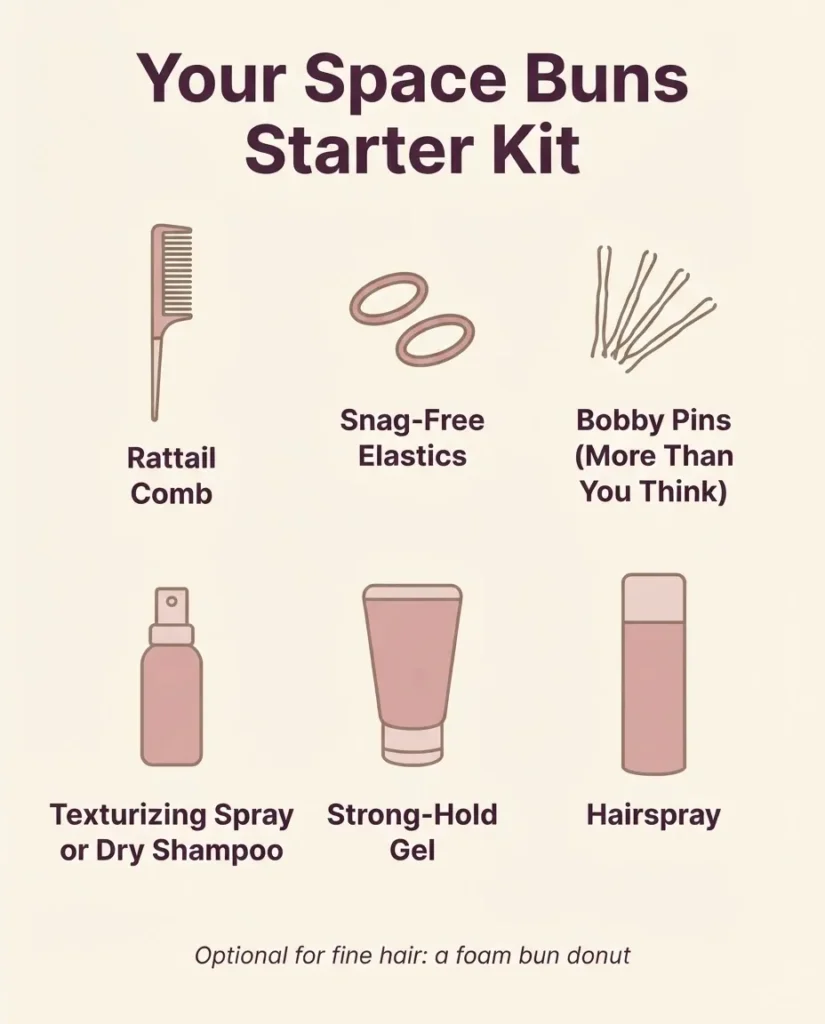
You need a rattail comb (the kind with a pointed end) for creating a clean part. You need at least two hair elastics that match your hair color, ideally the snag-free kind. You need bobby pins, and genuinely the more the better. A boar bristle brush or a soft paddle brush is helpful for smoothing. That is the core kit.
For products, the most useful thing you can have on hand is a texturizing spray or dry shampoo, because slightly textured, not-quite-fresh hair grips so much better than squeaky-clean hair. If you have them, a strong-hold gel is your friend for keeping flyaways smooth. The salon staple recommendation you will see everywhere is something like the Got2B Glued range, which you can find at most drugstores for under $8 and which consistently gets praised in community reviews for its hold on updos. Tresemme Extra Hold Gel is another budget option that gets strong marks. You do not need anything fancy.
If you have fine or thin hair, also grab a small can of hairspray and maybe a hair donut or a thin foam bun maker, because those tools can add volume where your natural hair is limited.
One more thing: I would gently point you toward the AAD’s guidance on hair care habits that can damage hair if you are someone who wears tight buns regularly, not just for festivals. For a one-time festival look, pulling your hair up is totally fine. But if you style your hair tightly every day, it is worth understanding how repeated tension affects the scalp over time. That is just honest information I would want someone to give me.
The Part That Actually Determines Everything
Here is the thing most beginner tutorials skip right over: the part is the whole foundation. If your part is off-center, your buns will sit unevenly, and no amount of adjusting after the fact will fully fix it. It is worth taking sixty extra seconds here.
Use the pointed tail of your rattail comb and start at the center of your forehead. Press the tip gently against your scalp and draw a straight line backward toward the crown of your head. Go slowly. Use a mirror if you can, ideally two mirrors so you can see the back.
The classic choice is a straight center part, and it is classic for a reason: it creates symmetry and frames the face evenly. But a zigzag part is genuinely worth trying if you want a more playful, Y2K-core look, and it is easy to do. Just move the comb in short left-right zigzag motions as you work backward from the forehead. It adds an unexpected detail that shows up beautifully in photos.
The Core Technique, Step by Step
This is the base method. Once you have it down, every variation we talk about afterward becomes much easier.
Step 1: Section and secure. After your part is done, gather one section of hair and smooth it upward. Where you place the ponytail determines where the bun sits. For the classic high space bun look, aim for the top quarter of your head, roughly at the crown. Secure it with an elastic, but here is the single most important beginner tip I can give you: on the very last wrap of the elastic, do not pull the hair all the way through. Leave a loop. This “last loop” technique creates a small, neat bun shape right at the base rather than a full ponytail that then needs to be coiled, and it gives you so much more control. Repeat on the other side, checking that both ponytails sit at the same height before you commit.
Step 2: Twist and coil. If you chose the full ponytail method (totally valid), take the ponytail and twist it firmly from the base down to the ends. Think of it like wringing out a damp towel, but gently and with your hair. A tighter twist gives you a compact bun. A looser twist gives you a softer, airier bun. Once twisted, wrap the hair around the base of the elastic in a circular coil.
Step 3: Pin it like you mean it.
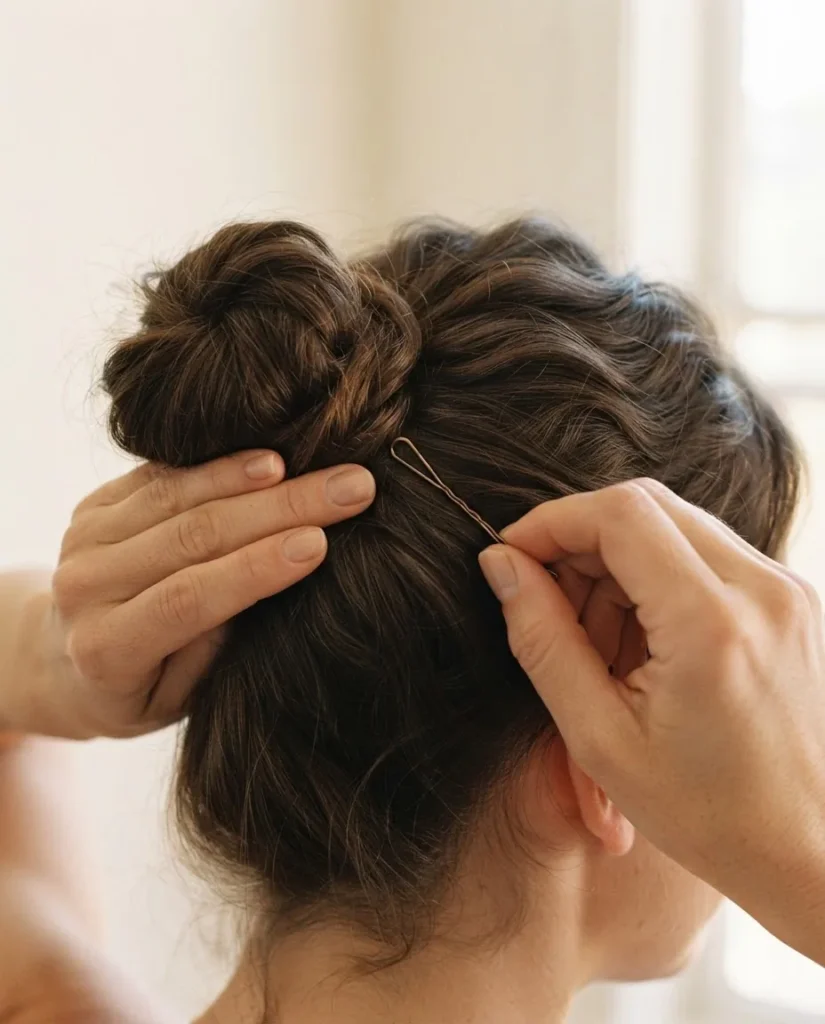
This is where most beginners go wrong. They use two or three bobby pins and hope for the best. Use more. A lot more. The way to get them to actually hold is to push the pin through the outer edge of the bun and hook it into the hair at the base before pushing the pin back into the bun. That hooking motion anchors the bun to your head instead of just sitting on top of it. Criss-crossing pins in an X pattern adds extra security.
Step 4: Pancake. This is the step that transforms a small, dense bun into a full, beautiful one. Once the bun is pinned and secure, use your fingers to gently tug at the outer edges of the bun, pulling it apart slightly and fanning it out. It will look immediately bigger and softer. Add a few more pins to hold the fanned-out shape, then hit everything with a light mist of hairspray.
Step 5: The finishing touches. Pull out two or three small face-framing pieces at your temples and gently curl or wave them with your fingers (or a small curling iron if you want, with heat protectant). These little pieces make the whole look feel intentional and soft rather than severe.
For a visual reference on the step sequence, especially if you are a visual learner, wikiHow’s space buns guide has illustrated steps that are genuinely helpful to look at alongside this walkthrough.
Now Let’s Talk About Your Specific Hair, Because One-Size Fits Nobody
If You Have Fine or Thin Hair
The number-one concern for fine-haired people is that the buns will look tiny and flat, more like two Ritz crackers on your head than actual buns. Here is how to avoid that. Before you even start sectioning, backcomb the hair at the roots of each section with a teasing brush or fine-tooth comb. Work in small sections, lifting the hair and backcombing toward the roots. This creates texture and bulk. A foam bun donut or a thin hair “rat” insert placed inside the bun before you pin it will also add significant volume with zero effort. Spritz texturizing spray throughout before you begin. Day-old hair is genuinely easier for this than freshly washed hair, so if you can plan ahead, skip the wash.
If You Have Thick or Heavy Hair
Your challenge is the opposite: weight. A single thick, heavy bun can slip and pull out of its pins within an hour. The fix is to split each section into two smaller sub-sections before coiling. Twist each sub-section separately, then wrap them around each other before pinning. This distributes the weight more evenly and creates more surface area for the pins to grip. Use U-shaped pins (the open U-shaped ones, different from regular bobby pins) in addition to standard bobby pins. They are made for exactly this kind of heavy updo work.
If You Have Curly or Coily Hair
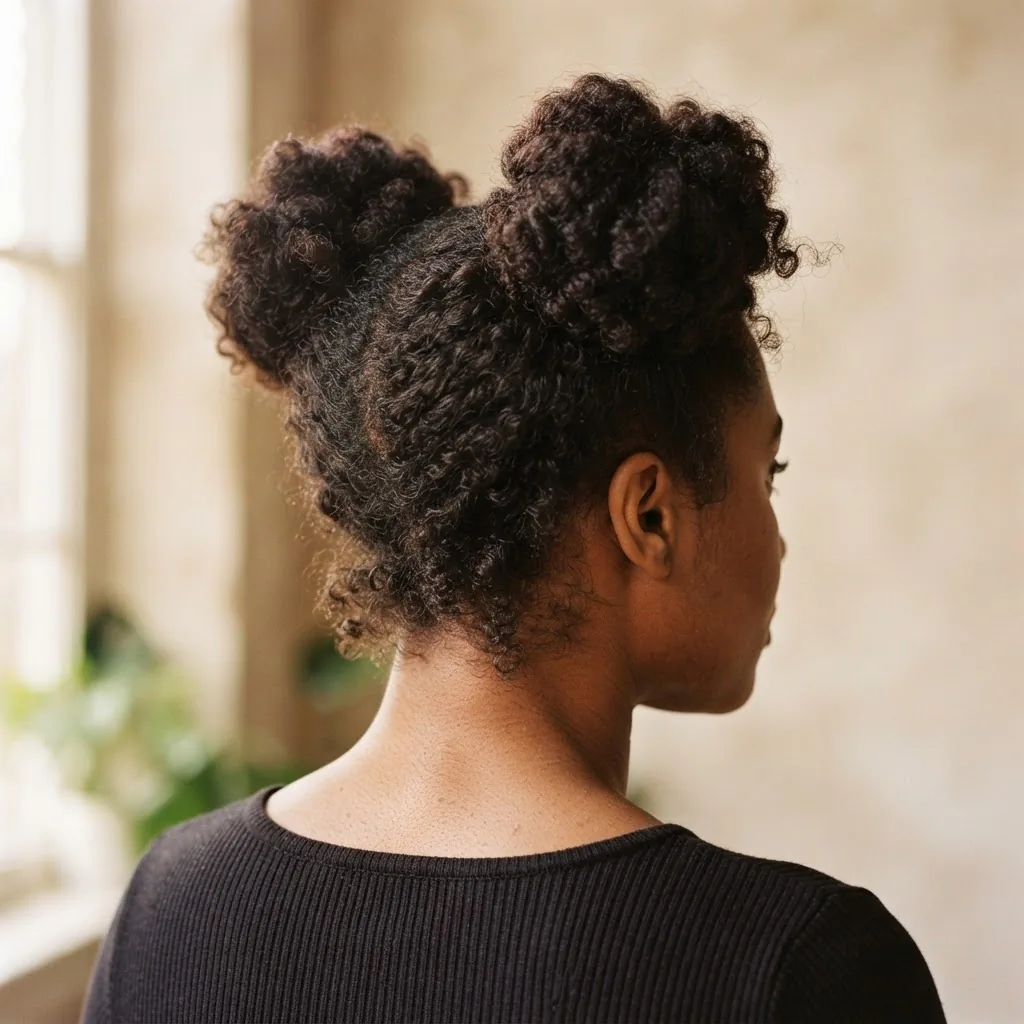
First: your texture is genuinely a benefit here, not a challenge. Curly and coily hair creates natural volume and a beautiful, full bun without any extra effort. The key is to not fight the texture. Gather your hair with your fingers rather than a brush, and use a leave-in conditioner or a curl cream before you start to keep the curls defined and frizz-controlled. Do not coil the bun too tightly or you will compress the curl pattern and lose the beautiful fullness. A slightly looser coil with a generous pin job works beautifully, and the natural curl definition at the edges makes the buns look incredible. If you have 4C hair specifically, working with moisturized, stretched (not wet) hair tends to give the cleanest base for pinning.
If You Have Short Hair
Yes. You can do this. There are two main strategies. The first is half-up space buns, which only uses the top section of your hair and works on hair as short as a long bob. You take the top half of your hair, section it as usual, and create two smaller buns while leaving the rest of the length down. The second strategy, for creating full space buns on shorter hair, is to position the pigtails higher on your head where the hair is longest, and use the “last loop” bun trick mentioned above to keep everything compact and secure. Shorter ends can be tucked under the bun and pinned flat. For a detailed illustrated walkthrough specifically for short hair, wikiHow’s guide to space buns on short hair covers three different methods with photos.
If You Have Very Long Hair
Long hair creates large, heavy buns that tend to slip.
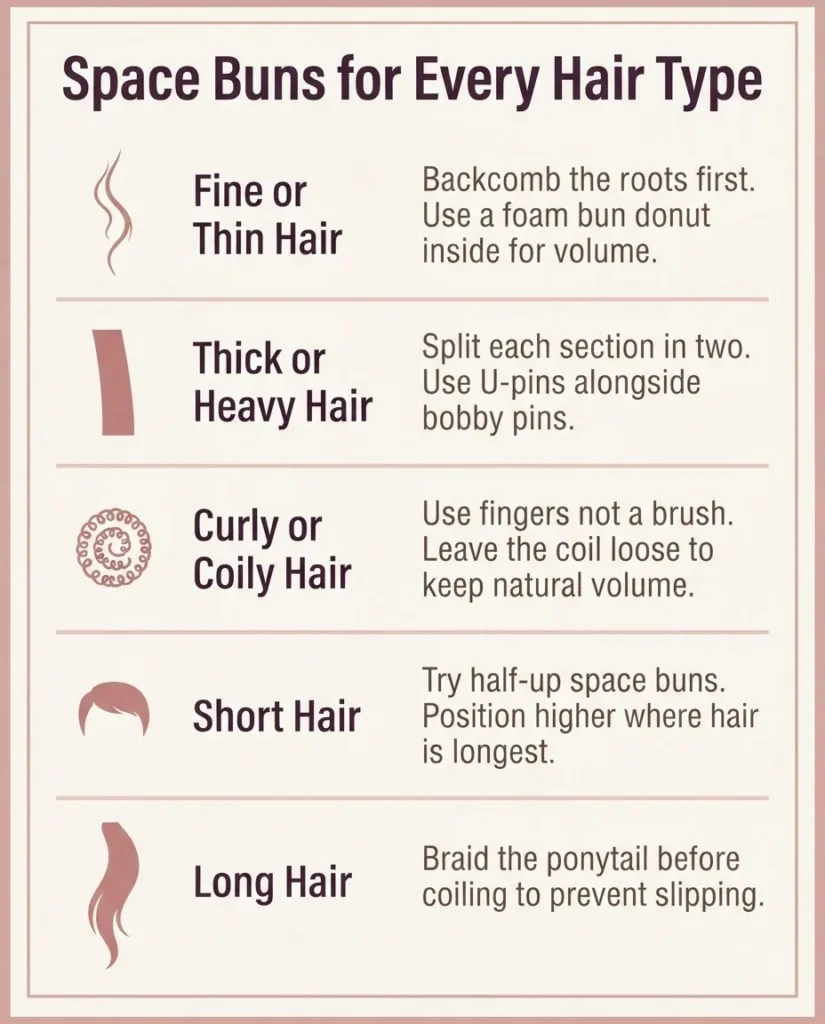
The best solution is to braid the ponytail before coiling it. Any braid style works, whether it’s a simple three-strand braid, a Dutch braid, or a fishtail braid. The braid adds texture that grips the pins better, and it contains the length in a compact way that prevents the bun from flopping open over time. Braided space buns also happen to be one of the most popular festival variations right now, so you are getting a style upgrade and a practical fix in one move.
18 Space Buns Styles to Try This Festival Season
Now for the actual inspiration. Here are 18 ways to wear the space buns hairstyle, grouped by vibe and difficulty.
Classic and Clean (Beginner-Friendly)
- Classic high space buns with a center part, the OG. Simple, symmetrical, always right.
- Messy high space buns, using the same method but skipping the smooth-down step and pancaking more aggressively. Deliberately undone is the whole look.
- Half-up space buns with the bottom half of your hair left loose or wavy. Great for shorter hair or for keeping things a little more casual.
- Low space buns, positioned at the nape of the neck or just above the ears. More understated, still festival-ready, and more comfortable in a crowd.
- Zigzag-part space buns. Same technique, different part. The zigzag adds a Y2K detail that photographs beautifully.
Textured and Braided (Intermediate)
- Simple braided space buns: braid each pigtail with a three-strand braid before coiling.
- Dutch braid space buns: start a Dutch (inverted) braid at the front of each section before gathering it into the bun. The braid sits on top of the head like a crown braid leading into the bun.
- Fishtail braid space buns: a little more patience, a lot more texture.
- Twist-knot space buns: twist each section in two pieces (like a rope twist) before wrapping into the bun. Gives a ropelike, dimensional look.
- Bubble braid into space bun: create a bubble ponytail by adding hair ties at intervals down the ponytail, then wrap the whole thing into a bun. Very Y2K.
Accessorized and Festival-Ready
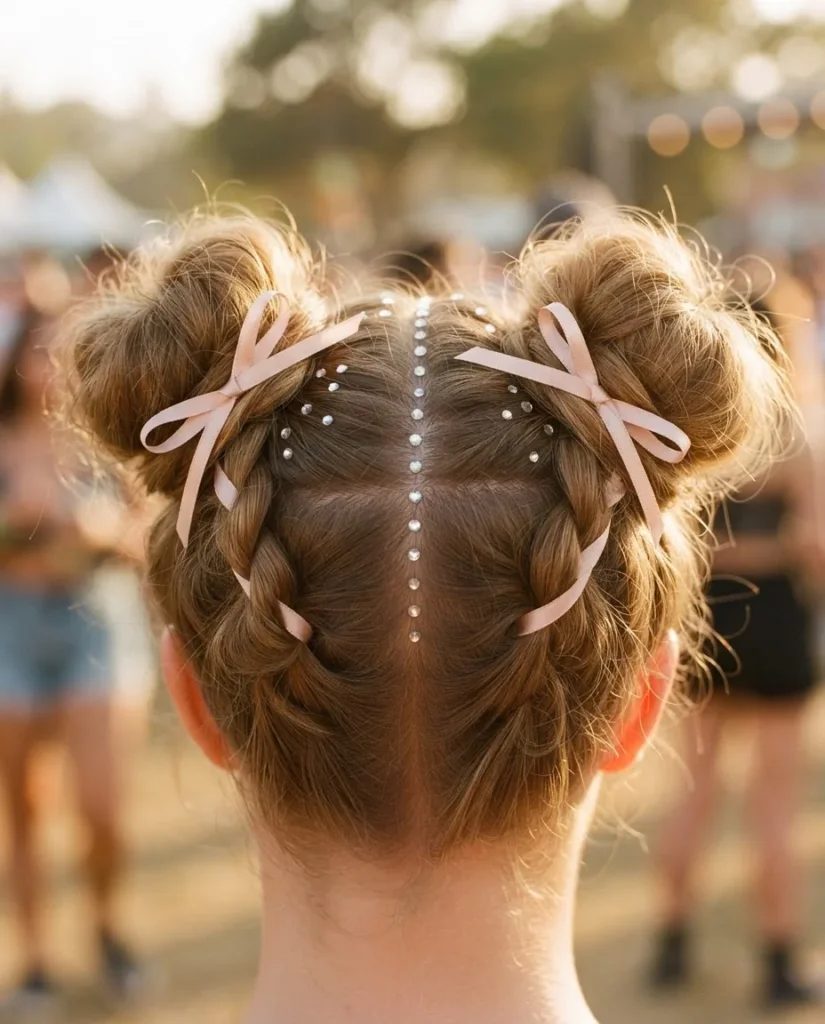
- Space buns with ribbons woven through: thread a thin satin or grosgrain ribbon through each bun and tie the ends in a bow. One of the most-pinned festival looks right now.
- Space buns with rhinestones or face gems pressed around the part and along the bun edges. This is the look that iHeartraves and the whole 2025 festival community cannot stop reposting. Check out their 2025 festival hairstyles roundup for serious accessory inspo.
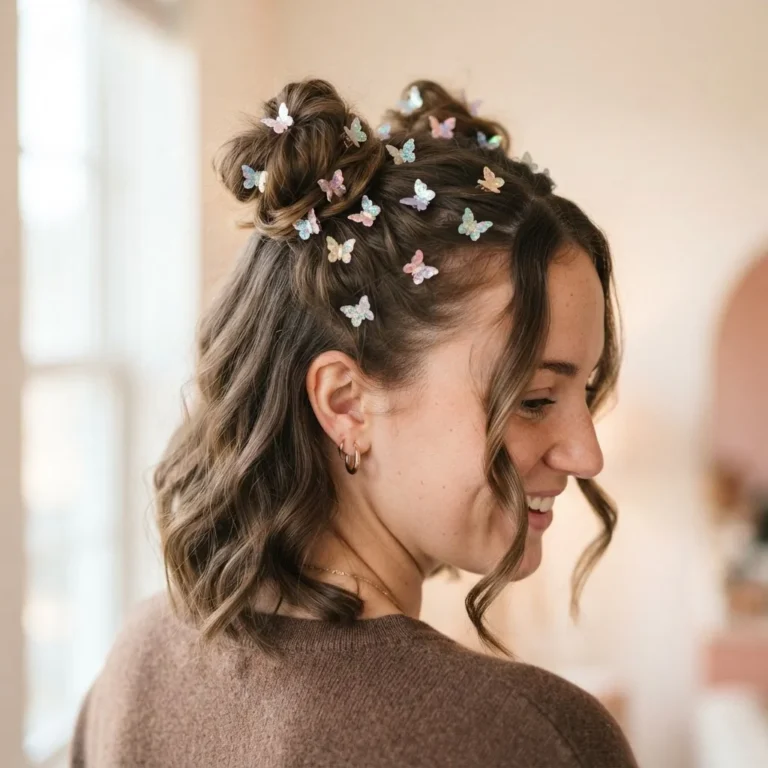
- Space buns with star or butterfly clips pressed into the buns.
- Space buns with glitter at the roots along the part, which reads as incredibly elevated in person and costs almost nothing.
- Space buns with colorful hair extensions or clip-ins wrapped into the bun for a pop of color without commitment.
Texture-Forward (Natural and Curly Hair Specific)
- Natural coily space buns with moisturized, defined curls left loose at the edges for a soft halo effect.
- Bantu-knot-style space buns, using a more coiled, stacked technique that honors natural texture.
- Afro puff space buns for 4C hair, gathering each section into a puff and pinning the volume into two full, rounded shapes.
Making Them Last All Day at a Festival
This is the section most tutorials skip, and it is the most practically important one for a festival context.
Start with product. A light-hold gel or strong-hold texturizing spray worked through each section before styling gives your pins something to grip. Got2B Glued gel specifically, which retails for around $6 to $8 at drugstores, gets mentioned over and over in online communities as one of the best budget options for keeping updos locked in place all day.
Use more pins than you think you need, and use them correctly. The hooking-into-the-base-hair technique described in the core method above is critical for longevity.
Seal with hairspray after you are done. A strong-hold spray (not a light-hold shine spray) misted over the whole style adds a layer of protection against humidity and sweat. Medium-hold hairspray works if that is all you have, but lean toward strong-hold for full festival days.
If your buns slip anyway, the most common culprit is that the elastic at the base was not tight enough, or the hair was too freshly washed and silky to grip. For future attempts, day-old hair plus a texturizing spray before you start is genuinely the combination that most people have the most success with.
The One Thing I Need to Mention About Pulling Tight
I want to say this clearly and without alarming you, because space buns at a festival are completely fine for most people. But if you wear tight buns or high ponytails regularly, like multiple times a week as your everyday style, it is worth being aware that the American Academy of Dermatology identifies tightly worn buns, ponytails, and updos as hairstyles that can contribute to traction alopecia, which is a form of hair loss caused by repeated pulling on the follicle over time. For a festival weekend? Go for it. But if your scalp ever feels sore or you notice tension at the hairline after wearing a style, take that as a signal to loosen up the placement or take a break from tight styles for a bit.
The practical solution for regular wearers is simple: place the buns slightly lower so they are not yanking at the hairline, keep the elastic reasonably snug rather than painfully tight, and alternate with looser styles between wear.
The Most Common Beginner Mistakes (And Exactly How to Fix Them)
“My buns look like pinecones.” This is the most common complaint I see, and the cause is almost always a combination of too-tight coiling and not enough pancaking. Loosen the twist slightly and spend more time fanning the bun outward after pinning. Also check that you are not creating a deep, narrow tube of hair. Think flat disc, not tall cylinder.
“My buns fall out within an hour.” You are not using enough pins, and they are probably not being anchored into the base. Try the hooking technique and at least double the number of pins you are currently using.
“My buns are uneven.” Go back to the part. Nine times out of ten, an asymmetrical result comes from an asymmetrical part. Check the part in two mirrors before you start the buns themselves.
“There is a huge dent in my hair where the elastic was.” This is why I always recommend snag-free elastics. But if it happens, spritz a little water on the dent, gently work the hair with your fingers, and use a little texturizing spray to reshape. The dent is very manageable.
“My fine hair makes the buns look flat and small.” Use a bun donut inside the coil before pinning, backcomb before styling, and try the half-up version where you are not stretching the hair too thin across too large a section.
A Word on the Y2K Moment and Why This Look Keeps Coming Back
There is a reason the space buns hairstyle keeps cycling back every few years. It is genuinely one of the most expressive, adaptable, photogenic styles available that you can actually do on yourself in under fifteen minutes once you know what you are doing. The Y2K revival brought it back with a vengeance, and the 2025 festival season has turned it into one of the defining looks of the summer, showing up everywhere from Coachella mood boards to rave community threads to Pinterest feeds. For a sense of how many ways the look is being styled right now, Olivia Paisley’s piece on the space buns hairstyle does a nice job capturing the cultural energy around why it keeps resonating.
The style is also, at its core, genuinely inclusive. It works on short hair, long hair, straight hair, curly hair, natural hair, and everything in between. The versions might look different across textures, but they can all be stunning, and none of them require a salon visit.
You Have Completely Got This
Space buns are one of those styles that can look intimidating from the outside but are actually pretty forgiving once you know the mechanics. The key moves are a centered part, the last-loop elastic trick, the hooking bobby pin technique, and the pancaking step. Everything else is texture, variation, and accessories.
Festival season is short. Your hair is ready. Go get your buns on.