15 Christmas Nail Ideas That Are Easier Than They Look
Let me tell you something I wish someone had told me before my first holiday season of doing my own nails: the designs that look the most complicated in your Pinterest saves are very rarely the ones that are actually hardest to do. I know, because I spent my first December attempting an elaborate reindeer scene freehand and abandoning it halfway, only to pivot to a simple red-and-gold dot design that took twelve minutes and got more compliments than anything I had ever tried. The gap between “Pinterest perfect” and “kitchen table doable” is a lot smaller than it looks, once you know which designs are secretly beginner-friendly and which ones require genuine practice to pull off.
That is exactly what this list is. Not a gallery of unreachable salon art. Fifteen actual Christmas nail designs you can do at home this season, ranked roughly from “do this tonight with no special tools” to “try this once before the party and you will be amazed.” I’ll tell you what tools you need, what to do when things go sideways, how to adjust each look for short nails, and which designs are genuinely great candidates for gel if you want that extra week of holiday-party wear.
Let’s get festive.
Before You Start: The Prep That Determines Everything
I know you want to skip this section. Please don’t. The single biggest reason beginner Christmas nail art chips on day two, lifts at the cuticle, or just looks a little off is nail prep, not skill. Five minutes of prep adds days to your wear.
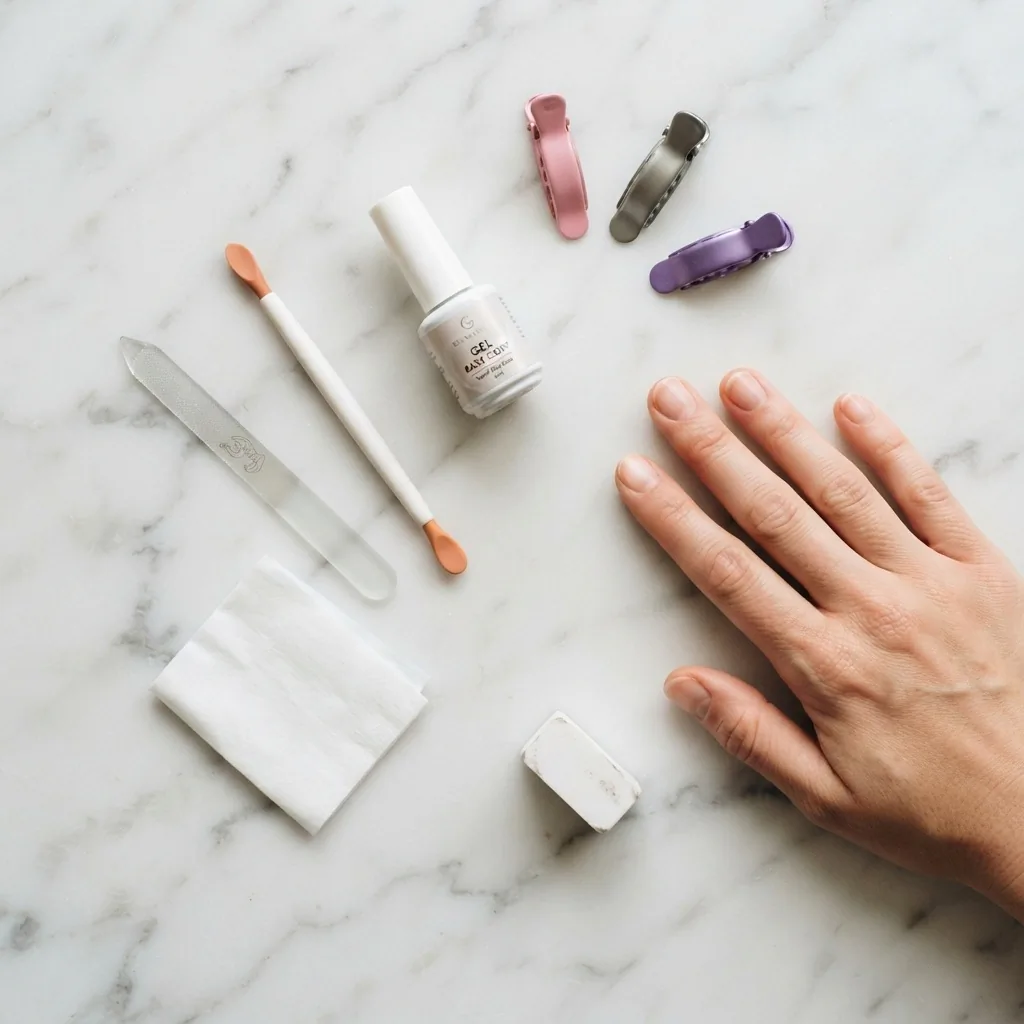
Start with clean, dry nails. That means no lotion, no hand cream, no oils anywhere near the nail surface. Wipe each nail with a lint-free wipe and a little isopropyl alcohol or a nail prep/dehydrator if you have one. Push your cuticles back gently with a rubber-tipped cuticle pusher (never cut live cuticle skin, only trained technicians should do that, and even then it carries infection risk). File your nails to your chosen shape and buff lightly if there are ridges. Then apply your base coat all the way to the free edge, and cap it (meaning swipe the brush across the very tip of the nail). Capping each layer is the number one thing that prevents tip chipping and it takes literally two extra seconds per nail.
If you are doing gel, apply a thin, even layer of base gel and cure it according to your lamp’s instructions. A quick but genuinely important note: always use the lamp your gel system is designed for, not just any random UV or LED lamp you have lying around. Undercured gel is the leading cause of sensitization to ingredients like HEMA (hydroxyethyl methacrylate), which can trigger a contact allergy that may become permanent with repeated exposure. The American Academy of Dermatology also recommends applying broad-spectrum SPF 30+ sunscreen to your hands before gel curing sessions to protect your skin from UV exposure during the curing process. It takes thirty seconds and it matters.
The 15 Designs
1. Classic Red Crème: The One That Never Fails
I am starting here on purpose because “just red nails” has a reputation for being boring, and that reputation is wrong. A glossy, deeply pigmented red crème on well-prepped, properly shaped nails looks elegant, intentional, and festive in a way that feels timeless rather than trying too hard. If you have never done your nails at home before, start here. Get your prep right, get your application even, and practice capping the tip. By the time you finish this one, your muscle memory will be ready for the designs below.
For regular polish, look for a full-coverage red that does not streak, Essie’s “Really Red” and OPI’s “Big Apple Red” are reliable drugstore/accessible picks. Apply two thin coats rather than one thick coat, thin coats level themselves, thick coats bubble and dent. Top coat with a high-shine finisher.
For short nails: works beautifully. A classic red actually makes short nails look neat and grown-out, especially on a square or rounded square shape.
2. Red and Gold Dots: The Beginner Art Gateway
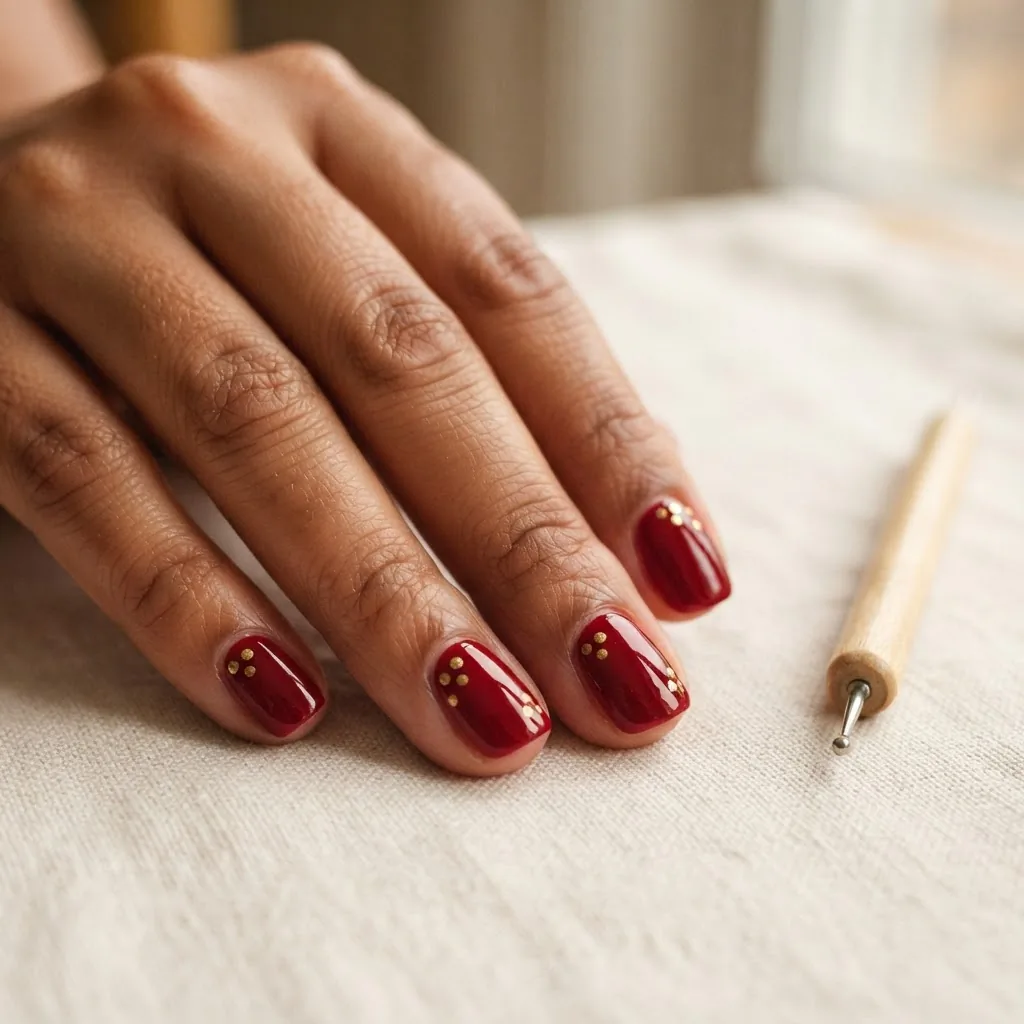
This is literally the design that started everything for me. It is the one I practiced during that long internship with a cheap dotting tool, one wobbly circle at a time. And I am telling you: it is forgiving in a way that almost no other nail art design is. Slightly uneven dots look intentional. Varying sizes look artistic. A dot that goes a little too close to the cuticle is just one tap away from a quick cleanup with a small brush dipped in acetone.
To do it: paint two coats of deep red and let it dry completely (or cure if gel). Then dip a medium dotting tool in gold nail polish (or a gold gel), wipe off the excess on a piece of foil, and press straight down onto the nail. Lift cleanly. Repeat in a scattered pattern, clusters of three work well, or a diagonal line across the nail. Seal with top coat.
A basic dual-ended dotting tool runs about $5 to $8 at the drugstore or under $10 in a set online, and one set will last you years. If you do not have one yet, a bobby pin tip or the rounded end of a makeup brush handle works in a pinch.
For short nails: use smaller dots, a dotting tool with a fine tip, or just three large dots in a triangle pattern. Simple is always right on short nails.
3. Candy Cane Stripes: Easier With Tape Than You Think
The candy cane design intimidates people because diagonal stripes look like they require a very steady hand. Here is the secret: they do not, because you are going to use tape. Start with a white or pale pink base. Once it is completely dry (this is crucial, if your base is even a little tacky the tape will pull it up), lay thin strips of scotch tape diagonally across the nail. Paint over the tape in red. Wait thirty seconds, then peel the tape off slowly at a low angle. Clean any fuzzy edges with a thin brush dipped in acetone. Topcoat immediately.
The result looks precise, graphic, and genuinely festive. It works with red and white for classic candy cane, or try red and cream, deep green and gold, or navy and silver for a modern version.
For short nails: diagonal stripes are actually one of the most flattering designs for shorter nail beds because they visually elongate the finger. This is a genuine short-nail win.
4. Simple Snowflake Nails: Your Dotting Tool Does the Work
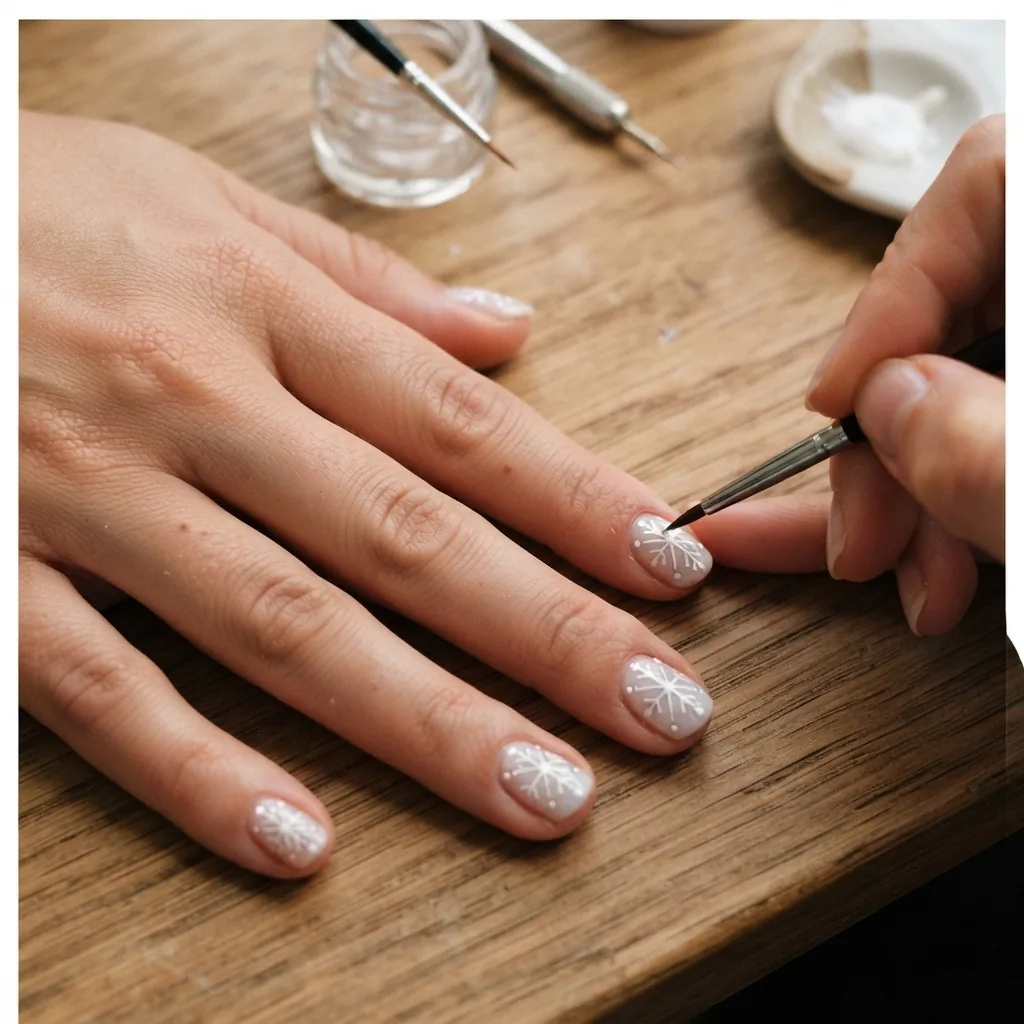
Snowflakes look complex, but at their core they are just dots and lines arranged in a six-point pattern. The Instructables step-by-step snowflake nail art guide breaks it down beautifully and confirms what nail artists have known forever: an X, a cross layered on top, and small dots at the tips gives you a recognizable snowflake that photographs beautifully.
Here is how to do it at home: start with a nude, white, or icy blue base. Using a thin nail art brush or a fine striper brush dipped in white polish, paint a vertical line down the center of the nail. Cross it with a horizontal line. Then cross it again at diagonal angles so you have six lines radiating from a center point. Add a small dot at the end of each line. Add a tiny dot at the center where all lines meet. Topcoat and you are done.
The brush is more important than the hand here. A good, fine liner brush (look for one labeled “striping brush” or “detail brush” in any nail art set) makes this dramatically easier. A brush with stray bristles that goes ragged under polish pressure is what makes lines look messy, not your hand.
For short nails: paint snowflakes only on one or two accent nails and keep the rest a solid coordinating color. This approach, one statement nail per hand, is actually one of the most-saved looks on Pinterest right now because it feels curated rather than maximalist.
5. Glazed Donut Holiday Edition: Chrome Powder Magic
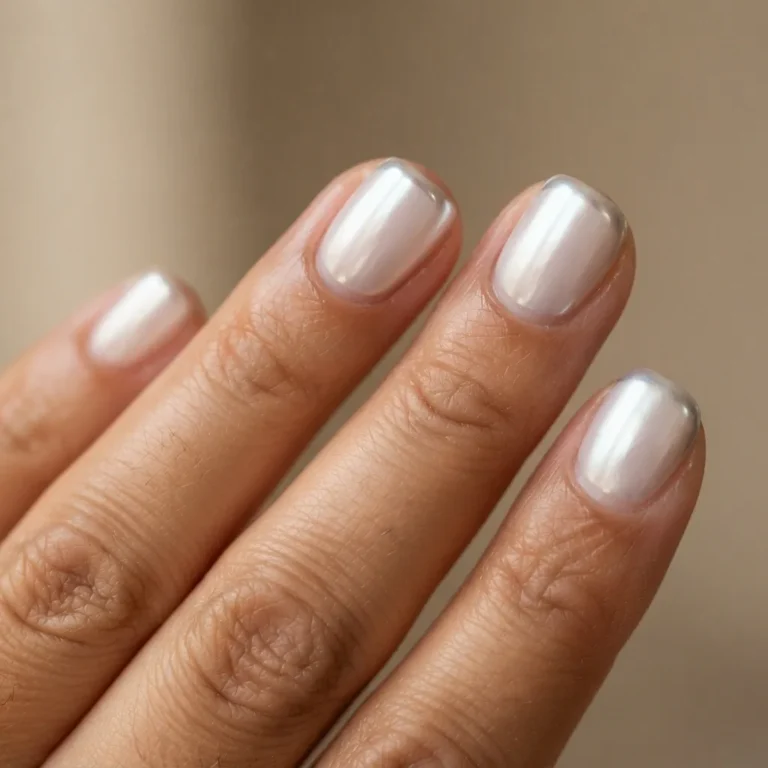
If you have been on Pinterest in the last two years, you know glazed donut nails. Hailey Bieber made this finish globally famous, and it has since crossed into holiday territory beautifully: a sheer, pearlescent base dusted with silver or icy chrome powder looks like a frosted Christmas ornament on your fingertips. This one does require gel to work properly because chrome powder adheres to the sticky, uncured surface of a gel top coat, it does not work over regular polish.
Here is the technique: apply your gel base, cure, then paint two thin coats of a sheer white or milky pink gel, curing between coats. Apply a gel top coat but do NOT cure it yet. This sticky layer is your chrome’s attachment point. Using the sponge-tip applicator that comes with most chrome powder kits (or a makeup sponge cut small), rub the chrome powder across the nail in circular motions. The friction and the sticky surface grab the chrome particles. Build it up until you get that mirror-like shine. Then seal with a gel top coat (a no-wipe formula works best to preserve the chrome) and cure fully.
For a Christmas variation, try gold chrome over a deep burgundy gel base, silver chrome over forest green, or an icy white chrome over a pale blush for the glazed-snowflake effect that is all over Pinterest this season.
For short nails: chrome actually looks stunning on short nails, possibly better than on long nails, because the reflective surface draws attention to the whole finger rather than the length. Squoval and rounded shapes work especially well.
6. Reindeer Face Nails: Dots and a Tiny Brush, That Is It
I see people assume this design requires real artistic talent, and I want to set the record straight: a reindeer face is literally two circles stacked, two oval ears, two dot eyes, and a red or brown dot nose. That is it. That is the whole design. If you can make dots, you can make a reindeer.
Start with a tan or warm nude base (Sally Hansen’s “Bare It All” or any warm beige works). Using a medium dotting tool, make a larger oval for the face in a slightly darker brown. Add two small semi-circles at the top for ears. Switch to a small dotting tool for the eyes (dark brown or black dots), the nose (a red dot for Rudolph or brown for a regular deer), and optional tiny white dot highlights in each eye for personality. A thin brush can add the antlers above the ears in two curved lines with small branches, but even without the antlers the face reads clearly as a reindeer.
The best part? This design is a wonderful candidate for an accent nail rather than all ten fingers. Paint four nails in your base color (maybe a warm camel or deep burgundy) and do the reindeer design on one nail per hand. Nobody will be able to stop looking at them.
7. Minimalist Christmas Tree: Negative Space, Big Impact
This one feels like a secret hack. Using a thin striping brush, paint a simple triangle of green lines on a bare or nude nail, three strokes going outward from a center point, getting wider as you go down, to suggest the silhouette of a tree without filling it in completely. Add a tiny gold dot at the top as the star. That is your Christmas tree. The negative space approach (showing the nail itself through the design) makes it feel modern and editorial rather than crafty, and it photographs beautifully.
This works best on at least medium-length nails so the triangle has room to breathe, but on short nails you can simplify to just a V-shape of two strokes in green with a gold tip and it still reads as a tree.
8. Gingerbread Nails: Warm, Sweet, and Actually Very Doable
The gingerbread aesthetic has been having a major moment in beauty, and on nails it translates to a warm golden-brown base with small white detail accents that mimic icing on a gingerbread cookie. Start with a milk-chocolate or warm tan base. Using a thin liner brush dipped in white polish, paint simple outline shapes on the nail: a small heart, a wavy border along the tip, tiny dots in a row, or a simple gingerbread person silhouette (a head circle with a body circle below it). You are mimicking piped icing, which means slightly irregular, slightly wobbly lines actually look more authentic, not less.
For short nails: skip the full character silhouette and do just the icing-border tip design. A wavy white line along the free edge that mimics piped royal icing looks adorable and takes about forty-five seconds per nail.
9. Tartan/Plaid Nails: Your New Best Friend Is a Stamping Plate
Tartan nails are having a serious fashion moment right now and they look incredibly complex because, honestly, they kind of are complex to paint freehand. But here is where a stamping plate becomes the most useful tool in your whole nail kit. Stamping plates are thin metal sheets etched with designs, you apply special stamping polish to the design, scrape off the excess, press a silicone stamper onto the plate to pick up the image, then roll the stamper onto your nail. The result is a crisp, professional-looking pattern in seconds.
The Maniology stamping guide walks through the technique with clear visuals, and their holiday plate collections include plaid and tartan designs that are genuinely beginner-friendly with a little practice (I recommend doing a few dry runs on a plastic bag before going to the nail). Stamping plates run $8 to $15 each, and the basic stamper and scraper set runs about $10. It is not free, but compared to a salon visit it is a one-time investment that opens up dozens of designs.
For short nails: stamping works on any nail length, and the scale of the pattern fills a short nail beautifully.
10. Bow Accents: Sculpted or Sticker, Both Are Valid
Bow nails have been everywhere in 2024 and 2025, and their festive variation in deep red, emerald, or gold feels genuinely seasonal without being costume-y. There are two honest ways to do this at home. The first is using a thin liner brush to paint a small bow shape on a single accent nail (two small triangles touching at their tips, with a tiny circle in the center and two small ribbon ends trailing below). This takes practice but is achievable with a steady hand and slow movements.
The second, perfectly valid, no-shame approach: nail art sticker bows. They cost about $3 to $6 for a pack of mixed sizes, they press on over your topcoat, and you seal them with one more thin topcoat afterward. They look just as good in photos. I have absolutely used both methods depending on whether I have the energy and time, and I will never apologize for the stickers.
For short nails: a small, fine bow on a single accent nail is a go-to. Oversized bows work better on longer nails where there is surface area to show them off.
11. Festive French Tips: The “Barely Christmas” Option
If you love the French tip format, the holiday season is a great time to color-remix it. A classic French tip shape (sheer or nude base, curved smile line) becomes immediately festive when you swap the white tip for deep red, holly green, gold shimmer, or even a tiny stripe of candy-cane red and white along the free edge. This is the design for people who want to feel festive at the office or a professional setting without going full Santa mode.
The technique is exactly the same as a standard French tip. You can use tip guides (thin adhesive strips that mask off the nail and give you a clean curved line) which are available at the drugstore for about $3, or you can freehand the smile line with a flat brush. Thin curved strokes from corner to corner with a flat “shader” brush are easier to control than trying to drag a round brush in a curved line.
For short nails: a French tip actually makes shorter nails look longer. Keep the smile line tight and close to the tip rather than extending it far down the nail bed.
12. Aura Nails in Festive Colors: Gradient Magic With a Makeup Sponge
Aura nails (soft, glowing gradient halos of color, usually in the center of the nail) went viral for good reason: they are genuinely beautiful and genuinely achievable at home. The Christmas version uses deep green and red, burgundy and gold, or icy blue and silver in a soft blended halo.
Here is the technique: paint a light or nude base. Apply two or three nail polish colors in stripes onto a small piece of makeup sponge (not the nail, the sponge). Then gently press and dab the sponge onto the center of the nail. The sponge blends the colors together as it applies them, giving you that soft gradient halo effect. Dab, do not drag. Layer a few times, let it build up. Clean the edges around the nail with acetone on a small brush, then topcoat.
The beauty of aura nails is that no two nails look identical, and that is the point. They are supposed to have a soft, organic quality. Wobbles and variation are baked into the design.
For short nails: works on any length. Keep the gradient centered on the nail rather than pushing it to the edges, as that framing effect actually makes short nails look wider and rounder in a flattering way.
13. Glitter Ombre: The Backup Plan That Always Works
Every Christmas nail season, there comes a moment when a design has not worked out the way you hoped, the reindeer look like fuzzy brown blobs, the tartan stamping picked up at a weird angle, something. This is your backup plan. Glitter ombre is almost impossible to mess up, it photographs beautifully, it genuinely looks festive and intentional, and it takes under ten minutes.
Paint a base in a rich holiday color, deep red, forest green, midnight navy, even a creamy nude. While the second coat is still slightly tacky (or immediately after cure if using gel), use a small piece of makeup sponge to press chunky or fine glitter polish onto the tips of your nails, building it denser at the very tip and lighter as you move down toward the center. Seal with a thick topcoat, two coats ideally, to smooth down the glitter texture.
Loose glitter can also be used over a tacky topcoat layer for a more intense effect, but if you go that route, use a topcoat designed for glitter encapsulation to prevent snagging and peeling.
14. Green and Gold Cat-Eye Gel: A Showstopper Worth Trying Once
Cat-eye gel nails have been one of the biggest nail trends in recent years, and a deep forest green or emerald cat-eye gel for Christmas feels genuinely special and creative without looking costumey. The cat-eye effect comes from magnetic particles in the gel polish: you cure the base, apply the cat-eye gel color, and before curing it, hold a magnet tool above the nail (without touching it) for about fifteen to twenty seconds. The magnet pulls the particles into a line, creating that shifting, shimmery stripe effect. Then you cure. Done.
Cat-eye gel sets with the magnet included run about $15 to $30 from brands like Born Pretty or similar, and the technique works even for beginners because the magnet does all the actual artistic work. Your only job is holding the magnet steady.
Note: because this uses gel, all the standard gel safety applies. Use the matching lamp, apply thin layers, and cure each one fully. The FDA’s overview of nail care products is a useful resource for understanding what ingredients you are working with and what to watch for in product labeling, particularly if you are shopping budget brands whose ingredient lists may differ significantly from established ones.
For short nails: cat-eye gel is honestly one of the most flattering designs for shorter nails because the stripe of light draws the eye along the length of the nail, making the finger look longer. Highly recommend.
15. Full Chrome Ornament Nails: The Wow Moment
This is the design for your holiday party. Your Christmas morning photos. The one that makes people ask “did you go to a salon?” Solid chrome nails in a holiday color, deep red chrome, silver mirror, or rich gold, look spectacular and modern, and the technique (which I described in the glazed donut section above) is achievable at home with a chrome powder kit and an LED gel setup.
The key difference between this and the glazed donut variation is that you use a more opaque or saturated base color rather than a sheer one, and you build the chrome powder thicker for a full mirror effect. Red chrome over a matching red gel base gives you that molten, liquid-metal look that is everywhere in editorial nail photography right now. Silver chrome over black gel is a dramatic, editorial choice. Gold chrome over burgundy is warm and rich and very Christmas dinner.
If you are new to chrome, the learning curve is mostly about using the right amount of powder and the right pressure when buffing. A little chrome goes further than you think. Start with a small amount on your sponge tip and build up rather than applying too much at once, which can look patchy.
The Skill Tier Breakdown at a Glance
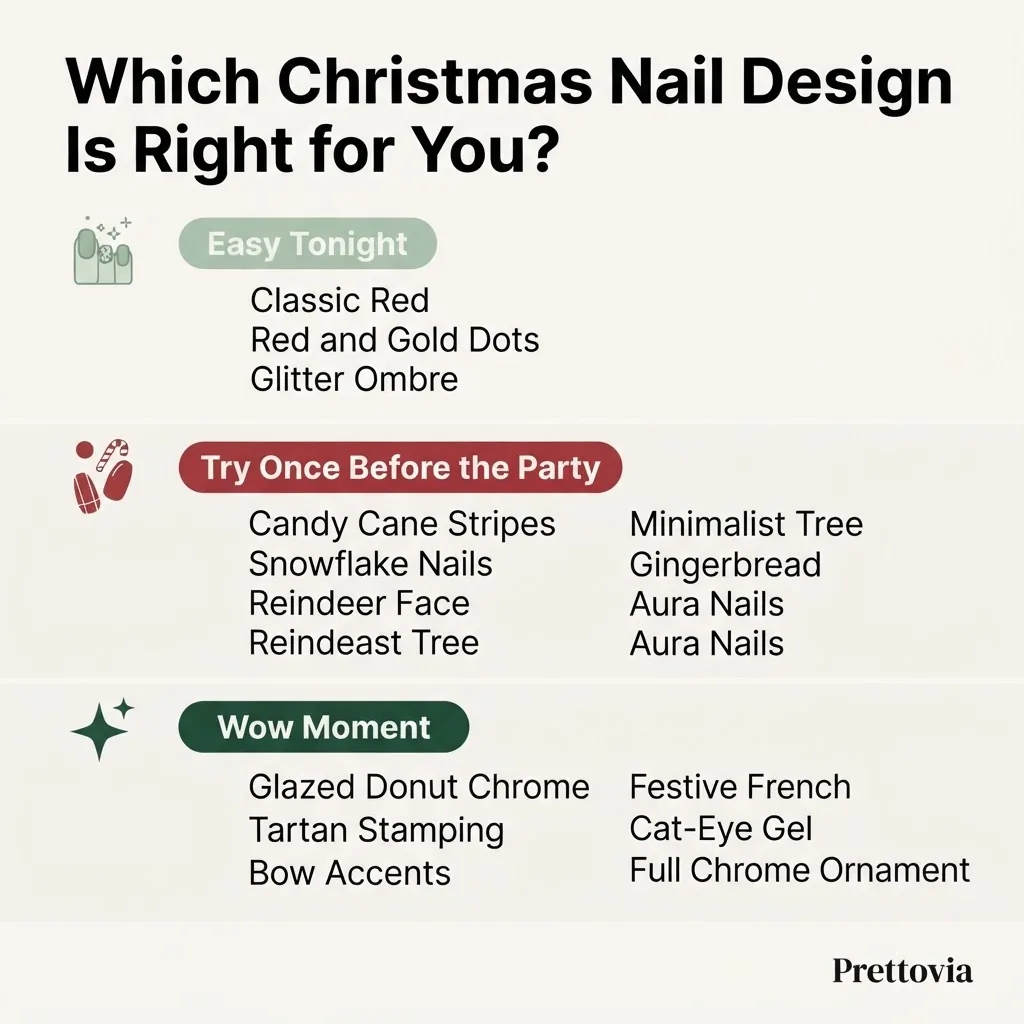
For a quick sense of where to start based on your current comfort level: if you are brand new to nail art, start with designs 1, 2, or 13 (classic red, dots, glitter ombre). If you have done your own nails a few times but are new to art, try 3, 4, 6, 7, or 8 (tape stripes, snowflakes, reindeer dots, trees, gingerbread). If you are comfortable with nail art basics and want something that feels more elevated, go for 5, 9, 10, 11, or 12 (chrome, stamping, bows, French remix, aura). And if you have a gel setup and want to challenge yourself with the most impressive results, designs 14 and 15 (cat-eye and full chrome) are genuinely worth the practice run.
Troubleshooting: When Things Go Sideways
Every beginner runs into the same handful of problems, so here is a quick honest guide for the most common ones.
If your nail art smears when you apply topcoat, your art layer was not fully dry before you topped it. For regular polish, wait at least twenty minutes after the last art layer before topcoat. Alternatively, use a “non-wipe” or “dry drops” style topcoat that seals with less drag. Dabbing topcoat on rather than brushing works as a smear prevention trick for delicate designs.
If your base is lifting at the cuticle after a day or two, the culprit is almost always either oil on the nail during prep, a too-thick first coat, or the product touching the cuticle itself. The base coat (and every layer after it) needs to be a hair’s width away from the cuticle, not sitting on top of it.
If your dots are not round, your dotting tool has dried polish on the tip. Wipe it clean on a paper towel between each dot application. Dip, wipe, press. Dip, wipe, press. That rhythm is everything.
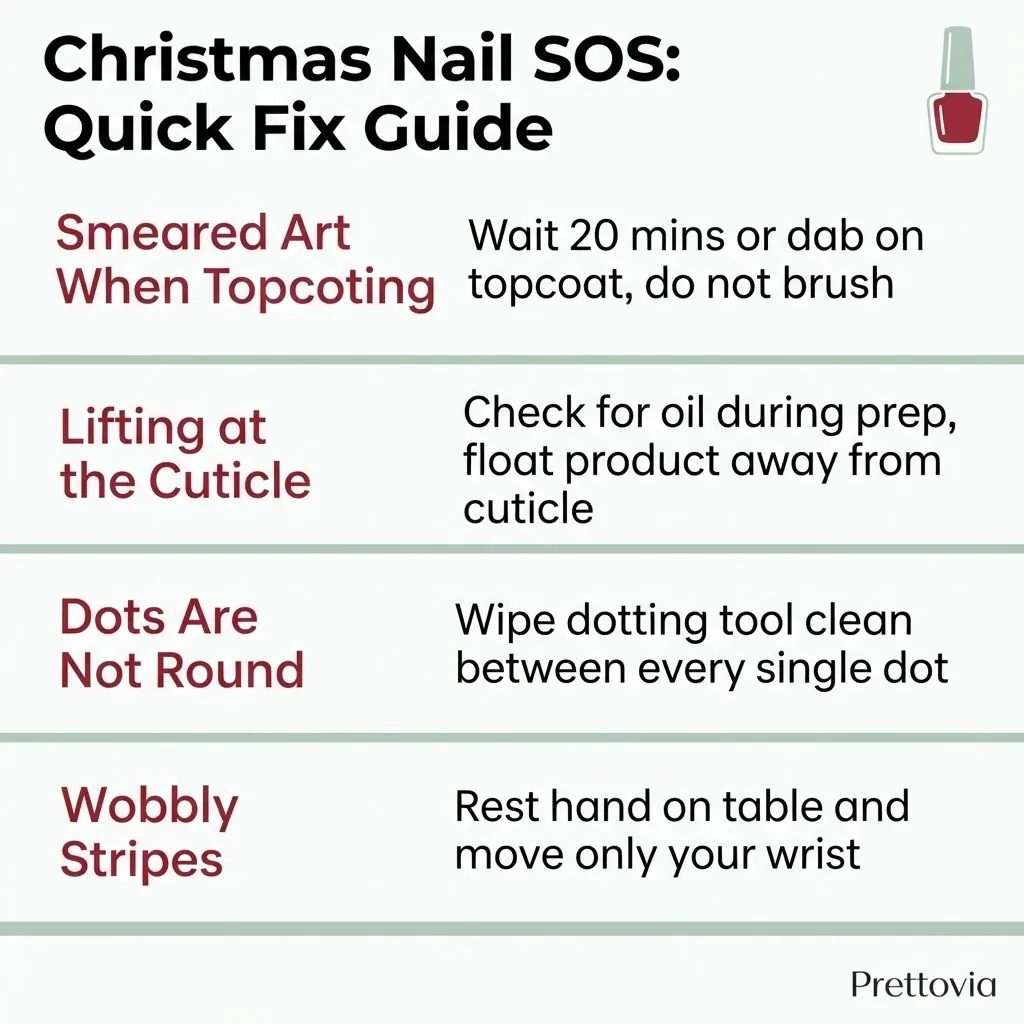
If your stripes are wobbly, slow down and rest your painting hand on the table, moving only your wrist, not your whole arm. Painting nails is a wrist movement, not an arm movement. It takes a few sessions to internalize but it genuinely changes everything.
A Note on Removal (Please Do Not Peel)
I know the temptation is real when a set starts growing out or chipping. Please resist it. Peeling gel or even thick regular polish off your nail rips the top layers of your nail plate, leaving your nails thin, weak, and prone to breaking for weeks afterward. For regular polish, regular acetone or non-acetone remover on a cotton pad is fine. For gel, the proper method is to file off the shiny top coat layer, soak a small piece of cotton in acetone, press it to the nail, and wrap each finger individually in foil (or use foil nail clips). Wait ten to fifteen minutes. The gel should slide off with gentle pressure from an orange stick, with no scraping. The AAD’s dermatologist-approved guide to removing gel nail polish at home walks through this process with extra care tips for keeping your natural nails intact during removal.
If you notice any lifting of the nail from the nail bed, discoloration underneath, or unusual pain or swelling around the nail, stop all products and see a dermatologist. These can be signs of a fungal infection or a contact allergy that needs professional evaluation, and no holiday nail look is worth ignoring those signals.
You Do Not Need Steady Hands. You Need the Right Tools.
I want to close the tutorial section with the thing I wish I had understood in year one. The difference between nail art that looks clean and nail art that looks amateur is almost never talent. It is tool quality and technique awareness. A $5 set of dotting tools, a $3 striping brush, a bottle of acetone, and a fine-tip cleanup brush for removing mistakes is all it takes to go from “wobbly dots” to “intentional design.” Those four things total under $15 and they will serve you through every Christmas nail season for the next several years.
The designs that look hardest, the tartan, the chrome, the snowflakes, are usually the ones with the biggest tool cheat codes (stamping plates, magnet tools, chrome powder kits). The designs that look simple, the red crème, the French tip, the minimalist tree, are the ones that require the most polish finesse. That will feel backwards until the first time you show up to Christmas dinner with nails that you did yourself, and someone asks which salon you went to.
That moment is the whole point. And it is genuinely closer than you think.