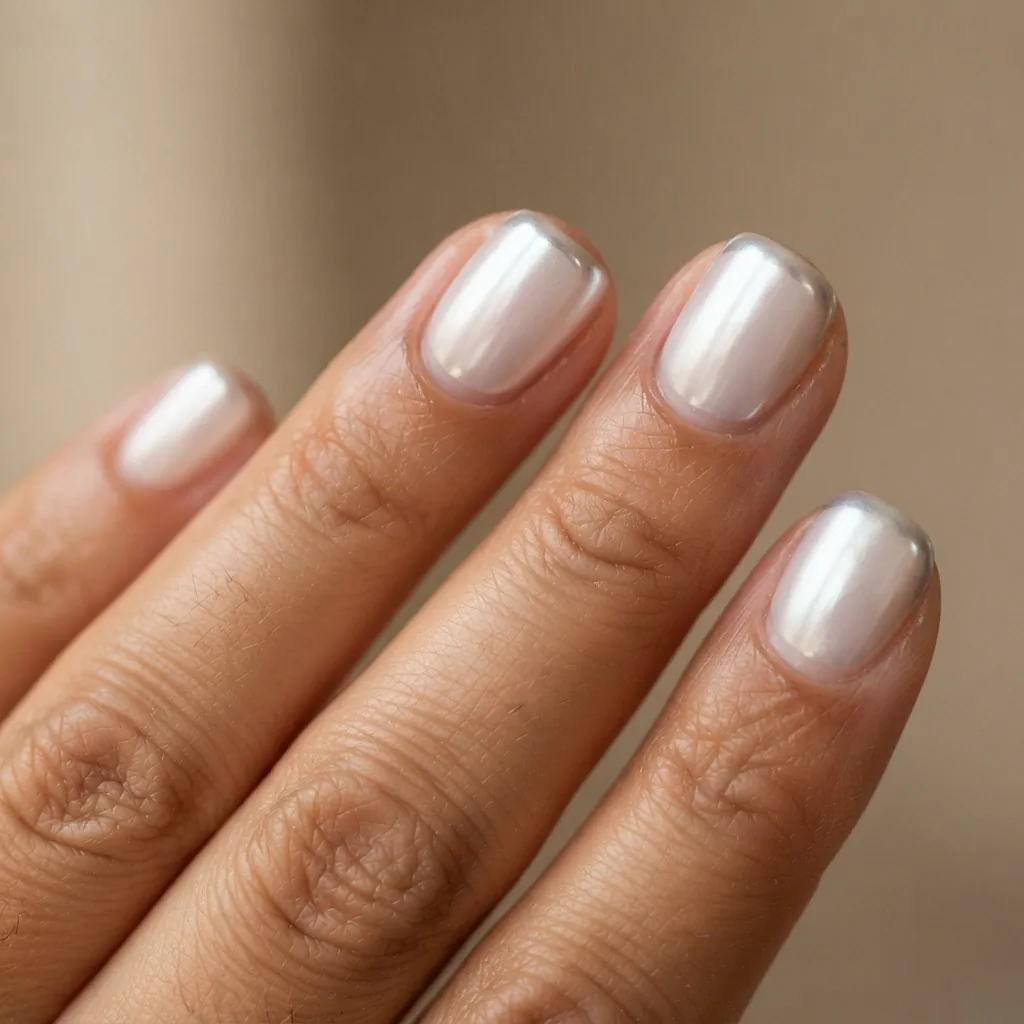
10 Winter Nail Designs That Actually Look Hard to Do
Let me tell you something I genuinely believe: the most intimidating-looking nail designs are almost never as hard as they appear in the photo. I know this because I spent a very long, very boring internship teaching myself nail art one wobbly dot at a time, convinced I would never be the kind of person who could do “those nails.” Turns out I just needed someone to break it down for me. That is what I am doing for you right now.
Every design on this list is a real winter trend circulating on Pinterest and TikTok. All of them photograph beautifully. And every single one of them is achievable at your kitchen table, with tools that cost less than your last takeout order. I have organized them roughly from most forgiving to most technique-dependent, so you know exactly where to start. I will give you the technique, the tools, the short-nail adaptations, and honest notes on where people usually go wrong. No gatekeeping, no “just be born with steady hands.” Let’s get into it.
Before Any Design: Winter Nail Prep Matters More Than You Think
I am putting this first because cold-weather nail prep is the step that separates a manicure that lasts from one that chips on day two, and it is the one step every gallery-style article completely skips.
Winter air is dry, and dry air pulls moisture from your nails just like it pulls moisture from your skin. That makes nails more brittle, more prone to peeling at the edges, and more prone to lifting if you are applying gel. The American Academy of Dermatology recommends keeping nails clean and dry and moisturizing regularly, including your cuticles and surrounding skin, and their guidance is especially relevant in winter when dehydration accelerates nail damage.
Here is what I do before any winter manicure. I file my nails in one direction only, never sawing back and forth, which frays the nail edge and causes peeling. I lightly buff the surface to remove shine, which helps polish and gel adhere. I push my cuticles back gently with a rubber-tipped cuticle pusher and skip cutting them entirely because cutting cuticles increases infection risk. I wipe each nail with a lint-free pad soaked in isopropyl alcohol or nail prep solution to remove oils. Then I apply a thin base coat or gel base and cure before anything else.
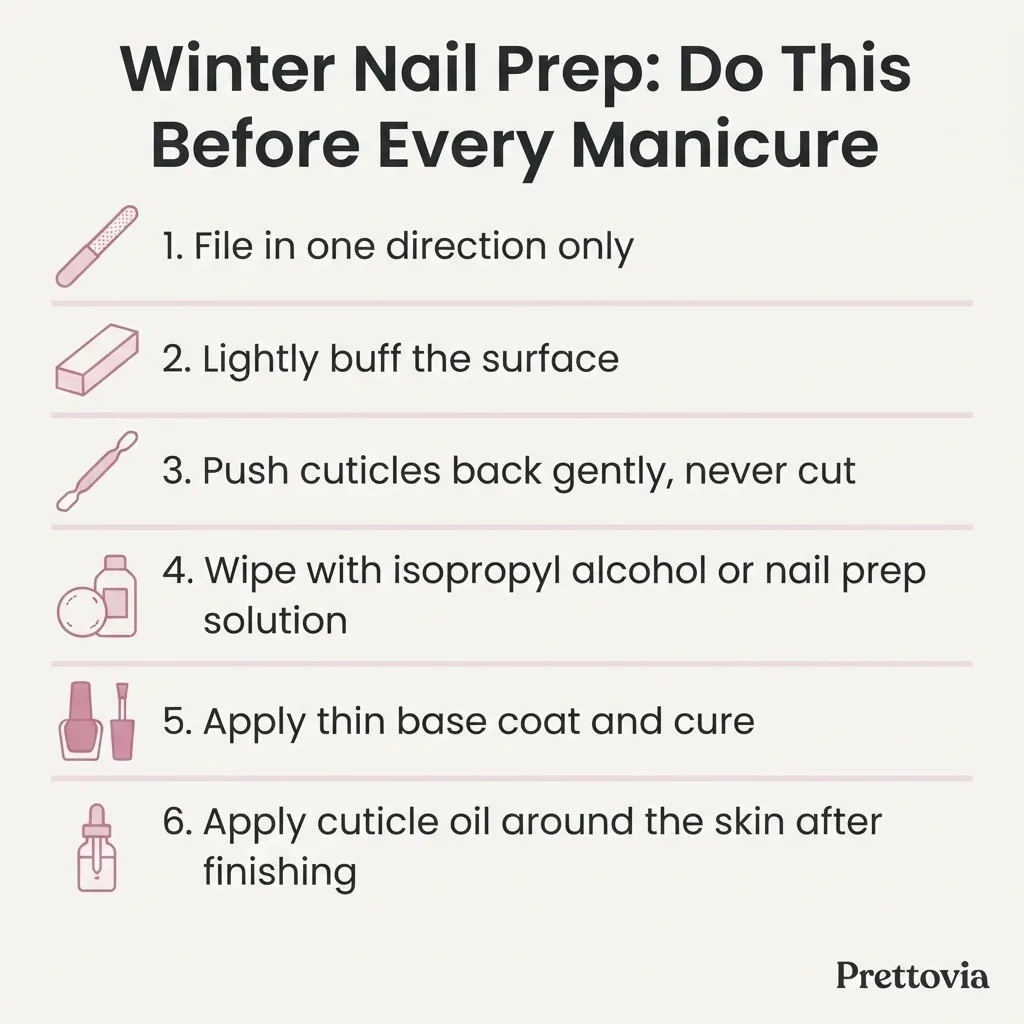
Finally, and this is the one I never skip in winter, I keep a cuticle oil next to me and apply it to the skin around my nails after every manicure. Jojoba oil and vitamin E-based oils absorb quickly and make a real difference in how your nails hold up through the season.
Now let’s get to the actual designs.
Design 1: Deep Berry or Wine Polish (The No-Art Beginner Move)
If the idea of nail art tools makes you nervous, start here. A deep berry, wine, or plum creme polish in winter is one of those colors that looks expensive on every nail shape and every skin tone. It does not require a steady hand. It does not require tools. It is a rich, moody shade that reads as intentional and sophisticated without a single extra step.
The technique is just two thin coats of color plus a glossy top coat. The beginner mistake with dark polishes is applying them too thick, which leads to streaks, bubbles, and very long drying times. Thin coats are your best friend. If you see streaks after coat one, do not panic, the second coat fills them in. Cap your free edge (run the brush across the tip of your nail) to seal the color and prevent chipping.
Short-nail note: dark cremes look incredible on short nails. The color draws the eye and the simplicity keeps it clean. This is a genuinely great starting point for anyone who has never felt confident about their manicures.
Design 2: Modern French Tips (Thinner, Softer, More Wearable)
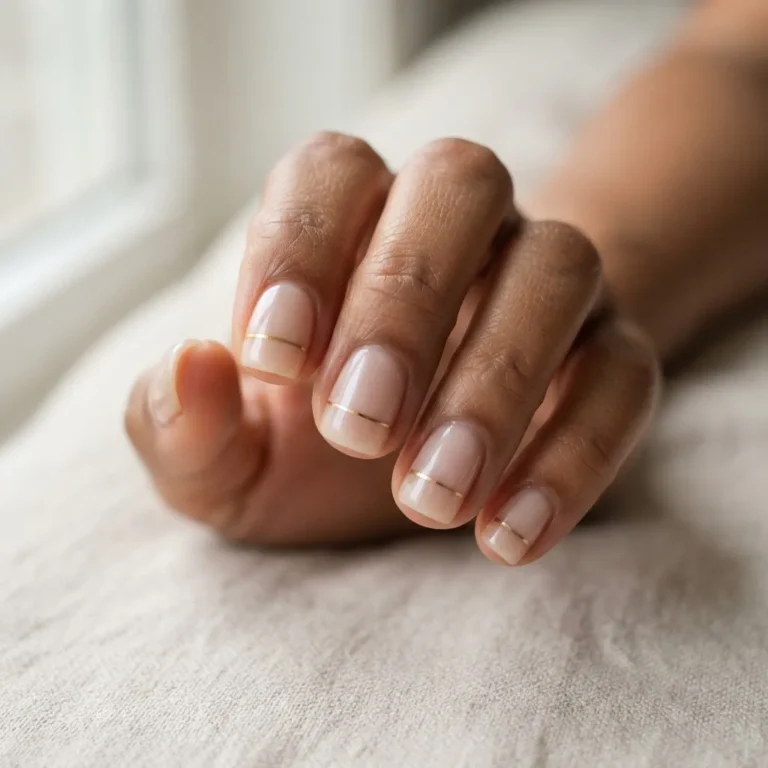
The French tip had a glow-up and I am obsessed with it. The current version uses a much thinner white line, a softer off-white or cream tone instead of stark white, and sometimes a slightly curved or imperfect edge that actually looks more chic than the geometric precision of the old-school version.
To do this, paint your nails with a sheer nude or pink base and let it dry fully. Use a thin nail striping brush (these cost about $3 to $5 in a multipack and are widely available) dipped in white or off-white gel or polish. Rest the side of your hand on the table for stability and draw across the tip in one smooth stroke. If your line is a little wobbly, that is fine. Wipe the brush, reload, and go again. Two passes is normal.
If you want a cleaner line without the brush, use nail tape or a French tip guide sticker. Press it just below where you want your tip to start, paint over it, peel immediately while the polish is still wet, and you have a crisp edge. The tip guides cost around $2 to $3 for a large pack and are a genuine game changer for beginners.
Short-nail note: French tips look proportionally best when the white line is kept very thin on short nails. A millimeter or two of white is elegant. Anything thicker can make short nails look stubby. The modern version’s thinner line actually suits short nails better than the classic version ever did.
Design 3: Glazed Donut Chrome Tips (Frosty, Dreamy, Surprisingly Easy)
This one photographs like a professional set but the technique is more forgiving than you think. The glazed donut chrome tip combines a sheer milky base with a chrome powder applied only to the tips, giving a frosted, pearl-meets-mirror effect that is perfect for winter.
You will need a gel base and top coat, an LED lamp, and a chrome powder kit. Powder kits come with a silicone or foam applicator and cost roughly $5 to $15. The key is that chrome powder needs a no-wipe gel top coat to adhere properly. Apply your sheer nude or milky base, cure it, apply a thin no-wipe top coat to just the tips of your nails, cure for about 30 seconds (follow your lamp’s guidance), and immediately buff the chrome powder over the still-slightly-tacky surface using the applicator in circular motions. The tackiness is what makes it stick. Then apply a final sealing gel top coat over everything and cure.
The most common mistake is applying a wiping top coat instead of a no-wipe formula. Chrome powder simply will not adhere properly to a completely clean, wiped surface. Make sure your product is labeled “no-wipe” or “non-wipe.”
Short-nail note: chrome tips on short nails look especially cool as a squoval or square shape because the straight edge highlights the chrome line.
Design 4: Cat-Eye Nails (Magnetic Gel That Looks Like a Gemstone)
Cat-eye nails are one of my favorite viral sets to make beginner-friendly because the magnet does the hard work for you. You are not drawing anything. You are literally just hovering a tool over your nail for a few seconds. The result looks like the inside of a gemstone, that glassy, dimensional shimmer, and it is achieved entirely with a special magnetic gel and a magnet wand.
Here is the technique. Apply a dark base, deep green, midnight blue, wine, or black all work beautifully in winter. Apply a generous coat of your magnetic cat-eye gel, keeping it in the uncured state. Hold the magnet wand 2 to 5 millimeters above the surface of your nail and hold it still for 5 to 10 seconds. The iron particles in the gel respond to the magnetic field and pull into a stripe or pattern depending on which end of the magnet you use. Then cure under your LED lamp without moving the magnet away first.
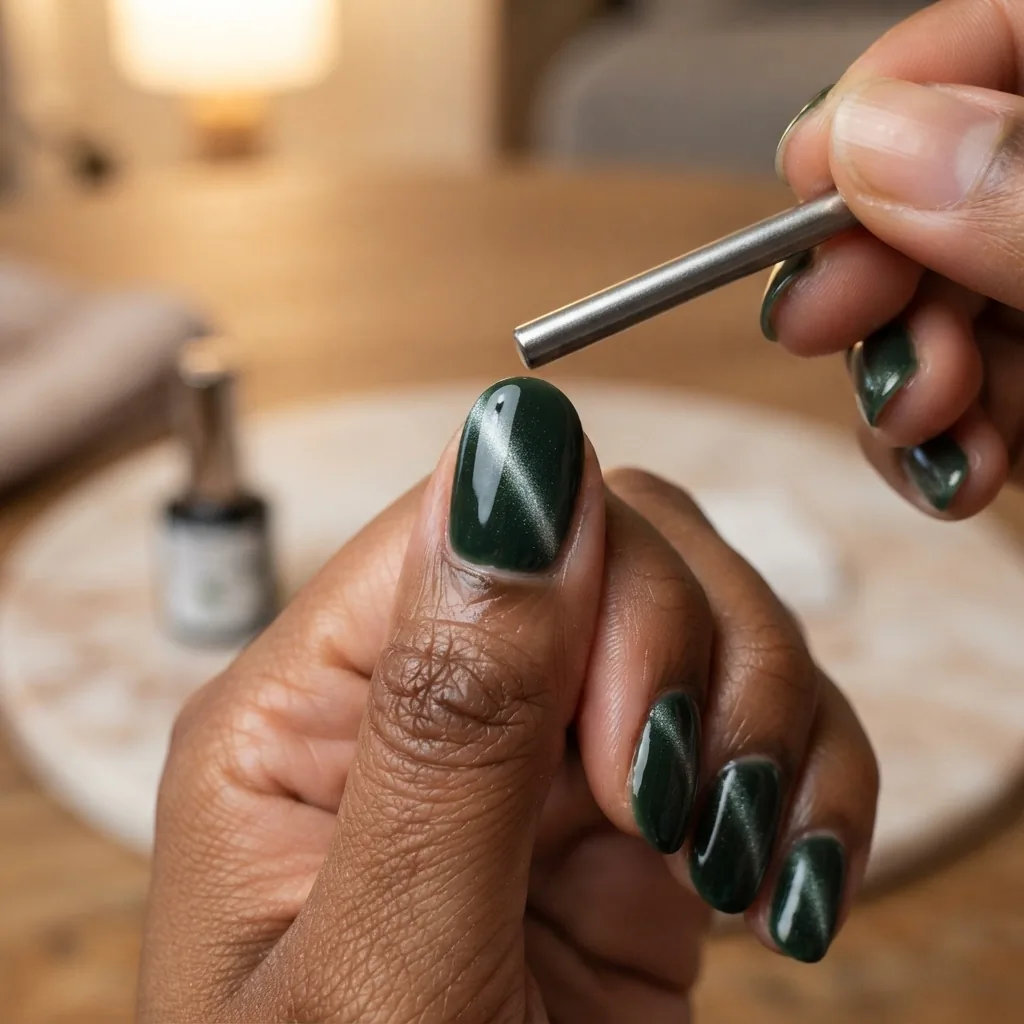
Once it is cured, that effect is locked in permanently. For a detailed breakdown of different magnet patterns, the team at Luxa Polish has a helpful walkthrough on holding angles and timing that I often point beginners toward.
The most common mistake is moving the magnet before curing, which blurs the effect. Cure while the magnet is still hovering, or at minimum cure within two seconds of pulling the magnet away.
Short-nail note: cat-eye effect looks stunning on short ovals or rounds. The linear shimmer actually elongates the look of the nail visually.
Design 5: Aura Nails (The Ombre Haze That Looks Like an Airbrush)
Aura nails started as a salon airbrush look but the good news is that you do not need an airbrush to recreate them. The technique uses a sponge or a dry fan brush to tap and blend pigment powder or a sheer, buildable polish in a haze around the center of the nail.
Start with a white or very light sheer base and cure it. Dip a small makeup sponge or a nail ombre sponge into your color (a dusty blue, lavender, or icy pink reads beautifully as a winter aura) and dab it in a circular motion toward the edges of the nail, leaving the center lighter. The tapping motion is everything here. Do not drag or stroke. Tap and build in light layers. The softness and blur of the halo effect comes from the layering, not from precision. Finish with a top coat and cure.
Winter aura color combinations I love: icy blue and silver, deep lavender and white, pale mint and pearl. The haziness of the aura technique means small imperfections disappear into the blend. It is one of the most beginner-forgiving nail art techniques I know.
Short-nail note: aura nails work even better on shorter nails because the halo effect fills the nail completely, making the design look full and intentional rather than sparse.
Design 6: Snowflake Nails Using a Dotting Tool (The One I Started With)
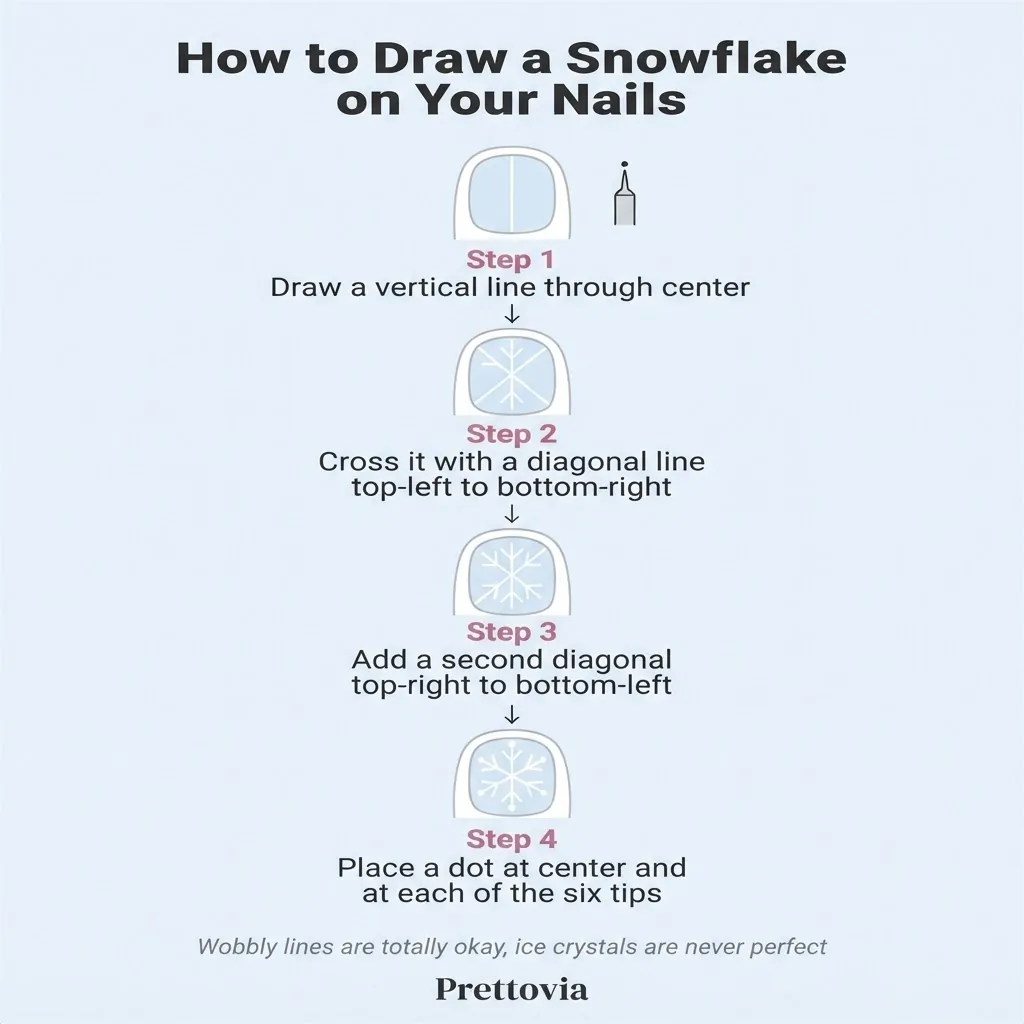
This design is genuinely the first nail art I ever taught myself, at that desk during my internship with a cheap dotting tool I bought on a whim. A six-pointed snowflake sounds complex but it breaks down into three lines intersecting at a center dot, with smaller dots at each tip. That is it.
Use a thin liner brush or the small end of a dotting tool dipped in white gel or acrylic paint. Draw a vertical line. Draw a diagonal line from top left to bottom right. Draw another diagonal from top right to bottom left. You now have a six-pointed asterisk. Place a tiny dot at the center and at each of the six tips. Let it dry slightly, seal with top coat, and you have a snowflake. A wonderful step-by-step visual breakdown lives over at Instructables’ easy snowflake nail art tutorial if you want to see each stage laid out photographically.
The trick is keeping your strokes light and thin. Load just a tiny amount of product onto your brush. Too much and the lines get thick and clunky. A wobbly line on a snowflake actually looks intentional, like ice crystals are never perfectly geometric anyway.
Short-nail note: one snowflake per nail on short nails is the play. Keep it small and centered. On longer nails you can do two per nail.
Design 7: Velvet Nails With Flock Powder (Texture You Can Feel)
Velvet nails are a texture trend and they are SO satisfying to do. The surface looks and feels like soft velvet fabric, and the technique uses flock powder, tiny fibers, pressed into a wet top coat.
Apply your base color (deep burgundy, forest green, and midnight black are all stunning for winter). Paint a layer of gel top coat and, while it is still wet and uncured, hold your nail over a piece of paper and press flock powder directly onto the wet surface, patting it gently into place. Tap off any excess powder. Do NOT apply another top coat over the flock powder because it will flatten the fibers and kill the texture. The velvet nail trend has been having a serious moment this season, and as Real Simple notes in their coverage of velvet glass nails as a standout holiday look, the matte, rich texture is one of the most photographed nail finishes of the winter season.
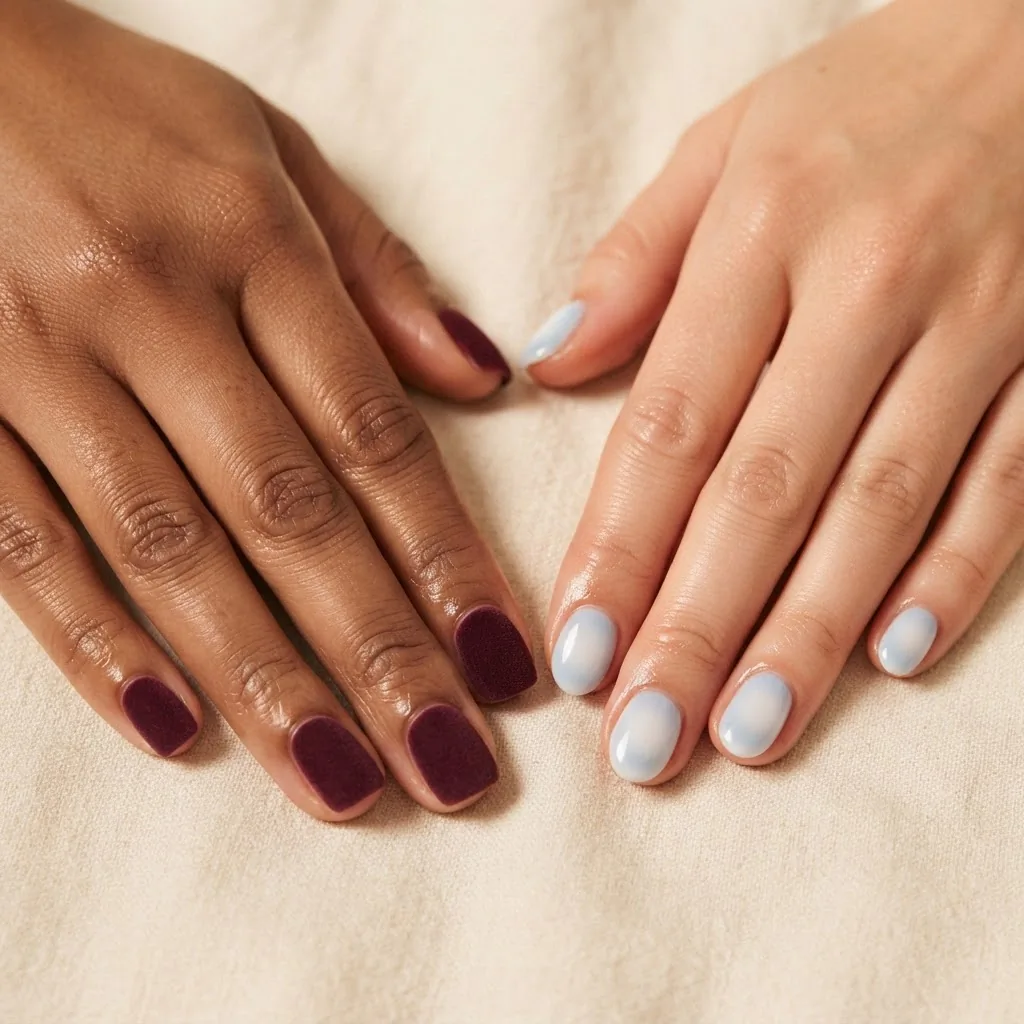
Flock powder sets cost $5 to $12 and come in multipacks of colors. The result is not something you can achieve with any substitute, so this one requires the specific product, but the cost is very low and the wow factor is very high.
Short-nail note: velvet texture looks incredible on every length. On short nails, the texture fills the space beautifully and makes the nail look bigger.
Design 8: Chocolate Brown With Gold Flake Accents (Warm, Rich, Incredibly Easy)
This is the warm, cozy answer to the icier designs above, and it photographs like a dream on every skin tone. A deep chocolate brown base with scattered gold flake or foil pieces has been one of the most pinned winter nail looks this season.
Paint two thin coats of a deep brown (milk chocolate, espresso, or dark cocoa tones all work). While the top coat is still wet, press tiny pieces of gold leaf or gold nail foil onto the nail using a silicone tip or a tweezers. You do not need full coverage. A few scattered flakes look more intentional and luxurious than covering the whole nail. Seal with a gel top coat and cure.
Gold leaf nail kits and foil transfer sheets are available for $5 to $10. The placement looks effortless precisely because it is somewhat random, which makes this one of the most beginner-forgiving art designs on the list.
Short-nail note: this works even better on shorter nails because the gold flakes stay proportional. There is no risk of over-doing it on a small canvas.
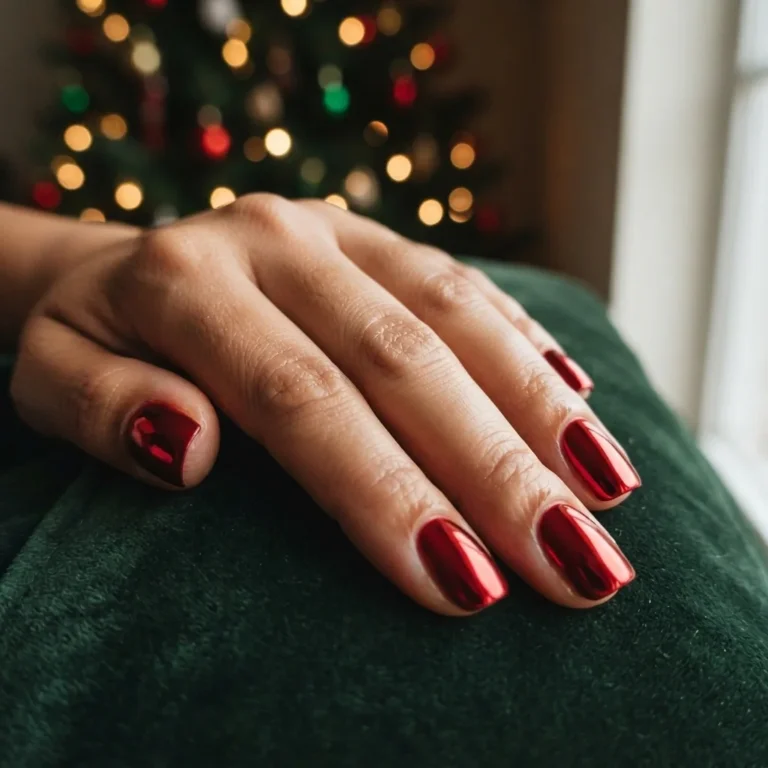
Design 9: Icy Chrome Full Nail (Mirror Finish on All Nails)
This is the full chrome look rather than just the tips, a full mirror or holographic chrome on every nail. It is one of the boldest winter nail looks you can do at home and it photographs with the kind of glassy, multidimensional shine that makes everyone ask where you got your nails done.
The technique is the same as the chrome tips in Design 3 but applied across the full nail plate instead of just the tip area. Apply a gel base, apply a solid color base (silver or rose gold shows chrome most intensely; black gives a dark chrome effect; navy gives an oil-slick shift), cure, apply no-wipe top coat, cure, and immediately buff chrome powder across the whole nail using the silicone or foam applicator. Circular buffing motions with light-to-medium pressure give the most even coverage. Seal with a no-wipe top coat and cure again.
Thin layers of buffing build a better shine than pressing hard in one go. Most beginners press too hard and get patchy coverage. Light, circular, patient buffing is the technique here.
Short-nail note: full chrome on short nails looks striking and modern. Square or squoval shapes give the cleanest chrome edge.
Design 10: Forest Green Cat-Eye With a Glitter Fade (The Statement Set)
This is the most technique-layered design on the list, and I am putting it last intentionally. If you have worked through some of the designs above and you are ready for a level-up, this set is your winter statement look. It combines the cat-eye magnetic effect from Design 4 with a glitter gradient at the base of the nail, which adds dimension and warmth to an otherwise cool, moody set.
Start with a deep forest green or hunter green gel base. Apply your cat-eye magnetic gel and use the magnet to pull the effect, then cure. Next, using a sponge dabber, tap a fine gold or iridescent glitter gel at the base of each nail (near the cuticle) and blend it upward into the green so it fades out before reaching the middle of the nail. Cure, apply a glossy top coat, cure once more.
The combination of magnetic shimmer and glitter fade looks very complex but it is really just two techniques layered on top of each other, both of which are beginner-achievable on their own. The key is doing the cat-eye first and curing it completely before adding the glitter. Trying to do both at once will blur both effects.
A Note on Gel Safety at Home
Since several designs above use gel, I want to include a brief honest note because I genuinely care about your nail health more than I care about making gel sound effortless.
When you use a UV or LED curing lamp at home, the Skin Cancer Foundation describes UV nail lamps as presenting a moderate UV risk, far lower than tanning beds, but they do recommend applying a broad-spectrum sunscreen to the back of your hands or wearing UV-protective fingerless gloves before curing sessions if you are doing your nails regularly. I keep a tube of SPF 30 hand lotion next to my lamp and apply it before I start. It takes ten seconds and it is worth doing.
Gel products contain acrylate compounds including, in many formulas, HEMA (2-hydroxyethyl methacrylate). Repeated skin contact with uncured gel can cause sensitization over time, meaning your immune system begins reacting to the ingredient. This is why it matters to apply gel only to the nail plate and not the surrounding skin, and to cure each layer fully before applying the next. If you ever notice itching, redness, swelling, or a burning sensation around your nails or on your hands during or after a gel manicure, stop and see a doctor. Those can be signs of an allergic reaction that will worsen with continued exposure. The FDA’s overview of nail care product safety has context on how nail cosmetics are regulated and what to look for on labels.
For removal, please never peel or force gel off your nails. The AAD specifically advises that peeling gel is one of the most common causes of nail thinning and damage. Soak a cotton pad in acetone, place it on the nail, wrap in foil, and wait 10 to 15 minutes. The gel will soften and slide off with gentle pressure.

If it does not come off easily after soaking, soak for a few more minutes rather than forcing it. The AAD’s guidance on reducing artificial nail damage is the most practical starting point I know for anyone doing gel at home for the first time.
If you notice lifting with any discoloration underneath, or any pain or unusual texture changes to your natural nail after removal, that warrants a visit to a dermatologist rather than a second coat of gel.
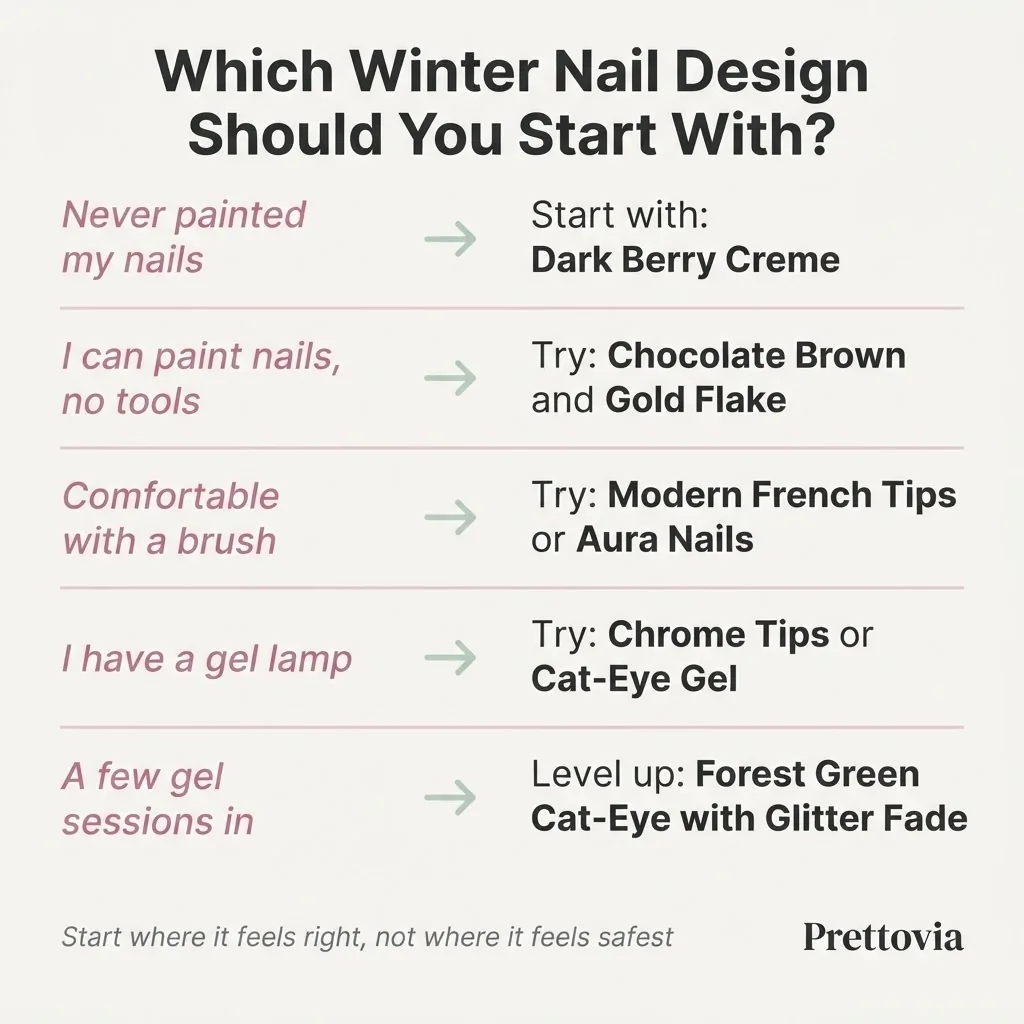
Quick-Reference: Which Design Should You Start With?
If you have never done nail art before, start with Design 1 (dark creme) or Design 8 (chocolate and gold flake). If you have painted your nails before and feel okay with a brush, try Design 2 (modern French) or Design 5 (aura nails). If you are ready for gel and have a lamp, Design 3 (chrome tips) or Design 4 (cat-eye) are genuinely exciting beginner gel projects. Designs 6 and 7 (snowflake and velvet) require a specific tool each but both tools are inexpensive and the techniques reward patience over perfection. Design 10 is your level-up goal for when you have a couple of sessions under your belt.
None of these require talent. All of them require trying.
I promise the first attempt will teach you more than anything I write here, and the second attempt will be noticeably better. That is just how it works, and it is completely normal.
Start wherever feels right, not wherever feels safest. You have got this.