12 Dutch Braid Ideas You Can Actually Do Yourself
Let me be honest with you about something. The first time I tried to dutch braid my own hair, I stood in front of the bathroom mirror for a solid twenty minutes, convinced I was doing it right, only to discover I had just made a very lopsided regular braid. I was frustrated. I almost gave up. And then a stylist I worked alongside in Austin told me the one thing that finally made it click: “You’re only doing one thing differently from a regular braid. One thing. Everything else is the same.”
That was it. One thing. Strands go under instead of over, and that single switch is what makes a dutch braid pop up off your scalp instead of sinking into it. That bold, raised, almost sculptural ridge is exactly why this style photographs so beautifully on Pinterest and why it holds so well for active days, second-day hair, and everything in between.
If you have been saving dutch braid inspo pics and thinking “I could never,” I am here to tell you that you absolutely can. Below are 12 ideas spanning different skill levels, hair types, and vibes, with real technique tips for each one, so you can pick exactly where you want to start.
Before We Braid: The One Thing That Changes Everything
If you have tried a dutch braid before and it just looked flat or kept slipping out, the problem is almost always one of two things: either the hair was too freshly washed and slippery, or the strands were crossed over instead of under.
A quick recap of the logic: in a regular three-strand braid, you cross the outside strands over the middle. In a french braid, you do the same thing but add hair as you go. In a dutch braid, you do the exact opposite of a french braid, crossing strands under the middle instead of over. That “under” motion is what forces the braid to sit on top of your hair rather than blending into it.

Southern Living’s breakdown of dutch vs. french braid explains this visual difference really clearly if you want to see it spelled out side by side.
Day-two or even day-three hair braids beautifully because the natural oils give your strands some grip and texture to hold onto. If your hair is freshly washed and very smooth, a light spritz of texturizing spray before you start makes a real difference. And if you have fine, straight hair that tends to slip? A tiny bit of styling gel or pomade worked through your sections before braiding keeps everything in place.
The 12 Dutch Braid Ideas
1. The Classic Single Dutch Braid Down the Back
This is your foundation, and if you have never done a dutch braid on yourself before, start here. Part your hair in the middle, take a section at the crown about two inches wide, and divide it into three equal parts. Cross the right strand under the middle, then the left strand under the middle. Now, every time you bring a new strand toward the center, pick up a small strip of hair from that side and add it to the strand before crossing it under. Keep your tension consistent, not tight enough to hurt, and work slowly.
The number one beginner mistake is adding too much hair at once, which makes the sections lumpy and uneven. Start with smaller picks until you feel the rhythm. Byrdie’s 7-step dutch braid guide has really clear guidance on section size and hand positioning that I would recommend if you want a visual reference for this foundational style.
Skill level: Beginner with patience. It takes practice. The first attempt will not be perfect, and that is completely normal.
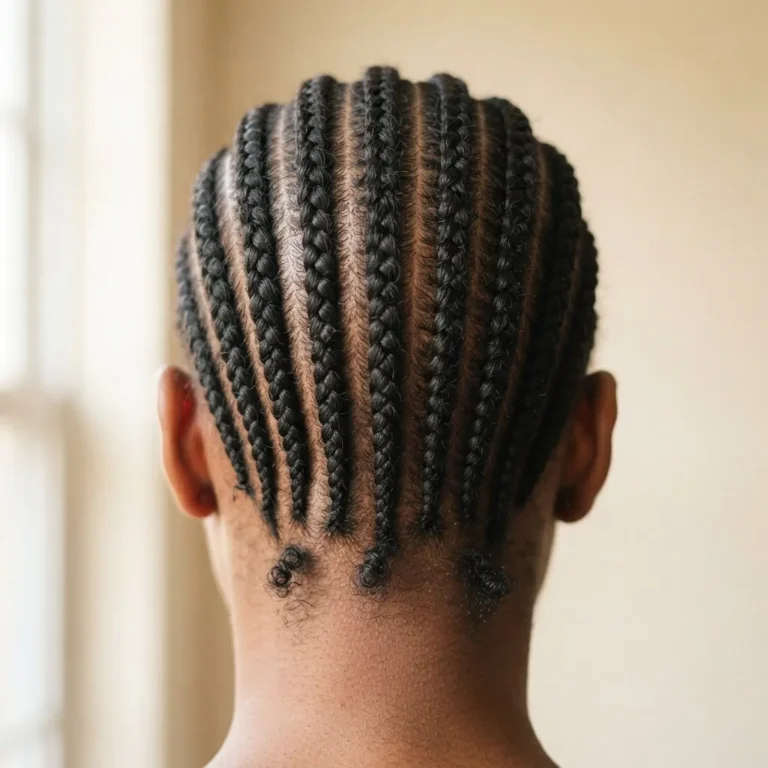
2. Double Dutch Braids (The Boxer Braids)
Two dutch braids, one on each side of a center part. This is one of the most iconic and enduring styles in the game, and it works on almost every hair length from chin to floor. Start with a clean center part, clip one side out of the way, and do one complete dutch braid before moving to the other side. The key to matching braids is working with the same section size on both sides and checking your tension regularly. Most people find their dominant hand’s braid looks slightly cleaner. That is normal. With practice, they even out.
This style is extremely Pinterest-friendly because it photographs from every angle, holds up beautifully during workouts or outdoor events, and transitions well from casual to dressed-up depending on how you finish it.

Hair type note: Wavy and curly textures often get gorgeous dimension with this style because the natural texture gives the braid more body. If you have very thick hair, do not fight the volume. Just embrace it.
3. Dutch Braid Into a Low Ponytail
This is a five-minute style that looks like you spent thirty on it. Start a dutch braid at your crown and braid halfway down the back of your head, only to the point where your braid would naturally hit the back of your neck. Then gather the remainder of your hair together with the braid tail and secure everything into a low ponytail. Gently tug the braid loops apart to make them wider and more voluminous after you have it secured. That loosening step is the difference between a stiff athletic look and a soft, editorial one.
This is a brilliant option for people with medium-length hair who feel like their hair is “too short for styles.” If your hair hits your collarbone or longer, this works for you.
4. Half-Up Dutch Braid Crown
Take just the top section of your hair, roughly from one temple to the other, and braid a dutch braid across the back of your crown. Secure the end of the braid with a clear elastic and let the rest of your hair fall loose. It reads as romantic, effortless, and very much like the kind of thing you save on Pinterest and then assume requires a professional.

It does not. It requires about ten minutes and a clear elastic.
This works especially well on straight and wavy hair, where the loose hair underneath creates a beautiful contrast with the structured braid on top. I reach for this style constantly when I want something that looks intentional but took almost no time.
5. Two Mini Dutch Braids into a Half-Up Bun
Separate just the front two sections of your hair above your temples, one on each side, and dutch braid each section back. Gather both braid tails along with a small section of hair from the top into a little bun or knot at the back of your crown. This is currently everywhere on Pinterest and Instagram, and it gives serious “cool girl who also has her life together” energy. It is also genuinely easy once you have done the classic double braid a few times.
6. Side Dutch Braid
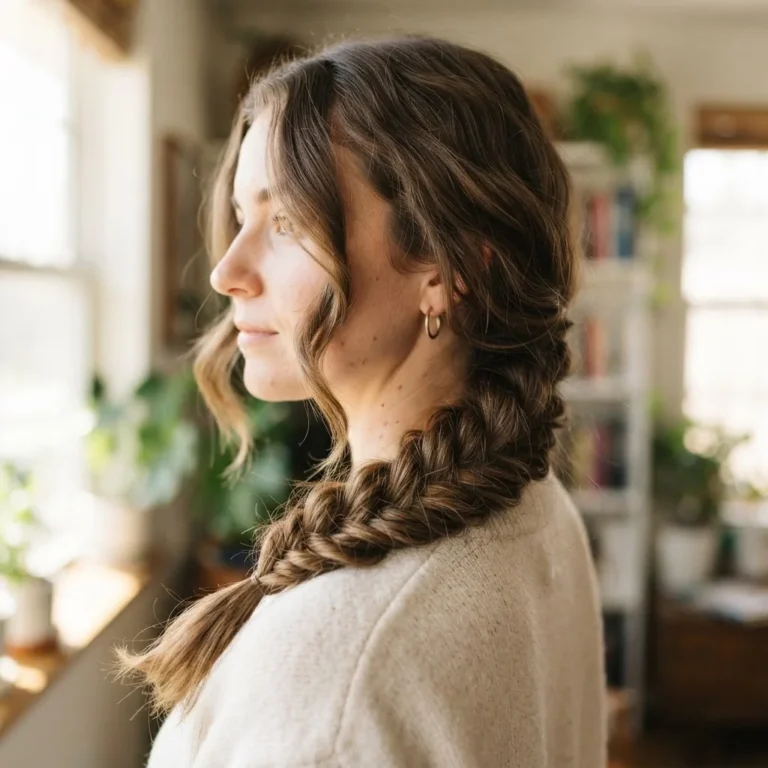
Instead of starting at the center crown, begin your braid at one temple and work across the back of your head at an angle, ending at the opposite nape. You can tuck the tail into a low bun, leave it as a braid tail, or bring it to the side and secure with a clip. The side angle softens the overall look and works beautifully with oval, heart, and round face shapes because the diagonal line creates a flattering visual effect. Hair Romance’s detailed curly hair dutch braid tutorial also covers a gorgeous variation of the side braid specifically for curly textures, which is worth bookmarking if you have natural curl.
Skill level: Intermediate. Braiding at an angle on yourself is trickier than braiding straight back, because you lose your mirror sightline quickly. Go slowly and use a hand mirror if you can.
7. Dutch Braid Pigtails into Buns
This is the double dutch braid taken one step further. After you complete both braids, instead of leaving the tails loose, wrap each tail around its own base and pin it into a little bun. The result is a style that is playful, polished, and surprisingly versatile. It looks cute for everyday wear and it also holds up remarkably well for festivals, long days out, or any situation where you want your hair completely out of your face for hours.
For shorter hair (shoulder length or slightly above), you may not have enough length to wrap into a full bun. In that case, pin the tail underneath the braid itself with a bobby pin for a similar effect.
8. Dutch Braid Headband
Take a small section of hair at one temple, about an inch or so wide, and dutch braid it from your hairline back toward the top of your head, adding only the hair from the hairline side as you go, like a lace braid. Secure the end and let the braid sit like a headband across the crown. This is beautiful on longer hair because the rest of your hair falls freely beneath the braided band. It also works wonderfully on days when you have new growth or shorter layers at the front that you want to incorporate rather than fight.
This is one of my absolute favorite styles because it looks intentional and structured but takes under ten minutes once you have practiced it twice.
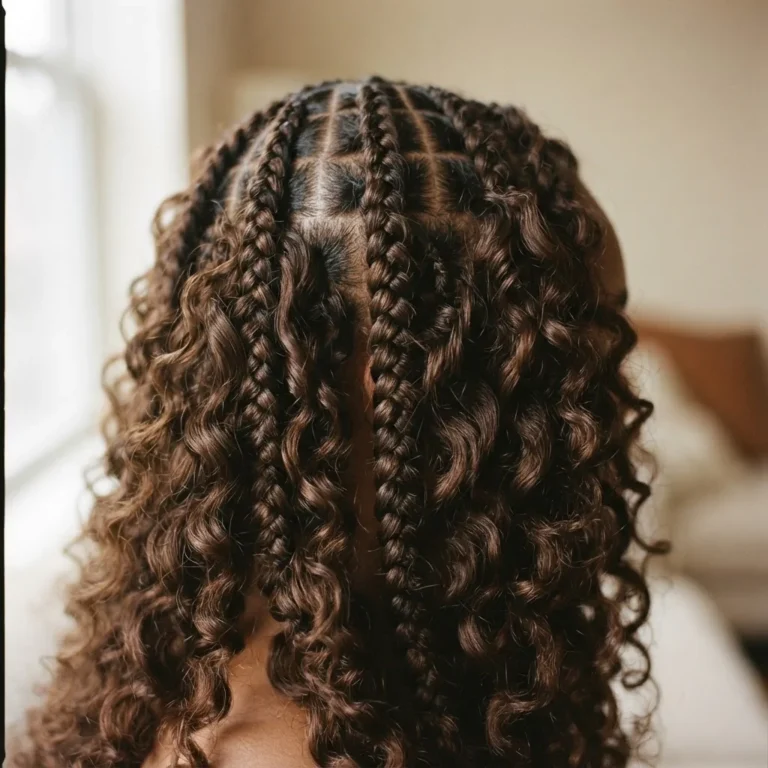
9. Dutch Braid on Curly or Natural Hair
Braiding curly or natural hair into a dutch braid creates a completely different, stunning texture than braiding straight hair, because when you release the braid later, the waves it creates are absolutely gorgeous. For a clean braid on curly hair, work in sections on stretched or blown-out hair if you want the braids to look neat and defined.

If you want a more relaxed, textured look, braid on dry natural texture and expect a softer, more organic result.
The trick for curly or coily textures is using a holding product in each section as you go, a water-based edge control, a light gel, or a braiding butter all work well. Keep your sections moisturized but not wet, as soaking wet hair can cause the braid to tighten uncomfortably as it dries and pull at the scalp.
This brings me to something important I want to mention here, not to scare you, but because it genuinely matters. Braiding too tightly, especially repeatedly over time, can stress your hairline and scalp. The American Academy of Dermatology explains how tight hairstyles can lead to a type of hair loss called traction alopecia, which tends to show up first at the temples and edges. Your braid should never hurt. If you feel pulling at your scalp or tension at your hairline, loosen it. Healthy braids feel snug, not painful.
10. Dutch Braid Into a High Ponytail
This one is a little more advanced to execute on yourself, but the payoff is worth it. Start your dutch braid at the crown and braid down until you have used all your hair from the top section, then gather the braid tail with the remaining hair and secure it all in a high ponytail. The result is a sleek, athletic-chic style that looks incredibly polished for workouts, events, or busy days. The braid prevents the lumpy scalp look you often get at the base of a plain high ponytail, which is a genuine styling win.
Tip: Use a slick-back brush or edge brush and a light gel along your hairline before braiding for a cleaner, more intentional finish.
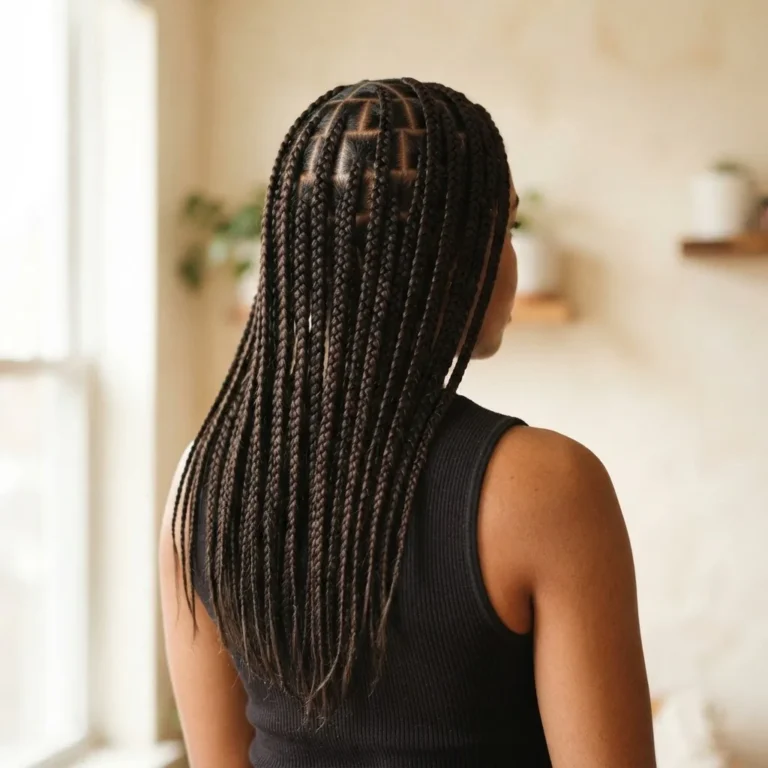
11. Triple Dutch Braid (Three Parallel Braids)
Divide your hair into three sections from front to back, separated by two horizontal parts running ear to ear. Braid each section into its own dutch braid. The result is three parallel raised braids sitting side by side down the back of your head, which is gorgeous, structured, and looks incredibly complex even though the actual braiding technique is the same as a single braid. You are just managing three separate sections instead of one.
Skill level: Intermediate to advanced, mostly because sectioning three even parts on yourself takes some spatial awareness and a good parting comb. A rattail comb and hair clips are essential here.
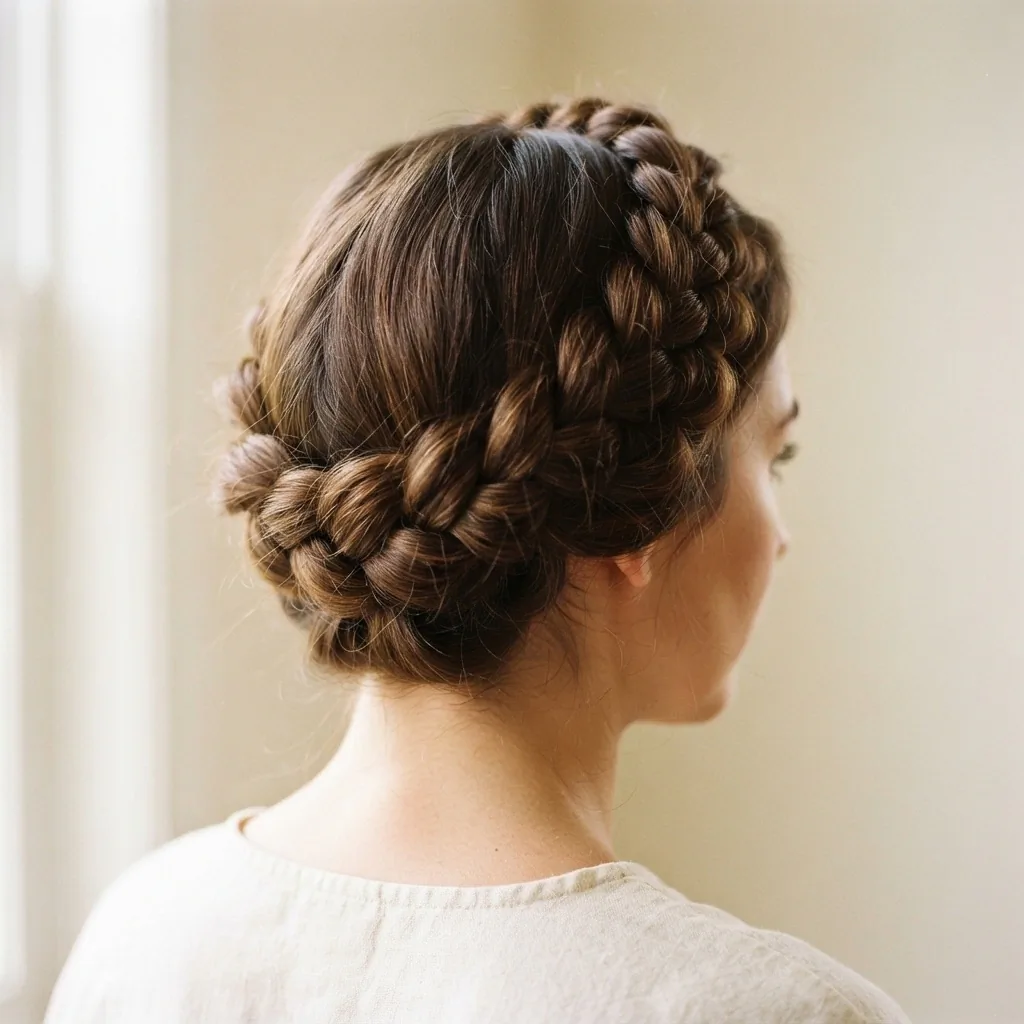
12. Dutch Braid Crown (Halo Braid)
This is the showstopper. Part your hair at the nape of your neck and work two dutch braids, one going each direction around your head, meeting at the crown. The effect is a full crown of braids wrapping your entire head. It looks extraordinary and it genuinely feels like something only a professional could do. But the technique itself is the same under-over motion you already know. The challenge is purely directional, braiding up and forward around the curve of your head instead of straight back.
My honest advice: do not attempt this as your very first dutch braid. Work up to it after you have done the single braid and the side braid a few times. Once the muscle memory is there, the crown braid becomes much less intimidating. The NIH-affiliated StatPearls resource on hair and scalp health is worth a read if you are doing any style that wraps the hairline repeatedly, as it has useful clinical context on scalp tension and hair stress from tight braiding.
Tools That Actually Make This Easier
You do not need anything special or expensive to dutch braid your hair. A good-quality detangling brush or wide-tooth comb, a rattail comb for clean parting, some clear elastics, a few bobby pins, and optionally a texturizing spray or light hold gel are everything you need. Drugstore options work completely well here.

The Conair Pro series, Scunci clear elastics, and any texturizing spray under ten dollars from your local drugstore will do exactly what you need.
If you want to invest in one thing, a good quality sectioning clip set from any beauty supply store is genuinely worth the few dollars it costs, because keeping one side clipped away while you work on the other side makes a noticeable difference in how clean your results look.
Why Dutch Braids Are Worth Learning
Honestly, learning to dutch braid changed the way I approach styling, because suddenly I had a skill that worked for lazy days, special events, workouts, and everything in between. It protects your ends. It keeps hair off your face. It lasts multiple days when done well. And it photographs beautifully in every single direction, which is why it is a perennial Pinterest favorite and consistently one of the most saved hairstyle categories on the platform.
Start with the single braid down the back. Do it five or six times, even if the results are messy.

By attempt six, your hands will know what they are doing in a way that no tutorial, including this one, can fully teach. The motion has to live in your fingers before it starts looking effortless, and that is true for every person who has ever mastered it, including the ones braiding on the salon floor in Austin.
You can do this. Start with the basics, work up to the styles that excite you, and save this page for when you are ready to try something new.