10 Viral Braided Hairstyles for Beginners (No Skills Needed)
Let me guess. You have a Pinterest board full of dreamy braids, you have looked at every single one of them, and you have thought some version of “that is beautiful, and I could never.” I want to gently call your bluff on the “never” part.
Here is the thing almost nobody tells you. The braids that go viral are usually not the hardest ones. They just photograph well. A lot of the most-saved looks are built on two or three simple moves, dressed up with a little texture and good lighting. Once you know which looks are genuinely beginner-friendly and which ones need real practice, the whole thing stops feeling scary.
I learned braiding the slow, humbling way. Back in my salon-assistant days in Austin, I would watch stylists finish a braid in ninety seconds while I was still trying to figure out which strand went where. It looked like magic. It was not magic. It was reps. And your hands genuinely get smarter the more you do it, even when your brain is convinced they never will.
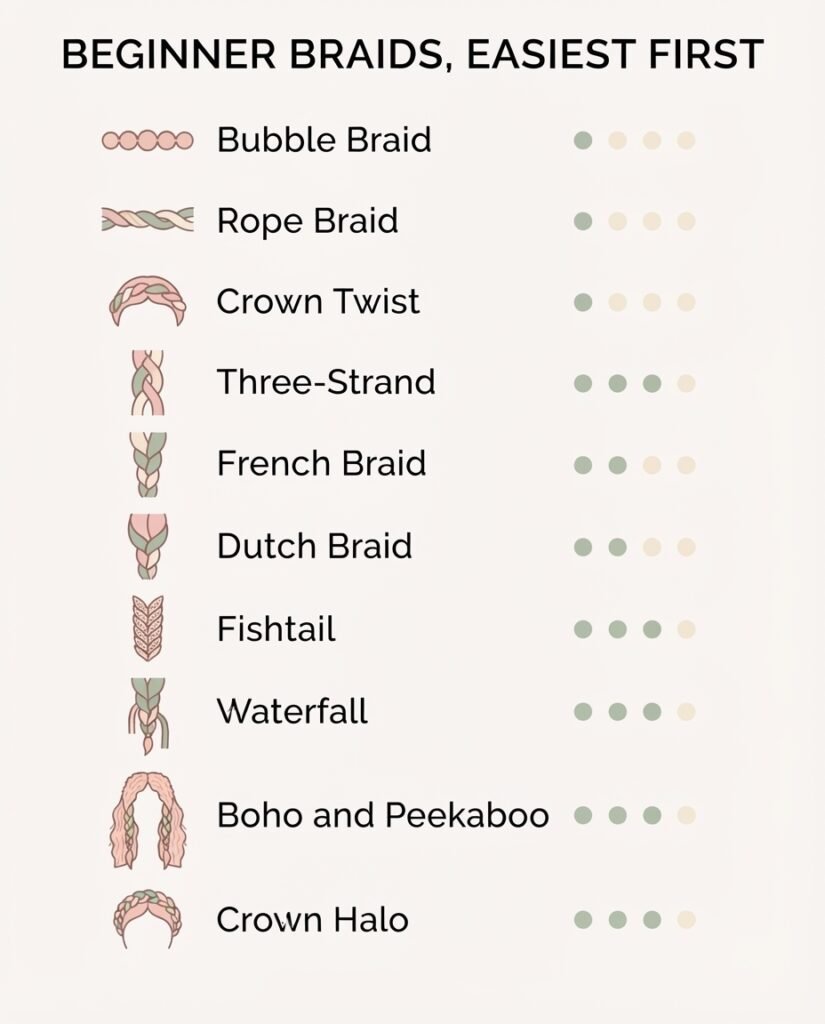
So I ranked these ten viral braids roughly easiest to trickiest, told you honestly which ones take patience, and added the tweaks that make them work on short, fine, thick, curly, or layered hair. Grab a comb. Let’s go.
First, the tiny setup that makes every braid easier
Before we get to the looks, three quick things, because they matter more than any single technique.
Start on second-day hair when you can. Freshly washed hair is slippery and fights you. A day of natural texture, or a light mist of texture spray, gives braids something to grip. If your hair is squeaky clean and stubborn, a spritz of dry shampoo or a pea-size bit of styling cream buys you grip fast.
Be gentle when your hair is wet or damp, because that is when it stretches and snaps most easily. The American Academy of Dermatology points out in its healthy hair tips that even blotting hair with a towel too roughly can cause damage, so detangle from the ends up with a little patience rather than raking through from the roots.
And keep your elastics kind. Thin snapping bands are the fastest way to a broken hairline and a dented crease in your braid. I am genuinely obsessed with soft, snag-free elastics and satin scrunchies for this reason. There is a good bit of haircare consensus that softer, lower-friction ties tug less than thin rubber bands, which is a small swap that protects your strands over time.
If you have no idea where to even begin with your hands, the classic starting point never changes. There is a reason the absolute-beginner three-strand walkthrough is where everyone learns. Master crossing the outer strand over the middle one, alternating sides, and you already have the DNA of half the braids on this list.
1. The basic three-strand braid, done cute
Do not skip this one thinking it is too plain. A clean three-strand braid, pulled slightly loose and draped over one shoulder, is all over Pinterest for a reason. It reads effortless and expensive.
Split your hair into three even sections. Cross the right section over the middle, then the left over the middle, and just keep alternating. That is the entire braid. The viral upgrade is called “pancaking.” Once you tie it off, gently tug the little loops on the outer edges to widen and flatten the braid so it looks fuller and softer. Suddenly your basic braid looks like a hairstyle.
Beginner tip: keep light, even tension. Death-grip tension makes a stiff, thin braid that looks tense, not relaxed.
Hair-type tweaks: fine hair loves pancaking because it fakes thickness. Thick hair may want two braids instead of one so it does not get bulky. Short or layered hair will have pieces slip out, and honestly that looks intentional, so let them.
2. The bubble braid (the lazy-genius viral favorite)
If you can make a ponytail, you can make a bubble braid, and this is my top pick for anyone who thinks they have zero skill. There is no actual braiding involved. It just looks like there is.
Tie a ponytail wherever you want it. An inch or two down, add another elastic. Then another. Keep going down the length. Once your little segments are tied off, gently pull the sides of each section outward so it puffs into a rounded “bubble.” That gentle tug is the whole trick.
Use soft elastics here so you do not dent or snap the hair, and space them evenly so the bubbles look deliberate. This works shockingly well on fine hair once you puff the sections, and it is one of the only “fancy” looks that genuinely suits shorter lengths.

3. The rope braid (two strands, big payoff)
The rope braid looks like a twisty designer detail and uses only two sections, which makes it easier than a classic three-strand for a lot of people.
Split hair into two sections. Twist each section clockwise on its own, then wrap the two twisted sections around each other counterclockwise. The opposing twist is what locks it together so it does not unravel. If your rope keeps falling apart, you are twisting both the strands and the wrap in the same direction. Reverse one of them and it holds.
This one shines as a pulled-back accent, like twisting the front sections away from your face and clipping them at the back.
4. The half-up crown twist
This is the “I look put together but I did nothing” look, and it takes about two minutes. Grab a section from each side of your head above your ears, twist each one back, and secure both at the center back with a clip or a small elastic. Pancake the twists a little for that soft, romantic Pinterest feel.
It hides a multitude of sins, works on almost every length past chin-level, and is a great confidence builder before you attempt the trickier braids below.
5. The French braid
Now we are into the braids that make people say “wait, you did that yourself?” The French braid is a three-strand braid that gathers in new hair as you go down the head, which is what gives it that woven-into-the-scalp look.
Start with a section at your crown and begin a normal three-strand braid. Before each cross, add a small bit of loose hair into the strand you are about to cross over. Keep the additions small and even. Big uneven grabs are the number one reason a French braid looks lumpy.
Real talk from someone who has been there: braiding the back of your own head feels impossible at first because you are working blind and your arms get tired fast. That is not a you problem, that is everyone’s problem. Practice on a side French braid first, where you can actually see what your hands are doing in the mirror, then graduate to the center. Your shoulders will thank you.
6. The Dutch braid (the one that pops off your head)
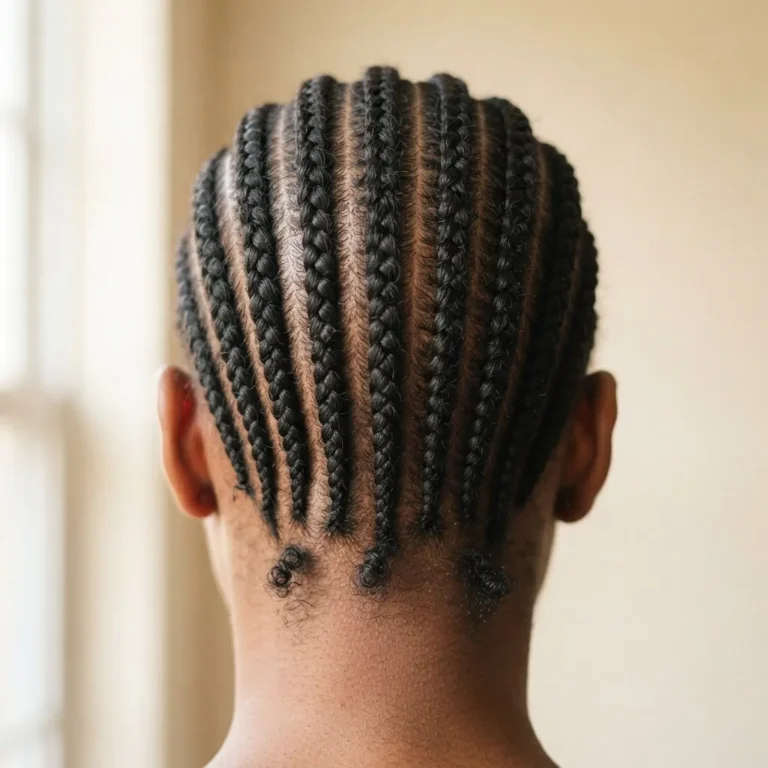
People mix these two up constantly, so here is the clean difference. A French braid crosses strands over the middle, so it sits flat and sinks into the hair. A Dutch braid crosses strands under the middle, so it sits raised and stands out. Dutch braids are the ones you see as “boxer braids,” the double braids that go viral on athletes and festival looks.
The motion is identical to a French braid except you cross under instead of over. Everything else, including adding small even sections as you go, stays the same. Because it sits proud of the head, a Dutch braid pancakes beautifully for that full, bold look.
One honest caution here, because those tight double Dutch braids can pull hard at the hairline. The AAD is clear in its guidance on hairstyles that pull and cause hair loss that tightly braided styles worn too tight or too often can lead to traction alopecia, a type of hair loss from repeated tension on the roots. This is not a reason to avoid Dutch braids. It is a reason to keep them comfortable, not scalp-screaming tight, and to give your hair breaks between them. If a braid actually hurts or you see little bumps along your part, loosen it.

7. The fishtail braid
The fishtail looks intricate and woven, but the secret is almost funny: it is only two sections, and there is no real “braiding” the way you think of it.
Split hair into two sections. Take a thin piece from the outer edge of the right section and cross it over to join the left section. Then take a thin piece from the outer edge of the left and cross it over to the right. Keep alternating, small pieces only. Thinner pieces give you that fine, detailed fishtail look, while thicker pieces make it faster but chunkier. The reliable step-by-step fishtail method most people succeed with is exactly this outer-piece-crossing-over motion, done patiently.
It takes longer than it looks because the pieces are small, so this is a “put on a show and get comfy” braid, not a rushing-out-the-door one. Pancake it at the end and it turns into that gorgeous soft mermaid braid you keep pinning.

8. The waterfall braid
This is the one that looks like actual sorcery, and it is genuinely intermediate, so if it takes you a few tries, you are completely normal. The waterfall is a half-braid where you “drop” a strand each pass and let it cascade down, which creates that romantic falling-strand effect.
You start a regular braid horizontally across the side of your head. Each time you cross the top strand down, you drop that strand entirely, let it hang, and pick up a fresh piece of hair from above to replace it. Then continue. The dropped strands are the “waterfall.” The classic waterfall braid breakdown walks through that drop-and-replace stitch, which is the single move that trips beginners up.
My honest advice: this one clicks way faster if you watch the hand motion in a video first, because the “drop and grab a new one” rhythm is hard to picture from text alone. Once it clicks, it clicks for good.
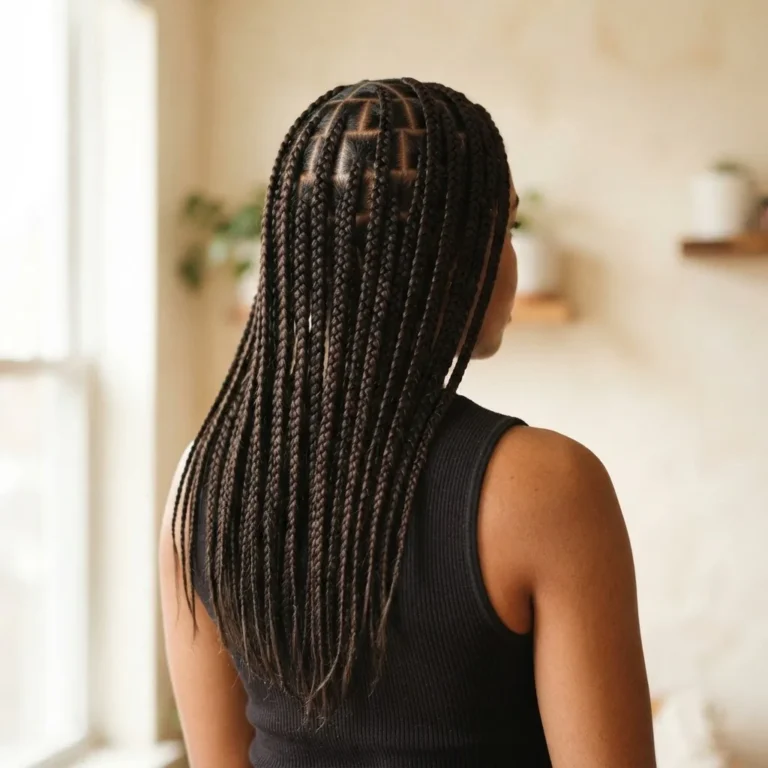
9. Boho braids and peekaboo braids (the viral trend duo)
These two are ruling Pinterest right now, and they are more about styling choices than a brand-new technique, which is good news for you.
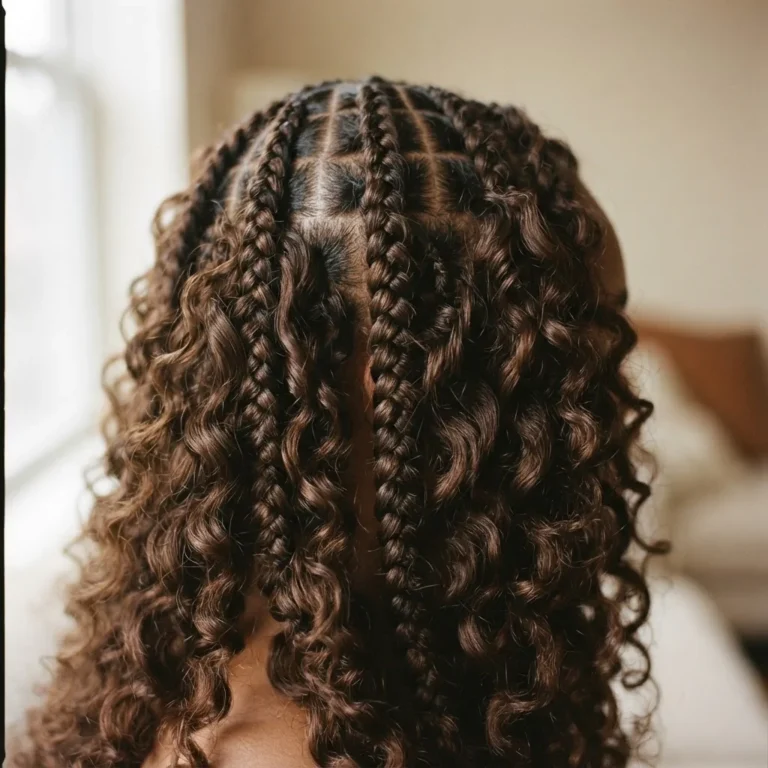
Boho braids are simply braids with loose, deliberately textured pieces left out, often soft curly pieces, so the look is carefree instead of sleek. The whole point is that they are not perfect. Sleek uniform braids are the opposite aesthetic. So if your braids come out a little imperfect, congratulations, you accidentally nailed the trend.
Peekaboo braids are about hidden color. You braid the under-layer of your hair, sometimes with a pop of contrast color, so it “peeks” out when you move or flip your hair. You can fake the color part with clip-in colored extensions or temporary color instead of committing to dye, which is exactly what I would do first. And if you ever do go the permanent-color route, please do a patch test and read the directions, because box color in a bathroom sink is how I ended up with alarmingly orange hair in college. Learn from my mistakes.
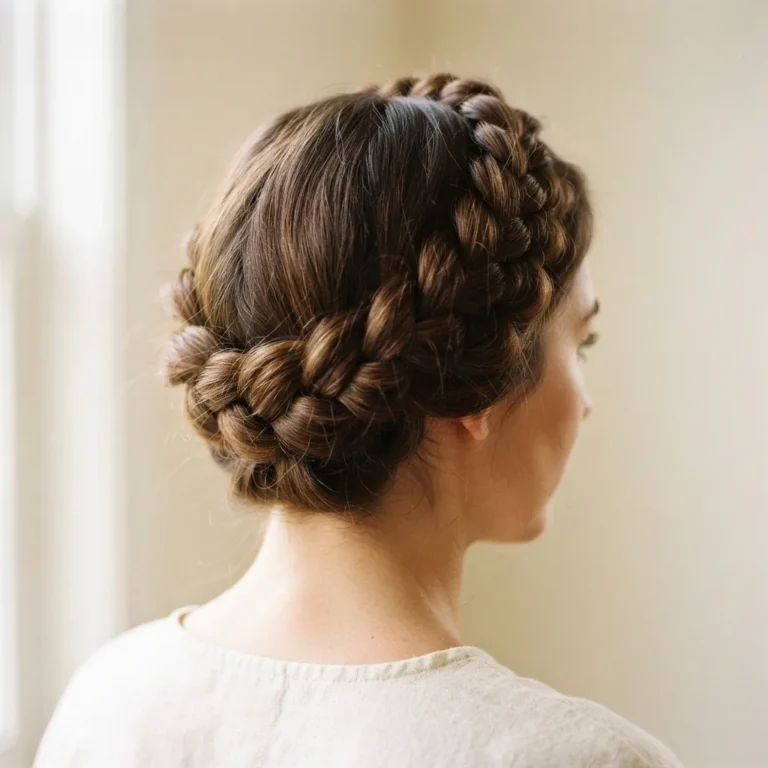
10. The crown or halo braid
We are ending on the showstopper, and I will be straight with you: this is the most advanced look here. A crown braid wraps a braid around your head like a halo, which means braiding at an awkward angle around your own skull. It is very doable, it just asks for the most patience.
The beginner-friendly cheat is to do two French or Dutch braids, one on each side, then wrap them across the back and crown and pin them into place with bobby pins, tucking the ends under. That gives you the full crown effect without having to braid one continuous circle around your head on the first try. Build up to the seamless version later.
How to adapt any of these to your hair
Fine or thin hair: pancake everything, and lean on texture spray or dry shampoo for grip. Bubble braids and pancaked three-strands make fine hair look twice as thick.
Thick or long hair: split into more, smaller braids so they do not get unwieldy, and expect braids to take a little longer. Your braids will hold beautifully because you have hair to spare.
Curly and coily hair: work with a little more moisture, and know your natural texture actually helps a braid grip and last. Chunky rope braids and boho braids love natural texture.
Short or layered hair: shorter pieces will slip out, and that is fine, it reads as intentional now. Smaller, tighter sections and plenty of clips help. There are solid tutorials on adapting French, side, and waterfall braids for short hair when your length feels like it is fighting you.
Why your braid keeps failing, and how to fix it
If your braid slides out: your hair is too clean and slippery. Add texture, and secure with a soft elastic, not a loose one.
If it looks lumpy: your added sections are uneven. Grab smaller, more consistent pieces on a French or Dutch braid.
If it looks thin and tense: you are gripping too tight. Ease up and pancake it out at the end.
If your arms give out halfway: totally normal, especially on the back of your head. Take breaks, or start with side braids you can see in the mirror until the muscle memory builds.
If it hurts or your scalp feels sore: it is too tight, full stop. A braid should feel snug, never painful. Beyond comfort, there is real research on this, including a widely cited review on the prevention of traction hair loss that stresses that avoiding sustained tight tension is the key to protecting your hairline. You can read the peer-reviewed overview of traction alopecia prevention if you want the science, but the short version is: loosen up and let your hair breathe.

You are more capable than your Pinterest board thinks you are
Here is what I wish someone had told me while I was fumbling with strands in that Austin salon. Nobody’s first French braid looks good. Nobody’s. The women making it look effortless online have simply done it a hundred times. Your hands will get there faster than you expect, and the “easy” looks on this list, the bubble braid, the rope braid, the crown twist, will have you feeling capable this week, not someday.
Start with number two, work your way down, and be kind to yourself and your hairline along the way. You have got this, and I genuinely cannot wait for you to surprise yourself.