Easy Claw Clip Hairstyles That Look Way Harder Than They Are
Let me tell you something I wish someone had told me earlier: if your claw clip keeps sliding out, it is almost never your hair’s fault.

It is the clip’s fault. Specifically, it is a clip-to-hair-type mismatch, and once you fix that one thing, half the hairstyles in this post go from frustrating to genuinely second-nature.
I got obsessed with claw clips the way most of us do, by falling down a Pinterest rabbit hole and convincing myself that whoever was doing those effortless French twists had some kind of magical hair I would never possess. Turns out they probably just had the right clip, a little texture spray, and had done it fifteen times. That is the real secret, and I am handing it to you right now so you can skip the fifteen attempts.
This post covers 25 claw clip hairstyles organized by how long they take and what they actually require, from the honest two-minute versions to the ones that need a single practice run. I have also included a size guide, hair-type notes, and a troubleshooting section for the most common failure points, because knowing what went wrong is the fastest way to fix it.
Before You Style: The Clip Size Thing Nobody Tells You
This is the section most tutorials skip entirely, and it is why so many people give up on claw clips. The size of your clip relative to your hair volume is the single biggest variable in whether a style holds. Getting this right is worth five minutes of your life.
For fine or thin hair, you want a mini or small clip with closely spaced teeth. Bigger clips lack the grip to catch fine strands and will slide down within minutes. The teeth need to be close enough together to actually grab the hair. If you have fine hair and you have been using whatever large claw clip came in a multipack, that is your entire problem.
For medium hair, a standard or medium-sized clip (roughly 3 to 3.5 inches) is your sweet spot.

Most clips marketed as “regular” or “everyday” fall in this range and will work reliably for the majority of styles in this post.
For thick hair, you need a large or jumbo clip, or one with double-teeth, which is a design that has two rows of teeth for a wider grip. A standard clip trying to hold a thick section is like trying to hold a sandwich closed with a binder clip. It can do it, but barely. The team at Gimme Beauty has a really useful breakdown of which claw clip styles work for fine, medium, thick, and curly hair if you want to see the visual difference between clip types before you buy.
For curly and coily hair, the same large-to-jumbo rule applies, but you also want to prioritize clips with a wider tooth span so they can work with your curl pattern rather than flattening it awkwardly. A clip that is too small will fight your volume and pinch the curl in weird ways. Work with your texture, not against it.
On material: most affordable claw clips are made of plastic or resin, which is totally fine for everyday use. Acetate clips (slightly more expensive, typically $18 to $30 for premium brands) tend to be sturdier and have a nicer weight. If you have very long and very heavy hair, a metal clip or a heavy-duty acetate one will serve you better than thin plastic, which can snap under the weight.
The Everyday Tier: Two Minutes or Less
These are the styles I reach for when I am running late and need something that looks intentional.
1. The Classic Messy Bun
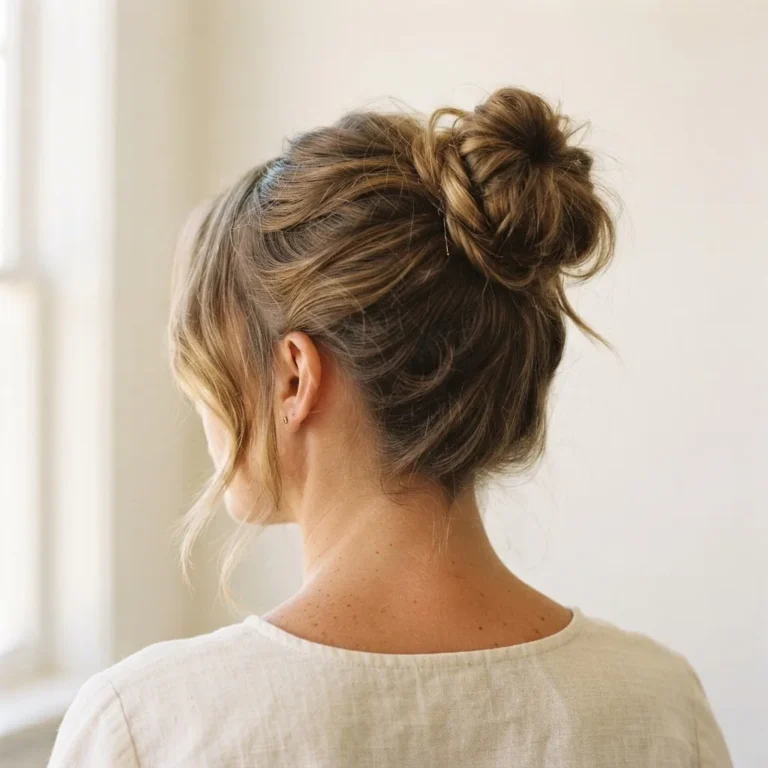
This is the one everyone has tried, and it works beautifully once you stop trying to make it perfect. Gather all your hair at the crown or high on the back of your head, twist it loosely into a coil, fold the ends under or let them poke out a little, and clamp the clip horizontally across the base of the coil. The key word is “loosely.” If you twist too tightly before clipping, the style loses that relaxed quality and the clip has nowhere to grip. For medium and thick hair, one large clip handles this easily. For fine hair, try pulling a few face-framing pieces out first so the bun does not look flat and sparse.

2. The Half-Up Half-Down
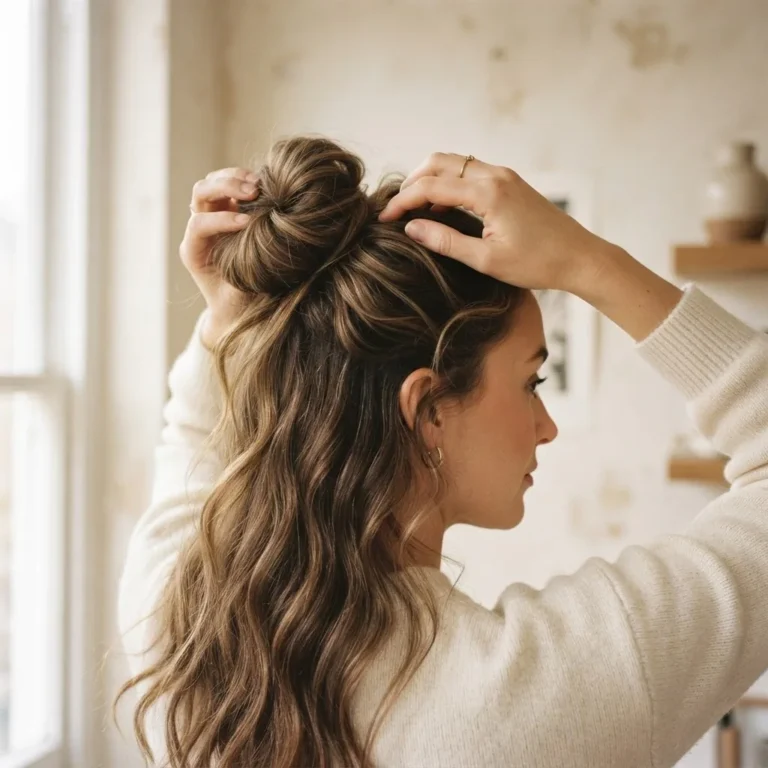
Take the top section of your hair from ear to ear, gather it at the crown, give it one loose twist, and clip. That’s it. This style is so forgiving and it frames the face beautifully. For fine hair, lightly backcomb the section you’re clipping before gathering it, which gives the clip something more to hold onto. For thick or curly hair, you might need to finger-comb the section into shape first so the clip does not grab a lopsided chunk.
3. The Low Ponytail Clip
Instead of an elastic, clip your hair at the nape of the neck or the back of the head in a low pony position. This avoids the crease an elastic leaves and works especially well if you are going somewhere where you want a polished but still relaxed look. Open the clip vertically (teeth pointing up and down rather than across) and press it around the gathered ponytail at the base. Tuck the ends underneath or let them fan out loosely.
4. The Side-Swept Clip
Gather all your hair over one shoulder, gather it as if you were making a low side pony, then clip it near the nape on the opposite side. This creates a soft diagonal line across the back that looks very intentional with almost no effort. Works on literally every hair length from chin-length bobs upward.
5. The Simple Crown Clip
Gather the top half of your hair as you would for a half-up look, but instead of twisting it, just clamp the clip at the crown like a flat hair clip. The ends fan out above the clip. This is the easiest possible claw clip style and it is genuinely cute as a “getting coffee” or “working from home” look. It photographs well, which is probably why it keeps cycling back on TikTok every few months.
The Five-to-Ten Minute Tier: One Practice Run Recommended
These styles are not difficult, but they do benefit from doing them once in a low-stakes setting first. The first time always takes a little longer.
6. The French Twist
The French twist sounds formal but it is genuinely achievable for everyday use. Gather all your hair at the back of your head as if making a low ponytail, then instead of clipping horizontally, twist the gathered length upward and toward the back of your head, folding it against the scalp. Hold the twist flat against the head and clamp your clip vertically from top to bottom to secure it. The clip should run parallel to your spine. Southern Living’s step-by-step on how to use a claw clip walks through this angle really clearly if you’re visualizing and it is not clicking.

For short to medium hair: you may not have enough length to twist fully. Instead, gather and fold the length once against the scalp and clip. You will get a similar sleek look with less twist.
For thick hair: section your hair and pull the lower half up first, then add the upper section and clip. Trying to do all of it in one go with very thick hair usually results in a clip that pops open.
7. The Butterfly Bun
The butterfly bun is one of the most-saved claw clip looks on Pinterest and it is easier than it looks. Gather your hair into a high ponytail (but do not secure with an elastic). Fold the ponytail back toward the scalp, pointing the ends down toward the nape, then clamp the clip over the folded section so the ends fan out on either side like wings. Those fanned-out ends are the “butterfly” effect. If the ends are short, they might point straight up rather than fan. That looks equally cute; just embrace it.
8. The Sleek Chignon
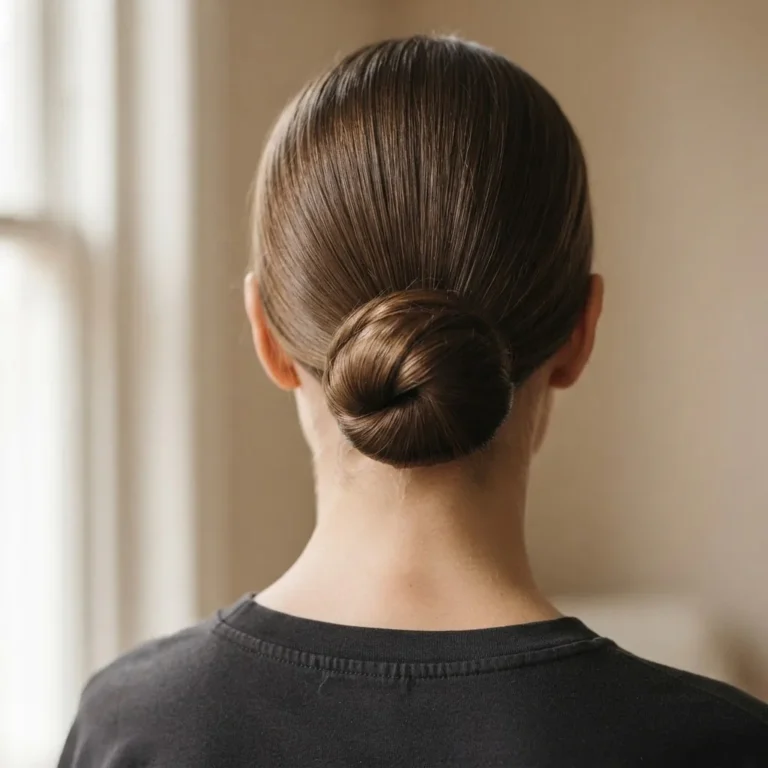
The sleek version of the messy bun. Brush your hair back smooth and tight, gather at the nape, twist the length into a coil, and flatten it against the scalp. Clip vertically. The secret to the sleek version is edge control or a light smoothing gel on the hairline and crown before you gather. Without some product, flyaways fight the look immediately. A small amount of product goes a long way here, and this is one of those rare styles that can legitimately pass as workwear professional.
9. The Braided Half-Up
This one sounds like two steps but it is genuinely not that involved. Take the two sections on either side of your face, braid them once each (just three-strand, no fancy braiding required), pull them to the back of your head, cross them over each other, and clip. The clip holds both braids in place. The result looks like something that took planning. This is a great second-day hair option when your hair has enough texture to braid easily.
10. The Top Knot with Twist
Gather all your hair into a high ponytail position, twist the length once or twice, coil it into a knot shape at the crown, and clip. Unlike the messy bun, which sits at the back of the head, this sits directly on top. It adds some height and has a slightly more put-together energy. Great for oval and heart-shaped faces where the extra height at the crown is flattering.
11. The Double Front Twist
Separate two sections from the front of your hair on either side of your part, twist each one back away from your face, bring them together at the back of the crown, and clip both sections together. This keeps hair off your face without the blunt look of a barrette, and the twisted sections frame the face from the front in a way that looks deliberately bohemian. Works well on fine hair because you are working with small sections.
12. The Fanned Half-Up
This is the version of the half-up that went viral repeatedly because it looks so effortless in photos. Take your top section, gather it at the crown, but instead of clipping it tight, fan the ends out so they splay above the clip like a little tail. No twist. The clip goes in horizontally and the ends are deliberately left loose and fanned. The secret is to not clip too low or the fan gets squished.
13. The Textured Updo
If you have a diffuser or your hair has natural texture, gather everything in a loose cluster at the nape, twist it upward in a relaxed coil, and clip without smoothing anything down. The goal is to let the texture live. For curly and coily hair especially, this works better than trying to achieve the sleek versions because your curl pattern adds the visual interest on its own. Do not fight your texture here.
The Style-Forward Tier: Trending Right Now
These are the looks currently cycling on Pinterest and TikTok, translated for real humans with real mornings.
14. The Claw Clip Low Bun with Wispy Pieces
Pull your hair into a low bun at the nape, clip it, then use a fine-tooth comb or your fingers to pull a few thin face-framing pieces loose at the front. Those wispy pieces at the temples and along the hairline are the entire vibe. They should feel effortless, not symmetrical. This is the style that photographs beautifully on a walk or at brunch. If you want to take it up a notch, curl or wave those front pieces with a curling wand before you clip the rest up.
15. The 90s Claw Clip Updo (Messy on Purpose)
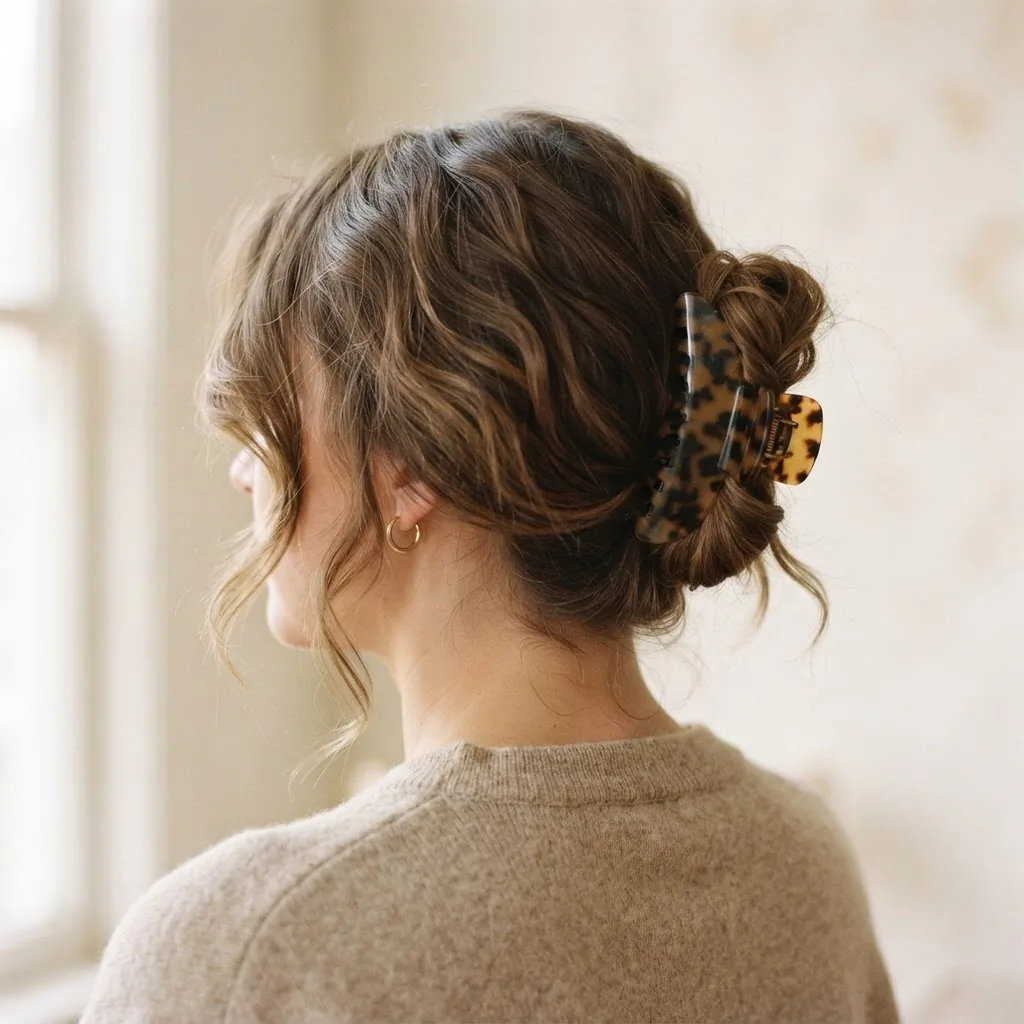
This is the revival of the early 2000s claw clip aesthetic where the hair is gathered, twisted loosely, clipped, and then deliberately mussed so pieces fall around the face and the back of the neck. It is not undone by accident. It is undone by design, which means you actually pull pieces loose intentionally after clipping. Trending versions of this look on Pinterest involve slightly teased or wavy hair before clipping for maximum volume.
16. The Half-Up Space Buns
Two small buns using mini claw clips instead of hair ties. Split the top section of your hair into two equal parts, twist each into a small bun at the crown, and clip each one with its own small or mini clip. The mini clip format is what makes this feel modern versus the elastic space buns of 2017. This works especially well on fine hair where traditional bun shapes can look flat, because mini clips sit visibly as an accessory rather than disappearing into the hair.
17. The Single-Clip Sleek Pony
Pull your hair into a mid or high ponytail and clip it with a large clip placed vertically around the base, skipping the elastic entirely. The clip becomes visible from behind as a style element. This works best with larger, statement clips in tortoise shell, marble, or colorful acetate where the clip itself is part of the look. Great for hair that gets a crease from elastics.
18. The Claw Clip Braid Crown
Braid your hair in one loose three-strand braid down the center back of your head, then fold the braid upward and clip it at the crown so the braid is displayed rather than tucked away. A large clip at the base of the braid holds it folded and slightly fanned. This has a vintage French look that photographs really well and takes maybe three minutes once you have braided your own hair a few times.
19. The Looped Low Pony
Instead of pulling the ponytail fully through, pull it halfway through on the last loop to create a soft, folded loop at the nape, then clip the clip over the loop base. It creates a deliberately unfinished look that is very current right now.
20. The Jumbo Clip Twist-Out for Thick and Curly Hair
For thick or curly hair: twist your hair into a large, loose two-strand twist at the back of the head from root to mid-length, then clip the remaining length up into a loose bun. The combination of the twist at the root and the clipped volume creates a style that actually works with high-volume hair rather than fighting it. Use a jumbo clip with double teeth for this. It will not work with a standard-size clip.
Heatless Overnight Use: Yes, You Can Style While You Sleep
One of my favorite things about claw clips is that they double as an overnight styling tool. Divide slightly damp hair into two or four sections, twist each section loosely, coil it, and clip each coil to the head. Leave it overnight. In the morning, release the clips and finger-comb gently for loose, heat-free waves.

The more sections you create, the tighter and more defined the waves. This is legitimately one of the most effective heatless wave methods because the clip holds the coil in a fixed shape rather than just loosely wrapping it.
21. The Two-Clip Overnight Wave
Two large sections, two clips. Coil and clip each on either side of the head at the nape. Morning result: soft, beachy waves.
22. The Four-Clip Overnight Curl
Four medium sections, four medium clips. Coil each section from the root toward the nape. Morning result: more defined loose curls.
23. The Crown Clip Sleep Set
For fine hair that goes flat overnight: gather the top section into a loose half-up clip at the crown before sleeping. In the morning, your roots have natural lift without any heat.
Length and Texture Adjustments: Short and Medium Hair
If your hair is chin to shoulder length, about half the styles above need a small adjustment. The French twist works by just folding rather than twisting fully. The messy bun becomes a smaller clip-back at the nape. The butterfly bun may not fan fully, but the effect still reads. The styles that work best without adjustment for short to medium hair are the half-up looks (styles 2, 5, 11, 12), the side-swept style (style 4), the sleek low clip (style 3), and the front twist styles (style 11).
24. The Short-Hair Half-Up Clip
For chin to shoulder length, this is your most reliable option. Clip the front two-thirds of your hair at the crown. The remaining length frames the face and neck beautifully. A small or medium clip works here. This is also the easiest way to “get hair off the face” for short-hair days.
25. The Bob-Friendly Sleek Clip-Back
For shorter bobs or lobs: pull all hair back, twist once at the nape, and clip vertically. The clip sits at the back as a visible accessory and the look is clean and minimalist. This works especially well with statement clips in color or tortoiseshell.
Clip Your Way to Healthy Hair: What You Should Know
Here is something I genuinely believe and that most of these listicles skip over. The claw clip is one of the most hair-friendly tools in your drawer, but there is a right and wrong way to use one daily.
The main risk with any repeated tight updo is something called traction alopecia, which is hair loss caused by consistent pulling and tension on the follicle. The American Academy of Dermatology explains that hairstyles which keep pulling on the hair can damage follicles over time, and that includes ponytails and buns worn very tightly. Claw clips generally create far less tension than elastic hair ties when used correctly, but the key phrase is “when used correctly.”
Three things to do differently if you wear a claw clip every day:
Rotate your placement. Wearing a clip in the exact same spot every single day creates a pressure point on those strands. Alternate between a high bun, a low bun, and a half-up so no one section of hair is carrying repeated stress.

Do not force it. If you are clamping the clip extremely tight because it is the wrong size for your hair, that tension is what causes damage. The clip should hold comfortably, not clench. This is another reason sizing up for thick hair matters.
Avoid clipping soaking-wet hair into a tight style. Wet hair is more elastic and more prone to breakage under tension. Let it air-dry to at least 80% before clipping into any tight updo. Light heatless styles overnight on slightly damp hair, as described above, are fine because the twist is gentle and loose.
The Beginner Mistake Most People Make
A quick note because the TELETIES blog covers this well and stylists consistently flag it as the most common issue: over-twisting before clipping is the number-one reason a French twist or messy bun looks stiff, falls out, or creates scalp tension. The twist before you clip is a preparatory step, not a structural one. The clip provides the hold. The twist just creates the shape. Twisting too tightly winds the style down and leaves no room for the clip to grip, meaning the whole thing wants to unwind out of the clip. Looser than you think. That is the note.
Also: smooth, clean hair is actually harder to clip than hair with a little texture. Second-day hair or hair with a light texturizing spray holds a claw clip style much more reliably than freshly washed, silky-smooth hair. If your clip keeps sliding, spray a little dry shampoo or texturizing spray at the roots before gathering. That extra grip changes everything.
What to Buy: Budget Options That Actually Work
You do not need to spend $28 on a claw clip to get a reliable hold, and I want to be honest about that. The New York Times Wirecutter reviewed the best affordable claw clips and found strong performers at under $1 per clip (specifically the Tocess Big Hair Claw Clip at around $8 for a pack of eight). That is genuinely a good pick for thick-to-medium hair and a fine starting point if you are still figuring out which styles you like.
For fine hair, look for smaller clips with tighter tooth spacing. Brands like Scunci and Conair have fine-hair specific options in the $5 to $8 range at most drugstores. If they keep sliding, the issue is likely size and not price. Step up to a brand that labels clips by tooth type, not just size.
The $12 to $22 range (Gimme Beauty, TELETIES) is worth it if you wear a claw clip daily and want a clip built to last. The double-teeth design and lay-flat styles from these brands genuinely perform differently than basic plastic options, especially if you have thick or curly hair. Premium acetate clips (France Luxe, RPZL) in the $24 to $30 range are beautiful and very durable, but they are accessories as much as they are tools.

Buy one for an occasion look, but you do not need to start there.