Long Layers Haircut: 15 Styles, What to Ask, and What to Expect
Let me tell you the exact moment I fell in love with long layers. I was nineteen, still in my dorm, still recovering from my infamous orange box-dye situation (yes, that really happened, no I will never fully get over it). My hair was flat, heavy, and going absolutely nowhere. A friend suggested layers. I was scared. I thought layers meant losing length, looking poofy, or ending up with something that would need to be explained at every social event for the next six months.
Reader, I was wrong. The right long layers changed my hair entirely. And now, years later, having watched some genuinely gifted stylists work in a busy Austin salon, I can tell you that a well-executed long layers haircut is one of the most transformative things you can do for your hair without sacrificing length. It adds movement where there was none, takes weight out of heavy hair, and gives fine hair the illusion of a whole lot more body.
But here’s the thing: long layers are not one single haircut. The phrase covers a whole family of looks, and the version that works beautifully on your friend’s thick, straight hair might not be what your fine or curly hair needs. This guide is going to walk you through 15 real style directions, how they work, which hair types they suit, how to ask for them without getting something you hate, and what to realistically expect from the grow-out. Let’s get into it.
What Long Layers Actually Are (Because the Definition Matters):
Before we get to the pretty pictures, let’s get clear on the basics, because “long layers” means very different things in different contexts, and that confusion is exactly why people sometimes leave the salon disappointed.
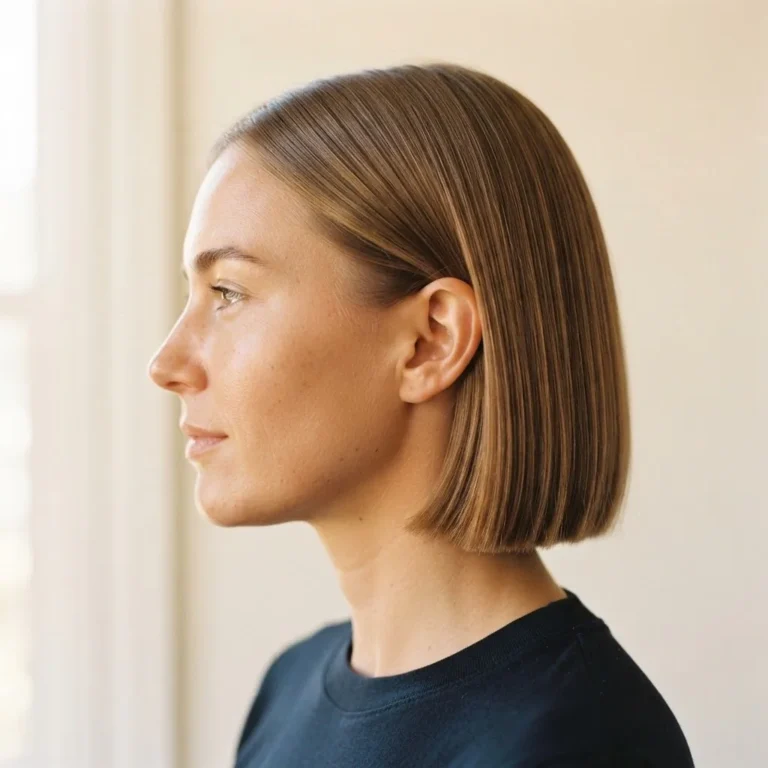
Long layers are a haircut technique where the hair is cut at an elevated angle from the head so that shorter pieces sit on top of longer ones, creating movement, dimension, and texture throughout the length. Unlike a blunt cut (where all the ends sit at exactly the same length and weight) or heavily short-layered cuts (where dramatic length differences create a lot of texture), long layers keep the overall length intact while removing some of the interior weight.
Technically, according to professional cutting resources, long layers are typically cut at elevation angles between 135 and 180 degrees from the head shape, as detailed in this professional guide to long layered haircuts. That high elevation is what creates the blended, seamless look rather than a “shelved” or chunky result. In plain terms: the stylist is pulling the hair up and cutting it at an angle so the layers fall softly instead of in visible steps.
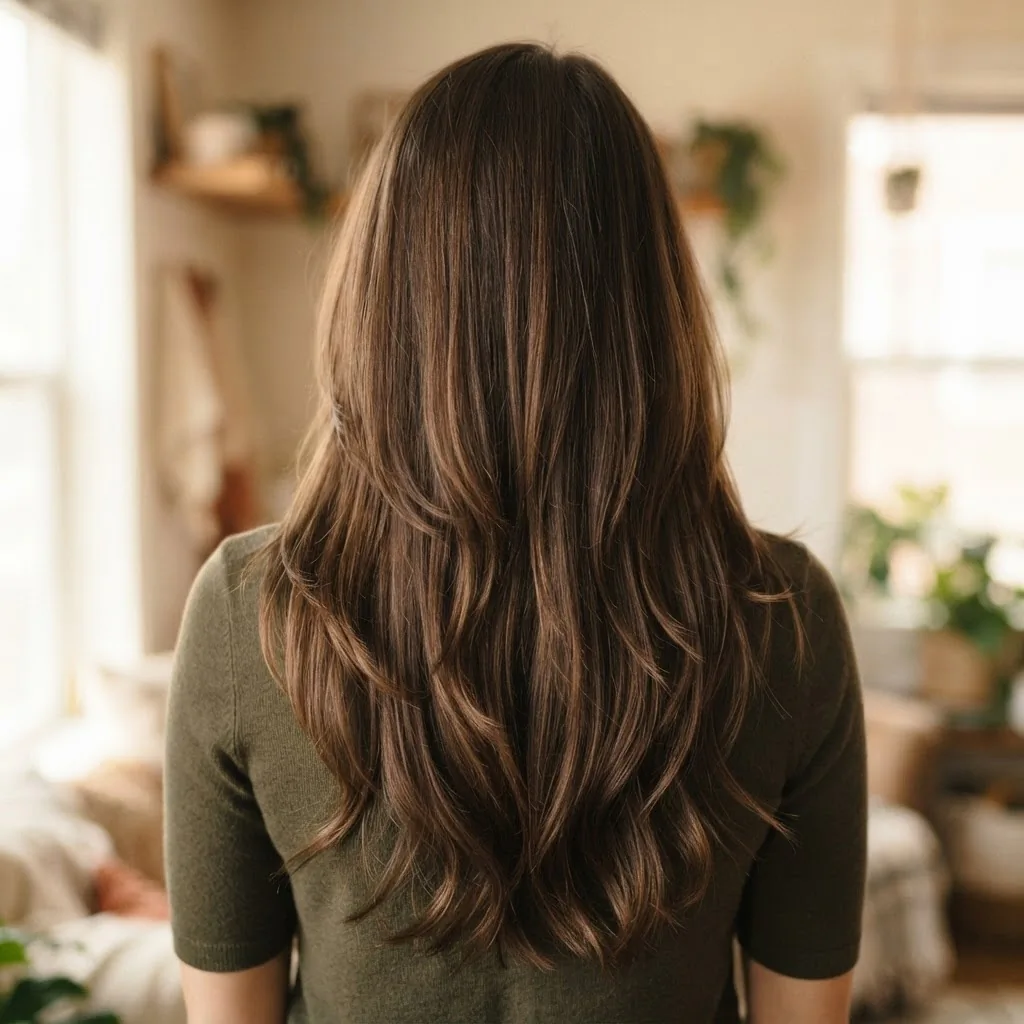
When done well, you should not be able to see exactly where one layer ends and another begins.
The most important thing to understand is that “long layers” is an umbrella, not a single haircut. Within that umbrella you have face-framing layers, curtain bang territory, butterfly cut variations, wispy textured layers, and more. Each one feels and behaves a little differently, and knowing which one you are actually after is what makes the difference between a consultation that goes smoothly and one that ends in tears.
The 15 Long Layer Looks Worth Pinning (And Actually Asking For):
1. Classic Soft Long Layers
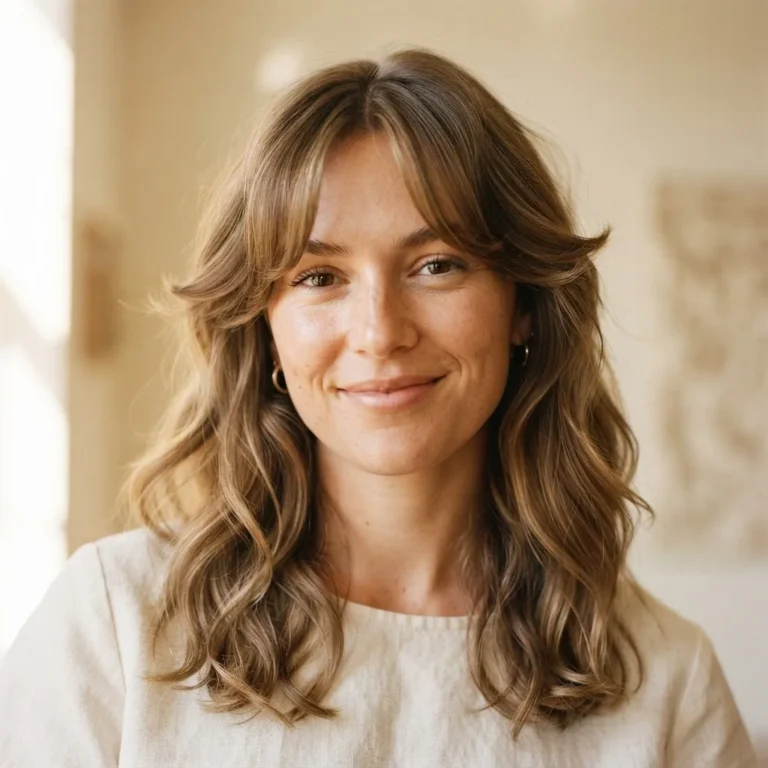
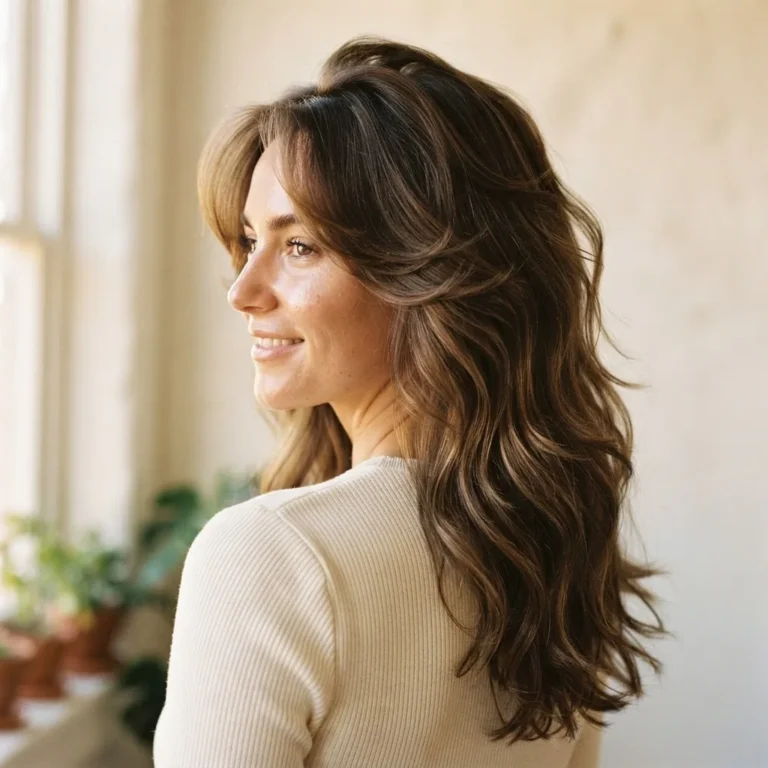
This is the foundational version: long, blended layers that start at or below the collarbone and gradually shorten toward the top of the head. The result is movement and body without any dramatic texturing or visible steps. This is the safest, most universally flattering starting point for beginners. Works on straight, wavy, and lightly wavy hair. Fine hair especially loves this because it creates the illusion of thickness without removing too much actual weight.
2. Face-Framing Layers
Face-framing layers are shorter pieces cut specifically around the face, usually starting at cheekbone or chin level, while the rest of the hair stays longer and blends into the face frame. They are incredibly flattering because they draw attention toward your features and break up a heavy curtain of hair. According to L’Oreal Paris’s guide to face-framing layers, these shorter face pieces create movement and body and work on virtually any face shape with the right placement. For a round face, they are angled to add vertical length. For a square face, they soften the jaw. For an oblong face, they add horizontal balance.
3. The Butterfly Cut
The butterfly cut has been viral on TikTok and Pinterest for a couple of years now and shows no signs of slowing down. It combines super long lengths at the bottom with a dramatic, shorter interior layer that “fans out” and creates a wing-like silhouette when the hair falls naturally. It is a bolder choice than classic long layers, and it looks spectacular on wavy and curly hair because the shorter interior layers curl up and create gorgeous volume. On very fine, straight hair it can feel like a lot of upkeep to maintain the shape.
4. Wispy Long Layers
Wispy layers are cut with a technique called point cutting (where the scissors go into the ends at an angle rather than cutting straight across) to create soft, feathery, almost see-through ends. The overall length stays long, but the ends have an airy, delicate quality rather than a blunt finish. This is a great option for thick hair that tends to feel heavy or bulky at the ends. It also photographs beautifully and is very popular as a Pinterest aesthetic right now.
5. The Wolf Cut (Long Version)
The wolf cut is essentially a mullet for people who would never describe themselves as having a mullet. Think: heavy, choppy interior layers with longer, shaggy ends. The long wolf cut keeps the overall length but leans into the 70s-rockstar, effortlessly undone vibe. It works best on medium-thick hair that can carry the volume the top layers create, and it thrives on wavy and curly textures where the shorter pieces curl up into a fluffy, textured crown.

6. Soft Shag with Long Layers
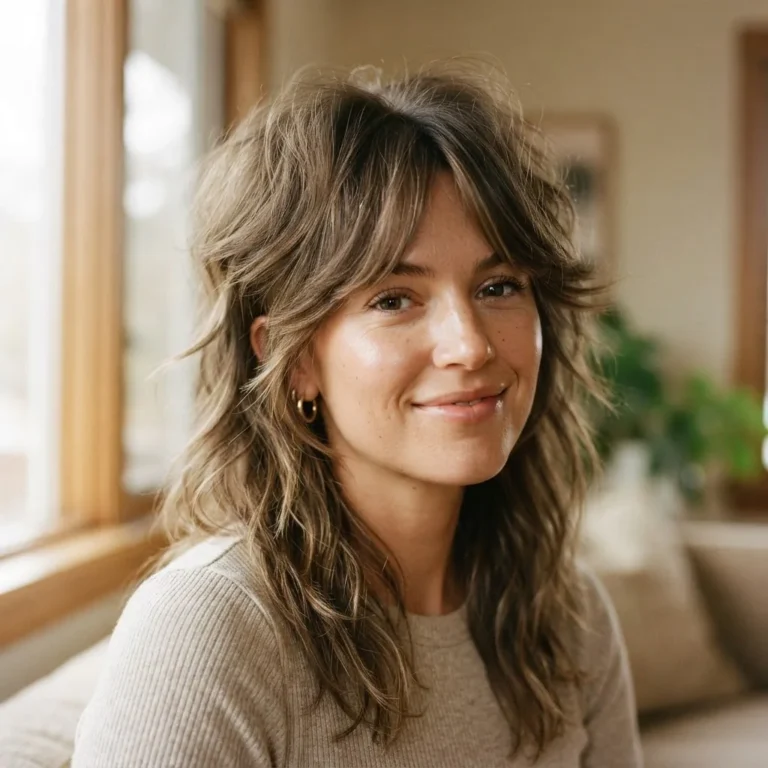
The modern shag is a softer evolution of the wolf cut: less dramatic, more blended, with gentle face framing and long layers throughout. It usually has some curtain bang or wispy fringe action at the front and falls into a relaxed, tousled shape without much styling effort. This is a great option for someone who wants a current, editorial feel without committing to anything too drastic.
7. Long Layers with Curtain Bangs
Curtain bangs and long layers are a genuinely excellent pairing, and I completely understand why this combination is all over Pinterest right now. Curtain bangs sit shorter in the center (usually at eye level), sweep outward to each side, and blend into the face-framing layers seamlessly. It is a softer, lower-commitment alternative to a full fringe and grows out gracefully. Important note for beginners: curtain bangs and face-framing layers are different things. Curtain bangs start higher up (eye level or above), whereas face-framing layers typically start at cheekbone level or below and are longer overall.
8. Long Layers for Fine Hair
Fine hair and layers have a complicated relationship that I want to address directly, because a lot of fine-haired women are told “don’t get layers, you’ll lose volume,” and that advice is partially right but mostly oversimplified. Heavy, short layers on fine hair can make it look even thinner because you are removing a lot of the actual density from the mid-lengths. But long, soft layers that start low (at or below the collarbone) and are kept blended with minimal weight removal can actually create the illusion of more movement and body. The key word is minimal. Tell your stylist you want subtle, blended long layers and that maintaining density is your priority.
9. Long Layers for Thick Hair
If you have thick hair, long layers are your best friend and also the thing that will keep you from looking like you are carrying a helmet on your head. Thick hair benefits from interior layers that remove weight and allow the hair to move and breathe. Wispy ends, point cutting, and thinning through the mid-lengths (but not the ends, which can cause frizz) are all tools a good stylist will use on thicker hair. The result is hair that feels lighter, behaves more predictably, and no longer swamps your face.
10. Long Layers for Wavy Hair
Wavy hair is the texture that long layers were practically invented for. Layers allow each wave pattern to express itself without being weighed down by the hair sitting above it. If you have wavy hair that currently sits flat at the root and waves only at the ends, layers will change your life. Ask for long layers with face framing, and go home and diffuse on low heat or let it air dry. The waves will spring up in a way they simply cannot when all that length is one uniform weight.
11. Long Layers for Curly Hair
Curly hair and layers need a more careful conversation. Curly hair shrinks when it dries, so a layer that looks long when wet might surprise you when it bounces up considerably shorter. The best approach for curly hair is to ask for your layers to be cut while your hair is dry (a technique called the Deva cut or dry cutting), or at minimum, to ask your stylist to factor in your shrinkage. Interior layers on curly hair allow each curl to coil individually without being dragged down by weight. Avoid layers that are too short at the top, as this can create a triangle or pyramid shape as the hair dries.
12. The Feathered Layer Look
This is the 70s-inspired version that keeps coming back around, and honestly it deserves every moment of its comeback. Feathered layers are cut to flip slightly outward at the ends and add a soft, nostalgic texture throughout the length. Think Farrah Fawcett, but modernized. A round brush blowout or a large-barrel curling iron set to medium heat will bring these to life beautifully.
13. Long Layers with a Middle Part
The middle part completely transforms how long layers read on your face. When layers are cut with a center part in mind, the face-framing pieces fall symmetrically on each side and create a very intentional, editorial look. This combination is especially flattering on oval and heart-shaped faces. If you currently part your hair at the side and are thinking of switching, just know it takes about a week for the hair to stop fighting you and start falling naturally.
14. Long Layers for a Blowout
Some long layer cuts are specifically designed to look their best with a blowout. If you love a polished, bouncy blowout as your go-to style, ask for layers that add body and movement in the top sections (sometimes called “internal layers” or “volume layers”) rather than heavy face framing. This gives you lift at the crown and smooth movement through the lengths without too many wispy pieces that might not behave as nicely in a sleek blow-dried finish.
15. Invisible Layers
This is for the person who genuinely does not want anyone to know she got a haircut, but still wants her hair to move better and feel lighter. Invisible layers are cut very subtly, usually just through the interior of the hair, with minimal difference in length between the top and bottom sections. The hair looks almost blunt from the outside but behaves significantly better. Great for fine hair, for very long hair that has gotten heavy and unmanageable, and for anyone who is a little nervous about committing to something more visible.
Face Shape Guide for Long Layers:
I want to give you the real version of this, not a one-line chart.
For oval faces: you are working with the most flexible starting point. Almost any variation of long layers suits you. Go ahead and try the curtain bangs with face framing, the butterfly cut, the wispy ends, whatever caught your eye on Pinterest.
For round faces: you want length and vertical emphasis. Long layers that start below the collarbone help elongate the face because they draw the eye downward. Avoid very short layers at the top that add width. Face-framing pieces that angle downward toward the chin are your friend here.
For square faces: the goal is to soften the jawline. Wispy, delicate face-framing layers at cheekbone or collarbone level do this beautifully. Avoid very blunt or geometric layering, which can echo and emphasize the squareness of the jaw.
For heart-shaped faces (wider forehead, narrower chin): you want to add width at the jaw and reduce emphasis at the forehead. Layers that start at or below the chin and add body through the mid-length are ideal. Curtain bangs work wonderfully here because they break up a wider forehead without adding weight at the top.
For oblong or long faces: you want to add width, not length.
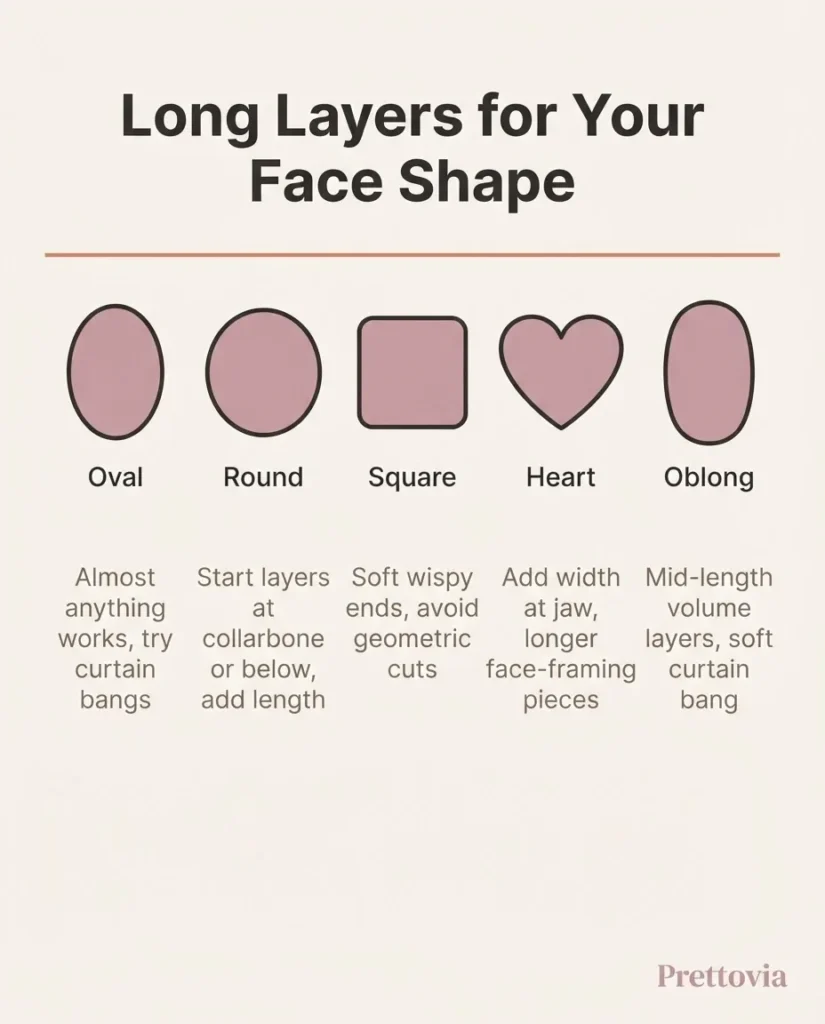
Layers that add body and bounce at the mid-length and avoid falling too straight and flat will help balance the proportions. A soft curtain bang or face frame at cheekbone level can also help break the vertical line.
How to Talk to Your Stylist So You Actually Get What You Want:
This is the section I wish I had found years ago, and honestly, it is the reason so many “long layers” Pinterest saves end up producing disappointing results. The problem is almost never the stylist’s skill. It is the translation gap between what you are picturing and the words you use to describe it.
Here is what I have seen work, both from watching consultations in the salon and from the genuinely useful guidance I found at The Warehouse Salon’s breakdown of how to ask for long layers: lead with three things. First, where you want the layers to start (“I want my layers to start at my collarbone or lower, not higher”). Second, how you want them to feel (“soft and blended, not choppy or stacked”). Third, how much length you are willing to part with (“I want movement, but keeping my length is my priority”). Bring a photo. Not three photos of three different looks, one clear photo that shows the specific thing you want. And say out loud: “I’m worried about losing too much length” or “I don’t want anything that will look choppy.” Good stylists respond to honesty.
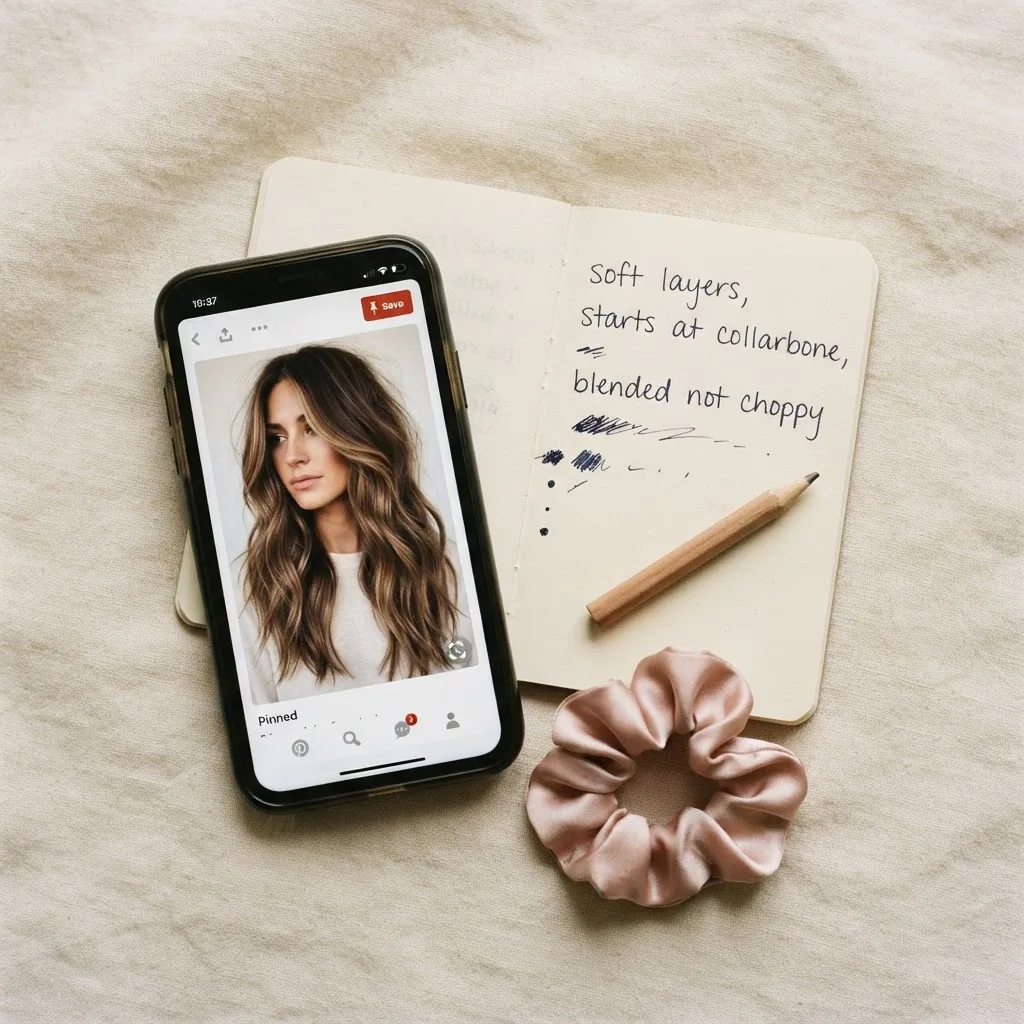
Words that help: soft, blended, seamless, face-framing, starting at collarbone, minimal weight removal, movement without losing length.
Words that can go sideways if left undefined: “just a little off,” “lots of layers,” “layered all over,” “make it look lighter.” All of these mean wildly different things to different people.
Will Long Layers Damage Your Hair? The Honest Answer:
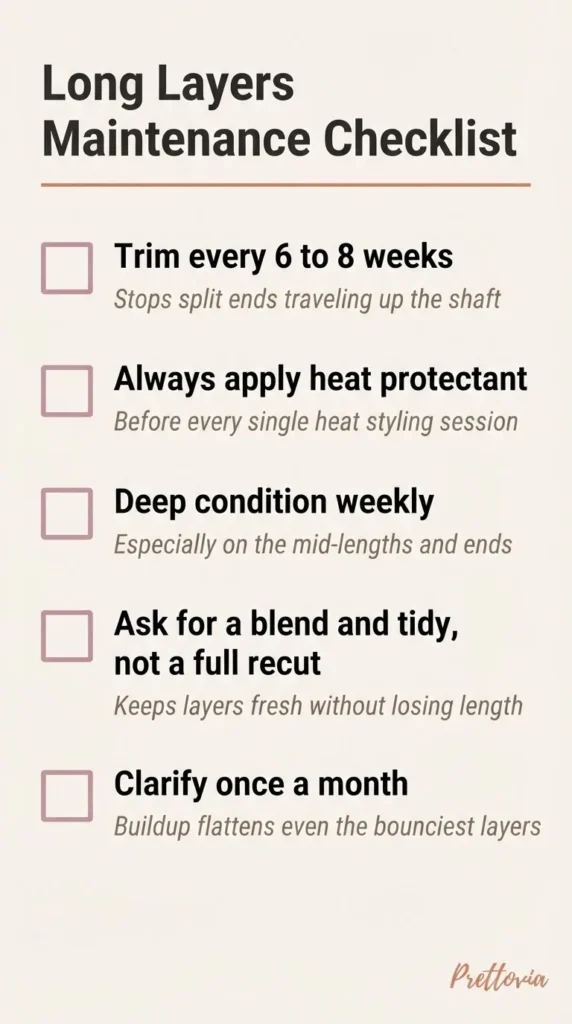
No, a well-executed long layers haircut will not damage your hair. In fact, removing the dead, split ends that naturally accumulate at the bottom of long hair is genuinely beneficial. Trichologists at Philip Kingsley recommend trimming every 6 to 8 weeks to prevent split ends from traveling up the hair shaft, and layers that are regularly maintained fall right into that rhythm.
What can cause damage is the styling that often follows a new layered cut. Layers look their most beautiful when you add some movement to them, and that frequently means heat tools. If you are reaching for a curling iron or flat iron every day to style your new layers, your ends are going to feel it over time. The American Academy of Dermatology’s guidance on how to stop damaging your hair is clear: heat styling is one of the most consistent contributors to breakage, and reducing frequency or using lower temperature settings makes a real difference.
My practical advice: invest in a good heat protectant before you do anything else with your new layered cut. It does not need to be expensive. A decent drugstore option applied thoroughly before any heat styling will protect your layers considerably. Wavy and curly girls especially: try diffusing and air-drying your layers as much as possible before reaching for a curling iron. You might be surprised how much movement is already there without any heat at all.
Styling Your Long Layers at Home (The Beginner Version):
You do not need a full salon blowout kit to style long layers. Here are the approaches I actually reach for and see real results with:
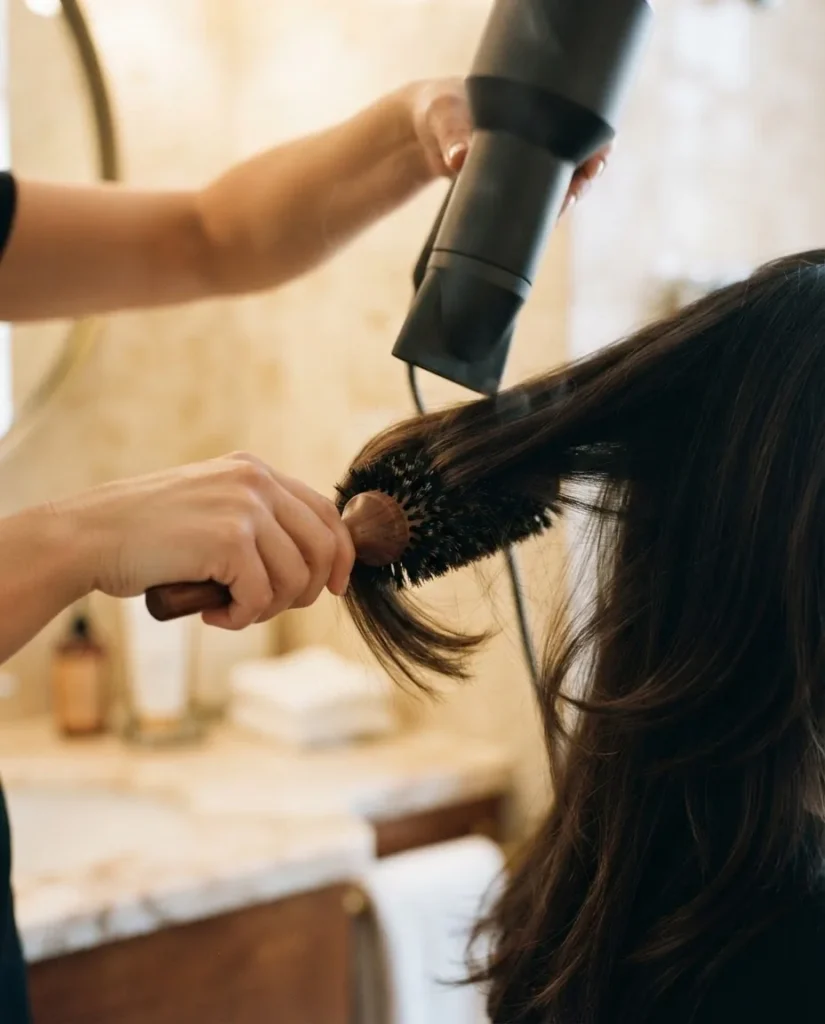
For a blowout-adjacent look: use a medium or large round brush and a blow dryer on medium heat. Work section by section, rolling the brush under the ends and pointing the dryer downward along the hair shaft (this reduces frizz by keeping the cuticle lying flat). It takes practice, but even a slightly imperfect version of this technique looks dramatically better than just blowing your hair out without a brush.
For beachy waves: scrunch a bit of sea salt spray or a lightweight curl cream into damp layers and either diffuse or air dry. Layered hair catches the product differently than blunt hair and tends to develop more natural-looking wave texture.
For heatless options: overnight braids (two or three loose braids before bed) on damp hair produce a beautiful, soft wave in layered hair by morning. This is hands-down one of my favorite styling methods for layered cuts because it is free, requires zero tools, and the layers make the wave look dimensional instead of flat.
For frizzy days: a small amount of hair oil or a serum smoothed over the surface layers after styling tames flyaways and adds shine without weighing the layers down. A dime-sized amount is usually plenty for most hair lengths.
Growing Out Long Layers: What to Expect and How to Do It Gracefully:
Eventually most people reach a point where they want to grow their layers out, either because they want more uniform length or because their layers have grown into an awkward in-between stage. This is the part that nobody warns you about, so here it is: layers grow out unevenly. The shortest layers near the face grow slower in appearance (because they have more length to travel to catch up) and the mid-length layers often hit an awkward “fluffy” phase before they blend in.
The most useful thing you can do is keep booking regular trim appointments, not to remove length, but to ask your stylist to “blend and tidy” the layers every 8 to 10 weeks.
This gets rid of any raggedy or dry ends and helps the layers look intentional instead of abandoned. The AAD’s tips for healthy hair maintenance are a good reminder that regular, gentle care (low heat, minimal mechanical stress, and consistent trims) makes every grow-out phase smoother.
The DIY Question: Can You Cut Long Layers at Home?
I am going to be honest with you here, because I think the internet is sometimes too casual about this. Cutting your own layers at home is possible, but it is genuinely difficult to do well on yourself. The ponytail method (gathering hair into a high ponytail at the front of your head, then trimming straight across) is a widely shared technique that can create workable layers on straight or wavy hair, and this tutorial from Hopewell Heights walks through the ponytail method step by step. But it produces one specific type of heavy layering that does not suit every hair type and can look quite dramatic on fine or thin hair.
My actual recommendation: DIY trimming of existing layers (just dusting the ends to freshen them up between appointments) is a reasonable and low-risk way to extend your styling budget. Cutting layers from scratch at home is a bigger commitment and carries a real risk of uneven results, especially around the face. If you are set on trying it, start conservatively. You can always cut more later. You cannot undo a cut that went too short.
Quick Troubleshooting: Why Your Layers Might Look Off:
If your layers are looking choppy instead of blended, the most common reason is that the shortest layers were cut too high or too aggressively. At your next appointment, ask for the layers to be “blended through” or “softened” rather than recut from scratch. Usually a few minutes of point cutting through the transition zones fixes it.
If your layers are falling flat and have no movement, they may have been cut too subtly, or the issue might be product buildup weighing the hair down. A clarifying wash can genuinely transform how layered hair behaves. Also check whether your hair is overloaded with heavy conditioner or oil at the roots, which can flatten even the bounciest layers.
If your layers look frizzy specifically at the ends, that is almost always a moisture issue combined with mechanical damage. A weekly deep conditioning mask, low-heat styling, and sealing the ends with a light oil will help significantly over a few weeks.
Final Thought:
A long layers haircut is one of the most beginner-friendly, universally flattering, and genuinely low-drama changes you can make to your hair. The key is knowing which version of long layers suits your texture and what you want your hair to do, and then being able to say those things clearly at your consultation. That combination, the right style choice plus the right words, is what closes the gap between the look you pinned and the look you actually walk out with.
You can absolutely do this. I promise the intimidating part is mostly in the overthinking.