15 Aura Nail Designs Blowing Up on Pinterest (No Airbrush Needed)
Let me guess. You were scrolling Pinterest, minding your own business, and then a set of aura nails stopped your thumb dead. That soft glowing spot of color in the middle of each nail, like a little sunset trapped under the shine. You saved it. Maybe you saved nine more. And then that quiet voice showed up, the one that says “cute, but you could never.”
I want to gently shut that voice up.
I taught myself nail art during the most boring internship of my life, one wobbly dot at a time with a cheap dotting tool, on my desk breaks. Aura nails were not my first design, but they were one of the first that made people ask “wait, who did your nails?” Here is the secret those glossy magazine roundups leave out: aura nails look like they need an airbrush machine and a pro’s steady hand, and they need neither. They are honestly one of the most forgiving trends out there, because the whole point is a soft blurry glow. Blurry is easy. Blurry is your friend.
So we are going to do this properly. First I will walk you through what aura nails actually are and the four ways to make that glow with stuff you probably already own. Then I will give you 15 designs pulled from what is blowing up on Pinterest right now, from the classic single-color aura to chrome, galaxy, and French-tip twists. Along the way I will cover short nails, the mistakes that trip beginners up, and how to keep your natural nails healthy through all of it. If I can do this after a 10-hour workday, you can absolutely do it on a lazy Sunday.
What Aura Nails Actually Are (And Why They Are So Beginner-Friendly)
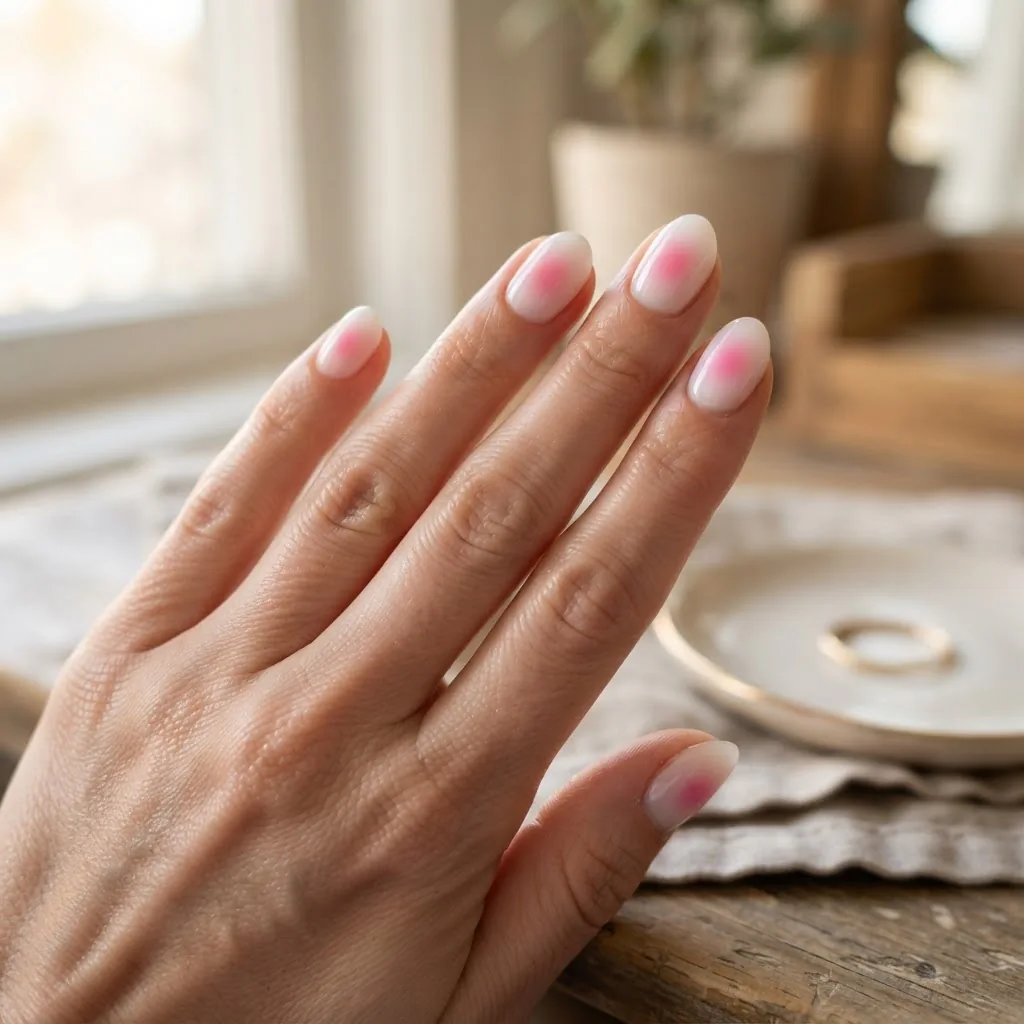
An aura nail is basically a soft glowing spot of color that fades outward, like a halo. Nail pros describe it as an ombre bloom using one to three colors, sitting on top of a base shade so the color looks like it is radiating from inside the nail. Sometimes it is centered, sometimes it drifts toward the cuticle or the tip. That is the entire concept.
Here is why this is such a kind trend to learn on. Crisp nail art, like a razor-thin French line, punishes shaky hands. Aura nails reward them. There are no sharp edges to nail. The blur is the look. When my line work was still a disaster, aura sets were where I felt like an actual artist, because “soft and imperfect” was the goal, not the failure.
You can do aura nails two ways. With regular polish, which is cheaper and needs zero equipment, or with gel, which gives you that glassy pro finish and holds the soft gradient beautifully because it does not dry until you cure it. I will flag which designs lean better one way or the other as we go.
The 4 No-Airbrush Methods (Pick One and Commit)
Before the designs, you need a way to make the glow. These are the four methods I reach for, roughly easiest to most involved.
The makeup sponge method. Dab a small amount of your accent color onto a makeup sponge, then press it gently in the center of the nail, building up slowly. This is the most beginner-proof way with regular polish. It gives a slightly textured glow that you smooth out with top coat. Cost to start: basically free if you own a beauty sponge.
The dry-brush or fluffy-brush blend. Place a dot of color in the center, then work outward with a small clean fluffy brush (an eyeshadow blending brush is perfect) to diffuse the edges. Great control, very cheap, works with gel especially well because gel stays wet until you cure it.
The gel diffuser method. This is my favorite for a glassy finish. You lay down a sheer or “diffuser” gel, drop your color in the middle, and blend it out with a soft brush before curing. Because gel does not set on its own, you get unlimited time to fuss with it until the blur looks right, then you lock it under the lamp.
The eyeshadow method. Loose or pressed eyeshadow, tapped onto a slightly tacky base and sealed with top coat. It is genuinely handy for a quick regular-polish version, though the color can look chalkier than gel, and you have to seal it well or it smears.
There is no medal for the hard way. Start with the sponge if you have never done this, and graduate to gel diffusing when you want that liquid-glass look.

Prep First, Because This Is Where Longevity Is Won or Lost
I know you want to skip to the pretty part. Do not skip this. Nine out of ten “my aura nails chipped in a day” stories trace back to prep, not the design.
Start clean and dry. Gently push back your cuticles, do not cut them, and lightly buff the shine off the nail surface so your base grips. If you are using gel, dehydrate and prime the nail per your kit. Wipe with alcohol so there is no oil left behind. For general nail health, I lean on the same fundamentals dermatologists recommend, and the American Academy of Dermatology’s healthy nail tips are a solid, no-nonsense baseline for keeping the natural nail underneath strong while you play with trends on top. Keep a cuticle oil nearby for after, because hydrated skin around the nail makes any manicure look more expensive.
One honest note. If you are using gel, cap the free edge, meaning you brush a thin line of product along the very tip of the nail. This tiny step is the single biggest thing that stops early chipping and lifting. Beginners forget it constantly. Do not be a beginner who forgets it.

The 15 Aura Nail Designs Blowing Up on Pinterest
Now the fun part. Each of these uses the methods above, so pick your method and just swap the colors.
1. The Classic Single-Color Aura
One base, one accent glow. Milky white base with a soft pink center is the design that broke the internet, and it is the one I recommend you practice first. It is impossible to overthink and it flatters basically everyone.
2. Baby Blue Cloud Aura
A sheer white base with a powder-blue glow drifting toward the tip. It reads calm and clean, and the light color hides blending imperfections, which makes it very kind to beginners.
3. Sunset Aura (Two-Color)
Peach fading into a warm coral or soft orange. This is your intro to the two-color aura. Drop the lighter shade first, then tap the second color just inside it and blend where they meet. It genuinely looks like a tiny sunset.
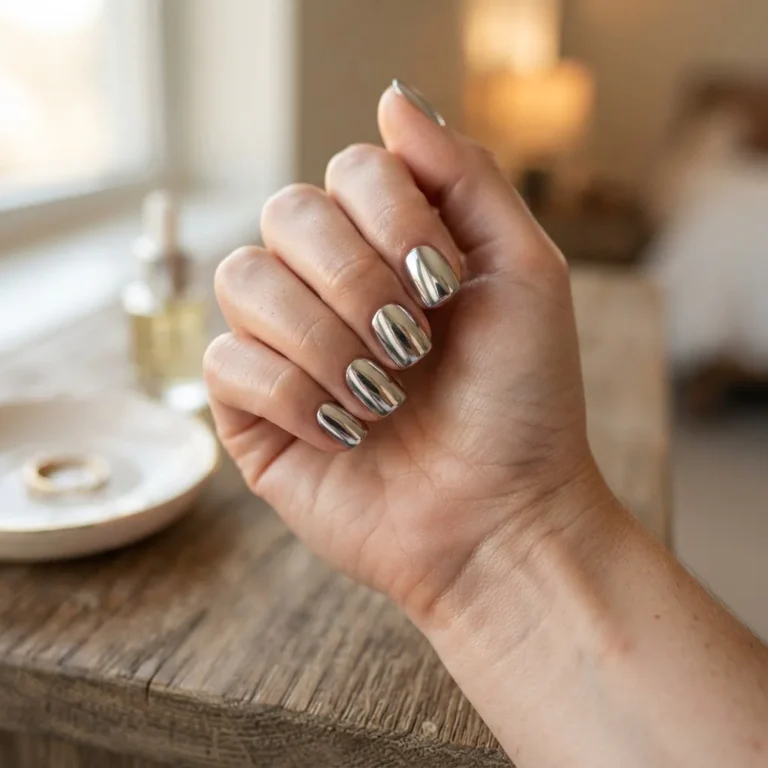
4. Chrome Aura
The one that is everywhere right now. You build a normal aura, cure or dry it, then press a fine chrome or “aura” powder over the top with a soft applicator for that mirror shimmer. Chrome aura is stunning and I will be honest, the chrome step has a learning curve, so give yourself grace on the first try.
5. Purple Galaxy Aura
Deep violet glow on a dark base with a tiny scatter of fine glitter or a single chrome fleck. Moody, cosmic, and shockingly easy because dark blurs are very forgiving.
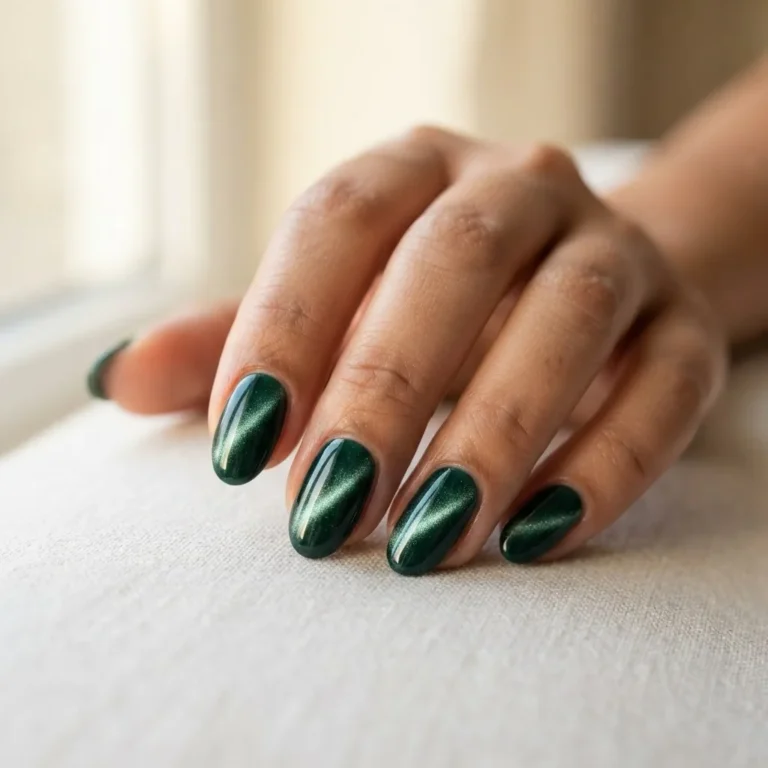
6. Green Aura
Sage or emerald glow. An underrated color that photographs beautifully and pairs well with gold accents. Great for anyone who wants trend-forward without the expected pink.
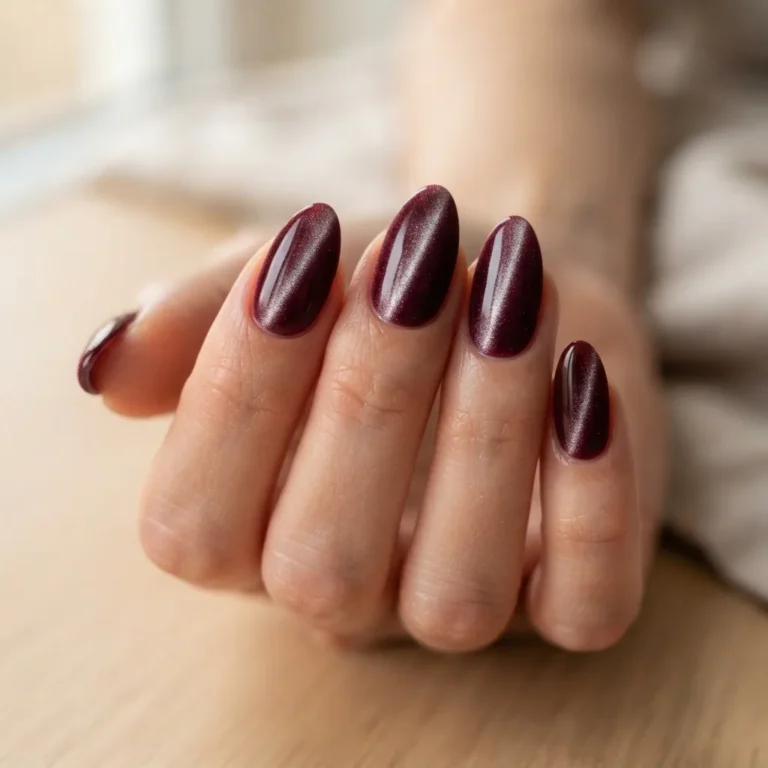
7. Red Cherry Aura
A bold red glow on a sheer base. Higher drama, still soft. Red pigment can travel more than you expect, so use a lighter hand than you think you need.
8. Aura French Tip
Instead of a solid French line, you place a soft aura glow only at the tip. This is the modern French twist people are obsessed with, and it is far more beginner-friendly than a crisp French because, again, blur forgives.
9. Double Aura (Cuticle and Tip)
One glow near the cuticle and one at the tip, base color in the middle. It looks advanced and takes maybe two extra minutes. Instant “how did she do that” energy.
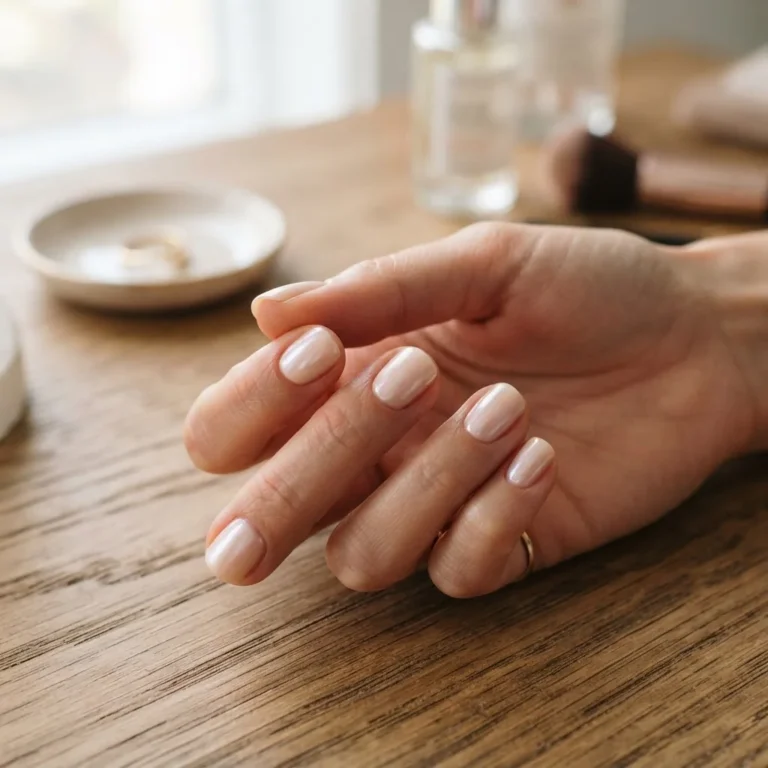
10. Milky Nude Aura
Sheer nude base with a barely-there warmer nude glow. Subtle, office-friendly, and the kind of quiet luxury that looks like a gel manicure you paid a lot for.
11. Pastel Rainbow Aura
A different soft pastel glow on each nail. This is a fantastic practice set because every nail is low stakes, and if one is patchy, nobody notices in a rainbow.
12. Black Smoke Aura
Sheer base with a soft charcoal-to-black center. Edgy, dramatic, and secretly one of the easiest because dark gradients blend so smoothly.
13. Glazed Aura (Aura Meets Glazed Donut)
A soft pearly aura sealed under a pearl or opal chrome for that wet glazed-donut sheen. It is two trends in one nail, which Pinterest cannot get enough of.
14. Glitter-Center Aura
A standard aura with a tiny pop of fine glitter concentrated in the glowing center, fading out with the color. Adds sparkle without going full disco.
15. Multichrome Aura
A color-shifting chrome over a neutral aura base so the glow flips shades in the light. It is the most advanced on this list, so save it for after you have a few sets under your belt.

Doing Aura Nails on Short Nails
Short-nail people, the magazines forgot you. I did not.
Aura nails look genuinely great short, sometimes better, because the glow sits in a tidy little circle instead of stretching across a long nail. The one adjustment is scale. On a short nail, keep the glowing spot smaller and more concentrated, roughly the middle third of the nail, so it does not blur off all four edges and lose definition. Use a smaller brush or a smaller piece of sponge. If your nails are very short, a cuticle-placed aura (glow near the base, fading up) often looks more intentional than a centered one.
Nail shape matters too. On a short square or squoval nail, center the glow. On round or almond, you can drift it slightly toward the tip for a lengthening effect. Do not feel pressured to grow your nails out for this trend. It works at any length you like.
Where Beginners Go Wrong (And How to Fix Each One)
These are the four failures I see constantly, and every one is fixable.
Muddy or dark color. You used too much pigment or blended a dark color into a light base too aggressively. Fix: build color in thin layers and stop sooner than feels right. You can always add more. You cannot un-muddy.
A harsh visible edge instead of a soft glow. Your blending brush was too dry, or you stopped blending too soon. Fix: keep working the outer edge with light circular taps. With gel, you have all the time in the world before you cure, so use it.
Patchy, uneven pigment. Common with the sponge and eyeshadow methods. Fix: several light passes instead of one heavy one, and press rather than swipe.
The glow disappears under top coat. A too-thick or badly applied top coat can drag and smear a delicate aura. Fix: with regular polish, let the aura dry fully first. With gel, do a thin no-wipe top coat and cure. Float it on, do not scrub it in.
My honest promise: your first aura will probably be a little wonky. Mine was. The blur that looks effortless on Pinterest is usually someone’s fifth attempt, not their first. Give yourself three tries before you judge your skills.

The Safety Part, Because I Actually Care About Your Nails
If you are doing the regular-polish version, your main concern is just not picking it off. If you are doing gel, we need a real, honest conversation, not a scary one.
Gel needs a UV or LED lamp to cure, and both types emit UVA light. This makes people nervous, and the nuance matters. According to the Skin Cancer Foundation’s expert guidance on nail lamps, these lamps present a moderate UV risk that is far lower than a tanning bed, and a simple precaution is to apply a broad-spectrum sunscreen to your hands about 20 minutes before curing, or wear UV-protective fingerless gloves. If you want to go deeper, there is peer-reviewed research assessing UV and LED nail lamp radiation that lays out the exposure picture in detail. I am not telling you to fear gel. I am telling you a five-dollar pair of UV gloves is a smart, easy habit.
The other real thing to know is HEMA. It is an ingredient in most gel and builder products and it is the most common cause of gel-related allergic reactions, which is why cured gel matters so much. Uncured or under-cured gel touching your skin is where sensitization tends to happen. So follow your lamp’s cure times exactly, keep wet gel off your surrounding skin, and if you ever notice itching, redness, or tiny blisters around the nail, stop and see a dermatologist. If you have sensitive skin or a history of reactions, HEMA-free gel systems exist and a patch test before a full set is genuinely worth it.
None of this is meant to scare you off. Millions of people wear gel happily. Informed and careful beats fearful and clueless every time.
Safe Removal, So This Trend Does Not Cost You Your Natural Nails
This is the step people rush and regret. Please do not peel or pick your gel off. When you pick, you take layers of your actual nail with it, and that is where “gel ruined my nails” stories come from. The nail was not ruined by the gel. It was ruined by the peeling.
For at-home gel removal, the dermatologist-backed method is a soak-off, and the AAD’s guidance on removing gel polish walks through it clearly: gently buff the shiny top layer, soak cotton in acetone, press it to each nail, wrap in foil, wait, and then gently push the softened gel off rather than scraping hard. After removal, flood your nails and cuticles with oil, because acetone is drying. Give your natural nails a breather between sets when you can.
Quick note, aura nails are an ombre effect, so people sometimes ask about doing them in dip powder. I would not. Dip is built for solid color and does not blend into a soft gradient the way gel does, and dip removal is its own soak-off process. For aura specifically, gel or regular polish are your friends. Dip is the wrong tool for this particular glow.
Picking Colors That Flatter Your Hands
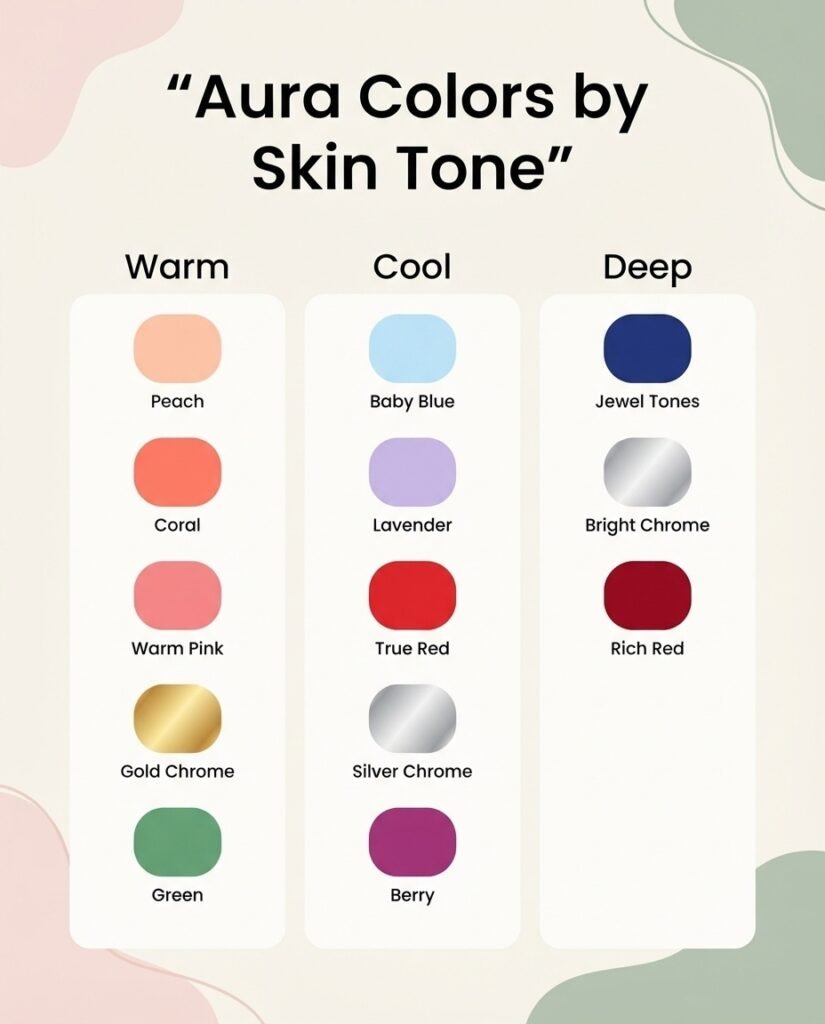
A tiny styling secret that makes a big difference. Warm-toned skin tends to glow with peach, coral, warm pink, gold chrome, and green auras. Cool-toned skin often looks amazing with baby blue, lavender, true red, silver chrome, and berry. Deeper skin tones can carry bold jewel auras, bright chrome, and rich reds beautifully, and honestly look stunning in colors lighter shades wash out. If you are not sure, a milky white base with almost any soft accent is universally flattering, which is exactly why it went viral.
You Can Absolutely Do This
Here is what I want you to take away. Aura nails look like a skill. They are actually a shortcut disguised as a skill, because the soft blur that seems so advanced is the most forgiving thing in nail art. Pick one design from the 15, pick the sponge method if you are brand new, prep properly, blend in thin layers, and seal it well. Do it safely if you are using gel, and remove it kindly.
Your first set will teach you more than any tutorial. Your third set will look like the Pinterest pin. Now go pick your color. I already know which one you saved first.