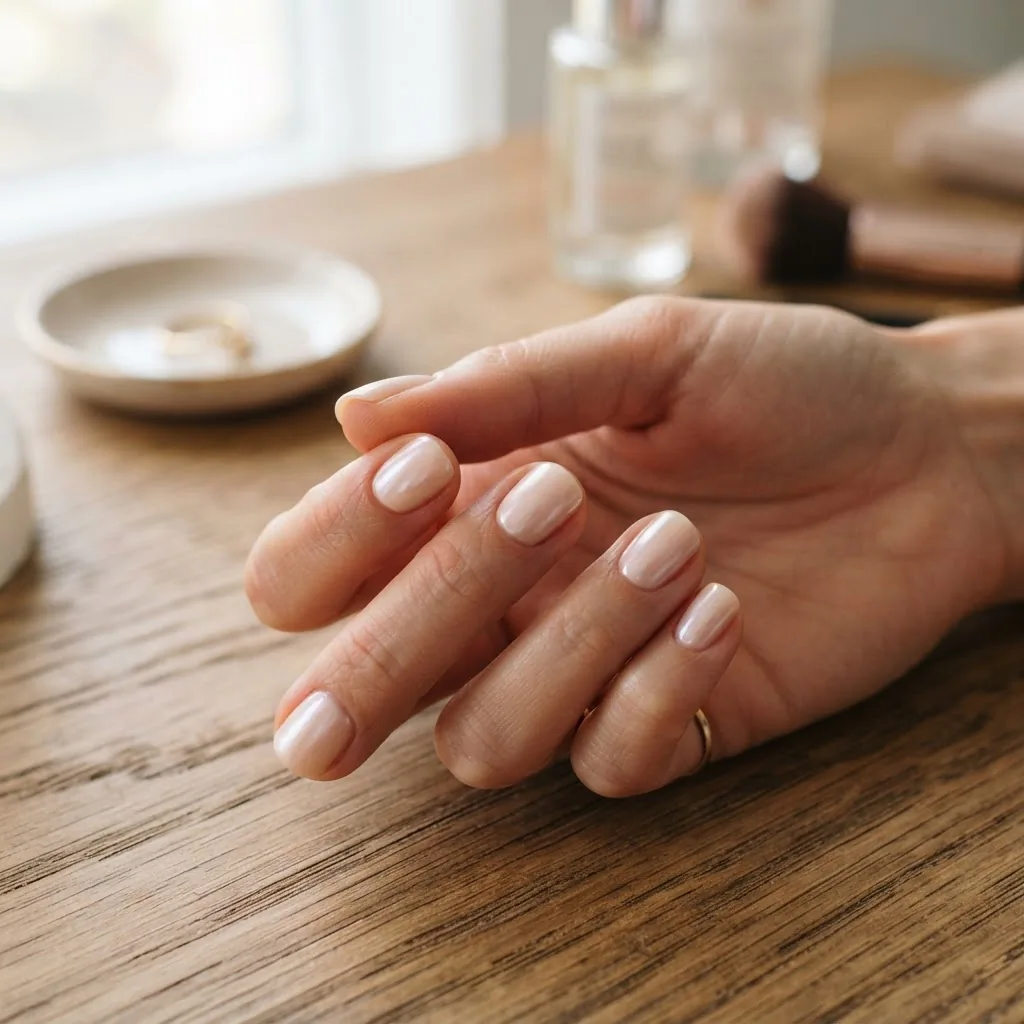
20 Glazed Donut Nails to Copy (Even If You’re a Beginner)
Let me tell you where I fell in love with glazed donut nails. It was not in a salon. It was at my kitchen table in Chicago, the same table where I taught myself nail art one wobbly dot at a time during a very boring internship years ago. The first time I rubbed pearl chrome over a milky nude base and watched it turn into that soft, lit-from-within shine, I actually gasped. It looked like something I had no business making. And that is exactly why I need you to hear this: if I can do this after a 10-hour workday with tired hands, you can absolutely do it too.
Glazed donut nails are that frosted, glossy, pearly finish that looks like the sheen on a fresh donut. They have been all over Pinterest and your feed for years now, and they are not going anywhere. So I pulled together 20 versions to copy, from the classic milky nude to moody chrome and cozy mocha, and I am walking you through how each one actually gets made. No gatekeeping, no pretending it is instant. Just the real steps, the honest wobble warnings, and a few dupes for when you do not have a fancy kit.
First, What Makes a Nail “Glazed Donut”
The look started with Hailey Bieber. If you want the full backstory, Glamour has a lovely piece on how her nail artist Zola Ganzorigt created the very first glazed donut set at the 2022 Met Gala, almost as a last-minute experiment with chrome powder over a sheer white base. What started as a one-off is now a four-year-strong staple, and in 2026 it has shifted toward shorter, more natural shapes and softer neutral shades, which is honestly great news for beginners.
The recipe is simple to say and a little trickier to master. You need a sheer or milky base color, then a thin layer of pearl or aurora chrome powder rubbed on top, then a glossy top coat to seal it. That chrome layer is the whole magic. It is what turns a plain nude into that iridescent, wet-glass finish. Once you understand that formula, every single design below is just a color swap.
The 20 Glazed Donut Nails to Copy
Here are your 20 to save and recreate. I have grouped them so you can find your vibe fast.
The classic and neutral family
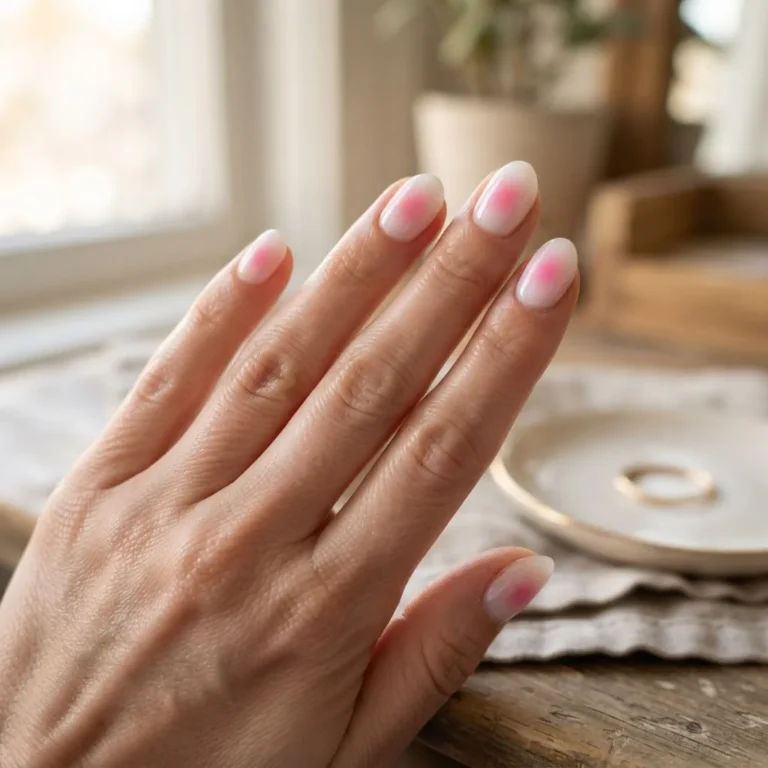
- Milky nude glaze. The original. A sheer white-nude base with pearl chrome. Goes with everything, flatters most skin tones, and is the most forgiving to do.
- Warm beige glaze. A touch warmer than the classic, gorgeous on medium and tan skin tones.
- Clean pink glaze. A soft baby-pink base under pearl chrome, very fresh and bridal.
- Cool porcelain glaze. A slightly bluer white for fair skin, giving an almost glass-like effect.
- Sheer clear glaze. Chrome straight over a clear base for the most natural “my nails but glowing” look.
The cozy and warm-toned family
- Mocha glaze. A soft brown base with pearl chrome. This one is huge right now and looks so expensive.
- Cinnamon glaze. A warmer, redder brown for fall.
- Caramel glaze. Golden-brown base with a gold-leaning chrome for a honey finish.
- Toffee French glaze. A nude nail with a mocha glazed tip instead of white.
The moody and bold family
- Cherry red glaze. Deep red base with pearl chrome on top, glossy and rich.
- Chocolate cherry glaze. A darker berry-brown for a vampy version.
- Navy glaze. Dark blue base with a blue-gold chrome for that “mermaid” moodiness.
- Espresso glaze. Nearly-black brown, dramatic and elegant.
The soft pastel and playful family
- Lavender glaze. Pale purple under pearl chrome, dreamy and spring-ready.
- Sage glaze. Soft muted green, unexpected and pretty.
- Butter yellow glaze. On-trend soft yellow with a glazed finish.
- Peach glaze. Warm and sunny, great for summer.
The elevated twist family
- Glazed French. Classic French tips with chrome dusted over the whole nail so the tips glow.
- Glazed chrome ombre. Chrome concentrated at the base or tip, fading out.
- Glazed accent nail. Neutral polish on four nails, one full glazed statement nail. The easiest way to dip a toe in.
Save the two or three that make you go “oh, that one.” Then let’s make it.

How to Actually Do Glazed Donut Nails (The Beginner Walkthrough)
I am going to give you the gel method first because it gives the most mirror-like shine, then a no-lamp version right after. Do not skip the prep. I know it is the least fun part, but prep is genuinely where your manicure lives or dies.
Step 1: Prep like you mean it. Push back your cuticles gently, do not cut them. The American Academy of Dermatology is very clear that cutting your cuticles removes a natural seal that protects against infection, so please just push and leave them be. Lightly buff the shine off the nail surface, wipe with a bit of alcohol or a nail dehydrator, and make sure your nails are squeaky clean and dry. Chrome hates oil, so this matters more than usual.
Step 2: Base coat, then cure. Apply a thin gel base coat and cure it under your LED or UV lamp per the bottle’s timing, usually 30 to 60 seconds. Thin is the word of the day. Thick layers cause bubbling, wrinkling, and that dreaded uncured goo.
Step 3: Your color, thin coats, cure each one. Two thin coats of your sheer base color, curing between each. For a milky look, sheer builds up more evenly than one thick swipe.
Step 4: No-wipe top coat, cured. This is your chrome canvas. Apply a no-wipe top coat and cure fully. Here is the pro tip that saves beginners: the surface needs to be smooth and non-sticky for chrome to grab. If it feels tacky after curing, wipe it gently with a little alcohol until it is smooth. Chrome over a sticky layer goes patchy and dull every time.
Step 5: Rub in the chrome. Dip a soft eyeshadow applicator or a silicone chrome tool into a tiny amount of powder. A little goes a shockingly long way. Rub it firmly onto the nail in small circles until it turns mirror-shiny. Buff off the excess dust with a soft dry brush.
Step 6: Seal it. One thin layer of no-wipe top coat over everything, capping the free edge (that means swiping a little along the very tip of the nail). Capping is what stops early chipping. Cure, and you are glazed.
No Lamp, No Chrome, No Problem: The Budget Dupe
Not everyone owns a gel setup, and you truly do not need one to fake this. Olive & June has a genuinely clever no-chrome dupe that gets the glazed effect using a shimmery shade plus a super glossy top coat, no powder required. The finish is a little softer than real chrome, but for an everyday glow it absolutely reads as glazed.
If you want a bit more shimmer with regular polish, layer a sheer pearl or “aura” topper over your nude base, then finish with the glossiest top coat you own. The gloss is doing a lot of the work here, so do not skimp on it. This is genuinely how I recommend most beginners start, because you build confidence before spending money on a lamp.

Short Nails and Different Shapes
Good news: glazed donut nails might look better on short nails. The 2026 version of this trend leans short, rounded, and squoval, which is the most natural and wearable shape. If your nails are short, keep the base shade on the sheerer, milkier side so the nail looks longer and cleaner. A high-gloss finish on a neat short nail looks quietly expensive, not fussy.
For almond and coffin shapes, you can go a little bolder with color and chrome intensity since there is more surface to catch the light. Whatever your shape, file in one direction rather than sawing back and forth, which helps prevent splitting and peeling at the tips.
Where Beginners Go Wrong (And How to Fix It)
Let me save you my early mistakes.
Patchy, dull chrome. Almost always because the top coat underneath was sticky or the nail had oil on it. Fix: cure fully, wipe smooth with alcohol, and make sure your nail was clean before you started. Rub the chrome a little more firmly than feels natural.
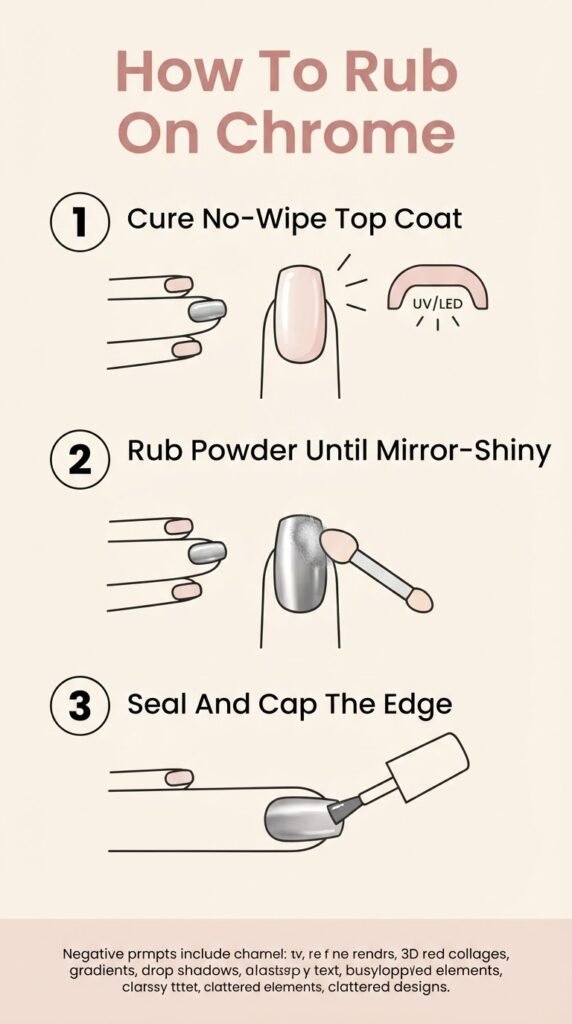
Chrome fading or dulling after a day. Usually the sealing top coat is missing or too thin. Chrome is fragile and must be sealed. Cap that free edge.
Flooded cuticles and lifting. You got polish or gel on the skin. Leave a tiny gap around the cuticle and sidewalls. Product touching skin is the number one cause of early lifting.
Bubbling or wrinkling. Layers were too thick, or the previous coat was not cured. Go thinner and cure fully. Patience beats speed here every single time.
Smudging on the no-lamp version. Regular polish needs real dry time. Give each coat several minutes and resist touching. I have ruined more air-dry manis by rushing than I care to admit.

Keeping Your Nails Healthy and Removing It Safely
Here is where I get a little serious, because I care about your actual nails, not just this one manicure.
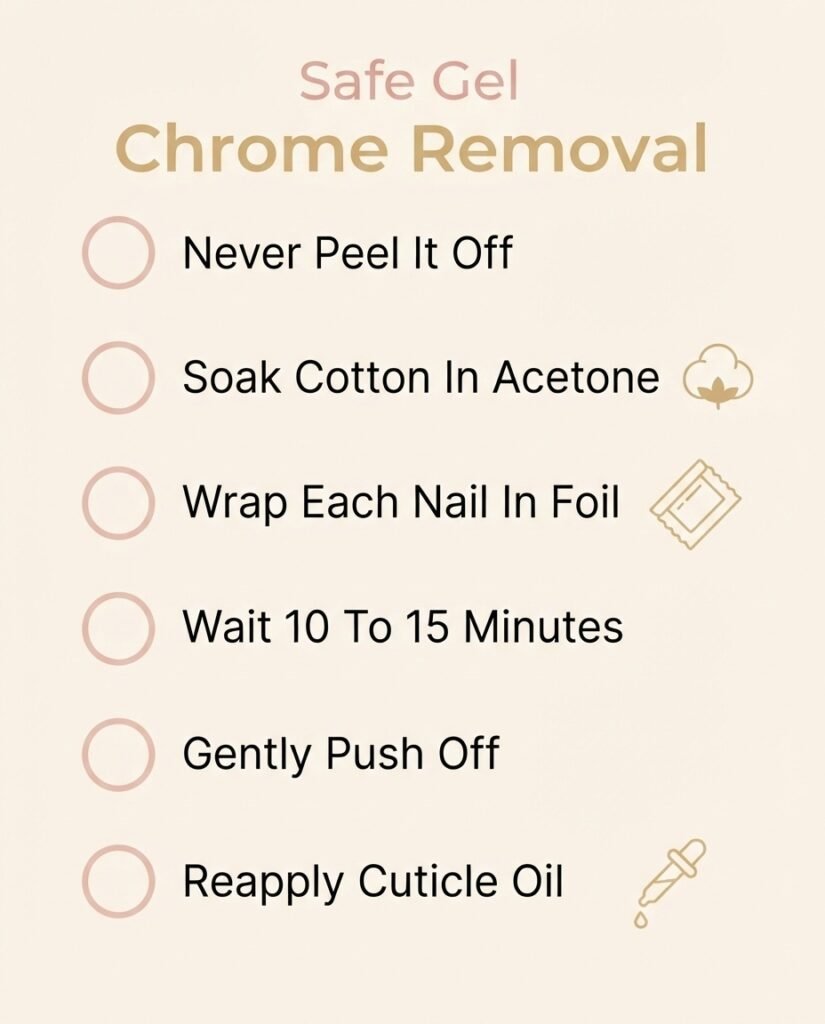
The AAD’s dermatologist guidance on gel manicures is worth reading in full, but the headline is this: gel and chrome can be hard on natural nails over time, so give them breaks, keep them moisturized, and never peel your gel off. Peeling takes layers of your natural nail with it. To remove gel safely, soak cotton in acetone, wrap each nail in foil, wait about 10 to 15 minutes, and gently push off the softened product. If it resists, wrap again. Never force it.
Two honest safety notes. First, the ingredient HEMA in many gels can trigger a contact allergy with repeated skin exposure, which is exactly why keeping product off your skin matters and why patch testing a new gel is smart if you have sensitive skin. If you ever notice itching, redness, or lifting with skin irritation, stop and see a dermatologist. It is worth understanding that nail cosmetics do not require FDA pre-market approval the way drugs do, so reading ingredient labels and buying from reputable brands is on us as the user.
Second, the lamps. A widely cited 2023 study found that UV nail-dryer light damaged DNA and caused mutations in cultured cells, which understandably alarmed a lot of people. It is worth keeping in perspective, though. That research was done on cells in a dish, not on people, and cancer experts at MD Anderson describe the real-world risk from occasional gel manicures as low while still recommending simple precautions. I put fingerless UV gloves on or dab mineral sunscreen on my hands before curing, and I think that is a sensible middle ground. Not fear, just care.
Your Turn
Pick one design from the 20 above. Just one. I would genuinely start with the milky nude glaze or a single glazed accent nail, because they are the most forgiving and they build your confidence fast. Prep well, keep your layers thin, seal your chrome, and be patient with the first wobble. You are learning a real skill, and real skills come with a learning curve. That is not failure, that is just Tuesday.
Come back and tell me which one you tried. I am always rooting for you from my little Chicago nail lab, and I promise the day you rub on that first perfect chrome layer, you will gasp too.