How to Do a Gel Manicure at Home (Without Ruining Your Nails)
Let me tell you about the first time I tried gel at home. I had exactly the kind of nails you would expect from someone who had never done it before: four good fingers and one thumb that looked like it had a different idea about what shape nails should be. The gel on my pinky peeled off in a sheet by day three, and I did not understand why. I had followed the steps. I had cured everything. I thought I had done it right.
What I did not know then, and what I want to save you from learning the hard way, is that a gel manicure at home is about 70% prep and about 30% everything else. Most beginners (myself very much included) rush the prep because it is the unsexy part, and then wonder why the color part did not hold. Once I understood that, everything changed.
This guide is written for you if you have been saving gel nail photos on Pinterest for months but have not tried it yet. It is also for you if you have tried it once and it lifted by day four and you blamed yourself. There is nothing wrong with your hands or your steadiness or your taste. There is just a bit of technique to learn, and I am going to walk through all of it, including the parts most guides skip.
What You Actually Need to Get Started
Before we talk technique, let us talk tools. You do not need a $200 professional kit to get a great result at home. You do need a few specific things, and skimping on some of them will cost you later.
The non-negotiables are a UV or LED nail lamp, a gel base coat, one or two gel color polishes, a gel top coat, a nail file in around 180 grit, a soft buffer block, a cuticle pusher (the rubber-tipped kind is more forgiving for beginners than metal), lint-free nail wipes, a bottle of isopropyl alcohol at 70% or higher (or a dedicated nail cleanser), and either nail foil wraps or nail clips for removal later. A nail dehydrator is not strictly required by every system, but I recommend it, because it removes the last traces of oil and moisture from the nail plate and gives your gel base coat a much better grip.
For a starter lamp, a quality LED lamp that outputs at least 36 watts is going to serve most beginners well. LED lamps cure soak-off gel in 30 to 60 seconds per layer for most formulations, compared to about 2 minutes per layer under a UV lamp. Always check the specific instructions for whichever gel brand you buy, because cure times genuinely vary between products and pigments, and darker shades can sometimes need a few extra seconds to cure fully.
Budget kit range to expect: a decent beginner set including the lamp, base, top coat, and a couple of colors typically runs around $35 to $60.
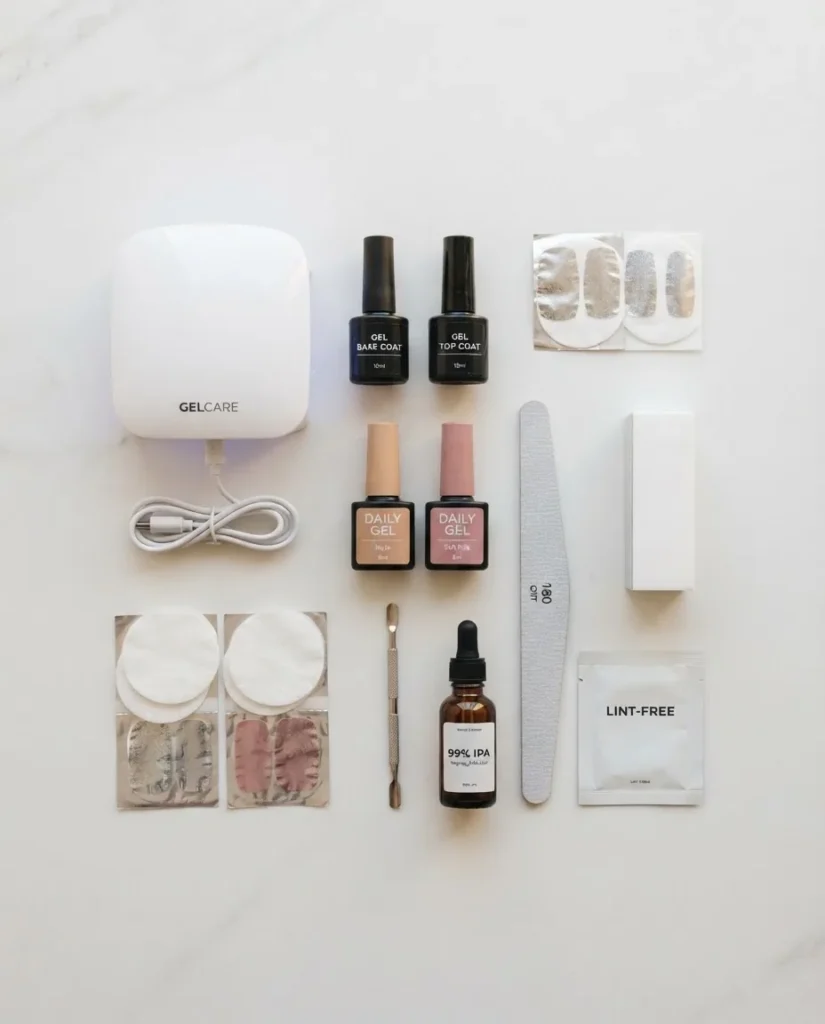
Mid-range kits from more established brands tend to run $60 to $85. You do not need the premium end to start, but you do want a kit with a lamp that is actually compatible with the polish included.
Before Anything Else: The Damage Question
I want to address this directly, because it was my biggest fear and I know it is probably yours too.
Gel does not ruin your nails by existing on them. What causes damage is almost always improper removal, specifically peeling or picking gel off the nail plate, which pulls layers of your natural nail with it. When gel manicures are applied and removed correctly, board-certified dermatologists at the American Academy of Dermatology note that gel nails can cause some brittleness or dryness but are more flexible and less damaging than acrylic nails, and that proper technique makes a significant difference in nail health outcomes.
The other thing that matters is how much you buff the nail plate during prep. Buffing is necessary to create adhesion, but you need very light pressure with a fine-grit buffer, not aggressive filing into the nail plate itself. More on that in a moment.
The short version: if you prep correctly and remove correctly, gel at home is something most people can do without meaningful nail damage. I will tell you exactly how to do both.
The Part That Actually Determines Everything: Nail Prep
Here is what competitors’ guides usually say about prep: “file, buff, clean.” Here is what that actually means and why each part matters.
Step 1: Shape Your Nails First
Do not apply gel to nails that still need shaping.
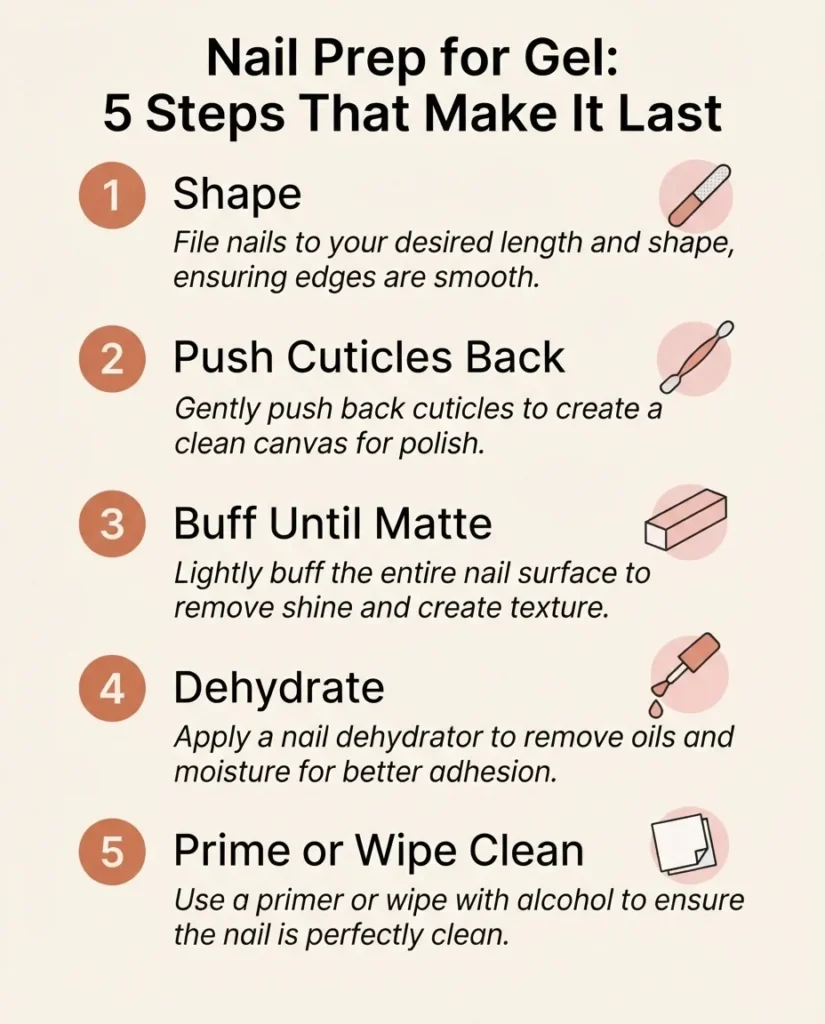
File your nails to the shape you want before any other step. A 180-grit file is ideal for natural nails. Coarser grits (100 to 120) are for acrylic or harder products and are too aggressive for natural nails. File in one direction rather than sawing back and forth, which can create small splits at the nail edge.
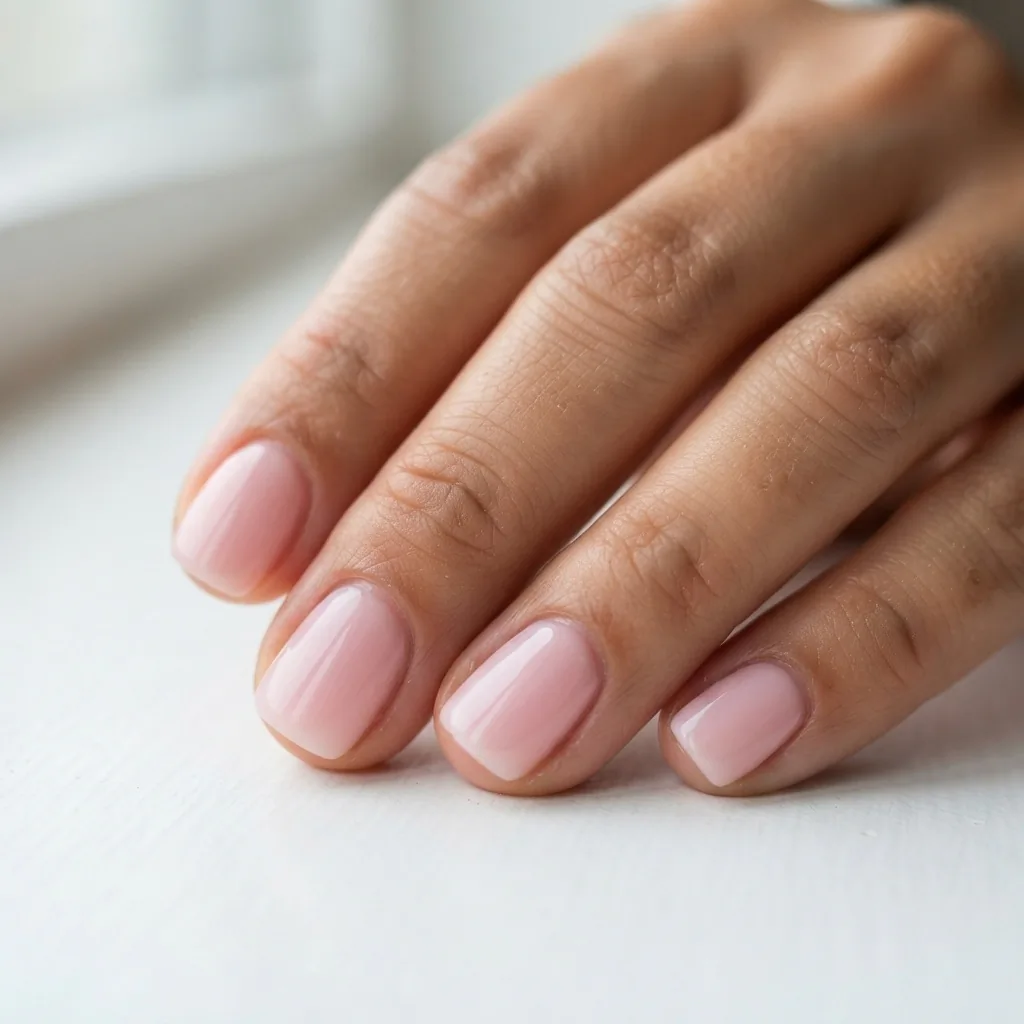
If you are working with short nails, a squoval shape (square with softly rounded corners) is genuinely the most flattering and the most structurally forgiving for beginners. It reduces the chance of edge chipping and photographs beautifully.
Step 2: Push Back (Do Not Cut) Your Cuticles
Cuticle oil or a cuticle softener first, give it a minute, then use a rubber-tipped pusher to gently push the cuticle back toward the base of the nail. The cuticle is not just an aesthetic concern here. If gel overlaps onto the actual cuticle or living skin, it will lift as that skin moves and grows. This is one of the top causes of early peeling.
A note about cutting: the AAD advises against cutting the cuticle, which is the thin layer of skin that seals the nail root. Cutting it can open a pathway to infection. Push, do not cut.
Step 3: Buff, But Do Not Overdo It
Use a soft buffer block to very lightly remove the natural shine from the nail plate. You are not sanding the nail flat, you are just breaking up the surface enough for the base coat to grip. You should be able to do this with almost no pressure. If your nails are noticeably thinner after buffing, you used too much pressure or too coarse a grit. Aim for a matte, haze-like finish across the whole nail surface.
Step 4: Dehydrate and Prime
This step is where most beginner guides lose the thread. After buffing, your nails have tiny amounts of oil and moisture still on them, because your body never stops producing it. A dehydrator (usually alcohol-based, applied with a brush or wipe) strips that away. Some systems also use a nail primer after this, which creates additional chemical adhesion between the nail plate and the base coat. Not every gel system requires both, so check your kit instructions. But at minimum, wipe the nail plate with a lint-free wipe dampened with isopropyl alcohol right before you begin applying gel, and do not touch your nails after that point. Even touching your own nail plate deposits enough skin oil to affect adhesion.
Applying the Gel: What “Thin Coats” Actually Means
“Apply in thin coats” is the most repeated and least explained instruction in nail guides. Let me fix that.
A thin coat of gel should be just enough to cover the nail with color, with no visible puddles, beads, or thick edges. If you can see the gel sitting on top of the nail like a dome, it is too thick. Thick coats do not cure properly all the way through, which causes wrinkling, bubbling, and the dreaded “still-damp” feeling even after the lamp. Thin coats are also why gel lasts: they cure to a completely solid, flexible film rather than a soft, partially-cured layer that pops off easily.
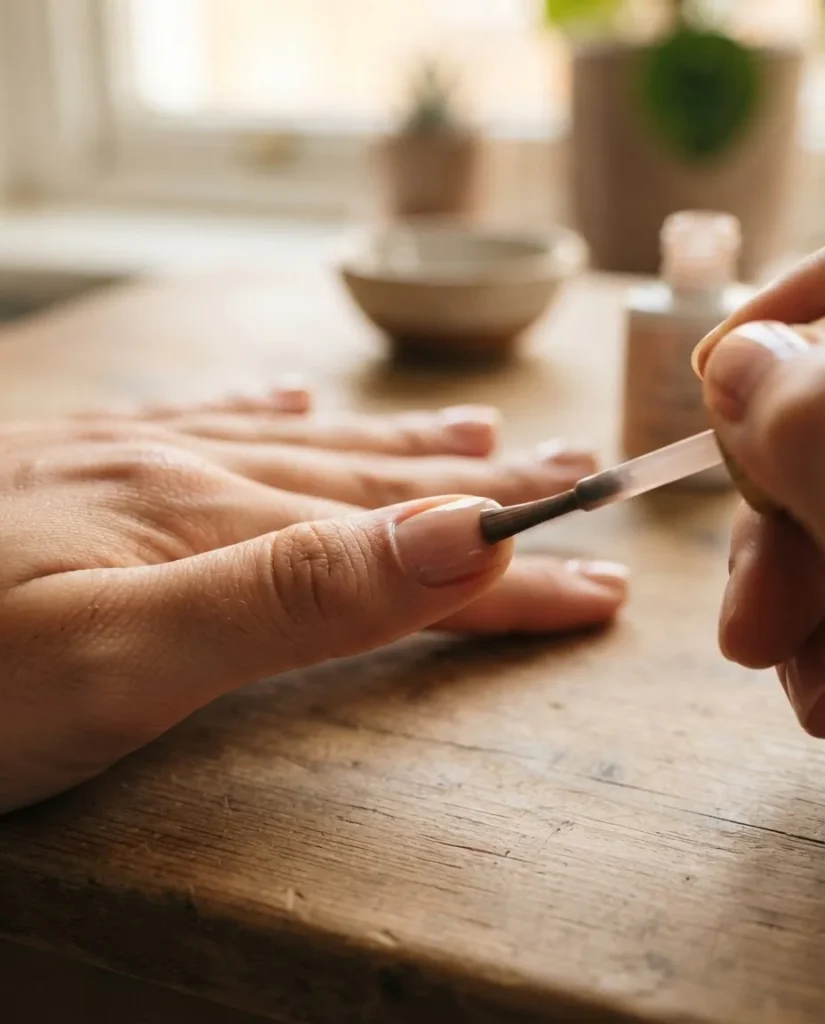
Step 5: Apply Your Base Coat
Load the brush with a small amount of gel base coat. Starting in the center of the nail, sweep toward the tip. Then do each side. Leave a tiny gap, roughly a millimeter, between the gel and your cuticle and sidewalls. This is the most important spatial skill to develop, because gel that touches the skin will lift almost immediately as the skin moves. It does not have to look like a ruler-perfect gap. A visible sliver of bare nail at the edges is all you need.
Now cap the free edge. This means running the brush lightly along the very tip of the nail to seal the edge. Uncapped edges are one of the main entry points for lifting and peeling, especially on shorter nails.
Cure under your lamp for the time specified for your product. For most LED lamps with compatible gel, this is 30 to 60 seconds.
Step 6: Apply Your Color Coats (Usually Two)
Same technique as the base coat: thin, edge gap, cap the tip, cure each coat. Two thin coats give you the depth of color you want without the thickness that causes problems. If your color is still looking sheer after two coats, a third very thin layer is fine, but resist the urge to just pile on a second thick one.
After curing your color, you will notice the nail feels solid but looks a little dull. That is normal. The inhibition layer, which is the slightly tacky surface left on gel after curing, is supposed to be there. It is what the next coat bonds to. Do not wipe it off between color coats.
Step 7: Apply Your Top Coat, Cure, and Wipe
Apply your gel top coat in the same thin, edge-capping technique. Cure it fully. After curing your top coat, now is the time to wipe the inhibition layer away. Use a lint-free nail wipe dampened with isopropyl alcohol and swipe each nail firmly. This is what gives you the glassy, smooth finish you see in photos. Do not skip it or use a cotton ball, which can leave fibers behind. After wiping, your nails should be hard, shiny, and fully cured.
Do not apply cuticle oil until after you have wiped the inhibition layer. Once you have, cuticle oil is your best friend and should be applied daily around the cuticle area throughout your wear time.
The UV Lamp Question: What You Should Know
UV/LED lamp safety comes up in almost every beginner conversation about gel nails, and I think it deserves a straight answer rather than a brush-off.
Nail curing lamps, whether labeled LED or UV, emit ultraviolet radiation, primarily UVA. Research published in the journal Photodermatology, Photoimmunology and Photomedicine has quantified the UV output from these devices, and as Harvard Health Publishing notes, LED nail lamps are estimated to be at least 11 times safer in terms of UV exposure than overhead ambient UV exposure, with the risk from a gel manicure every two weeks probably not high enough to cause concern for most people. That said, the research is ongoing. A 2025 systematic review in PLOS ONE found in-vitro evidence that UV nail lamp radiation can induce DNA damage in cells, and the authors recommended further long-term population studies.
The practical takeaway, which aligns with what the AAD recommends: apply a broad-spectrum SPF 30 or higher sunscreen to your hands before you begin curing, or use fingerless UV-blocking gloves that expose only the nails. This is an easy, inexpensive step that significantly reduces your UVA exposure during the curing process. The FDA’s nail care products guidance also notes the importance of following labeled directions and paying attention to warning statements on nail products. Cure for the correct time per your product instructions and do not keep your hand in the lamp between coats.
Why Is My Gel Lifting? (Troubleshooting the Most Common Beginner Problems)
If your gel is not lasting, the culprit is almost always one of these things.
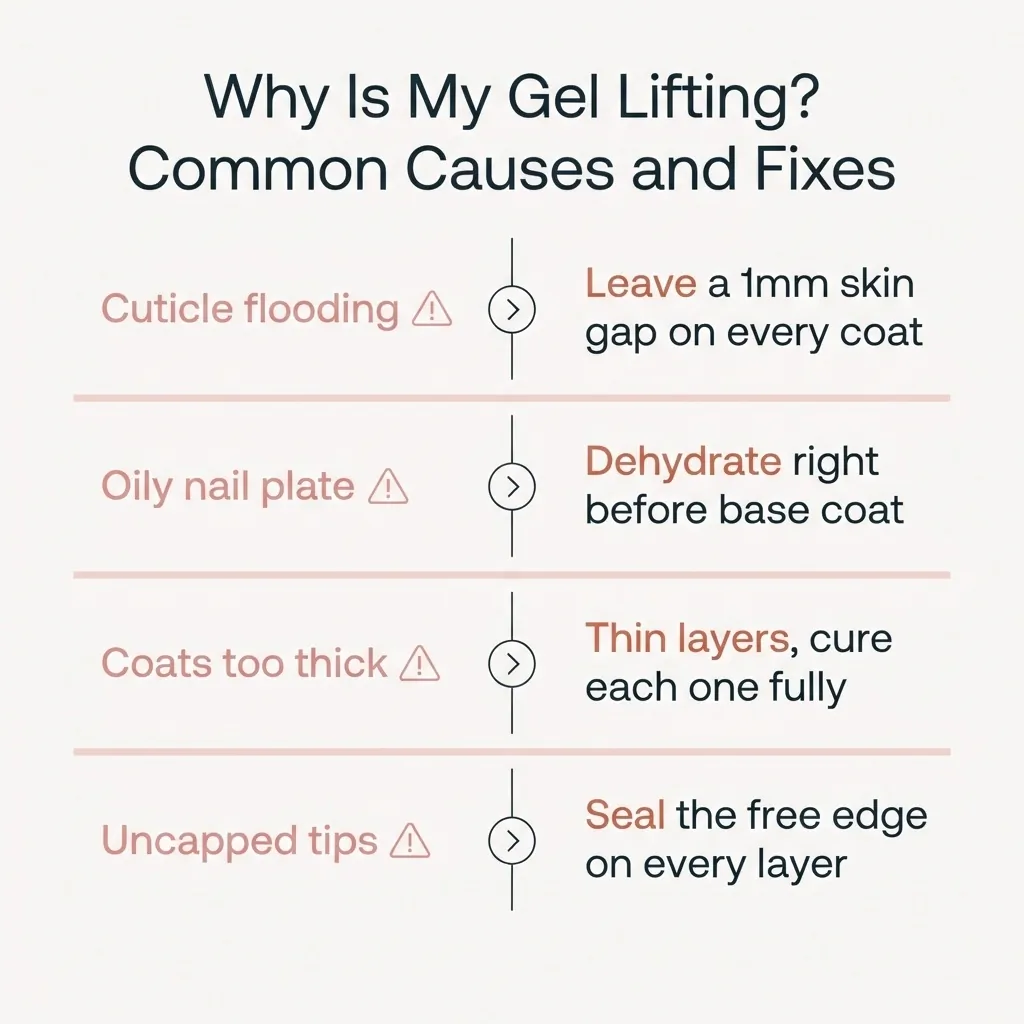
Lifting at the cuticle or sides: This is almost always caused by gel touching the skin (cuticle flooding), by oil on the nail plate before application, or by skipping the dehydrator step. Go back to your prep and be meticulous about the skin gap on your next try.
Peeling off in a sheet: A sign the gel did not bond to the nail plate. Usually happens when the nail plate was not buffed, was not dehydrated, or when the base coat was applied too thick and did not cure fully.
Bubbling or wrinkling in the surface: Thick coats cure on the outside before the inside, trapping air. Always thin coats, always cure each layer fully.
Still feels soft or sticky after curing: Either your lamp wattage is insufficient for the product, your cure times are too short, or your lamp and gel brand are not compatible. Check that your lamp is a real LED or UV lamp and that it outputs the wavelength your gel requires. Most soak-off gels cure at 365nm to 395nm.
Chips at the tip: You skipped capping the free edge, or your top coat wore through there first. Cap every single layer including the top coat.
About HEMA and Allergic Reactions: What Beginners Should Know
HEMA (2-hydroxyethyl methacrylate) is a monomer found in many gel polishes and is one of the more common causes of contact sensitization from gel products. Sensitization means that with repeated exposure to uncured gel on the skin, your immune system can develop an allergic response. Once you are sensitized, you can react to acrylates in lots of products, not just gel nails. This is not a reason to panic, but it is a reason to handle gel carefully.
The practical rules are: avoid getting uncured gel on your skin, wipe up any flooding immediately with a lint-free stick before curing, and if you want to be extra cautious, do a single-nail test on your first session and wait 24 hours to check for redness, itching, or irritation at the cuticle area. If you develop persistent redness, swelling, or itching around your nails with any gel product, stop using it and see a dermatologist. The FDA’s guidance on nail care products is a good reference for understanding how gel polish ingredients are regulated as cosmetics in the US.
Note that HEMA-free products exist and may be a good option for those with sensitivity, but HEMA-free does not mean acrylate-free. Other acrylates can also cause reactions in sensitized individuals.
How to Remove Gel at Home Without Wrecking Your Nails
This is the step that causes the most damage when done wrong, and it is genuinely simple when done right. The key rule is: you soak the gel off, you do not peel it or force it.
Lightly buff the shiny top coat to break the seal. You are just removing the gloss, not filing through layers. Then soak a small piece of cotton in pure acetone, place it directly on the nail, and wrap each fingertip with a small square of foil or a nail clip to hold it in place. Wait 10 to 15 minutes.
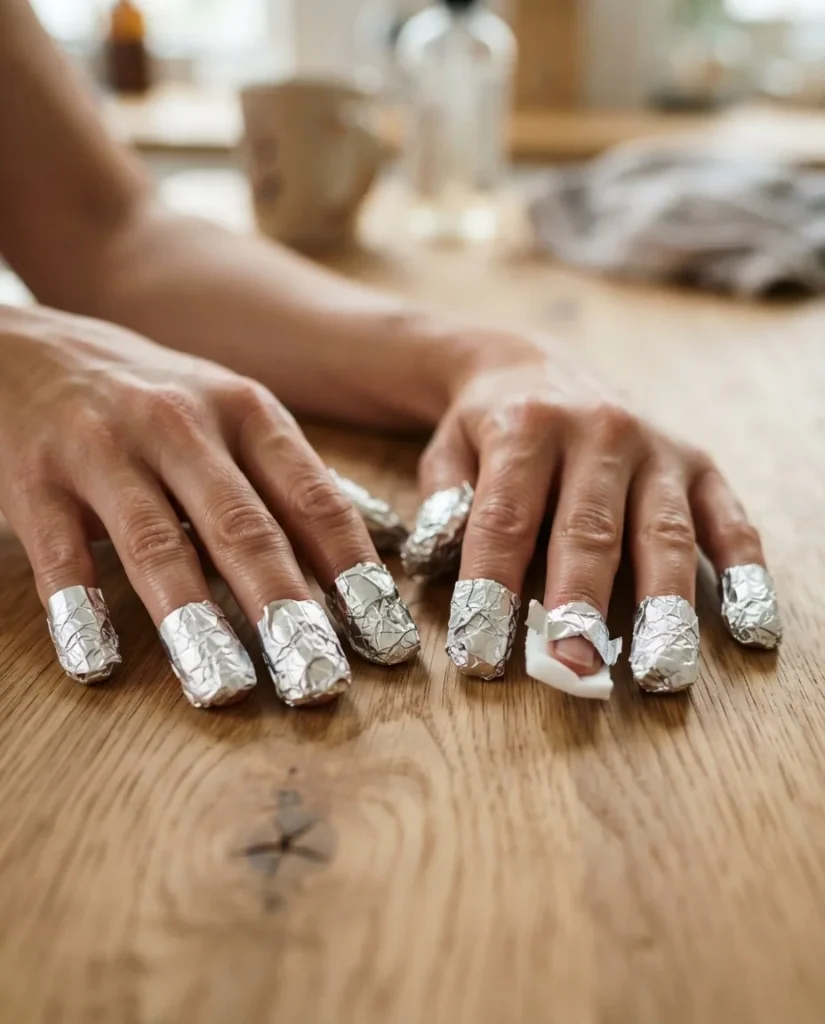
When you unwrap, the gel should have softened and will slide off with gentle pressure from a cuticle pusher or orangewood stick. If it is not releasing, rewrap for another 5 minutes rather than scraping harder.
After removal, your nails may feel a little dry or look slightly white. This is normal. Apply a generous amount of cuticle oil and a hand cream. The AAD recommends applying a moisturizing product to your nails and cuticles several times daily, especially after acetone removal, and giving nails a week of regular polish or going bare between gel sets if you notice your nails are feeling thin or flexible.
If you see lifting with discoloration, unusual colors under the nail, or signs of infection, do not re-apply product over them. See a doctor or dermatologist.
Tips That Are Especially Helpful for Short Nails
Short nails are not a limitation for gel. They are actually a great canvas for it because they are structurally stronger and less prone to breakage under gel product.
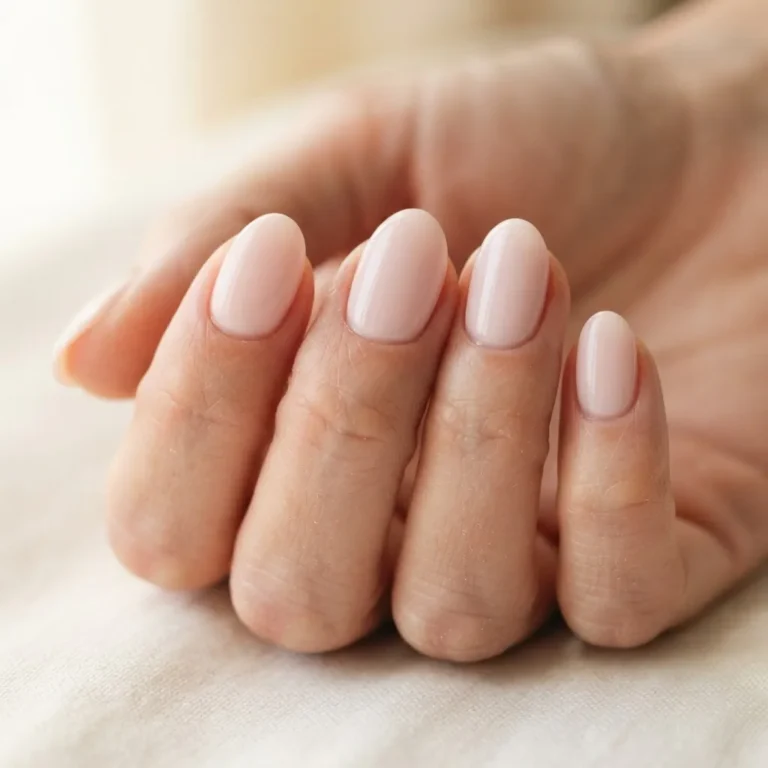
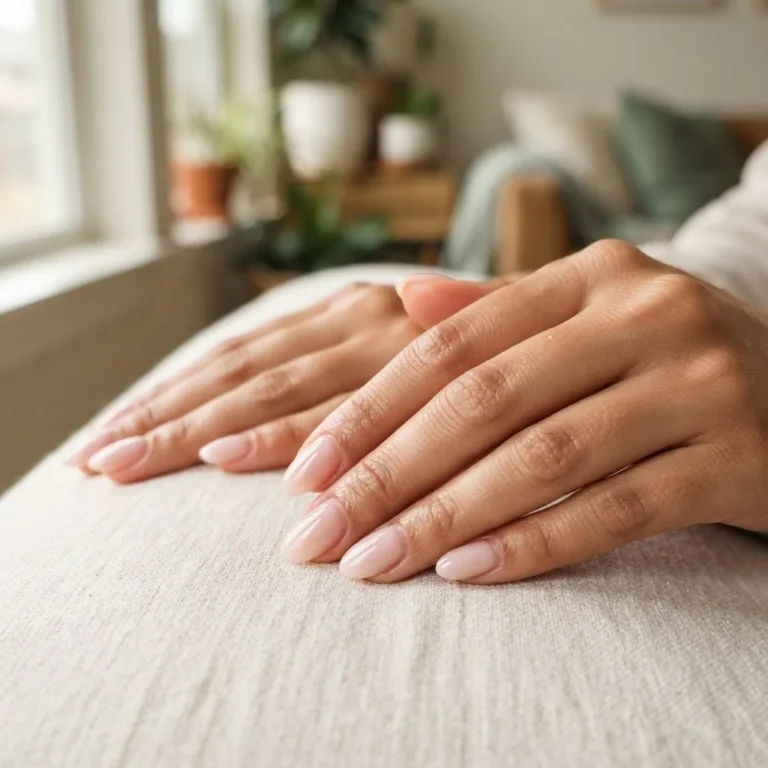
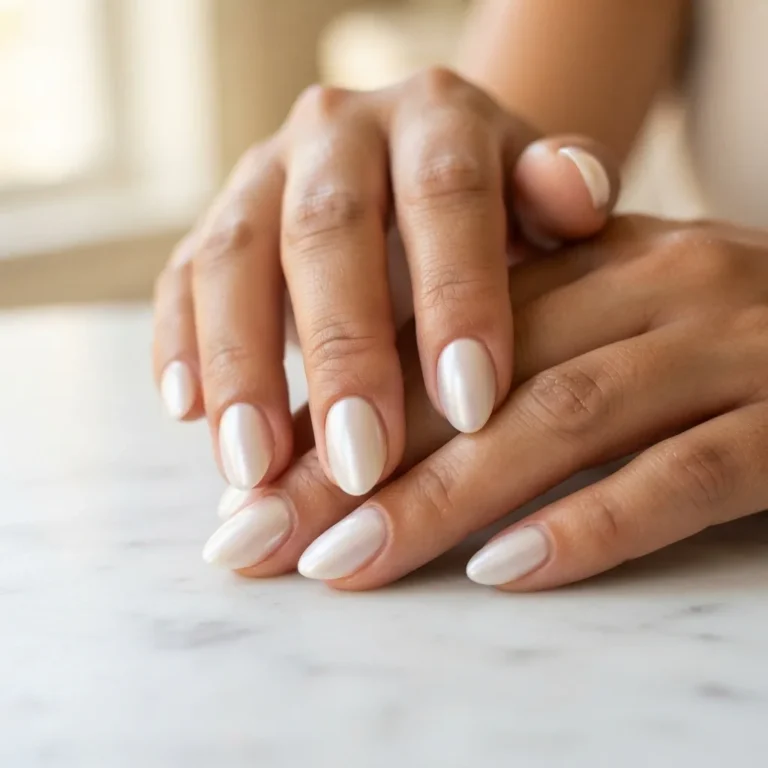
The most flattering shapes for short nails are squoval and soft round, both of which elongate the finger without adding length. For color, lighter shades and sheers (milky nudes, glazed-donut pinks, soft corals) tend to look proportional and polished. Jelly gel polishes, which are translucent and layerable, look incredible on short nails and are very forgiving for beginners because thin application looks intentional.
Capping the free edge matters even more on short nails because there is less surface for the gel to grip.
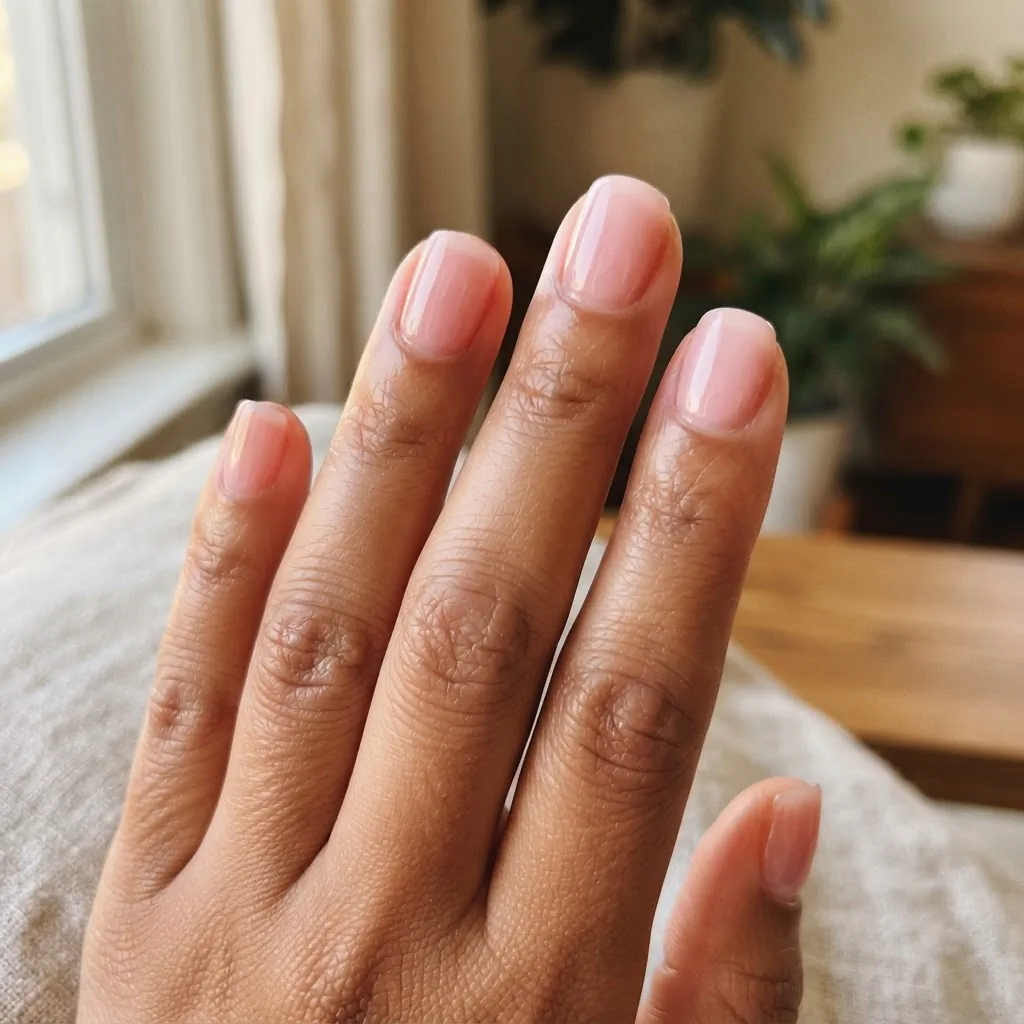
Be thorough with that tip-sealing step on every layer.
The Honest Part: What to Expect from Your First Attempt
Your first home gel manicure might be genuinely beautiful. It might be less beautiful but still wearable. Either way, it is not going to look exactly like a salon set, and that is perfectly okay and completely expected. The most common first-attempt issues are a slightly uneven cuticle gap (fixable with practice), one or two bubbles from a coat that was just a bit too thick, and maybe a tip or two that chips within the first week because the edge was not capped well enough.
None of those things mean you are bad at this. They mean you are learning, exactly like I was with my wobbly dots at that boring internship desk. The skill compounds fast. By your third set, you will have a feel for how thin is thin, how close to the cuticle you can go, and how to cap the tip without overshooting. Every imperfect set is just data.
If I can get this right after a 10-hour workday with a cheap beginner kit on my kitchen table in Chicago, you can get this right too. Keep your coats thin, respect the prep, soak off gently, and be patient with yourself. The mirror moment where you hold up your finished hands and genuinely love what you made? It is coming.