Squoval Nails 101: Shape, File, and Design From Scratch
I want to tell you something before we get into any of it. Squoval nails look intimidating in photos because the shape appears so deliberate and even, like it required a ruler and professional training. The reality is that squoval is actually the most forgiving shape you can file at home. I know that sounds backwards. But once I show you what is actually happening when you shape this nail, you will understand why it is my number one recommendation for anyone who is just starting to shape their own nails and for anyone who has been doing it for years and wants a shape that photographs beautifully with basically zero effort.
This is a full guide. We are covering what squoval actually is, why it works on so many different hand types, how to file it step by step without ruining your nails, ten designs that look incredible on this shape (from dead-simple to properly impressive), and the safety notes you actually need when you start adding gel or chrome into the mix. If you have been saving squoval nails on Pinterest and quietly assuming you could never pull it off at your kitchen table, this is the post that changes that.
What Even Is a Squoval Nail?
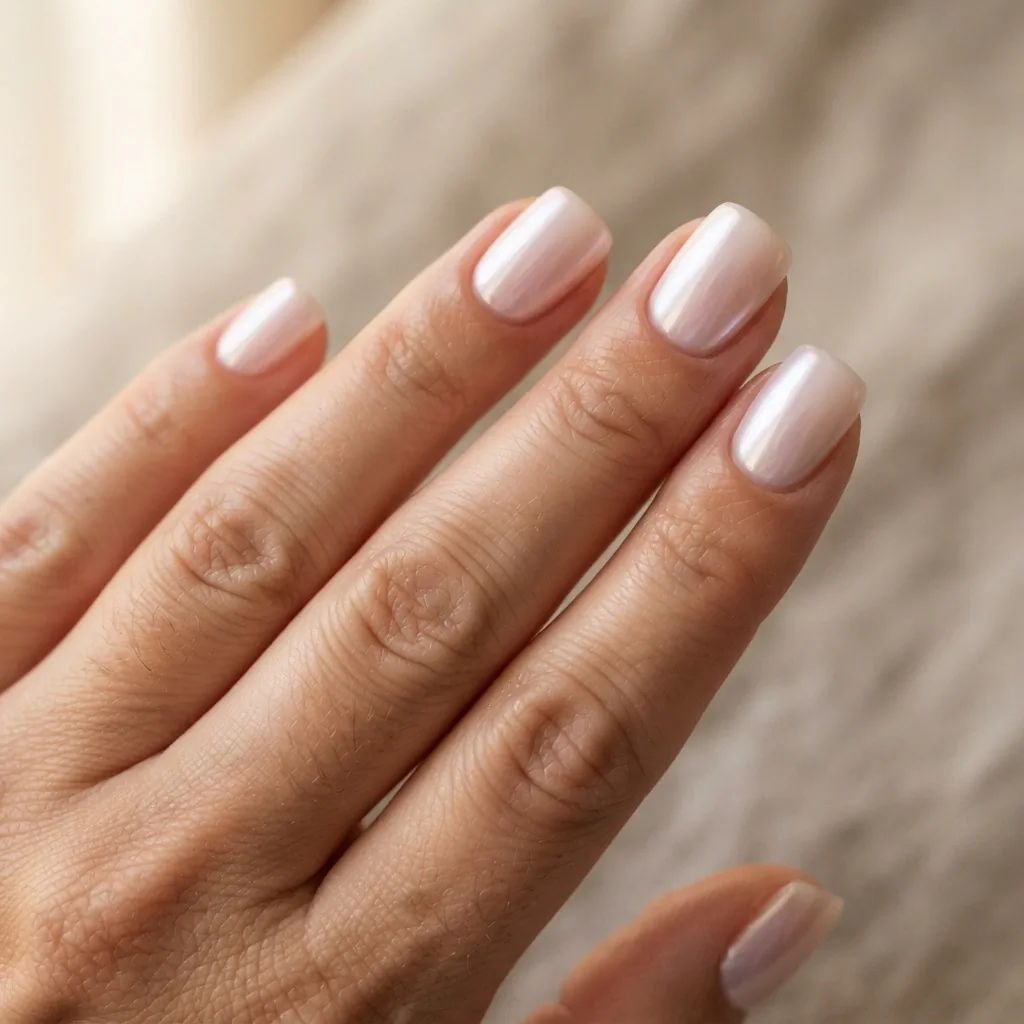
The name is a portmanteau of square and oval, and that is exactly what it looks like. A squoval nail has a flat, straight edge across the top, just like a square shape, but the corners are gently rounded instead of sharp. If you have ever filed your square nails and accidentally softened the corners a tiny bit, you have already done a squoval. It sits in the sweet spot where the clean, defined look of a square meets the soft, nail-bed-flattering curve of an oval, without committing fully to either.
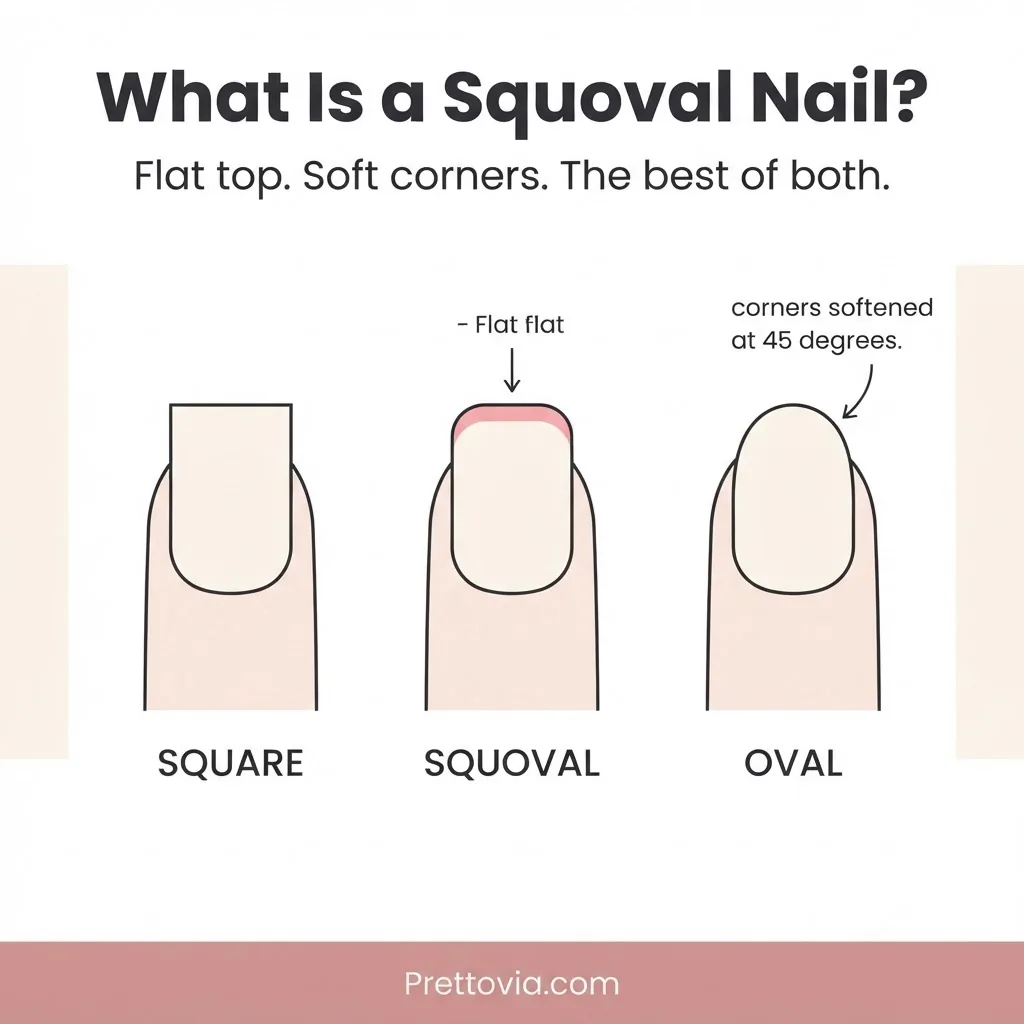
As Essie’s nail shapes guide explains it, squoval nails are flat at the top with curves at the sides, making them one of the most versatile shapes in terms of both wearability and aesthetic appeal. That versatility is not a coincidence. It is structural. The flat top gives nail art a clean, paintable canvas. The rounded corners reduce the snagging and corner-catching that makes square nails so prone to breaking in real daily life. And the overall silhouette works on short nails as well as longer ones, which is genuinely not something most shapes can claim.
Why Squoval Works on Nearly Every Hand Type
One of the reasons I come back to squoval again and again is that it does something rare: it flatters most hand shapes without requiring you to grow your nails long first. Here is how to think about it.
If you have long fingers and a narrow nail bed, squoval gives you just enough structure to look intentional without the drama of square corners. If you have shorter fingers, the softened corners create a slightly elongating illusion without the aggressive taper of an almond or oval shape. If you have wide nail beds (hello, my fellow people who can never quite commit to square because it makes their nails look wider), the gentle curve at the corners softens that effect just enough. And if you have naturally flat or very wide nails, the flat top balances the shape rather than drawing attention to the width.
OPI’s guide on how to find the best nail shape for your hands walks through how following the natural curve of your fingertip is a key starting point, and squoval is one of the shapes most aligned with how natural nails actually grow. That is a big reason why beginners find it easier to maintain than, say, almond or coffin, which require a lot more precision to keep looking intentional over time.
The one shape where squoval is a slightly trickier sell is very long, narrow fingers, where a full oval or almond can be more dramatic and flattering. But even then, a longer squoval looks sophisticated rather than blocky. It is an extremely hard shape to get wrong, which is exactly the point.
What You Need Before You Start
You do not need expensive tools to do this. I learned on a two-dollar emery board from the drugstore. But there are a few things that genuinely make the process easier and protect your nails while you work.
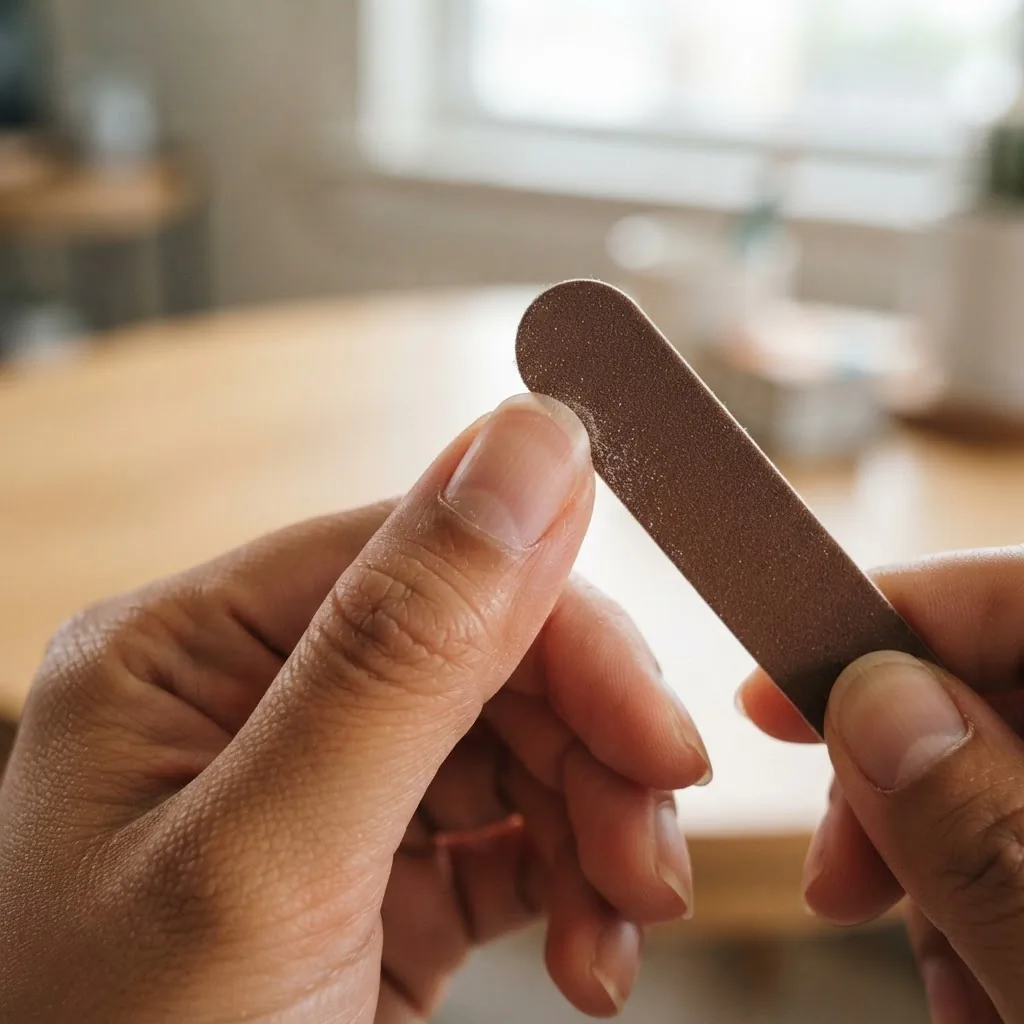
For your filing tools, you want a nail file with a grit of around 180 to 240 for natural nails. The grit number tells you how fine or coarse the surface is: the higher the number, the finer (and gentler) the file. A 240 grit file is smooth enough to shape natural nails without shredding the edge. Avoid anything under 150 grit on natural nails because those coarser grits are designed for acrylics and enhancement products, not your actual nail plate. A glass nail file is a lovely upgrade if you want to invest a little, because the very fine, consistent surface is genuinely gentler on natural nails and lasts a long time, but a standard 240 grit emery board does the job perfectly well.
You also want a small nail clipper if your nails need length adjustment before shaping, a cuticle pusher (a rubber or wooden one is fine), a cuticle oil or a rich hand cream, and your base coat and polish of choice for after. That is genuinely it.
One prep step people skip and really should not: make sure your nails are clean, dry, and free of any old polish before you start filing. Filing over polish or filing wet nails is harder to control and can cause uneven results. Do this on a clean, bare nail for the most predictable shape.
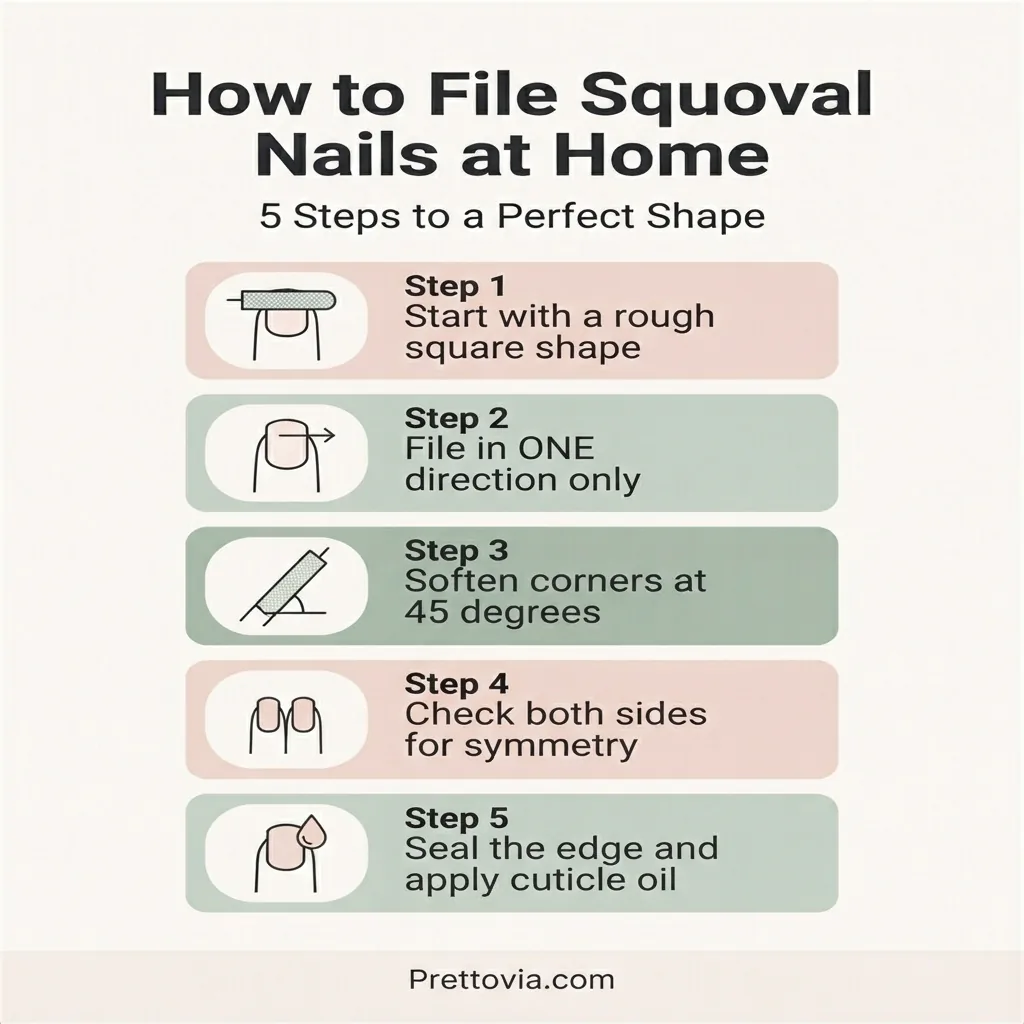
How to Shape Squoval Nails at Home: Step by Step
This is where most tutorials gloss over the detail that actually matters. Let me slow it down.
Step 1: Start with a rough square shape. If your nails need significant length reduction, use your clipper first to get them close to the length you want. Then file the top edge straight across to establish a clean, flat line. Do not worry about the corners yet. Just focus on getting that top edge level.
Step 2: File in one direction, not back and forth. This is the single most repeated piece of advice from dermatologists for a reason. As the American Academy of Dermatology recommends, filing back and forth in a sawing motion creates micro-tears and weakens the nail edge over time. Instead, file in one smooth stroke from the outer edge toward the center, lift the file, reposition, and repeat. On your left hand you will naturally file toward the right, and on your right hand you will naturally file toward the left. It feels slower at first but your nails will thank you.
Step 3: Soften the corners at a 45-degree angle. This is the actual squoval step. Hold your file at roughly a 45-degree angle to each corner and use a few short, smooth strokes to gently round the sharp edge. Byrdie’s filing guide, which includes technique guidance from a professional nail artist, notes that you should hold the file at a 45-degree angle at the corner and use smooth rounding strokes, not aggressive ones. You are not trying to create a full curve. You just want to take the pointy edge off while keeping the overall flat-top shape intact.
Step 4: Check for symmetry. This is the step beginners skip and then wonder why one side looks different from the other. After shaping, hold your hand up at eye level, palm facing you, and look at both sides of each nail. If one corner looks more rounded, go back and gently soften the other corner to match. Then flip your hand and check from the other side. Most beginner asymmetry comes from the dominant hand being more aggressive during filing, so your non-dominant hand’s nails often look squarer than the dominant one. Slow down on the dominant hand and you will close that gap quickly.
Step 5: Finish the edge. Once you are happy with the shape, do one or two very light strokes across the entire nail edge with the fine side of your file (or a buffing block at a fine grit) to smooth any roughness. Then wash your hands to remove nail dust, dry them, and apply a generous amount of cuticle oil. Cuticle oil is not just for looks. Filing creates a small amount of heat and friction, and the edges of the nail benefit from moisture before you apply any polish or base coat.
The Most Common Beginner Mistake:
Rounding too much and losing the flat top. If you look at your nail after filing and the top looks curved rather than flat, you have crossed from squoval into oval territory. There is no shame in this, it happens to everyone at first. The fix for next time is to re-establish that straight top edge first, then do only two or three very light strokes at each corner. Less is genuinely more with squoval. You can always take more off but you cannot put it back.
10 Squoval Nail Designs to Try Right Now
Here is where the fun starts. The flat top of squoval is genuinely one of the best canvases for nail art because it gives clean, even space for designs that would get lost on a curved tip. These ten looks run from “I can do this tonight with what I have” to “I want to try something new this weekend.”
Design 1: The Barely-There Glazed Look
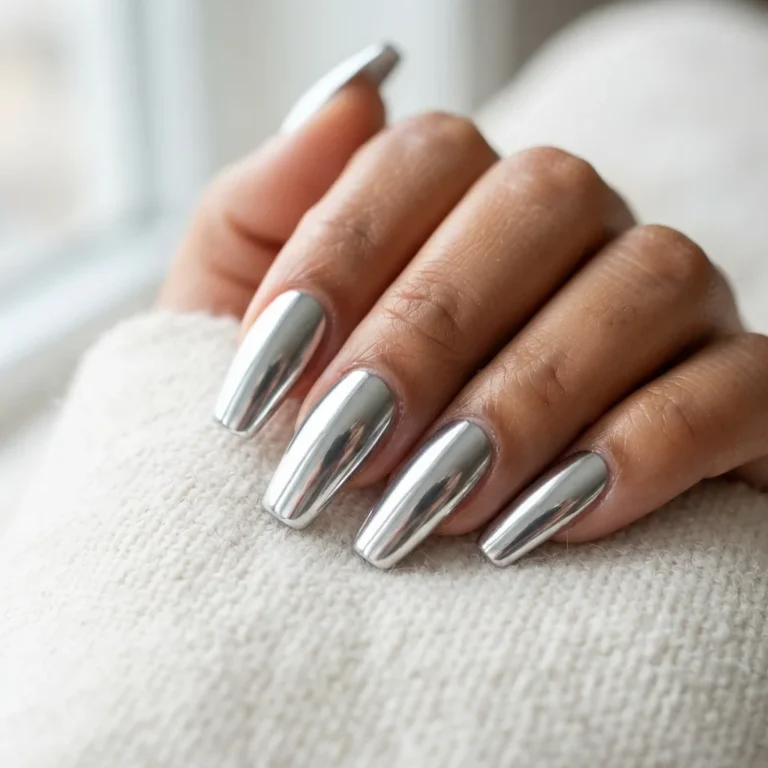
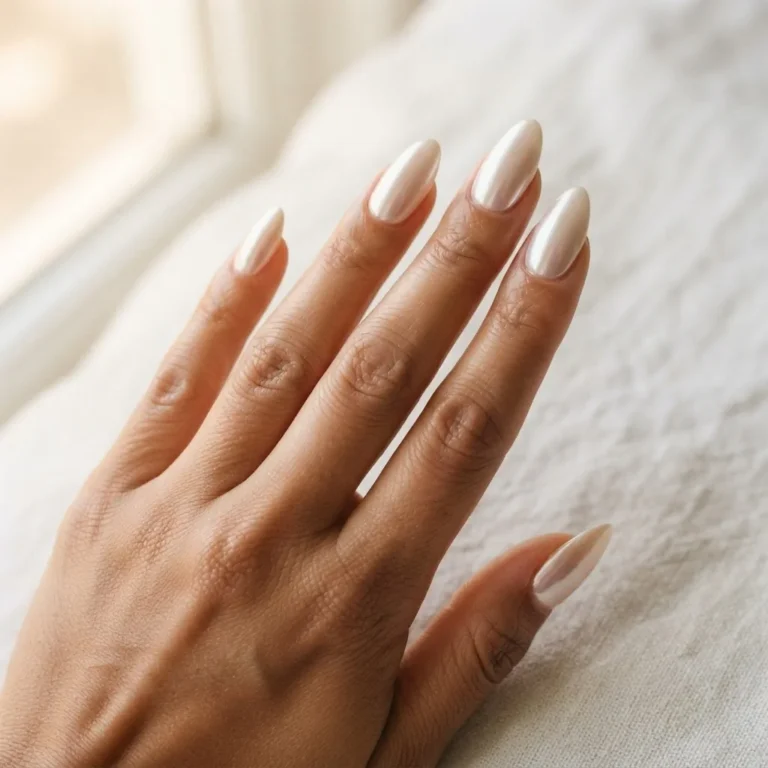
This is the squoval nail design that lives permanently on my phone. A sheer pink or milky nude base, finished with a chrome powder or an ultra-glossy top coat, gives you the glazed donut effect that has been all over Pinterest for two years and still looks fresh. The flat-top squoval makes the glossy reflection look more intentional than on a rounded tip. To recreate it at home, apply two thin coats of a sheer pale pink or milky white, finish with a high-shine gel or regular top coat (the shiniest one you own), and if you want the true chrome effect, pick up a chrome powder set from any beauty supply store. Press and rub the powder over a sticky gel base before curing and the reflection is genuinely stunning.
Design 2: The Modern French Tip
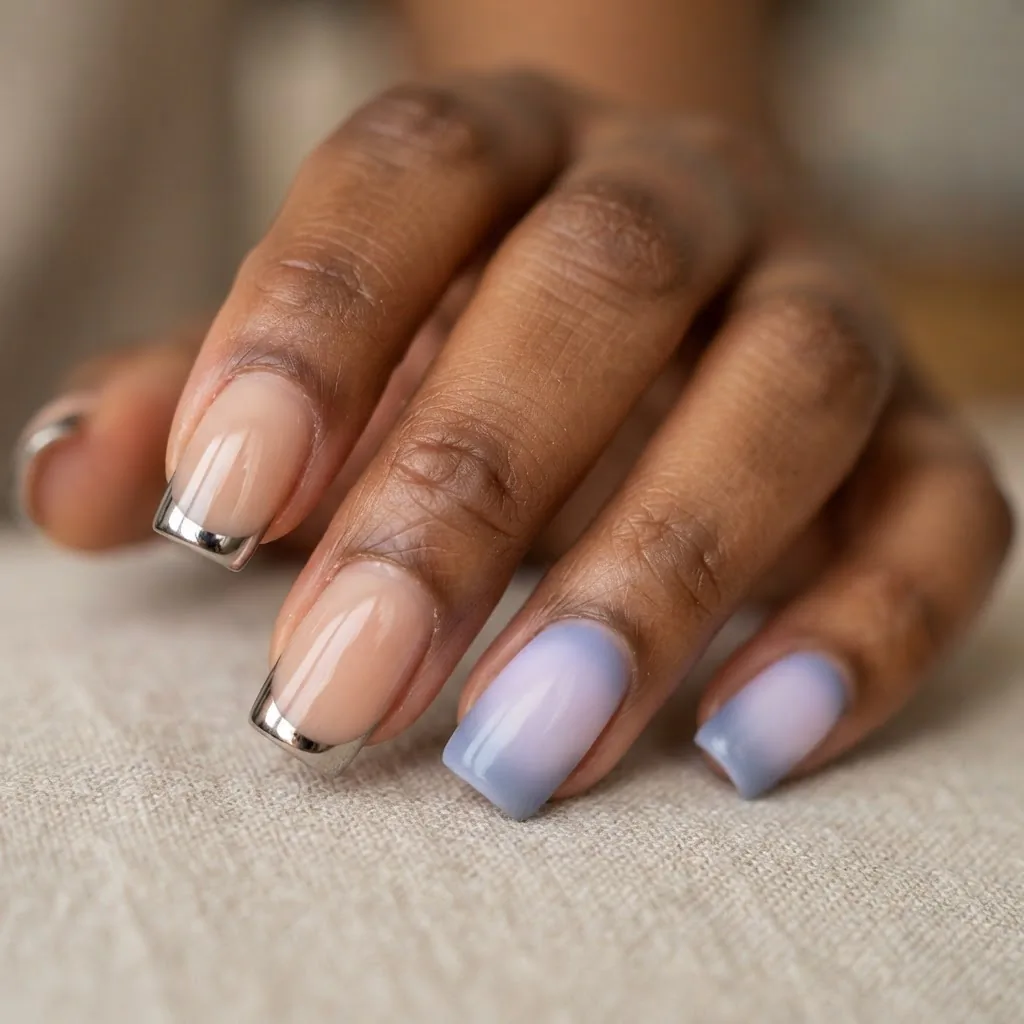
The classic French tip was practically designed for squoval. The flat top creates a clean, defined line that makes painting a white or colored tip much easier than on an oval shape, where you have to curve your stroke perfectly. For a more current take, try a nude base with a thin, crisp white tip, then buff over the tip with a silver chrome powder for a glazed French look. Or swap white for a soft mocha brown for the “dirty French” that has been trending heavily. Both look polished and intentional on squoval with very little effort.
Design 3: Solid Deep Minimalist
Sometimes the design is the color. A single coat of deep burgundy, forest green, or midnight navy on a clean squoval nail is one of the most elegant manicures you can do at home. The shape does the visual work. Focus your energy on a smooth application and a glossy top coat and the result looks genuinely salon-finished.
Design 4: Aura Ombre Nails
Aura nails, that soft diffused halo of color around the center of the nail, are one of the most beginner-friendly trends to recreate because the blurry, dreamy effect means imprecision is literally part of the look. Apply your base color, then dab a sponge or a small eyeshadow brush with a contrasting or complementary color in the center of each nail and press lightly. Blend the edges with a clean brush. Seal with top coat. The flat squoval shape makes the aura design look symmetric and intentional. Dusty pinks over creamy white, periwinkle over lavender, and lime over pale yellow are all combinations I have tested at my kitchen table and loved.
Design 5: Chrome Cat-Eye
This one requires a magnetic cat-eye gel polish and an LED lamp if you want the full effect, but the result is completely worth the setup. The metallic streak that runs through a cat-eye design looks especially dramatic on a squoval nail because the flat top lets you see the full length of the streak. Apply your gel color, hold the magnet just above the uncured nail for 10 to 15 seconds before curing, then cure fully. The effect is like looking at a gem from the inside.
Design 6: Single Accent Nail with Stamping
If freehand art feels intimidating, nail stamping is your best friend and squoval is a great shape for it. The flat top means stamps land evenly without the image distorting around a curve. Buy any basic nail stamping plate (there are sets available for a few dollars online), a stamping polish in a contrasting color, and a clear stamper tool. Do nine nails in a clean solid color and stamp one accent nail with a floral or geometric print. It looks like you have a full nail art set when really only one nail took extra time.
Design 7: Glazed Donut Chrome on Bare-Minimum Nails
This is the two-product wonder. Clear or soft pink base, one coat of chrome powder pressed on top. That is it. No art skills required. The squoval shape frames the chrome reflection in a way that looks deeply intentional and very current. This is the design I tell literally every beginner to start with because there is no line to perfect and no brush control required.
Design 8: Micro French with Color
Instead of a traditional white band at the tip, paint just a hair-thin line in an unexpected color: deep red, black, electric blue, or dusty rose. The precision looks intimidating but the trick is to use a very thin liner brush and move slowly. On squoval nails the flat edge gives you a natural guide for where the line should sit. This look is everywhere on editorial boards right now and takes about five minutes once you practice the brush control.
Design 9: Milky Sheer with Dried Flower or Foil
Press-on foil strips or dried flower nail stickers applied under a thick clear gel top coat give you an encapsulated floral effect that photographs beautifully. The flat squoval top means the foil or flower sits flush rather than sliding to one side like it can on a curved tip. This is genuinely one of those designs that looks like you paid someone a lot of money for it.
Design 10: Two-Tone Half-Moon
A clean half-moon at the base of the nail in one color, with the rest of the nail in a contrasting color, is a graphic, editorial look that works especially well on squoval because both the tip and the base can be seen clearly. Use a reinforcement sticker (the paper ring stickers used in office filing, available everywhere for pennies) as a guide to get the half-moon shape clean, then peel it off before it dries. Two coats of top coat to seal and you have a set that looks genuinely considered.
Adding Gel or Chrome: What to Know Before You Start
Gel polish is an amazing option for squoval nails because the chip-free finish means you are not repainting your careful shape every few days. But if you are going to use gel, especially at home, there are a few things I want to make sure you know because I care about your nail health more than I care about sounding endlessly enthusiastic.
First, the application basics. Gel polish needs to be capped at the free edge, meaning you drag the brush along the tip of your nail to seal the edge, not just paint the flat surface. On a squoval nail, this means running the gel brush along the top edge and curving slightly around the softened corners. Capping prevents lifting at the tips and peeling along the free edge. It also means you apply thin coats, not one thick one. Two thin coats of gel color, cured fully under your LED lamp between each coat, produce a smoother, more durable result than one heavy coat that traps uncured product in the middle.
Second, a word on ingredients and your skin. According to a 2025 peer-reviewed study published in the National Institutes of Health’s PMC database by Javaid et al., allergic contact dermatitis is the most common adverse outcome associated with gel manicures, most often triggered by (meth)acrylates including HEMA (hydroxyethyl methacrylate). This is not a reason to panic or never use gel. It is a reason to be informed. If you develop redness, itching, swelling, or soreness around your nail folds or fingertips, especially after multiple gel applications, stop using the product and see a dermatologist. Always make sure gel cures fully under your lamp (under-cured gel has higher sensitization risk), and avoid getting uncured gel on your skin during application. The FDA’s page on nail care products notes that many nail products contain potentially harmful ingredients and are considered safe only when used as directed, which is why reading your product instructions and not rushing your cure times genuinely matters.
Third, remove it properly. Peeling, picking, or prying off gel polish is one of the most common causes of nail damage I see discussed in beginner nail communities. The AAD’s guidance on removing gel nail polish at home recommends lightly buffing the shiny surface of the gel, soaking cotton balls in pure acetone, placing them on each nail, and wrapping each finger in aluminum foil for 10 to 15 minutes. After soaking, the gel should slide off gently with a cuticle pusher. If it resists, soak for another five minutes. Never force it.
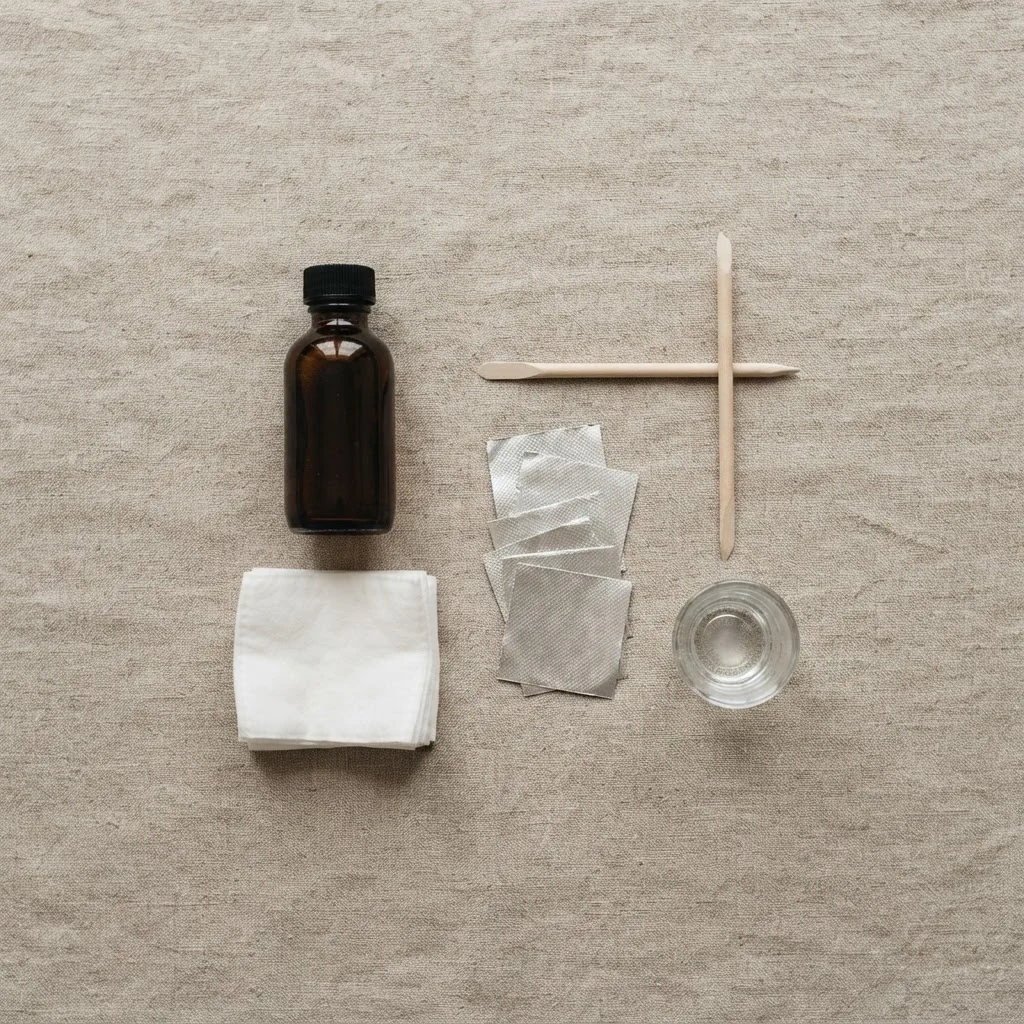
Rushing removal is where the thinning and peeling of your actual nail plate happens, and that is genuinely not worth it.
Keeping Your Natural Nails Healthy Under Any Design
Whatever finish you choose, squoval nails that are well maintained over time start with healthy natural nails under everything. Here is what I actually do between applications in my nail lab.
After removing any polish or gel, I always take a few days in between applications with nothing on my nails. I use a nail strengthening base coat when I do polish, keep my cuticles hydrated with cuticle oil every single day (not just when I think about it), and I never use my nails as tools to open things, peel stickers, or scrape surfaces. That last one sounds obvious but it is responsible for more breaks than any filing mistake.
I also do not cut my cuticles. The AAD is very clear on this point: cutting or forcefully removing the cuticle damages the nail and creates an entry point for infection. Gently pushing cuticles back after a warm shower, when the skin is soft, is a perfectly safe alternative. If you see redness, swelling, pain, or any kind of discharge around your nail fold, that is a sign to see a doctor, not to try to treat it at home with nail products.
Quick Troubleshooting: When Things Go Sideways
Even after years of doing this, I still have sessions where something goes wrong. Here is a quick reference for the most common squoval problems.
If your nails are filing unevenly and one side is always more rounded, slow down and take fewer strokes at a time. Check after every two strokes. Most asymmetry comes from speed and not from lack of skill.
If your polish is flooding the cuticle, you are loading too much product on the brush and starting too close to the skin. Dip the brush, wipe off excess on the bottle neck, start about one to two millimeters from the cuticle, and let the product self-level. Do not force it forward.
If your gel is peeling at the tips after a few days, you almost certainly skipped capping or did not cap the full edge. Go back to the capping step and be more deliberate. It makes a significant difference in longevity.
If your design looks blurry instead of crisp on stamping or micro French, let your base coat dry completely before adding the detail layer. Tacky base coats cause bleeding.
And if you are chipping the shape while wearing it, squoval is naturally more chip-resistant than square because there are no sharp corners to catch on things. But if you are still seeing chips, try a rubberized base coat for more flexibility and always cap your top coat too.
Squoval is the shape I come back to every single time I want nails that look polished without a lot of drama. It is forgiving to file, flattering to almost everyone, and honestly one of the most versatile canvases for nail art I have worked with. Start with the filing steps above, try the glazed or French tip designs first because they are the most immediate payoff for the least technique, and keep the rest of this guide nearby when you are ready to level up. You do not need steady hands or artistic training. You need a 240 grit file, a little patience, and the knowledge that the first time is always the most wobbly and that is completely fine. I did my first squoval on a lunch break with a miniature file I bought at a dollar store. It came out crooked on three nails and I loved it anyway.