Thin, Peeling Nails After Acrylics? Here’s How to Fix Them
You got your acrylics removed, you looked down at your hands, and the nails staring back at you looked… nothing like nails. Thin. Bendy. Maybe a little white and papery. Possibly peeling at the edges. And your first thought was probably some version of: what did I do to myself?
I know that feeling. I have been there, and I have had that exact mini panic while staring at my own hands under the fluorescent lighting of a nail salon. So let me say the thing you actually need to hear before anything else: this is not permanent. Your nails are not ruined. They are just in recovery mode, and with some patience and the right routine, they will come back.
This guide is everything I wish someone had handed me the first time I walked out of a salon with paper-thin nails and zero idea what to do next. We are going to cover why this happens, how to remove your acrylics safely if you have not done it yet, and fifteen real, practical tips for nursing your natural nails back to strength. Some of this will take time. I will be honest about that. But I will also show you what actually makes a difference, what is worth your money, and what you can skip.
Let’s start from the beginning.
Why Your Nails Feel Like Paper Right Now
Before we fix anything, it helps to understand what actually happened. Because here is the truth most people do not hear: the acrylic product itself is not usually the main villain in post-acrylic nail damage. The real culprit is almost always the prep and removal process.
When a nail tech applies acrylics, they file the surface of your natural nail first. This roughing-up helps the acrylic bond. But it also physically removes the top layers of your nail plate, which is made up of multiple tightly compressed layers of hard keratin. Do that repeatedly over months or years, and the plate gets noticeably thinner. Then during removal, if the acrylic is picked, pried, or aggressively filed off rather than properly soaked, another round of nail plate layers comes off with it. That is the one-two punch that leaves nails feeling like wet paper.
The American Academy of Dermatology’s guidance on artificial nails and reducing nail damage confirms this: to remove artificial nails, soaking in acetone is strongly preferable to filing them off, precisely because filing does direct mechanical damage to the natural nail underneath.
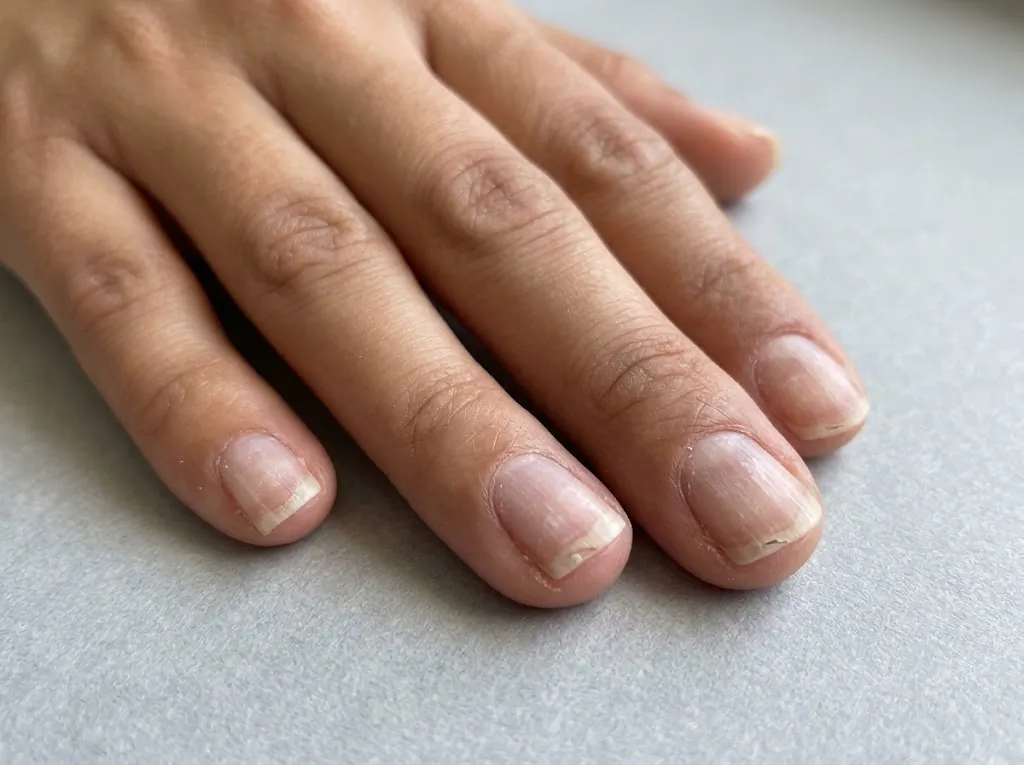
If your nails are wrecked right now and you are replaying your last removal appointment, there is a good chance something was rushed.
The good news? Your nail plate regenerates. The nail matrix, that little tissue pocket at the base of your nail, produces new nail cells constantly. So the damaged, thin nail you are looking at will eventually grow out and be replaced by fresh, undamaged nail. The timeline is just longer than most people expect, and we will get into that specifically. For now, know that you are not working with a fixed amount of damage. New, healthy nail is already growing behind it.
First: If You Still Have Acrylics On, Remove Them This Way
I know some of you clicked this article because your acrylics are currently lifting, or you are planning to remove them at home soon. Please read this section before you do anything with a file.
The single most important thing you can do for your nail care after acrylics is to remove them correctly. Peeling, picking, or forcing them off is how you take a chunk of your natural nail with them. I have done this exactly once, in a moment of impatience, and I still think about it. Do not do it.
Here is the safest at-home method, which aligns with what board-certified dermatologist Dr. Shari Lipner recommends in the AAD’s guide to removing gel and artificial nails at home:
Start by clipping as much length as you safely can. Then file very lightly across the surface of the acrylic just to break the shine, not to file down into it. This helps the acetone penetrate faster. Soak cotton balls in 100% acetone, press one onto each nail, and wrap each finger snugly in a small piece of aluminum foil or a removal clip. Leave everything in place for at least 10 to 15 minutes. When you unwrap, use a cuticle pusher or orange stick to gently slide any softened acrylic off. If it is not sliding, re-wrap and wait another five minutes. Never force it.
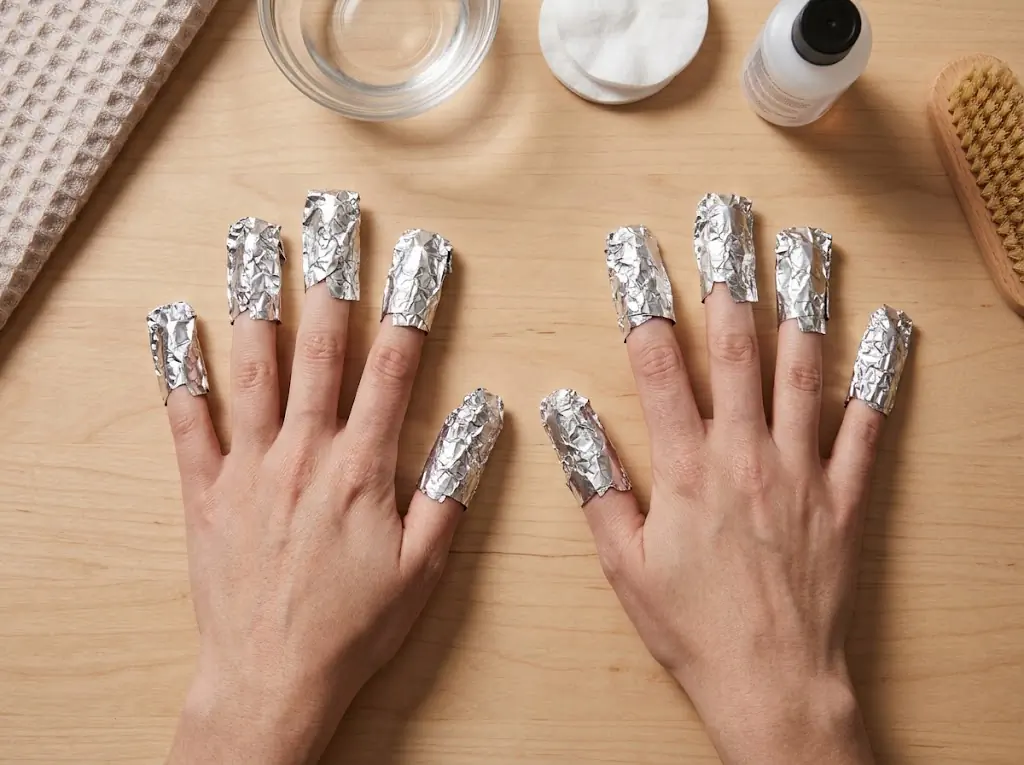
A couple of practical notes: acetone is drying to the skin and surrounding cuticle area, so coat the skin around your nails with a layer of petroleum jelly or thick balm before soaking to minimize irritation. Make sure you are in a ventilated space, since acetone fumes are strong, and keep it away from open flames. After removal, wash your hands and go straight into the hydration tips below.
If you notice any lifting that came with discoloration, a greenish or yellowish tint, a bad smell, or any pain during or after removal, do not apply anything new over it. A green tint can signal a bacterial infection (sometimes called “green nail syndrome”) from moisture trapped under the acrylic, and that needs to be assessed by a doctor or dermatologist, not covered up with another layer of product.
The 15 Tips: Your Post-Acrylic Recovery Routine
1. Go Short, and Actually Mean It
I know it is hard. You got acrylics partly because you wanted length. But trimming your natural nails as short as you can stand immediately after removal is genuinely the most protective thing you can do right now. Thin, compromised nails snap, tear, and peel at the edges. The longer they are, the more leverage there is for that to happen. Every snap and peel causes more damage.
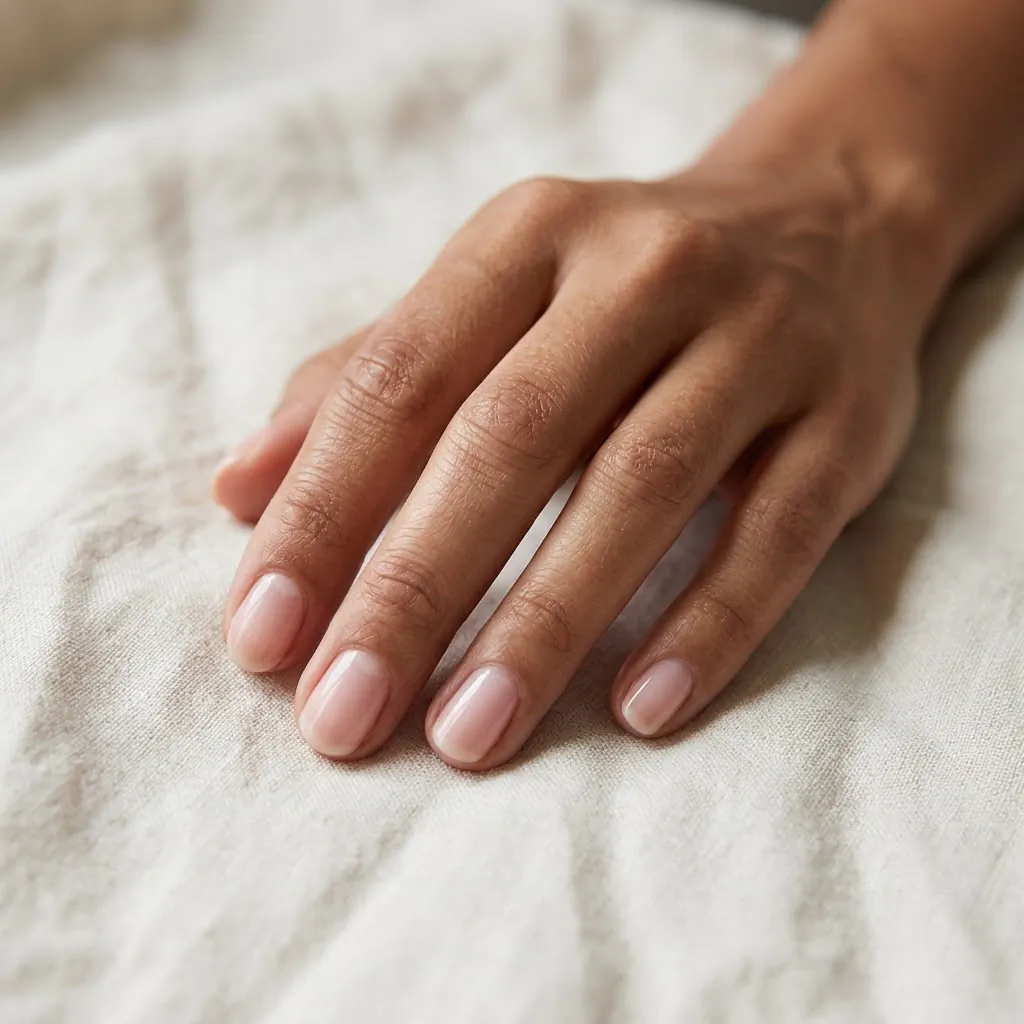
Use a sharp, quality nail clipper. File in one direction with a fine-grit file, not back and forth (the sawing motion creates micro-tears at the free edge). Shape them into a soft oval or round, which is the most forgiving shape on short, fragile nails. Square edges on short thin nails are where corner breaks tend to start.
2. Start Using Cuticle Oil Immediately, and Do It Twice a Day
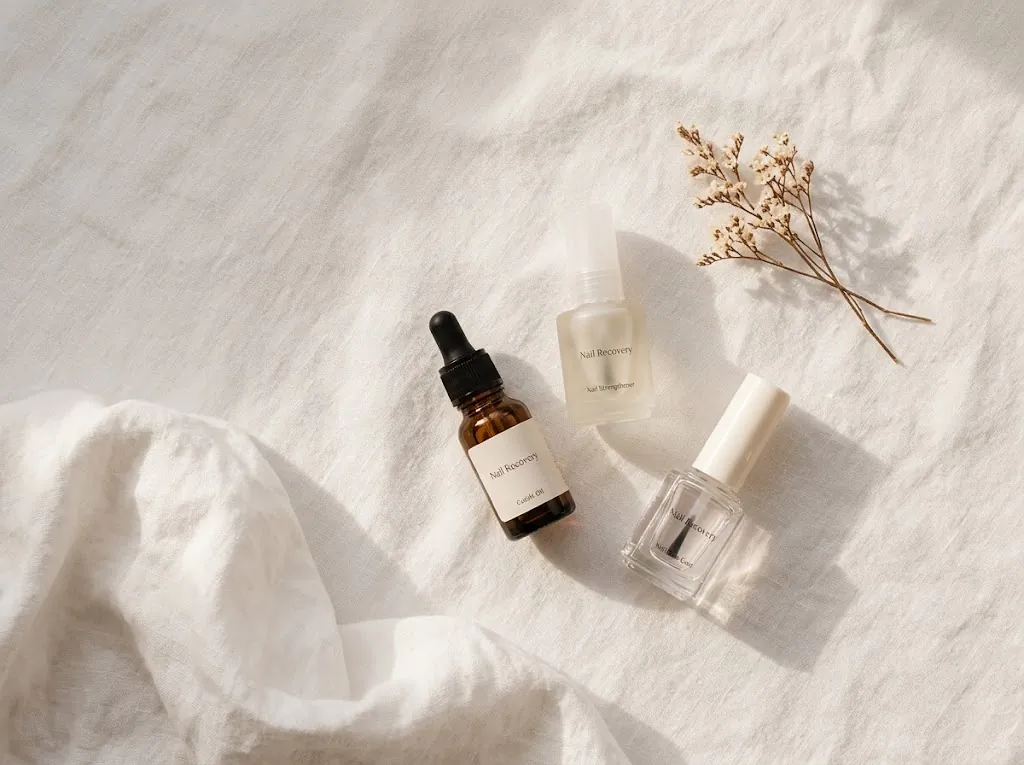
This is the tip I give everyone, every time, for post-acrylic recovery, and it is not optional. Cuticle oil is not just for the cuticle. When you massage it into the nail plate and the skin around the nail, the oils penetrate the keratin layers and restore some flexibility, which makes the nail less brittle and less likely to snap.
Look for oils that contain jojoba, sweet almond, vitamin E, or argan oil. Jojoba in particular has a molecular structure close to the skin’s natural sebum, which helps it absorb rather than just sitting on the surface. Apply it morning and night, and actually massage it in for thirty seconds or so. That circulation encourages blood flow to the nail matrix below. The cheapest version of this? A small bottle of pure jojoba oil from any health food store, usually a few dollars, works beautifully. You do not need a branded nail oil for this to be effective.
3. Apply a Nail Strengthener, But Read the Label First
Nail strengtheners can be genuinely helpful during recovery by creating a temporary reinforcing layer on top of the nail plate. But not all of them are created equal, and one ingredient in particular is worth knowing about.
Some nail hardeners contain formaldehyde resin (also listed as tosylamide/formaldehyde resin). The FDA’s page on nail care products and ingredient safety notes that nail products containing formaldehyde may cause skin irritation and allergic reactions in some people, and dermatology literature has documented cases of contact dermatitis from formaldehyde-based nail hardeners. If you have sensitive skin, a history of reactions, or you are already dealing with post-removal inflammation, a formaldehyde-free strengthener is a safer starting point.
Formaldehyde-free strengtheners that use keratin, calcium, or a protein-film approach are widely available at the drugstore. Apply one thin coat every few days over bare nails or as a base coat under regular polish, follow the directions on the bottle, and do not use it indefinitely. Most strengtheners are designed for a 4 to 8 week course, not permanent daily wear.
4. Treat a Clear Base Coat Like Your New Best Friend
If nail strengthener sounds like too many steps, at minimum coat your recovering nails with a clear protective base coat. It acts like a thin shell over the nail plate, reducing the chance of surface snags and everyday chips that lead to peeling. This is one of those simple things that takes thirty seconds and genuinely makes a difference over weeks.
Budget pick: any basic salon-brand clear base coat from the drugstore works fine here. You do not need to spend much.
5. Understand the Real Timeline (and Adjust Your Expectations)
This is where I am going to be honest with you, because most articles either skip this or give a vague “it depends.” Here is what the research actually says: fingernails grow at an average rate of approximately 3.47 mm per month, according to a study published in the Journal of the European Academy of Dermatology and Venereology. A full nail grows from base to free edge in roughly 5 to 6 months.
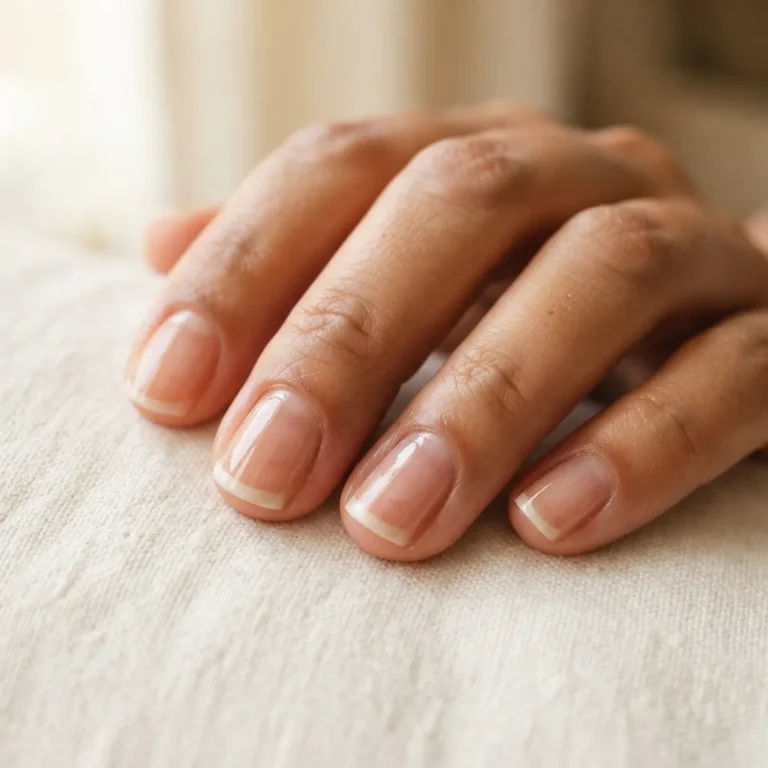
What this means for you is: if your damage runs deep, you are looking at 3 to 6 months of dedicated care before you see predominantly healthy nail. That might feel like a long time. But it also means that every good habit you build this week is actively pushing damaged nail forward and fresh nail in behind it. You will see visible improvement in patches within 4 to 6 weeks. You will likely see a clear “line” on each nail where healthy meets damaged as it grows out.
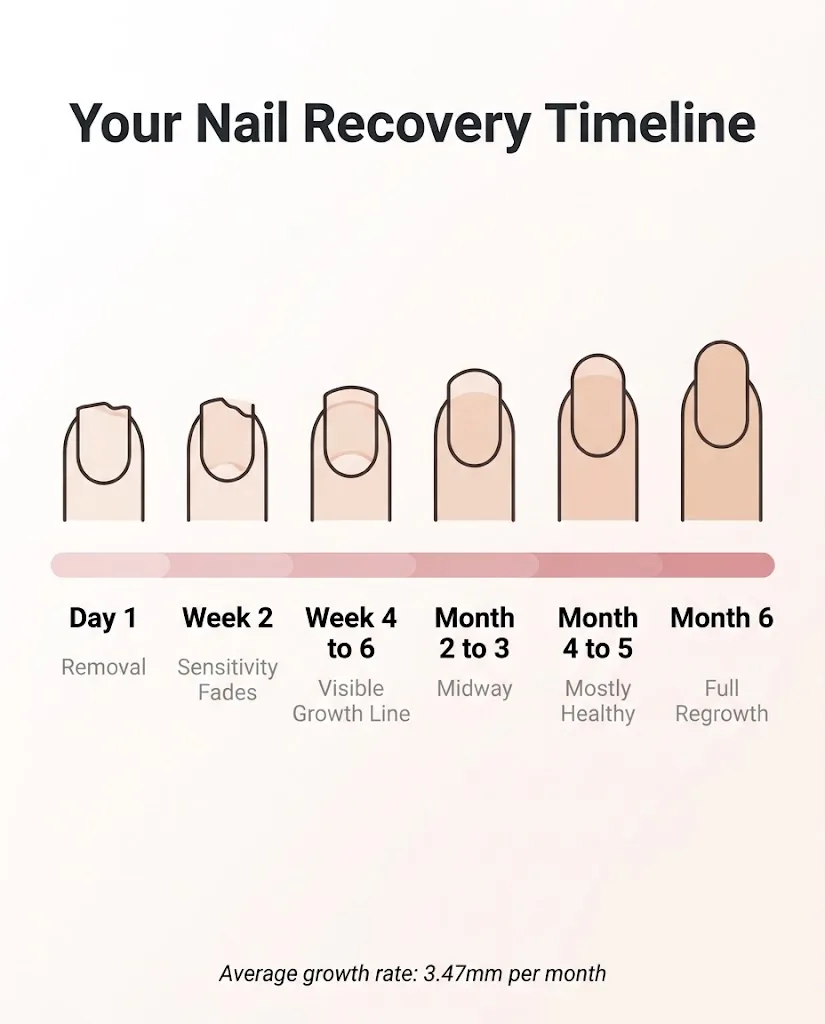
That line is progress, not a problem.
Mild damage (just surface sensitivity and a little flexibility) tends to resolve faster, sometimes in 6 to 8 weeks of good care. Severe damage from repeated aggressive removal takes longer. Neither of these is a life sentence.
6. Protect Your Cuticles, and Stop Cutting Them
Post-acrylic nails often look a little rougher around the cuticle area too, because the prep process sometimes disturbs the cuticle skin. The temptation is to trim or cut it back to make things look neater. Please do not. The AAD’s nail care guidance is clear on this: the cuticle seals the gap between the nail plate and the surrounding skin, and cutting it creates an entry point for bacteria and fungi. During the post-acrylic recovery phase, when the nail plate is already compromised, the last thing you want is an infection.
Instead, soften the cuticle area with oil or a drop of water, then gently push it back with a rubber-tipped cuticle pusher or an orange stick. That’s it. Moisturize and leave it alone.
7. Wear Gloves for Dishes and Cleaning Products
Hot water and dish soap, along with household cleaners, are among the most drying, weakening things you can expose your recovering nails to. Repeated wet-dry cycles cause the nail plate to repeatedly expand and contract, which accelerates peeling and brittleness. This is one of those tips that sounds overly cautious until the third time your nail peels and you trace it back to forty minutes of washing dishes without gloves.
Keep a pair of rubber gloves by the sink. It genuinely helps, and it takes about four days to become a habit.
8. Load Up on Hand Cream
Cuticle oil handles the nail plate. A good hand cream handles everything else, including the skin around the nail, the nail folds, and the general hydration of your hands. Reach for one with shea butter, glycerin, or ceramides. Apply it after every hand wash. This is also a skin health habit, not just a nail one.
You do not need to spend a lot here. Fragrance-free body butters or basic hand lotions with glycerin on the label are effective and drugstore-cheap.
9. Approach Biotin Honestly
Biotin supplements are all over social media as a fix-all for weak nails and slow growth after acrylics. The honest answer is more nuanced. Current dermatological research, including a 2025 editorial in the Journal of the American Academy of Dermatology, indicates that biotin supplementation shows limited evidence of benefit in people without an underlying biotin deficiency. If you are eating a reasonably balanced diet, you are very likely not deficient. That said, the research does suggest some benefit for people with brittle nail syndrome specifically, and biotin is generally considered safe at normal supplement doses.
My take: if you want to try it, 2,500 mcg per day is the dosage used in studies that showed some benefit for brittle nails. But I would not expect a dramatic transformation, and I would talk to your doctor first if you are taking any other medications, because biotin at high doses is known to interfere with certain lab tests.
10. Eat for Nail Health
Your nail matrix grows new nail from the inside out, and it needs raw materials to do that well. Protein is the most important one, since nails are made primarily of keratin, which is a structural protein. Iron, zinc, and vitamins A, C, D, and E also play a role in nail plate integrity and the skin around the nail. None of this requires a special supplement stack. It mostly means eating varied whole foods, staying properly hydrated, and not crash-dieting during your recovery window, since severe calorie restriction noticeably slows nail growth and weakens the new nail being produced.
The Mayo Clinic’s guidance on healthy nails reinforces that keeping nails moisturized and supporting overall health are the foundational habits, before any product enters the picture.
11. Avoid Picking, Peeling, and Biting
This sounds so obvious that I almost did not include it, and then I remembered that I have absolutely picked at a peeling nail at 11pm when I was tired and it was right there. Do not do this. When you peel a layer of peeling nail instead of clipping it, you are almost always removing healthy nail underneath it too. Clip, do not peel. File the rough edge smooth. If a nail breaks very low, clip it as close to the break as possible, file it smooth, and keep the rest of your nails short to match.
12. Be Careful with Gel Polish During Recovery
A lot of people assume they should go straight back to gel polish because it looks better than bare nails. I get it. But during the first four to six weeks of recovery, when nails are at their thinnest, gel curing under a UV or LED lamp on a very thin nail plate can be uncomfortable, and the removal process (even done gently) puts the plate through another round of stress.
Regular nail polish with a strengthening base coat is my recommendation for the first month or two. It looks polished and put-together, it gives the nail plate a break from the curing and soaking cycles, and it comes off with regular non-acetone remover, which is gentler than pure acetone. Once you can see visible healthy growth and your nails are not bending with light pressure, you can consider going back to gel.
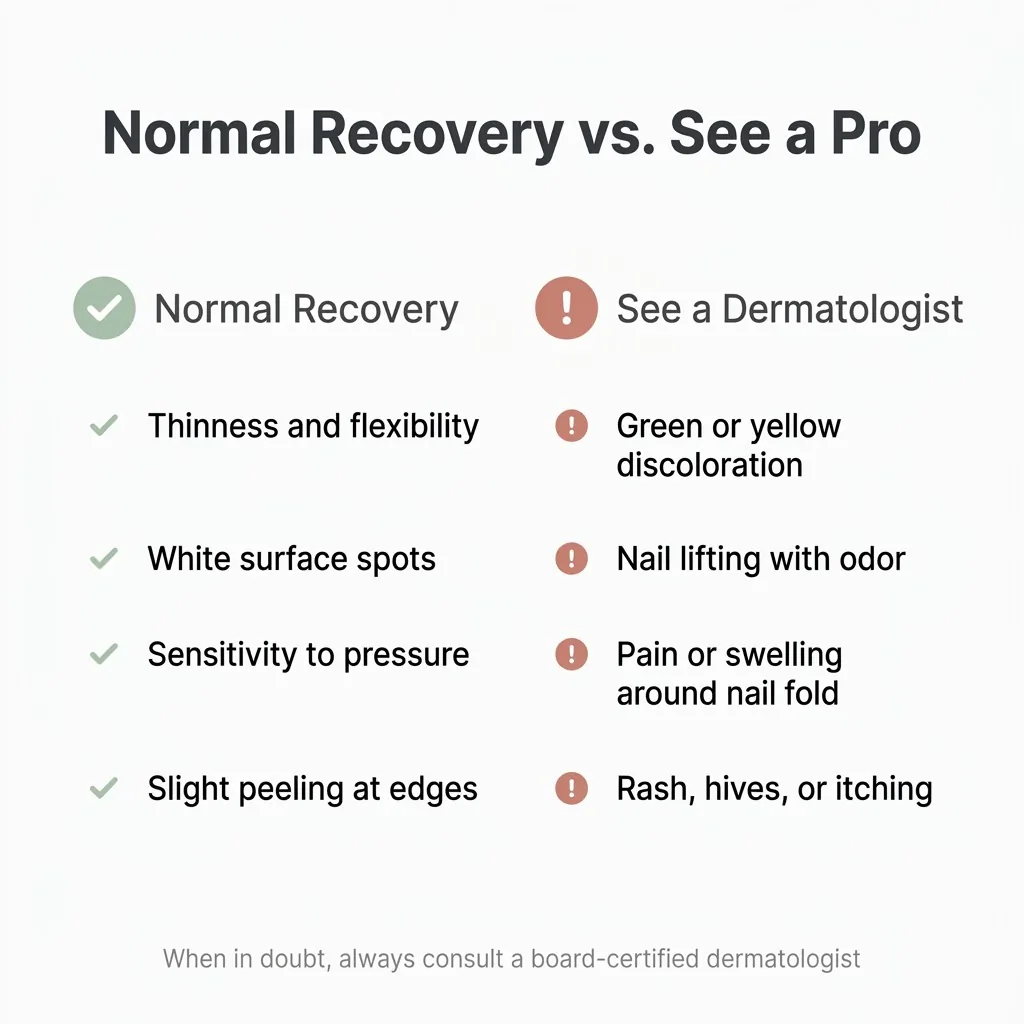
13. Know the Warning Signs That Need a Professional
Normal post-acrylic recovery involves thinness, flexibility, some white spots (which are often air pockets or surface trauma, not calcium deficiency as the old myth goes), and general fragility. What is NOT normal, and what needs a dermatologist’s attention, is any of the following: a greenish or yellowish discoloration that does not fade, a nail that is separating from the nail bed with an odor, significant pain or swelling around the nail fold, or a rash, hives, or itching that developed around your nails or on your fingertips during or after acrylic wear.
That last one can be a sign of acrylate sensitization. Research published in PMC has confirmed that HEMA (2-hydroxyethyl methacrylate), a common component in acrylic and gel nail products, is a significant cause of allergic contact dermatitis, appearing in the majority of documented nail-related allergy cases. Sensitization can develop after months or years of exposure with no prior reaction, and once it develops, it typically worsens with each subsequent exposure. If you notice any reaction, stop using acrylic or gel products and see a dermatologist before resuming.
14. Make Your Short Nails Look Cute Right Now
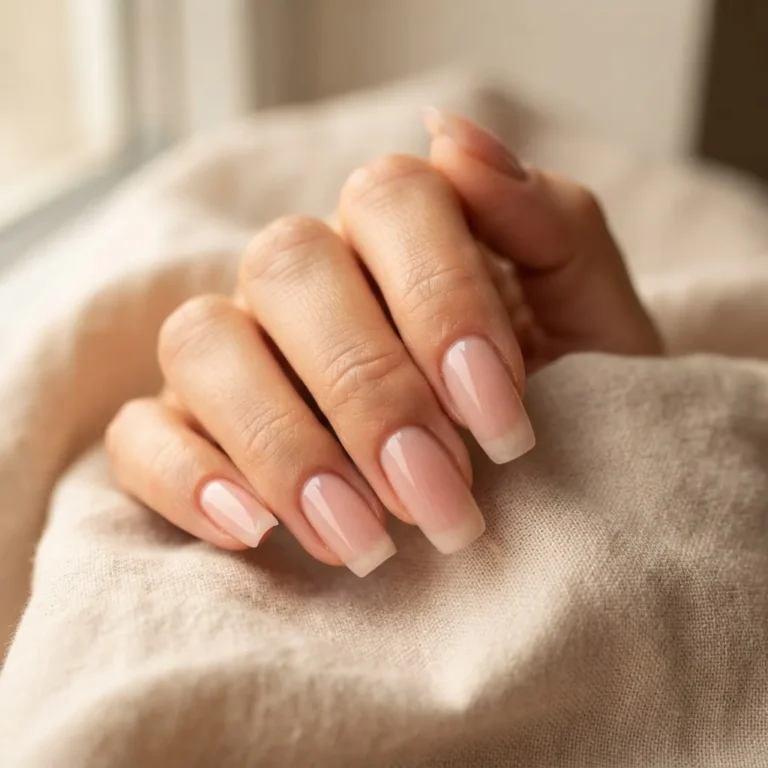
Recovery nails do not have to look like recovery nails. Short, even nails in a soft oval shape look extremely clean and intentional. A sheer pink, a warm nude, a creamy white, or a pastel color all make short nails look polished without drawing attention to length or shape. A single coat of a glossy top coat over bare strengthened nails also looks genuinely good, the kind of “my nails are just naturally healthy” vibe that is very much having a moment.
If you want a little texture or interest, tiny dot art with a bobby pin dipped in a contrasting color, or a simple single stripe near the free edge, are both achievable even on nails that feel uncomfortably small. I practiced my first nail art on nails barely longer than the fingertip.
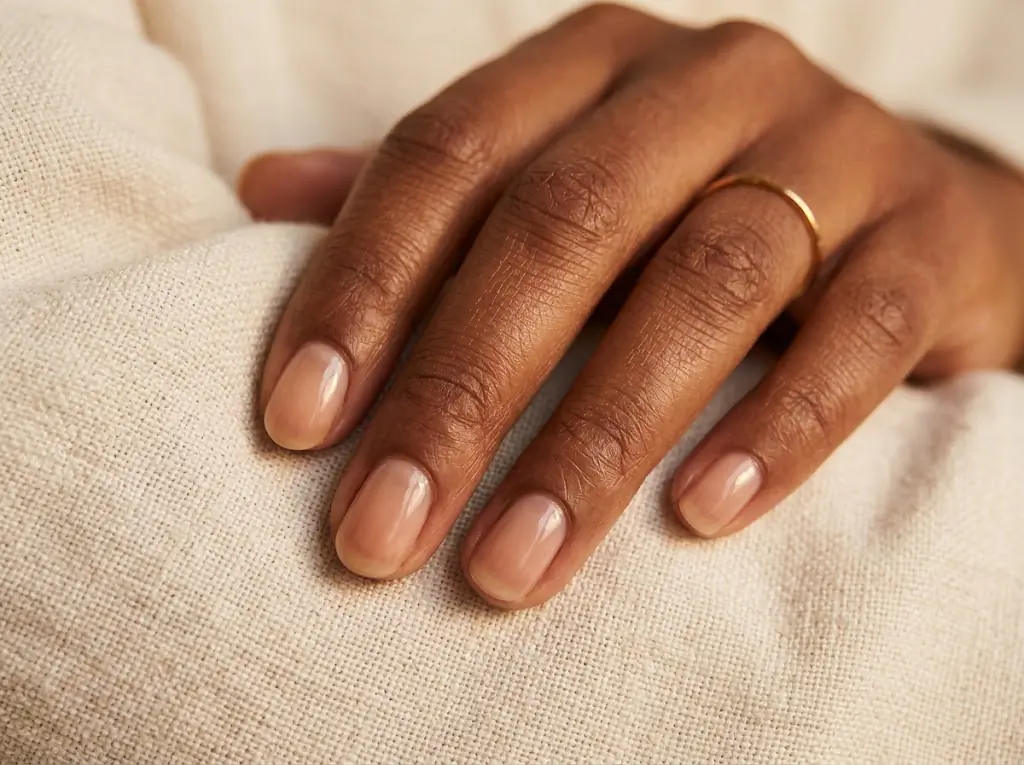
You can make short work for you.
15. Build a Routine You Will Actually Stick To
Here is the version of this that actually works for busy people: cuticle oil in the morning while your coffee brews, hand cream every time you wash your hands, gloves for dishes, and a five-minute nail check and clip once a week. That is it. That is the whole routine that will get most people through recovery without needing anything complicated.
Consistency over intensity. The nails that recover the best are not the ones where someone did a ten-step treatment once and then forgot about it. They are the ones where someone just kept showing up with the oil every morning.
A Note on Patience
I teach myself nail art on my kitchen table in Chicago. I have tested more gel systems and recovery products than I can count. And the thing I keep coming back to is this: nail recovery is the one area where the flashiest product always loses to consistent basic care. Your nails grew from nothing once already, and they will do it again. Give them the conditions to do it, and then give them time.
If I can get through a 10-hour work day and still find five minutes for cuticle oil and hand cream, so can you. Your nails are going to be fine.