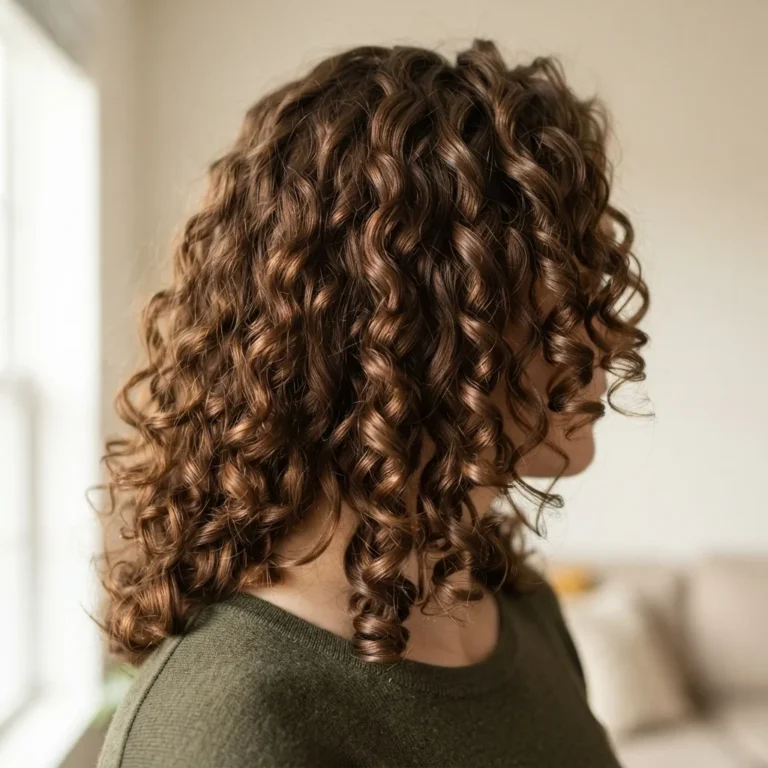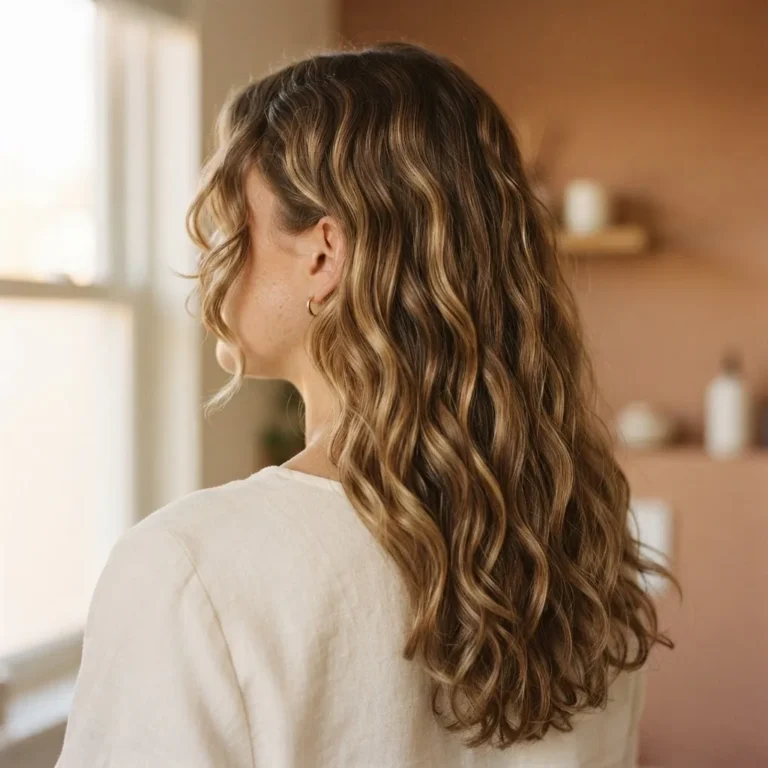
Your First Curly Hair Routine: 10 Steps That Actually Work
Let me be honest with you before we even get into the steps: I did not grow up knowing how to take care of my curls. I grew up brushing them out dry, wondering why my hair looked like a pyramid, and eventually just flat-ironing everything into submission. It took years of watching real stylists work at a salon in Austin before I finally understood what curly hair actually needs, and even then, my first few “proper” wash days were a disaster.
So if you have been scrolling through Pinterest saving curly hair photos and telling yourself “I could never get my hair to look like that,” I need you to hear this: you probably can. You just need the right steps, in the right order, with the right understanding of why each one matters. That’s exactly what this is.
This isn’t a 30-product, three-hour process. It’s 10 honest, beginner-friendly steps, explained in a way that actually makes sense. Start here, adjust as you go, and give yourself a few wash days before you judge the results.
Before You Start: A Note on Curl Types and Why They Matter (But Not in the Way You Think)
You’ve probably seen the curl type chart, the 2a through 4c classification. It’s genuinely useful for understanding your general texture, but beginners often get so tangled up in figuring out their exact type that they never actually start their routine. So here is my simplified take: wavy hair (types 2a to 2c) tends to need lighter products and gets weighed down easily. Curly hair (types 3a to 3c) needs more moisture and can handle more product. Coily hair (types 4a to 4c) is the most moisture-thirsty of all, often benefits from heavier creams, and shrinks dramatically when dry. Use these as loose guidelines, not rigid rules.
What matters even more than curl type is your hair’s porosity, which is how well your hair absorbs and retains moisture. Understanding it explains why some products work for your friend but leave your hair crunchy or greasy. Carol’s Daughter has a really clear breakdown of what hair porosity means and how to test yours at home, and it’s worth a five-minute read before your first wash day. The short version: low porosity hair resists moisture getting in but holds it well once it’s there, while high porosity hair absorbs products fast but loses moisture just as quickly.

Step 1: Start With a Clarifying Reset
If you are starting a curly routine for the very first time, or you have been using regular (non-curly-friendly) products for years, your first wash needs to be a clarifying wash. Regular conditioners, silicone-heavy stylers, and even some dry shampoos leave a buildup on the hair shaft that actually blocks moisture from getting in. You need to clear the slate.
A clarifying shampoo strips all of that away. It is the one time in your curly routine that a stronger cleanse is totally appropriate. Look for one labeled “clarifying” or “scalp reset.” Suave Daily Clarifying Shampoo is about $3 and does the job. Use it from root to tip, rinse completely, and then follow with a deep conditioning treatment (more on that in Step 2) to restore moisture. After this first reset, you will only need to clarify every four to six weeks to prevent buildup from accumulating again.
After the reset, your regular routine uses a gentler, sulfate-free shampoo for weekly or biweekly washing. According to the American Academy of Dermatology, curly and thick hair generally only needs to be washed every two to three weeks at minimum, because over-washing strips the natural oils that curly hair already struggles to produce enough of. If your scalp gets oily faster than that, a gentle co-wash (conditioner-only wash) between wash days can refresh without stripping.
Step 2: Deep Condition Before You Style
A lot of beginners skip straight from shampoo to styling and then wonder why their curls are frizzy and brittle. Deep conditioning is not a luxury step. For curly hair, it is the foundation everything else builds on.
A deep conditioner has a heavier, more concentrated formula than a regular rinse-out conditioner. It sits on your hair for 10 to 30 minutes and penetrates the hair shaft to restore moisture and strengthen the cuticle. For beginners, aim to deep condition once a week on wash day. If your hair is very dry or recently color-treated, twice a week is fine until it balances out.
Apply it section by section to freshly shampooed, soaking-wet hair. Finger-detangle as you go, working from ends to roots so you are not dragging tangles down the shaft. Put on a shower cap or a warm towel (the heat helps it absorb) and wait at least 10 to 15 minutes. Then rinse.
Budget pick: SheaMoisture Manuka Honey & Mafura Oil Intensive Hydration Masque runs about $12 to $15 at most drugstores. Mid-range option: the Aussie 3 Minute Miracle runs about $5 and works well for a quick treatment.
Step 3: Rinse-Out Conditioner and the Squish to Condish
After a deep condition, apply your regular rinse-out conditioner. This might feel like a lot of conditioning steps, but they serve different purposes. The deep conditioner rebuilds; the rinse-out conditioner smooths and detangles.
Here is where your first real curl technique comes in: squish to condish. Instead of rinsing the conditioner out completely, you leave a thin layer in your hair. While you are standing under the shower, cup water in your palm and gently scrunch (or “squish”) it into your conditioner-coated hair. You are helping your hair absorb water while the conditioner is still present, which seals moisture inside the cuticle and starts forming your curl clumps while your hair is still wet.
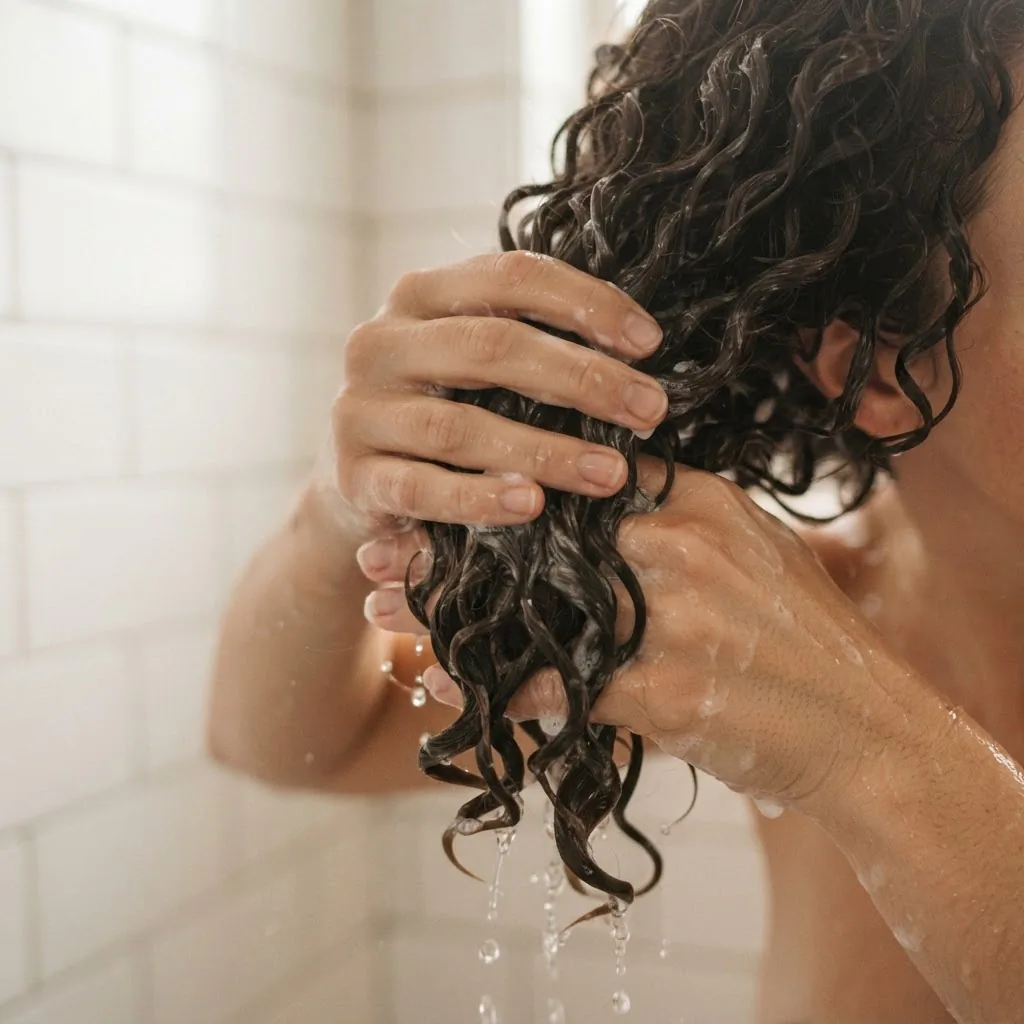
Davines explains the science behind squish to condish really well, and if you understand why it works, you are much more likely to actually do it correctly. The goal is not fully rinsed-out conditioner. The goal is conditioner-coated, water-saturated hair with natural clumps already forming when you step out of the shower.
Do not use a terry cloth towel to squeeze out excess water. That roughens the cuticle and is a major frizz trigger. Instead, gently cup your curls and let them drip naturally for a moment, or use a microfiber towel to gently blot (more on that in Step 6).
Step 4: Apply a Leave-In Conditioner to Soaking-Wet Hair
Step out of the shower and do not wait. This is one of the most important details beginners get wrong: all of your styling products go onto soaking-wet, dripping hair, not damp hair and definitely not hair that has been sitting out for five minutes. The water in your hair is not the enemy. It is what carries your products into the hair shaft and helps your curl pattern form correctly.
Apply your leave-in conditioner first, section by section, while your hair is dripping. Rake it through with your fingers and scrunch upward gently to encourage your curl clumps to form. The leave-in provides a continuous moisture layer that your styling products will then seal in.
Wavy hair types (2a to 2c) can go light here, using a spray leave-in. Curly types (3a to 3c) do well with a creamy leave-in. Coily types (4a to 4c) often benefit from a richer leave-in or liquid applied first followed by a butter or cream. This is the beginning of what the curly hair community calls the LOC method: Liquid (leave-in), Oil (optional), Cream or gel. You layer moisture, seal it with oil or cream, and then lock it in with a styler.
Budget picks: the Not Your Mother’s Curl Talk Leave-In Detangler runs about $8. The Cantu Shea Butter Leave-In Conditioning Repair Cream is a community favorite at around $7 to $9.
Step 5: Optional Oil Layer for Moisture Sealing
This step is most useful for high-porosity hair, which tends to lose moisture as fast as it absorbs it. Applying a lightweight oil after your leave-in, but before your gel or cream, helps seal the cuticle and slow moisture loss throughout the day.
Lightweight oils like argan oil, jojoba oil, or sweet almond oil work well here because they do not sit heavily on the hair. A few drops are enough. Rake it through the mid-lengths and ends, avoiding the scalp if you tend toward oiliness there.
Low-porosity hair (the kind that resists moisture getting in) sometimes does better without this step, because oil can create a barrier on already-sealed cuticles. If you are not sure of your porosity yet, try the routine both ways over a few wash days and see which gives you more definition with less crunch.
Step 6: Plop to Remove Excess Water Without Frizz
Before you apply your styling products, you want to remove just enough water so your hair is not actively dripping. Do not reach for a regular towel. Terry cloth has a rough surface texture at the microscopic level, and scrunching your hair with it roughens the hair cuticle and causes frizz. This is such a common beginner mistake, and it explains why so many people have tried “the curly routine” and given up.
Instead, plop your hair. Here is how: lay a microfiber towel flat on a bed or the bathroom counter. Lean over so your hair falls forward onto the towel. Wrap the back edge up, then bring the front edge to the nape of your neck, and secure. Leave it for 10 to 20 minutes. When you unwrap, your hair will be damp but not dripping, and your curl clumps will still be intact.
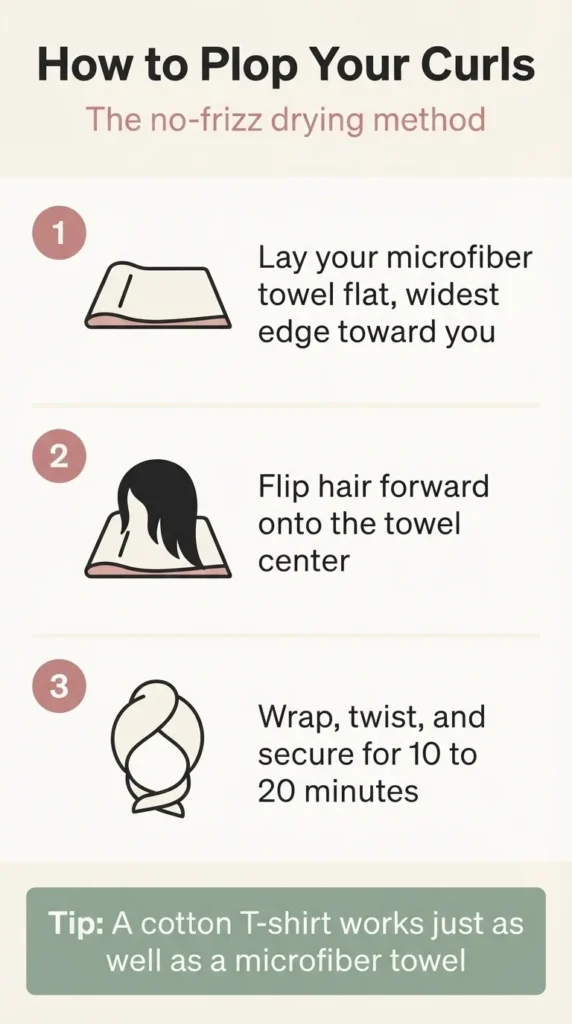
A cotton T-shirt works just as well as a microfiber towel if you do not want to buy anything new.
Step 7: Style With Gel or Curl Cream and Let the Cast Form
This is the step that confuses beginners the most, so let me walk you through it carefully.
After plopping, your hair is damp and your curls are clumped. Now apply your styling product, whether that’s a curl cream, a styling gel, or both. Gel gives more definition and hold; cream gives more moisture and softness. Many curly-haired people use both: cream first for hydration, then gel on top for hold.
Apply with your palms in a praying-hands motion, smoothing down over the clumps, then scrunch upward. The goal is to coat the outside of each curl clump evenly. Use enough that every section feels lightly coated, but not so much that your hair feels heavy or wet with product.
Here is the part beginners panic about: when your hair dries, it will feel crunchy and hard. That is the gel cast forming, and it is exactly what you want. The cast is a protective layer that holds your curl pattern while it dries and prevents humidity from getting in and causing frizz. Once your hair is 100% dry, not just mostly dry, you will scrunch out the cast with dry hands and your curls will soften completely.
Curlsmith’s gel cast guide explains this really clearly and is worth bookmarking because the first time you dry your hair and it sounds like a potato chip bag, you are going to panic a little. I did too.
Step 8: Dry Without Disturbing (Air Dry or Diffuse on Low)
How you dry your hair matters as much as how you style it. The single most important rule: do not touch your hair while it is drying. Every time you run your fingers through mid-dry curls, you are separating the curl clumps and creating frizz. Let them be.
Air drying is the most frizz-safe option. For wavy hair this usually takes one to two hours. For tighter curl patterns, up to four to six hours. If you have the time, air drying is the gentler choice.
Diffusing gets you there faster without the frizz that comes from regular blow-drying. A diffuser is a bowl-shaped attachment that disperses airflow so it is not blasting directly at your curls. Curlsmith’s diffusing guide recommends using a low heat, low speed setting and placing sections of hair into the diffuser bowl rather than moving the diffuser around. Start at the roots and work outward. Hover, do not press hard against the scalp.
Budget diffuser option: many drugstore blow dryers ($20 to $40) come with a diffuser attachment included. You do not need a specialty curly hair dryer to start.
Step 9: Scrunch Out the Crunch
Your hair is fully dry. It is crunchy. Now you get the fun part.
With completely dry hands, cup sections of your hair and scrunch upward firmly. You are breaking the gel cast from the inside. Move through your whole head this way. You can also flip your head upside down and scrunch for volume. Some people add one small pump of a lightweight oil to their palms before doing this step, which helps the cast release more smoothly and adds a little shine.
What you will find underneath is soft, defined, frizz-free curls.

The cast protected them through the entire drying process. This is the moment most beginners realize “oh, this actually does work.” I love this step every single time.
If your curls feel crunchy even after scrunching, two things to check: either they were not fully dry when you started scrunching, or you used too much gel. Both are easy fixes on the next wash day.
Step 10: Protect Overnight and Refresh Your Second-Day Curls
Your wash-day curls took real effort. Protect them so you can enjoy them for more than one day.
Before bed, loosely pile your hair on top of your head in what the curly hair community calls a “pineapple,” secured with a very loose scrunchie (never a tight elastic). Sleep on a satin pillowcase or wear a satin bonnet if you move around a lot at night.
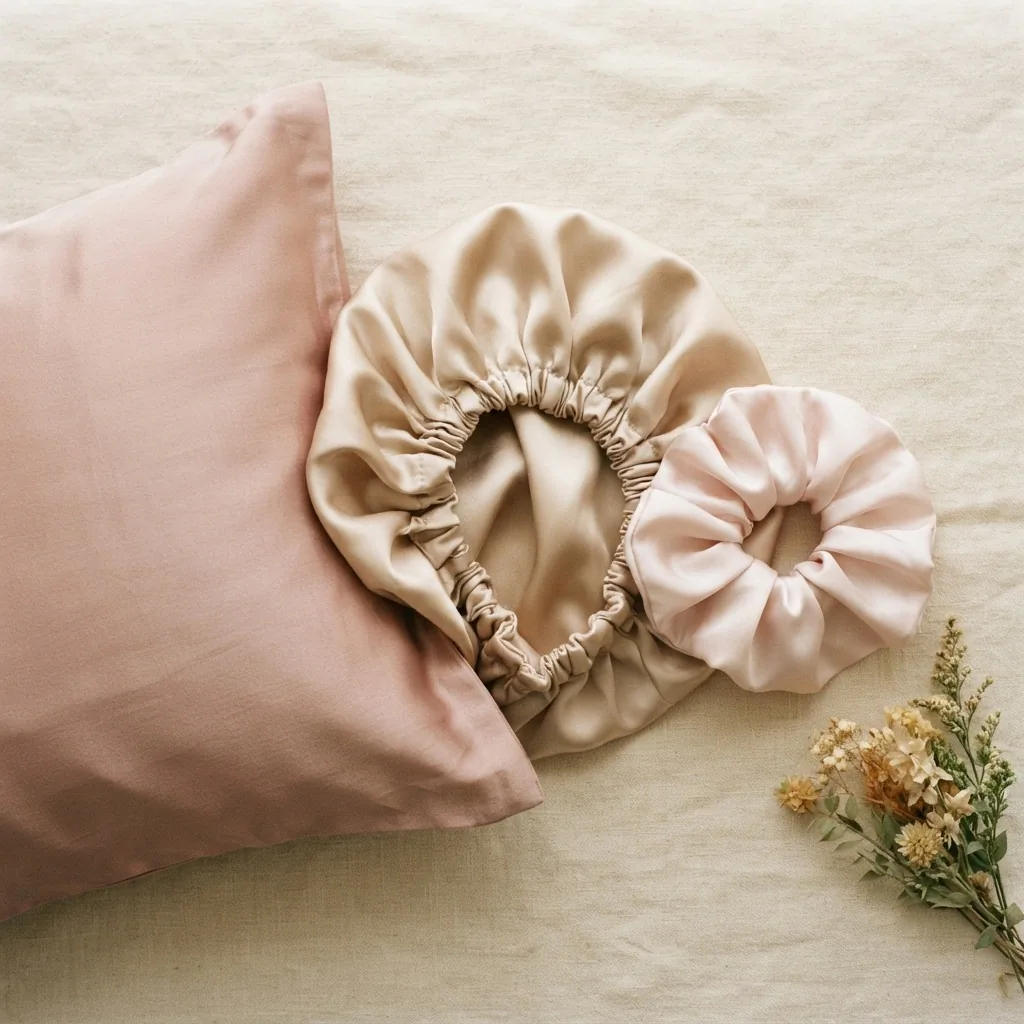
Cotton pillowcases create friction that roughens the cuticle, flattens curls, and causes frizz. This single switch makes a noticeable difference.
On day two, refresh with a light mist of water or a curl refresher spray, scrunch gently, and let it reset. Most curl types can go two to four days between wash days once the routine is working. Second-day and third-day curls often look better than wash-day curls once you learn your hair’s pattern.
Why Your First Few Wash Days Might Not Look Perfect (and Why That’s Fine)
I want to be upfront about something: the first wash day is rarely your best one. Your hair is adjusting to a new way of being treated. There can be a transition period of a few weeks, especially if you have been heat-styling for years, where your curl pattern re-trains itself and your hair re-learns how to retain moisture.
K18 Hair’s breakdown of the science behind frizz explains that damaged hair cuticles lift and absorb excess humidity, which is why frizz is so persistent after years of heat damage. The good news is that consistent moisture, gentle handling, and avoiding harsh ingredients helps the cuticle lie flatter over time. Heat damage does not repair instantly, but healthy habits genuinely change the texture you see over weeks and months.
Give yourself at least three to four full wash days before you decide whether something is working. And if something really is not working, the most common culprits are product buildup (time for a clarifying wash), too much or too little product, or products that are too heavy or too light for your porosity type. Adjust one variable at a time so you can actually tell what made the difference.
A Quick Budget Starter Kit (Under $30 Total)
You do not need to spend $200 on products to start. Here is what I would grab at a drugstore for a first kit:
Clarifying shampoo (Suave Daily Clarifying, about $3), a sulfate-free everyday shampoo (Shea Moisture Manuka Honey line, about $12), a rinse-out conditioner (same line, about $10), a leave-in conditioner (Not Your Mother’s Curl Talk, about $8), a styling gel (Eco Style Olive Oil Gel, about $4 to $6), and a microfiber hair towel (any drugstore brand or Amazon find, about $8 to $12). Total: roughly $45 to $55, but you can start with just the conditioner, leave-in, and gel for under $25 if you are testing the waters first.
Upgrade later if you want. The technique matters more than the price tag, especially at the start.
Starting a curly hair routine is genuinely one of those things that sounds more complicated than it is once you understand what each step is actually doing. You are not chasing a complicated formula. You are just learning to work with your hair’s natural structure instead of against it. Start with these 10 steps, be patient with the learning curve, and I promise your curls will start showing up for you.