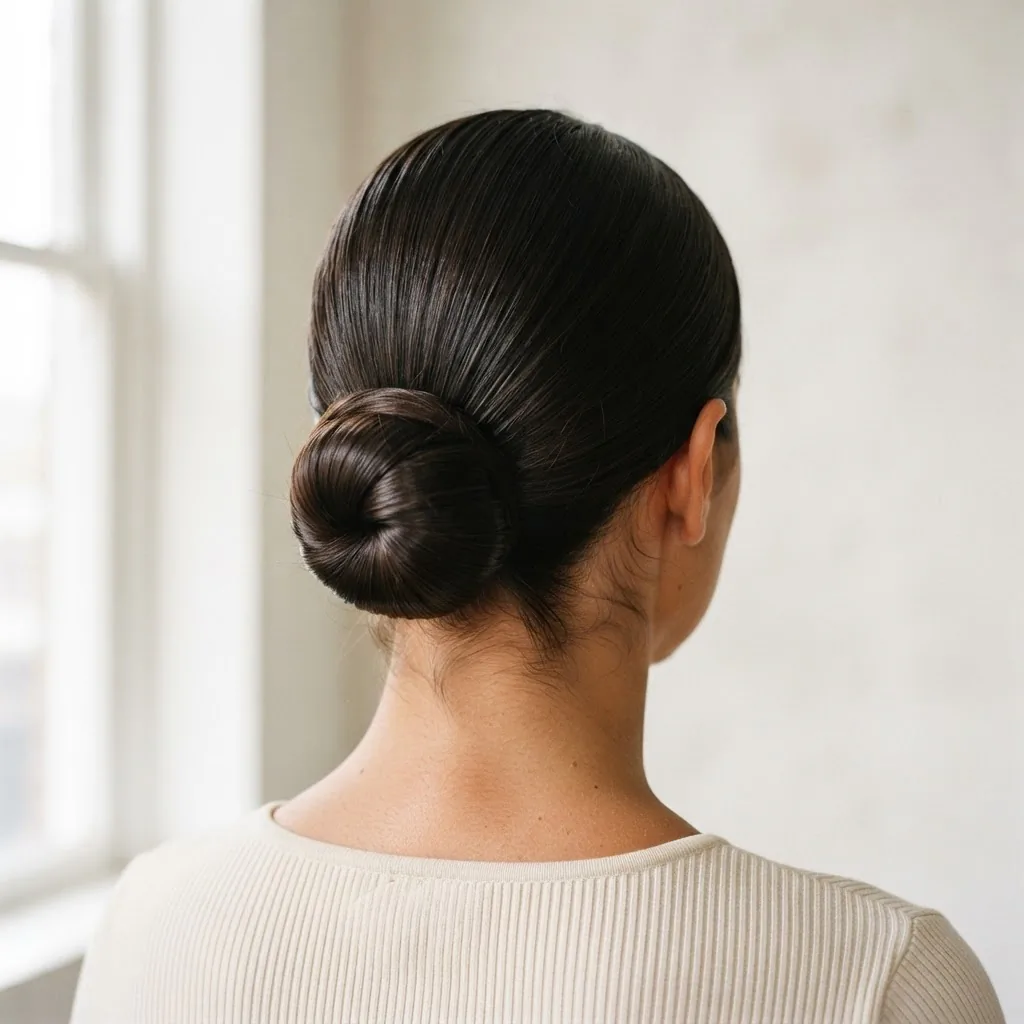
Your First Sleek Bun Tutorial (No Salon Skills Needed)
I want to be honest with you before we get into it. The sleek bun broke my spirit the first time I tried it. I had just started working at a salon in Austin, I was surrounded by people who could slick a bun in thirty seconds flat, and I went home and tried to recreate it on myself using random drugstore products and whatever brush was closest. The result was a lumpy, frizzy, slightly tragic ponytail situation. Not a bun. Not sleek. Not close.
Here is what I know now that I did not know then: the sleek bun is not about talent. It is about doing a few specific things in the right order, with the right tools, and understanding why each step actually matters. Once that clicked for me, the look became one of the fastest things I could pull off. And I genuinely believe it will for you too.
This tutorial covers the full picture. The core technique, how to adapt it by hair type, which products actually deliver (including budget options under five dollars), common beginner mistakes and exactly how to fix them, and how to protect your hair so you can wear this look regularly without consequence. Let’s get into it.
What You Actually Need Before You Start
The Tools:
You do not need a drawer full of specialty equipment. But the right brush matters more here than almost anywhere else in hair styling, so let’s cover it properly.
A boar bristle brush is the classic choice for a sleek bun, and there is real science behind that reputation. A 2024 study published in Skin Appendage Disorders on the NIH’s research platform found that boar bristle brushes distribute natural scalp oils from root to end, help close hair cuticles, and add surface smoothness that a regular plastic brush simply cannot replicate. The caveat, which the same study notes, is that boar bristle brushes are not suited for curly or coily hair because they disrupt the curl pattern and create frizz. If your hair is 3A curl or kinkier, skip to the natural hair section below for the right brush swap.
Beyond the brush, you will also need a fine-tooth rat-tail comb for parting and smoothing, at least one clear or snag-free elastic (not a metal-clasp hair tie), a handful of bobby pins in your hair color, and a light hold or medium hold hairspray to set everything at the end. If you are doing a high bun, hair clips for sectioning make the process easier.
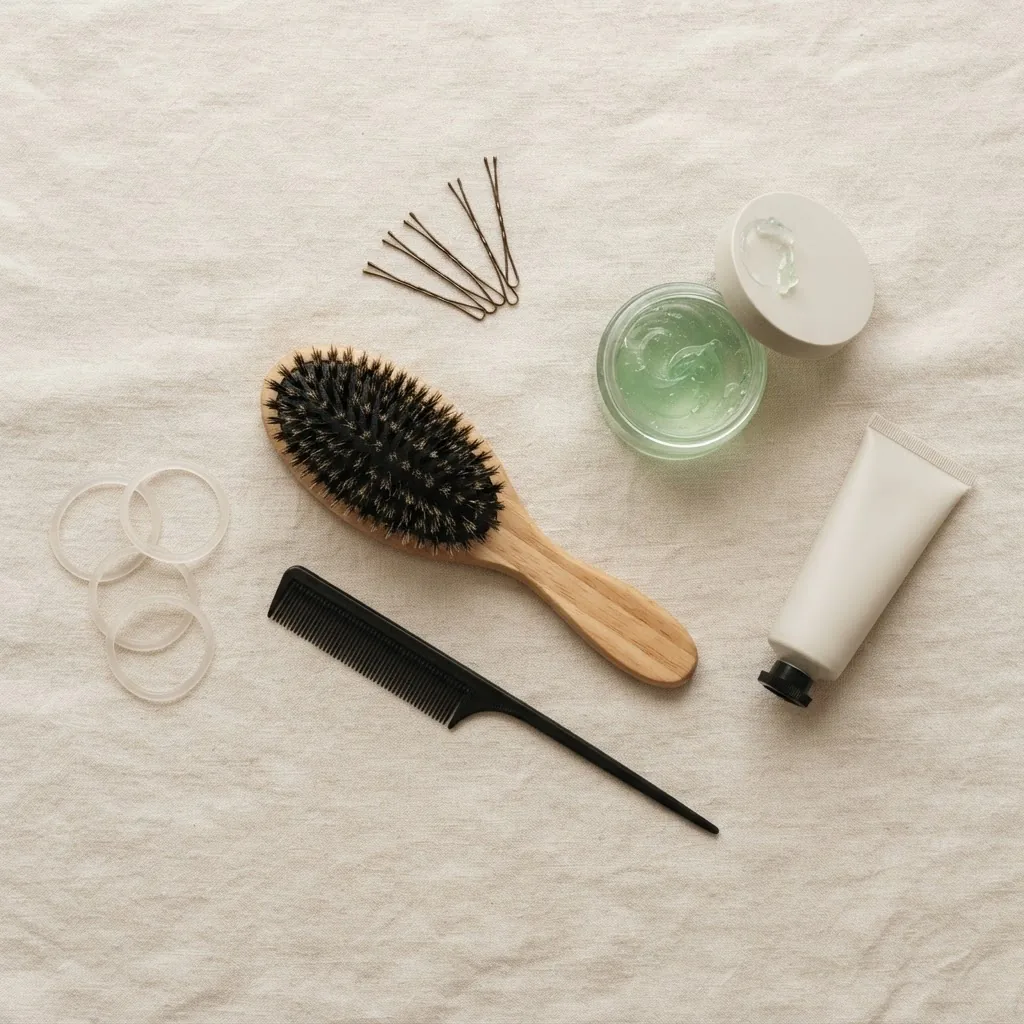
The Products:
There are three product categories that do the heavy lifting for a sleek bun, and you only need to choose one approach, not all three.
The first is a strong-hold gel. This is the most reliable option for most hair types, particularly if your hair has any wave, curl, or frizz tendency. Eco Styler Olive Oil Gel, which typically runs around three to five dollars for an eight-ounce tub, is one of the most consistently recommended options across the styling community for exactly this use. L.A. Looks Sport Gel at around three dollars is another strong performer. These are not “fancy” products. They work.
The second option is a wax stick or pomade. This approach is better for controlling flyaways on already-smooth hair. It gives a polished, satin-finish result rather than the harder set that gel delivers. If your hair is straight or fine and you mainly want to tame the frizz rather than lock a curl pattern flat, a wax stick is often the easier tool.
The third option, and the one stylists consistently rely on for a medium-weight finish, is a smoothing cream or styling cream applied to slightly damp hair before brushing back. This works beautifully on wavy hair and on natural textures when combined with a slicker gel on top.
Edge control is a separate product for your hairline specifically and your edges, and we will get to that in its own section.
The Core Sleek Bun Technique (Step by Step)
This is the base method that works on most hair types (straight, wavy, and slightly textured). The natural hair adaptation follows in the next section.
Step 1: Start with second or third-day hair, not freshly washed.
I know this sounds counterintuitive, but clean hair is actually slippery. It is harder to grip into a ponytail, harder to slick down without it sliding, and the bun tends to collapse faster. Second-day hair has just enough natural texture and oil to hold. If your hair is freshly washed, a light layer of dry shampoo at the roots gives it that grip back.
Step 2: Apply your product to dry or slightly damp hair.
Work your chosen product through the sections of hair you are about to pull back. If you are doing a low bun, apply from root to end along the sides and back. If you are doing a high bun, apply from temple to crown on both sides. The key is to coat the hair evenly so you are not fighting some sections while others are smooth.
Step 3: Brush everything back with firm, deliberate strokes.
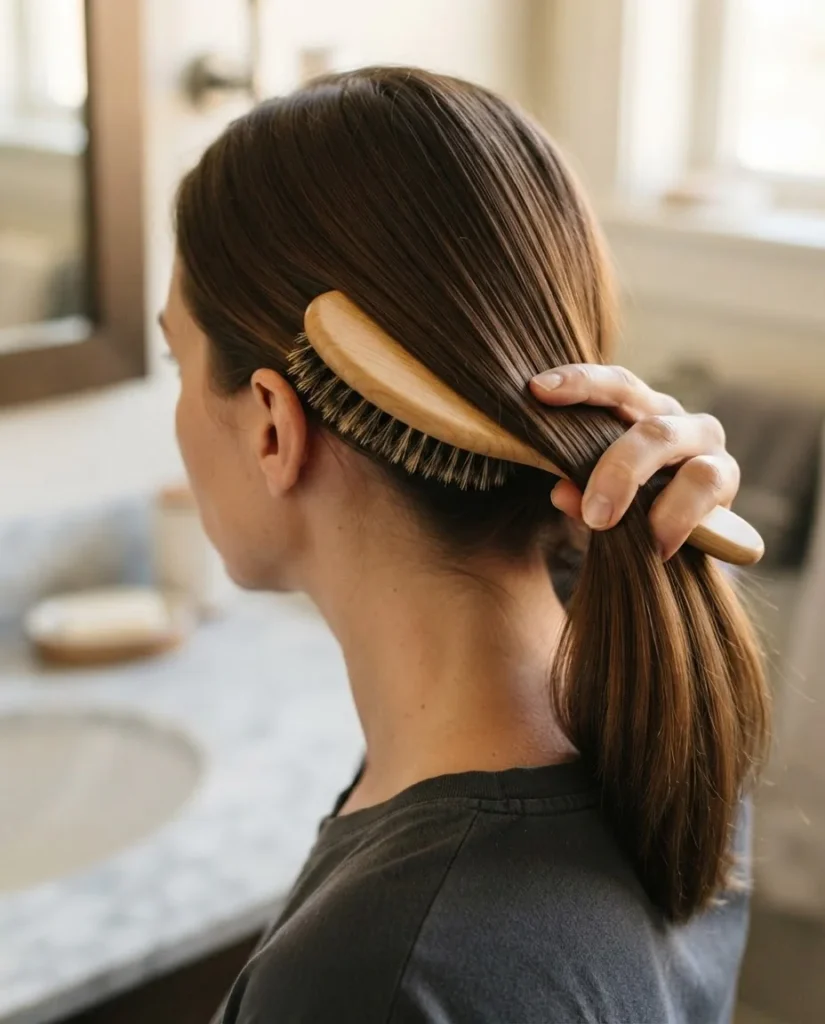
Brush from the hairline back toward where you want the bun to sit. Use the full length of the brush, not short choppy strokes, and keep consistent pressure so you are genuinely flattening the cuticle rather than just moving hair around. If bumps appear near the temples or nape, re-apply a tiny bit of product to that section and brush again before moving on.
For more detailed guidance on the professional slick-back method, Davines has a well-structured breakdown of the slick-back bun technique that aligns with what I watched stylists do constantly in the salon and is worth bookmarking as a reference.
Step 4: Secure the ponytail base.
Hold the smooth hair firmly with one hand while you loop the elastic with the other. Do not let go of the base as you tie, because that moment of releasing the hair is when bumps sneak back in. If you are doing a high bun, position your ponytail at the very top of your head. For a low bun, sit it at the nape or just above. For a mid bun, anchor at the back of your crown.
Step 5: Twist and wrap the bun.
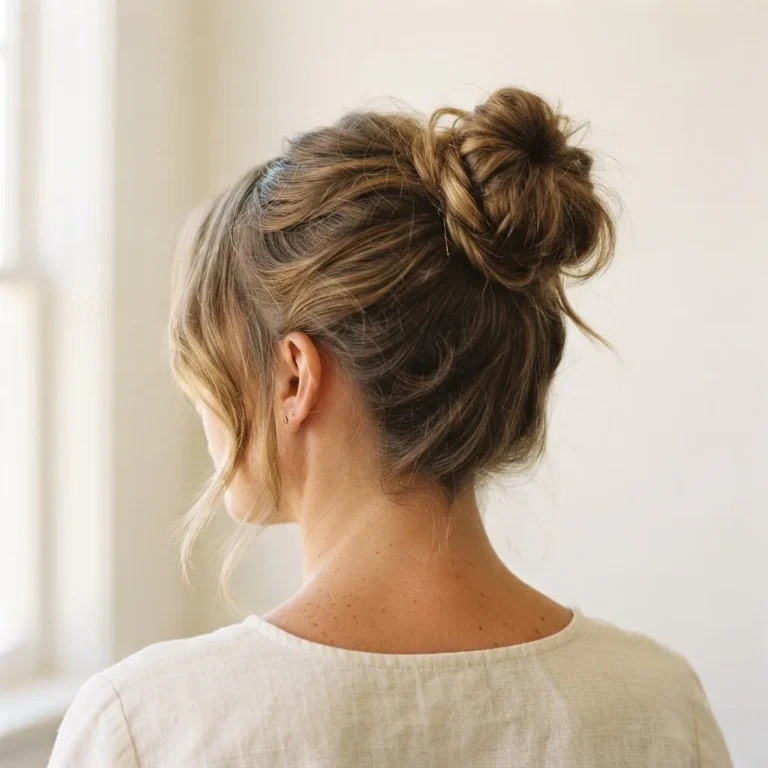
Twist the ponytail down the length, then wrap it around the base in a neat circle. Hold it flat and close to the head. If you wrap it outward (away from the scalp) instead of flat, you get a puffy bun rather than a sleek one. This is one of the most common beginner mistakes, and once you feel the difference, you will not do it again.
Step 6: Pin it down.
Slide bobby pins around the circumference of the bun, angling them inward toward the elastic. For a bun that stays flat, you need pins going in multiple directions, not all from the same side. Aim for at least four to six pins, spaced evenly. If your bun keeps sliding or drooping, it usually means you need more pins or they are not reaching the elastic base.
Step 7: Smooth the surface and nape.
Using your fingers or the back of your comb, press down any final bumps on top. Then take a clean toothbrush or edge brush dipped in a tiny amount of gel and smooth down the nape hairs. These short hairs at the back of the neck are often the difference between a truly sleek bun and one that just looks “almost” done.
Step 8: Set with hairspray and a heat option if needed.
A light to medium hairspray over the whole bun seals the finish and catches flyaways. For extra longevity, some people blast the finished bun with the cool-shot setting on their blow dryer for thirty seconds. The cool air sets the product faster and firms everything up without adding heat damage.
How to Do a Sleek Bun on Natural Hair (4A, 4B, and 4C Textures)
This deserves its own honest conversation because the standard tutorial completely fails natural hair. Your curl pattern is working differently, your hair responds to moisture and product in a specific way, and the brush you use changes entirely.
First, swap the boar bristle brush for a soft-bristle brush or a paddle brush used on well-moisturized hair. The boar bristle will disrupt your curl pattern and create frizz rather than sleekness. Instead, work with your hair’s natural shrinkage rather than against it.
The method that consistently gets the best results on 4A to 4C textures involves starting on damp (not soaking wet) hair. Apply a thick, strong-hold gel generously through the hair, then use a wide-tooth comb to distribute it from root to tip. The gel acts as a slip layer that lets you smooth the hair without breakage. From there, brush the hair back with a firm, soft-bristle styling brush in smooth sections. The damp gel will help “mold” the hair flat rather than fighting against its natural volume.
Strong-hold gels are non-negotiable for 4C hair doing a sleek bun. Eco Styler, Gorilla Snot (which runs about four to six dollars), and Flaxseed gel (which you can actually make at home with flaxseeds and water for almost nothing) are the most consistently recommended options across natural hair communities. For edge control specifically, Pattern Beauty Edge Control and the Shea Moisture Coconut and Hibiscus Edge Gel are frequently cited as top performers for both 4C textures and softer curl types.
For a protective style finish, consider wrapping the bun in a satin scarf overnight or between wear to maintain the sleekness longer.
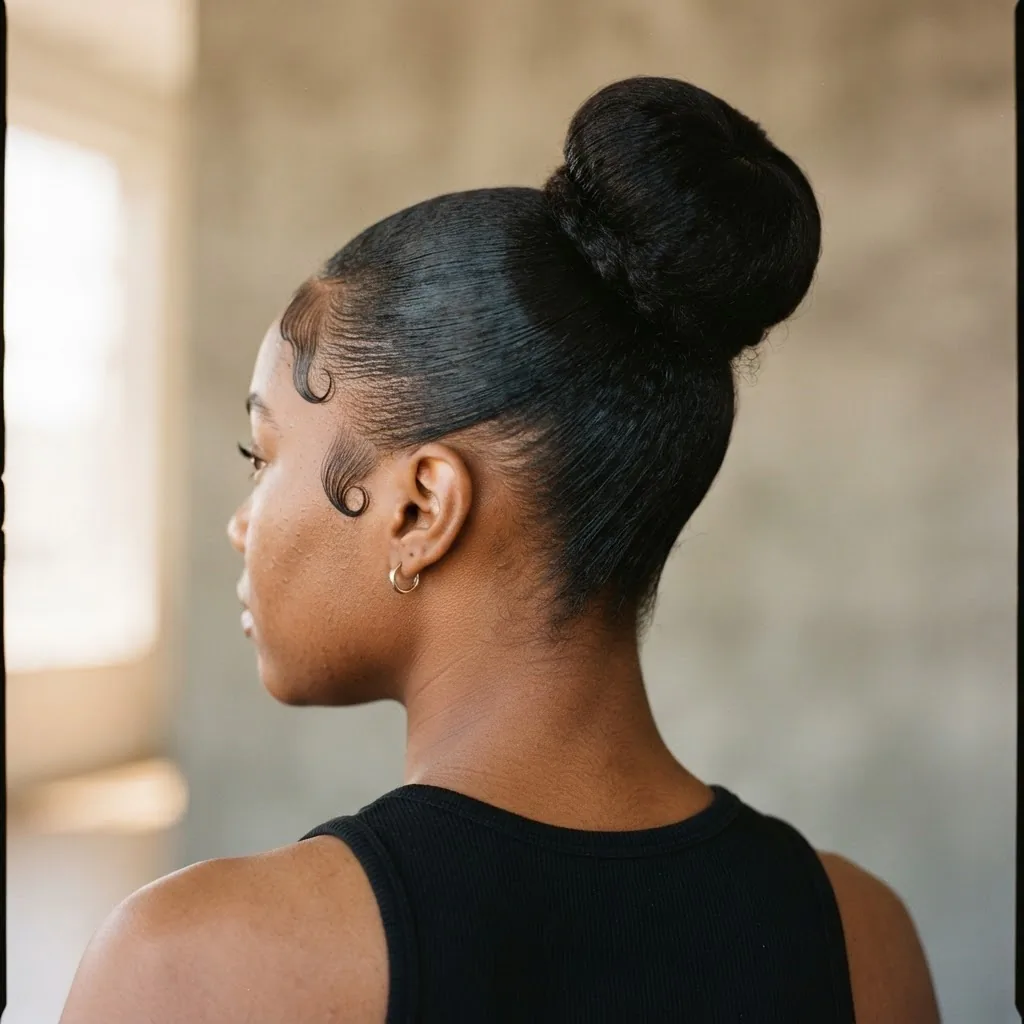
This also reduces friction-based frizz that undoes your work.
How to Lay Your Edges (The Part Most People Skip)
Edges are the conversation I never saw happening in standard bun tutorials, and I think that is a mistake because they make or break the final look. Laid edges turn a pulled-back style into something polished. Skipped edges leave the style feeling unfinished no matter how perfect the bun itself is.
Edge control is a separate product from your slicking gel and it works specifically on the short, fine baby hairs along your hairline. Apply a small amount to an edge brush or an old toothbrush, then use it to press those hairs down in a C-shape along your temples and forehead, working in small sections. You can lay them flat, wave them, or swoop them into a shape.
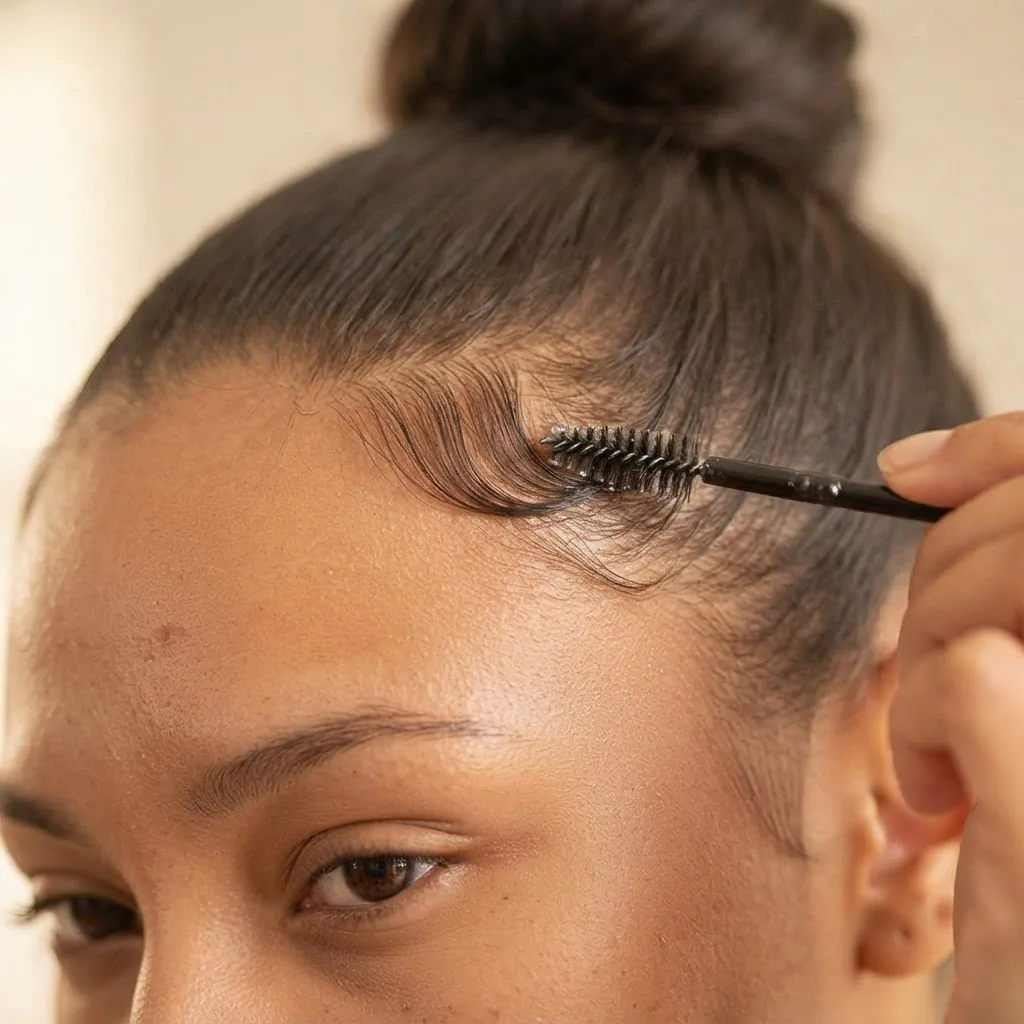
What you want to avoid is using so much product that your hairline looks wet or greasy, because that tips the style from polished to overdone.
The most important thing I want to say about edges: please do not pull your hairline backward with tension just to achieve a more dramatic slick-back. I watched stylists in the salon caution clients about this constantly, and it matters. Repeated tension at the edges, particularly if you are wearing this style daily, can cause traction at the hairline over time. Be gentle with that area. Your style does not need to hurt to look good.
Choosing Your Bun Placement (High, Low, or Side)
Where you place the bun changes the vibe of the look almost entirely, and it also interacts with face shape in ways that are worth knowing before you choose.
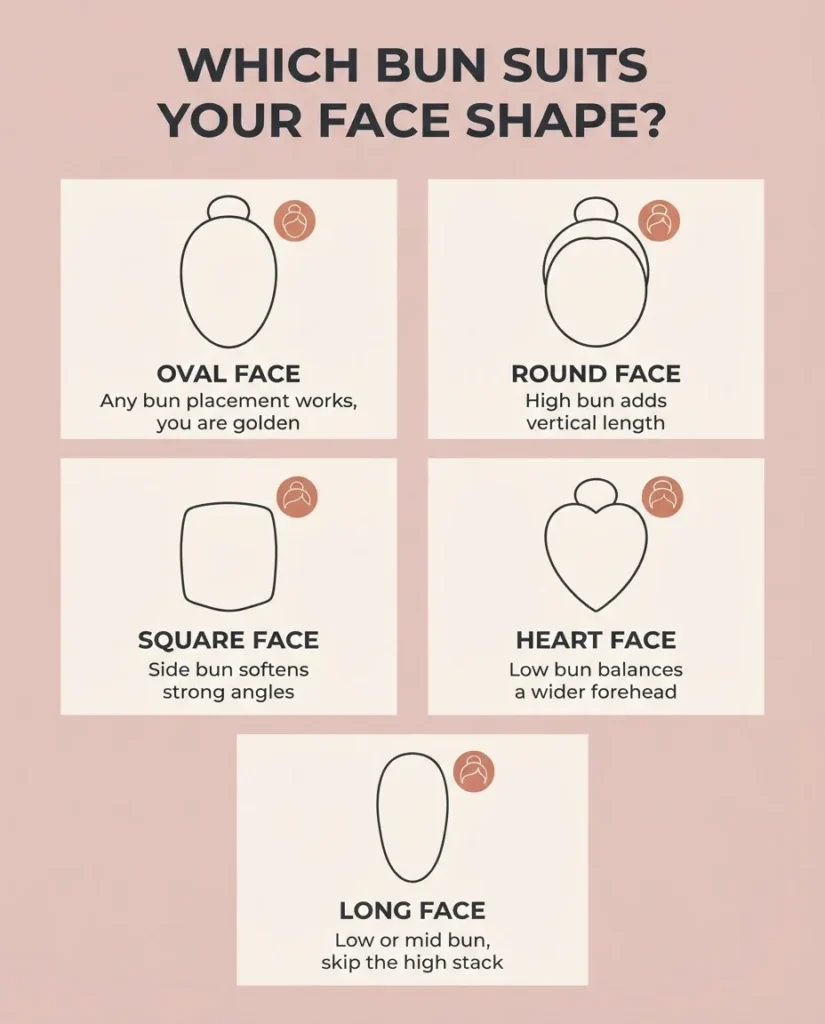
High bun sits at the very crown or above it. It is the most dramatic and editorial version of the look, it elongates the neck, and it reads instantly as the classic clean-girl aesthetic you see all over Pinterest. It works especially well for round and square face shapes because the vertical height adds visual length. It is also the most technically demanding to get smooth because the sides and temples have to travel the furthest to reach the ponytail, and any inconsistency in tension becomes very visible.
Low bun sits at the nape of the neck. This is the most elegant and wearable version, it reads as sophisticated for events or work, and it is generally easier for beginners because shorter brush strokes and less distance to travel means fewer bumps. Oval face shapes can wear any placement beautifully, but the low bun is particularly flattering on longer or oblong face shapes because it does not add vertical height.
Side bun sits slightly off-center to one side, usually at the nape or mid-back. It is the most playful version of the three. If you have a strong jawline or square face shape, a side bun softens the symmetry in a really lovely way.
For the center-part sleek bun that you see constantly on Pinterest right now, the key is getting that part absolutely sharp before you do anything else. Use the pointed end of your rat-tail comb to draw a clean center line from hairline to crown before you apply any product. Once product is on, adjusting the part is frustrating and usually results in a visible gap.
The Traction and Tension Conversation (Please Read This)
I am going to be real with you here because I care about your hair more than I care about telling you a look is completely consequence-free when it is not.
The sleek bun is a beautiful style, and it is wearable regularly when done right. But there are real hair-health things to understand. The American Academy of Dermatology explicitly lists tight buns among the hairstyles that can cause traction alopecia, which is a form of hair loss caused by repeated, sustained tension on the follicle. This is not a scare tactic. It is just true, and you deserve to know it.
The risk goes up when the style is pulled very tight every single day, when the same ponytail is always placed at exactly the same point on the head, or when you sleep in it without any protection. It goes down when you vary the tension, vary the placement, give your hair a break on some days, and use coated or cloth elastics rather than tight rubber bands.
If you ever notice soreness at the temples or hairline while wearing this style, that is your scalp telling you the tension is too high. You can absolutely loosen the style and re-do it with less pull. A sleek bun does not have to feel tight to look tight, and that is worth practicing.
Separately, if you get headaches after wearing an updo, Medical News Today’s guide to ponytail headaches explains that the pain comes from sustained pressure on the scalp’s nerve endings and can usually be relieved by loosening or letting the hair down. One trick that helps is the double-ponytail method: secure two elastics stacked one above the other rather than one tight one, which distributes the pull across a wider area.
Common Beginner Mistakes (And Exactly How to Fix Them)
“My bun looks bumpy no matter what I do.” The most common cause is inconsistent tension while brushing. Some sections got pulled tight, others stayed loose, and the elastic locked in that unevenness. Fix it by releasing the ponytail, re-applying a small amount of product to the problem sections, and brushing them individually before re-tying. Patience in the brushing phase saves you from re-doing the whole thing.
“My bun keeps sliding down by lunchtime.” Not enough pins, or pins placed without reaching the elastic base. Check that each bobby pin is angled inward and catches the elastic. Six to eight pins for a medium bun is not excessive. If the bun still slides, try a thinner elastic as your first tie and a second one on top for extra anchor.
“The top of my bun has flyaways I cannot kill.” Apply a tiny mist of hairspray to your palm, then lightly press your hand over the top of the bun. The warmth of your hand helps the product bind those short hairs. A light mist directly onto the bun from about eight inches away also works. Do not drench it because too much hairspray makes hair stiff and crunchy, not smooth.
“My hair is too short / too fine to make a full bun.” Short and fine hair can absolutely do this look. For shorter hair, a smaller bun is not a failure, it is the proportional result and often looks incredibly elegant. Use more pins to make up for less hair mass. For fine hair, a tiny bit of dry shampoo or texturizing spray at the roots before styling gives grip that fine hair naturally lacks. One important note for fine hair: avoid very tight high buns on fine hair every day because the follicles can be more susceptible to traction stress. Rotate between the low bun and a loose version.
“I can’t get the top to look smooth, just the back and sides.” The crown is almost always the hardest spot. Apply product to the crown section last, before gathering, and use downward brush strokes from the crown toward the ponytail elastic rather than pulling upward. Upward strokes lift the cuticle and create frizz even with product on.
18 Sleek Bun Looks to Try (A Visual Reference Guide)
Here is a quick reference of the sleek bun variations worth exploring once you have the base method down. Think of each of these as a Pinterest board category you can come back to:
The center-part high bun is the clean-girl classic. The off-center high bun feels slightly more editorial. The low nape bun with a middle part is elegant and work-appropriate. The low bun with a deep side part leans romantic. The mini bun (great for shorter hair) is clean and understated. The wrapped-base bun (where you take a thin section of hair and coil it around the elastic to hide it) elevates the look instantly. The two-section twisted bun gives extra grip for slippery hair. The faux sleek bun using a bun form works brilliantly for thin hair that needs more visual volume. The textured-on-top sleek bun combines slick sides with a slightly looser crown. The sculptural swoop bun with a dramatic edge wave is the editorial version you save on Pinterest and think is impossible (it is not). The sleek double bun is the playful variation. The asymmetric low side bun is elegant without being predictable. The chignon (a low bun with a tucked finish) looks more expensive than any other variation. The braided bun combines a slicked-back section with a braid incorporated into the bun itself. The bubble bun silhouette slicks the nape and sides while the bun shape is deliberately rounded. The ribbon or scarf-wrapped sleek bun adds a styling detail that dresses it up. The wet-look sleek bun leans into the gel finish rather than hiding it. The blowout bun gives a softer version for days you want polish without total sleekness.
Products Worth Knowing (Budget to Mid-Range)
I am not here to tell you that you need to spend a lot to get a good result. Honestly, some of the best-performing products for this look cost less than a coffee.
For gel: Eco Styler Olive Oil Gel (around three to five dollars), L.A. Looks Sport (around three dollars), and Gorilla Snot Gel (around four to six dollars) are all consistently praised for strong hold without major flaking.
For wax sticks and pomade: the Tresemme Two Smooth Hold Wax Stick and generic wax sticks available on Amazon for around five to ten dollars both work well for slicking back already-smooth hair.
For edge control: Shea Moisture Coconut and Hibiscus Edge Gel gives a nice hold with a nourishing ingredient base. Pattern Beauty Edge Control is a step up in price but is one of the most reviewed and praised options specifically for natural and coily textures. Both are worth the investment if edges are a priority in your styling routine.
For hairspray: got2b Glued Blasting Freeze Spray is a cult favorite for a reason, and it is drugstore-priced. For a lighter hold that still sets, Garnier Fructis Flexible Hold is gentler on hair texture.
One thing I will always say: you do not need to buy five products before you try the look once. Pick one smoothing product and one finishing spray, try the tutorial, see what your hair needs, and build from there.
Making the Style Last
A sleek bun that falls apart by 2 p.m. is a product-placement problem or a pin problem, almost always. Before you go, do a quick check: is every pin set? Is there any section of the bun that feels loose if you press it gently? Those are the spots that will unravel first.
At night, if you want to preserve the bun for a second day, wrap a satin scarf around the bun and the edges. Silk or satin reduces friction against your pillowcase so the hairs that took the most work to lay flat stay where you put them.
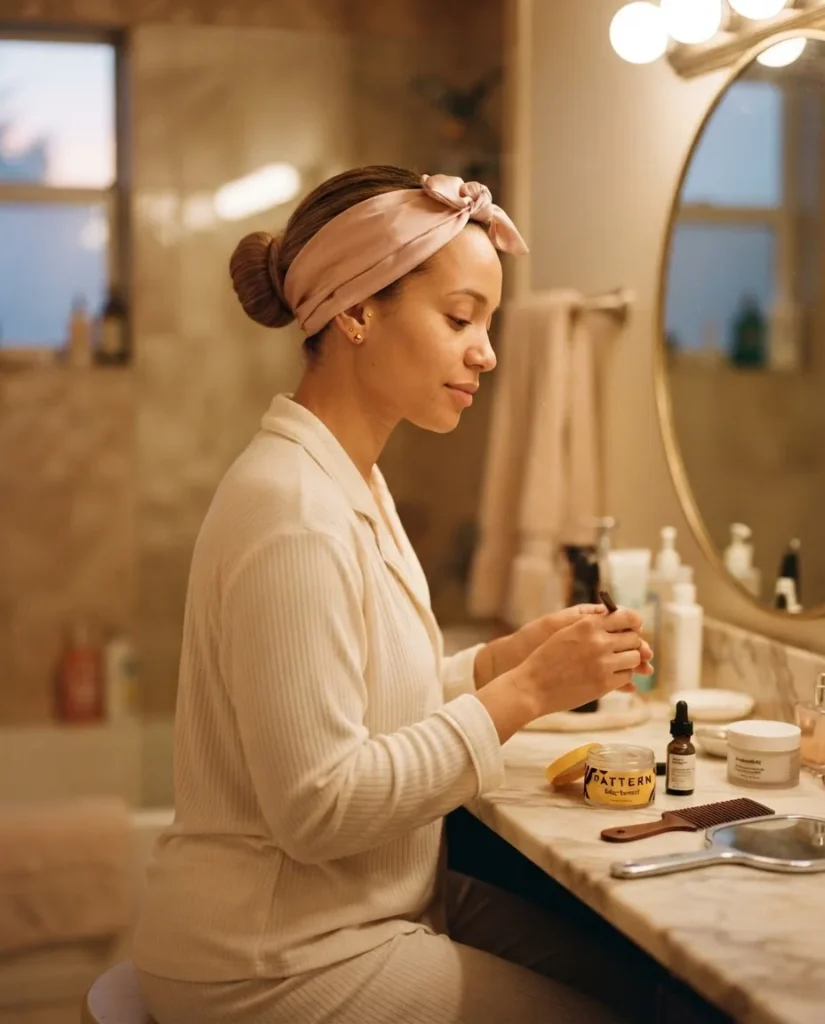
Sleeping directly on a cotton pillowcase will undo most of your edge work overnight.
To re-sleek a style that has lost its shine by midday, a very light mist of water or a spray bottle with a tiny amount of diluted gel can press down any areas that have lifted, without having to redo the whole style from scratch.
One last thing before I let you go. The first time you do this, it probably will not be perfect. That is not a reflection of your hair or your ability. It is just the learning curve of learning where your specific hair needs product, how much tension it needs, and where it likes to resist. Give it two or three tries before you decide whether it works for you.
Most people who feel like the sleek bun “doesn’t work on my hair” are one or two adjustments away from getting it.
You have got this.