Cute Easter Nails: 18 Designs From Simple to Showstopping
Every year, somewhere around mid-March, my phone starts buzzing with the same message from friends and readers. It’s always a screenshot of some gorgeous pastel manicure and a version of the same question: “Can I actually do this at home?” And every year my answer is the same. Yes, you can. You probably need fewer tools than you think, and the technique is almost always more forgiving than it looks in the photo.
Easter is genuinely one of my favorite nail seasons. The palette is soft and pretty without being boring, the designs range from zero-skill-required to genuinely impressive, and the whole vibe is spring-forward and joyful in a way that makes you want to actually look at your hands. Whether you’re doing your nails the night before Easter Sunday brunch or planning ahead so you can take your time and enjoy the process, this list has you covered.
I’ve organized these 18 designs roughly from easiest to more involved, but I want to say upfront that “more involved” does not mean “only for experts.” It means it needs a little more patience and maybe one extra tool. I’ll walk you through the technique for each one, flag what short nails need to know, and tell you honestly where beginners tend to hit a wall and how to fix it. Let’s go.
Before You Touch a Polish Bottle: The Prep That Makes Everything Stick
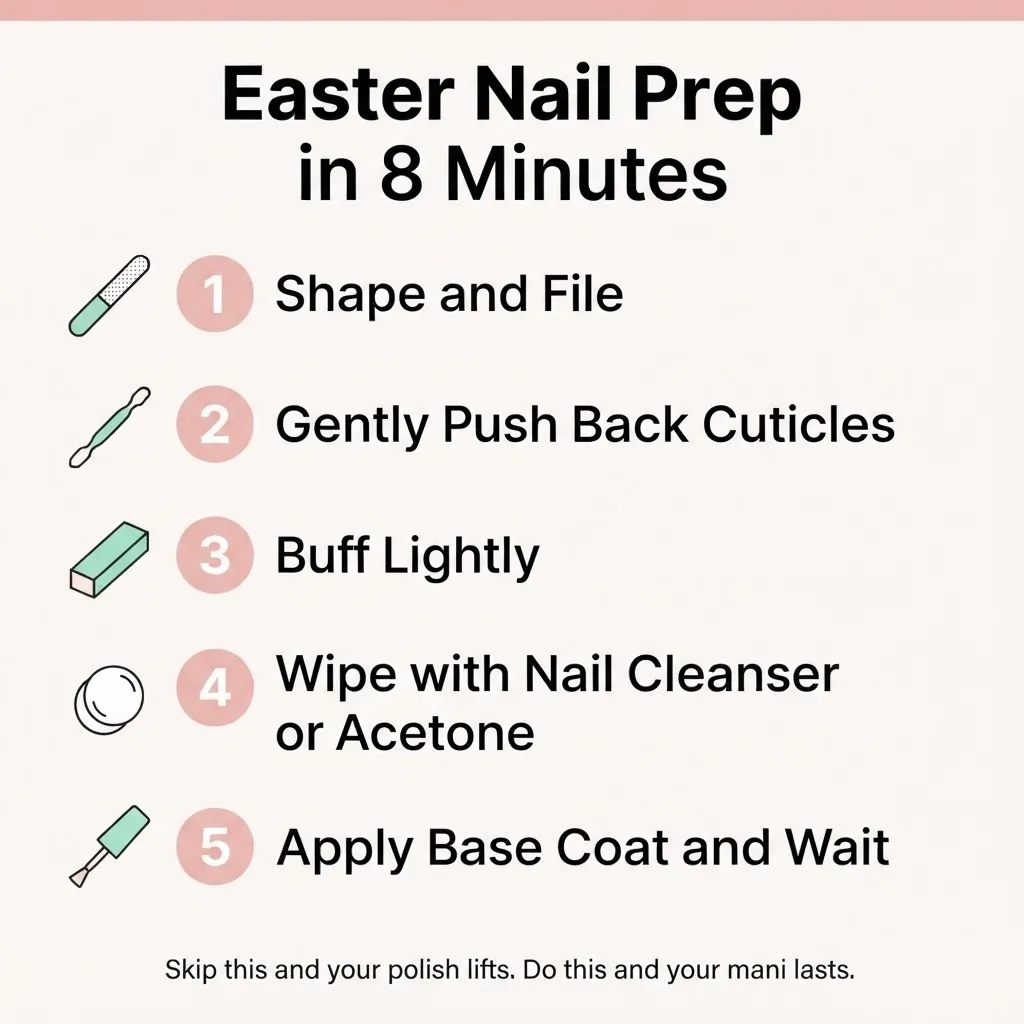
I know, I know. You want to skip to the cute part. But the single biggest reason a beautiful manicure looks bad or lifts within two days is not the polish, it’s skipped prep. The American Academy of Dermatology’s tips for healthy nails are a good starting foundation: keep nails clean and dry, file in one direction rather than sawing back and forth, and keep cuticles gently pushed back rather than cut. Cutting your cuticles is genuinely not necessary for a great manicure and it creates a risk of irritation or infection. Instead, use a rubber or wooden cuticle pusher after a warm soak to gently ease them back.
From there: buff lightly to remove surface shine (this helps polish grip), wipe each nail with a lint-free pad and a little acetone or a dedicated nail cleanser to remove any oil, apply your base coat, and let it set fully before any color goes on. This whole step takes maybe eight minutes. It is one hundred percent worth it.
The Simple Side: Designs 1 to 6 (No Nail Art Skills Required)
Design 1: The Pastel Solid with a Single White Dot Accent
This is legitimately where I started. Pick any Easter pastel, powder pink, lavender, mint, butter yellow, and paint all four fingers in that color. On your ring finger, do two or three neat white dots using the ball end of a dotting tool or even the flat end of a bobby pin. That’s it. The asymmetry makes it look intentional, the dots look purposeful, and it takes the look from “plain polish” to “I did something.” If you’ve never held a dotting tool before, this is the design to practice it on.
Short nail tip: this works on literally any length. Shorter nails actually look really clean with a single dot accent because there’s no empty space competing for attention.
Design 2: Easter Pastel Color Block (One Color Per Nail)
Use a different pastel on each finger. The most popular combination right now is powder pink, butter yellow, lavender, mint green, and a soft peach or creamy white for the thumb. Apply two clean coats of each, cap the edge of each nail with your color (meaning brush across the very tip too, not just the surface), and seal with a glossy top coat. That’s the whole design. It photographs beautifully and takes zero artistic skill.
Short nail tip: color blocking is one of the most short-nail-flattering designs because you’re drawing attention to color contrast rather than length. Works best with an oval or squoval shape.
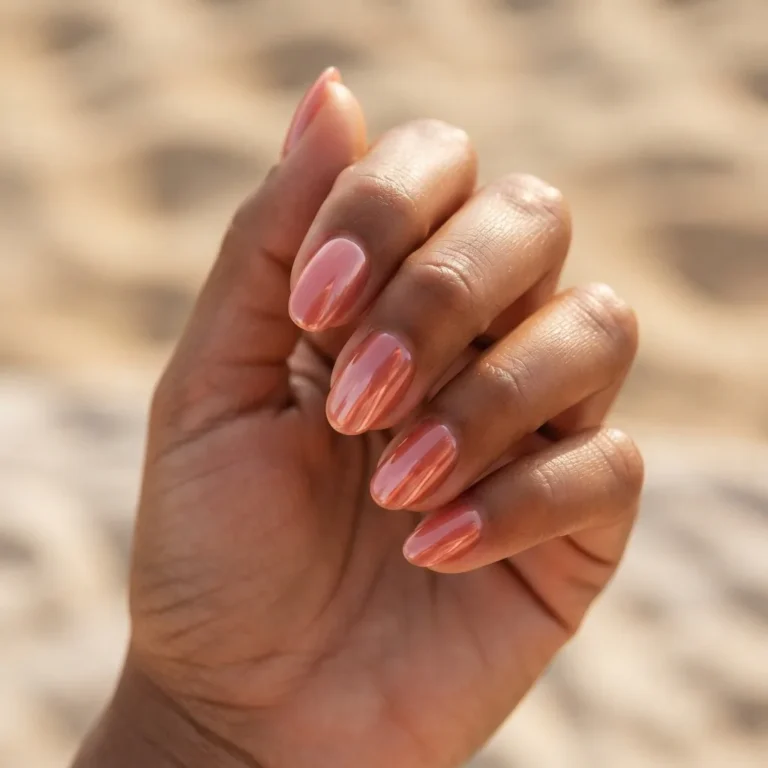
Design 3: Jelly Sheer Pastel Nails
Sheer jelly polishes, the ones that look a little translucent and gel-like without actually being gel, are everywhere right now and they are absolutely effortless. A sheer pink, a sheer lavender, or a milky white with the faintest blue or green undertone gives that glazed, soft spring look. Apply three to four thin coats for a buildable sheer finish, or keep it at two for a barely-there effect. These are incredibly forgiving because the sheer formula means brush strokes and minor flooding don’t show up the way they do with an opaque polish.
Design 4: Pastel French Tip, Colored Version
Instead of white tips, use a pastel. Lavender tips on a nude or milky base. Mint tips on a soft pink. Butter yellow on white. The method is the same as a classic French tip: use a striping brush or a nail art liner brush loaded with your chosen pastel, and draw a curved smile line at the tip of the nail. Follow it with a second pass to fill in the tip and clean up the edge with a cleanup brush dipped in acetone. If you want an even easier cheat, press-on French tip guides (little sticky stickers) are sold at most drugstores and create a perfect smile line while you fill in the tip with a regular brush.
Short nail tip: for shorter nails, keep the tip width very thin, even one or two millimeters. A thinner tip on a shorter nail looks elegant, not stubby.
Design 5: Single-Nail Sprig of Flowers (Dotting Tool Method)
This is the design that changed how I thought about nail art. You do not need to draw anything. Using a medium dotting tool, place five dots in a loose circle on your accent nail (usually the ring finger), each dot roughly the size of a small lentil. That circle of dots is now a flower. Add a smaller dot in a contrasting color in the center. Add a tiny green stroke with the thin end of a liner brush for a leaf, or skip it entirely. It genuinely looks like a real floral design and it takes about three minutes per nail once you’ve practiced twice.
Design 6: Negative Space Pastel Daisy
On a bare or lightly buffed natural nail with base coat, use a white polish and a liner brush to draw a simple daisy outline: five or six elongated petals radiating from a center point. Fill them in with white, then add a small yellow dot in the center. The unpainted nail plate becomes part of the design, which is the whole charm of negative space nail art. This is an especially good option for people who are nervous about thick coats of color, because you’re working with less, not more.
The Middle Ground: Designs 7 to 12 (One New Technique Each)
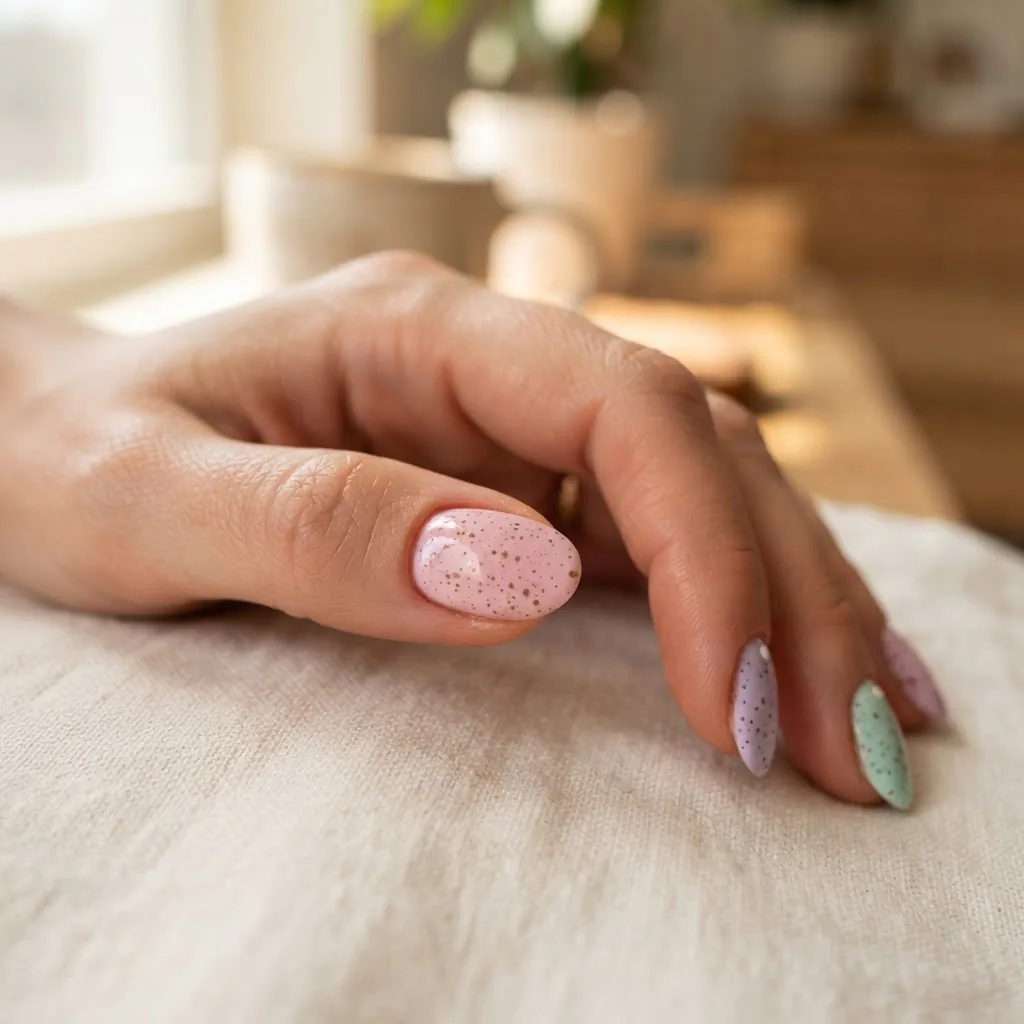
Design 7: Speckled Easter Egg Nails (The Star of the Season)
This is the Easter nail design I see absolutely everywhere, and I understand why because it looks stunning, takes less than five minutes to add once your base is dry, and the technique is genuinely beginner-proof. Here’s exactly how it works.
Start with a pastel base, any of the Easter egg shades mentioned above. Let it dry completely or cure if you’re using gel. Now take a stiff-bristled brush, an old toothbrush that you’ve cut the handle down on, a fan brush, or even a spoolie, and dip it lightly into a darker contrasting polish. Brown, dark green, navy, or black all work. Wipe off most of the polish on a paper towel so the brush is nearly dry. Then hold it over your nail and run your thumb along the bristles so they flick tiny specks of color onto the nail. The specks should be small and varied in size. Practice on a piece of paper first. Seal with top coat when dry.
The most common beginner mistake here is overloading the brush, which leads to big splattery blobs rather than delicate speckles. Go too dry rather than too wet. You can always add more specks, but you can’t un-blob them once they’re there.
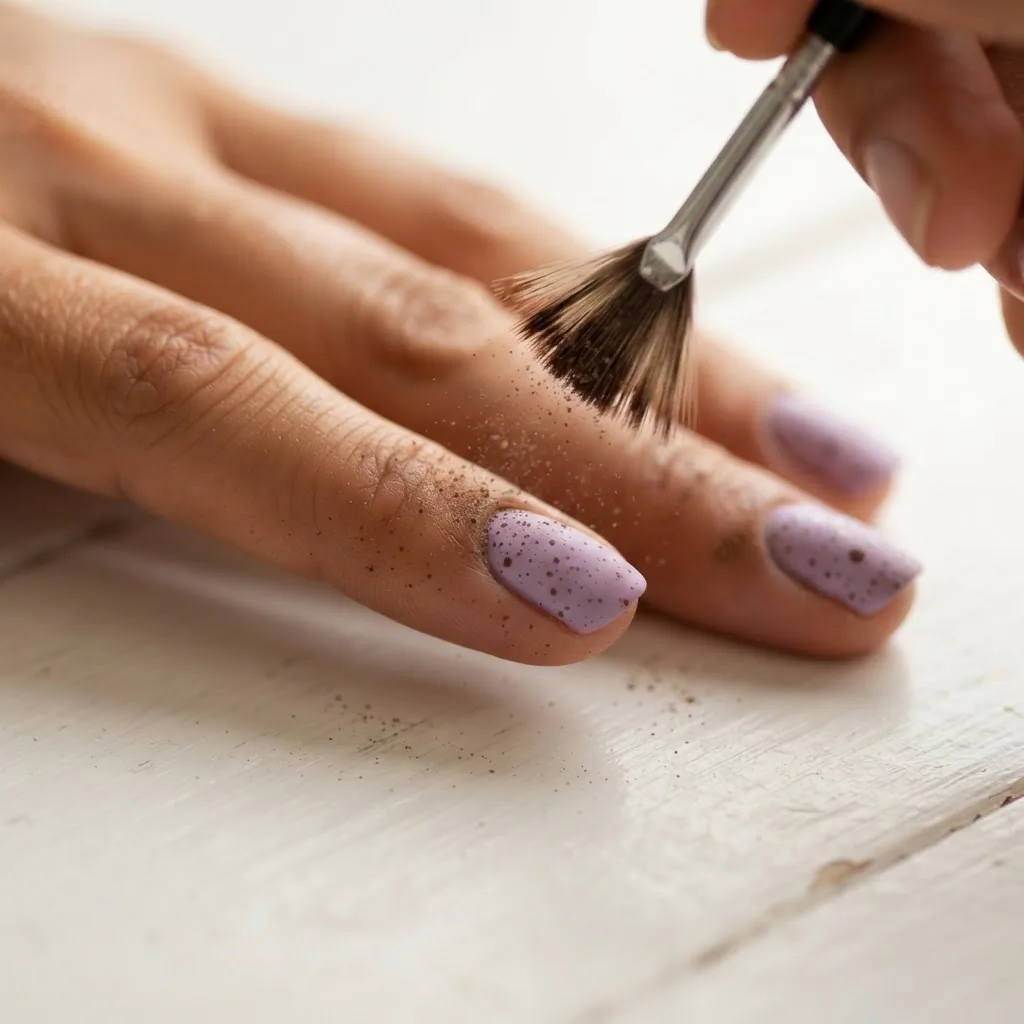
For detailed visual guidance on the speckle technique, this tutorial from Northern Nail Polish breaks it down clearly with photos.
Short nail tip: speckle works especially well on shorter nails because the design fills the whole nail in a way that reads as intentional rather than sparse.
Design 8: Pastel Aura Nails
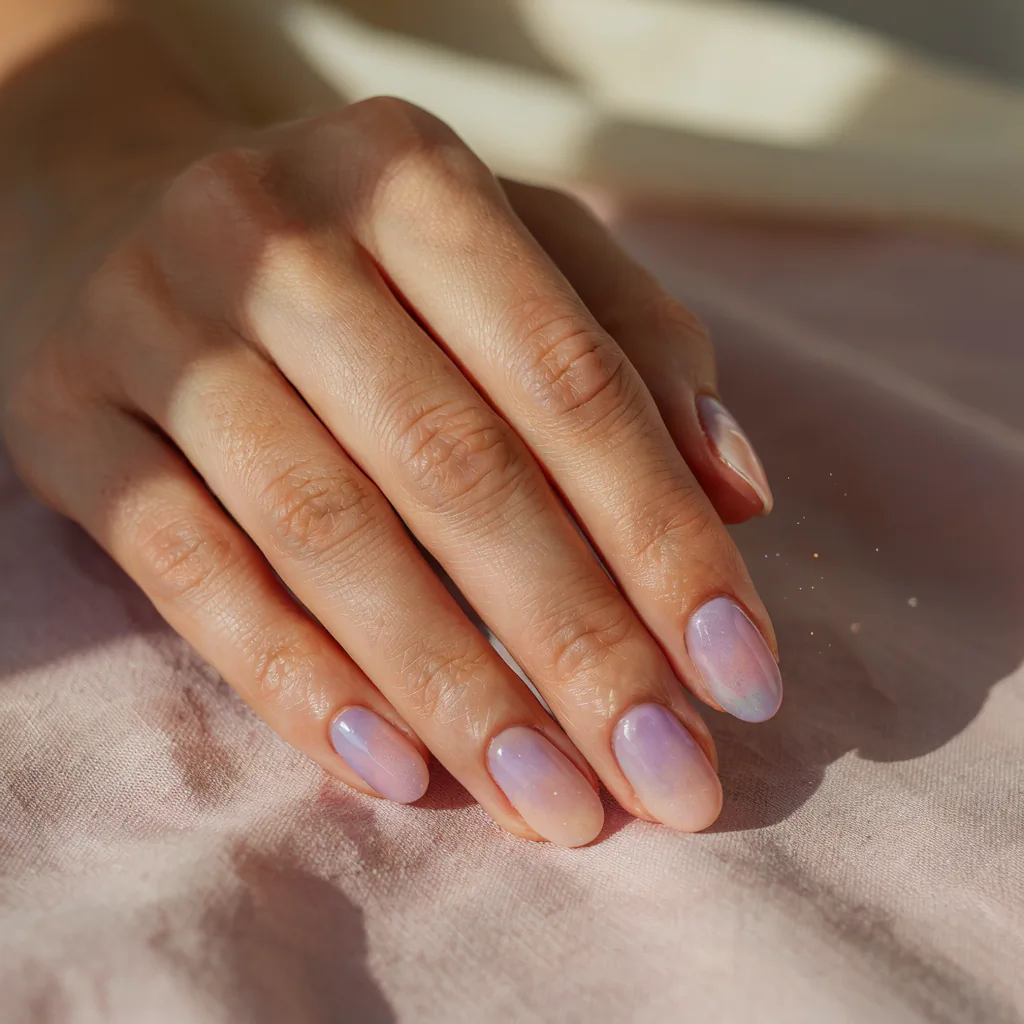
Aura nails have been trending since 2023 and they’ve absolutely found their Easter moment in pastel form. The look is a soft halo of color that seems to glow from inside the nail, like a watercolor wash. To recreate it at home, apply a light neutral or white base. While it’s still slightly tacky, or after using a gel base that’s been cured, use a small piece of sponge or an eyeshadow blending brush to dab your chosen pastel polish in the center of the nail. Blend the edges outward in a circular motion. Add a second slightly different pastel around the outer edges and blend where they meet. The effect is intentionally soft and imperfect, which makes it very beginner-friendly. The imprecision is the whole point.
Design 9: Two-Toned Ombre Tips
Using a makeup sponge, apply two complementary pastel shades side by side on the sponge, then dab the sponge onto the tip of the nail, moving from tip toward the center in light, bouncing motions. Blend with a clean sponge while the polish is still wet. Repeat two to three times to build intensity. Clean up the skin around the nail with acetone on a brush, seal with top coat. Lavender into pink is dreamy. Mint into white is fresh. Butter yellow into peach is so spring.
Design 10: Easter Bunny Accent Nail
One bunny nail on an otherwise solid manicure is deeply cute and much less intimidating than an all-over design. Apply a white or pale pink base on your accent nail. Using a small liner brush and white polish, draw a round head shape in the center of the nail, then add two tall, slightly tapered ears above it. Fill in the ears with a touch of soft pink in the center. Use a dotting tool to add two tiny black dot eyes and a small pink dot for the nose. One tiny curved line below the nose for the mouth. Seal with top coat. If your liner brushes are too stiff, soak the tip in a little warm water to soften it before you begin.
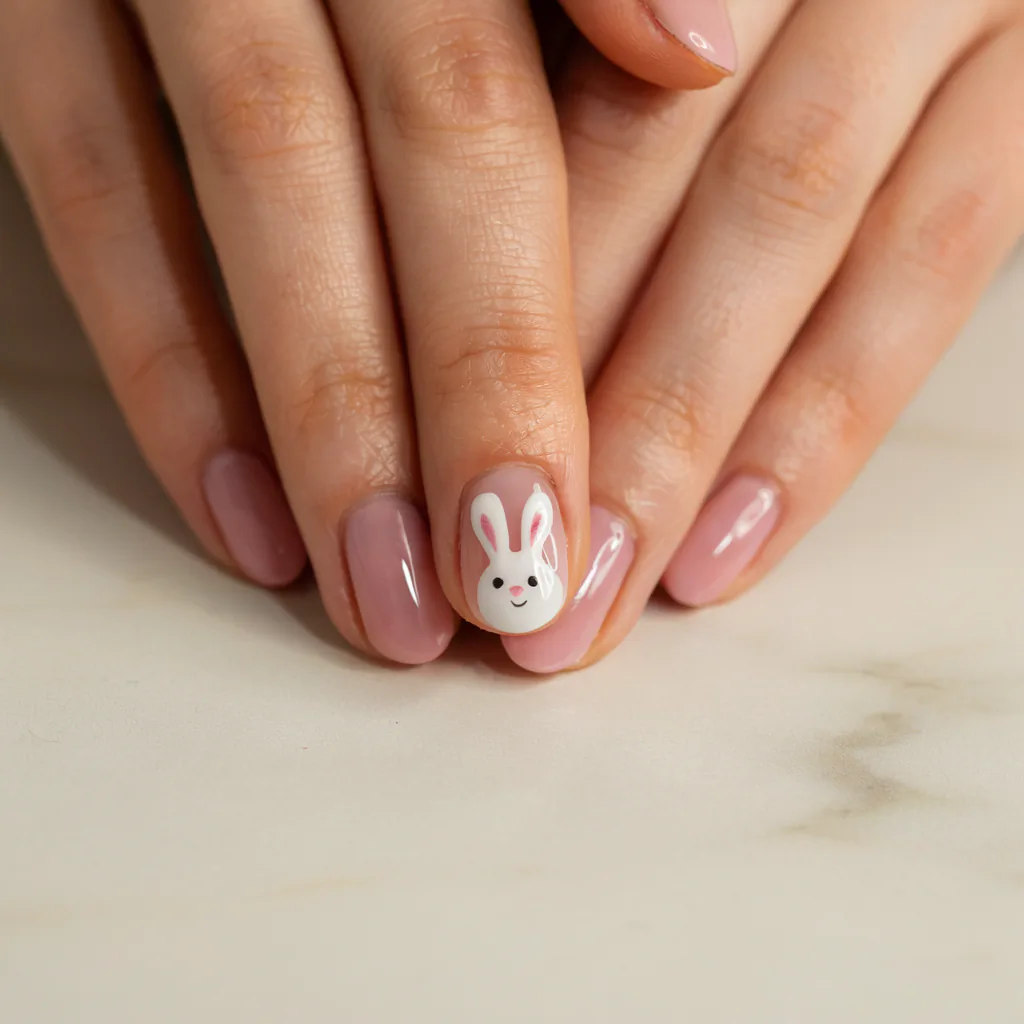
This is one of those designs where the first attempt may not be perfect, and that’s completely normal. When I was teaching myself this kind of thing during my internship days, my first bunny looked more like a surprised seal. The second one was much better. Give yourself two practice runs on a piece of tape or a piece of paper.
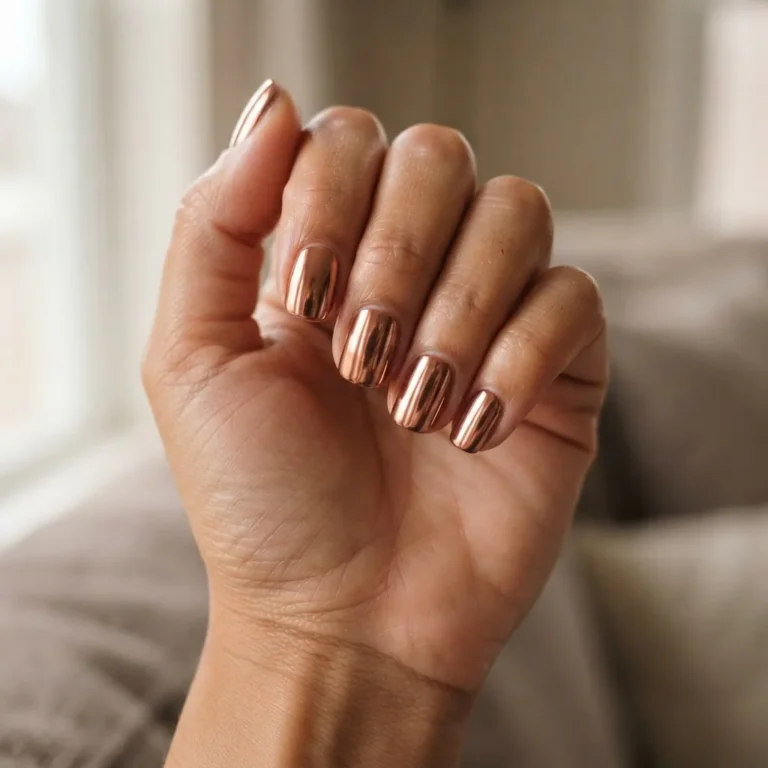
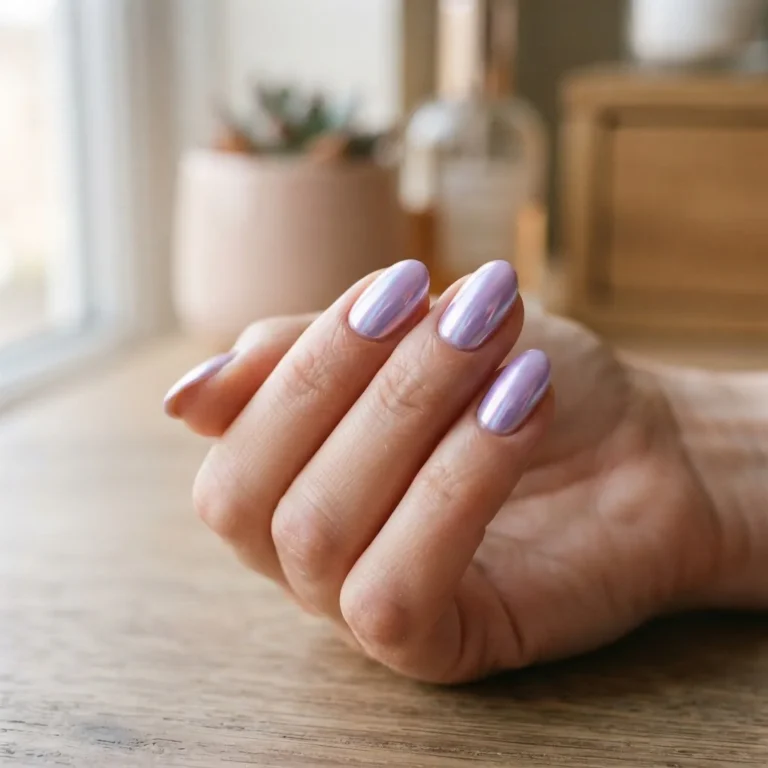
Design 11: Pastel Chrome Nails
Chrome powder on a gel base is one of those designs that looks wildly expensive and complicated but is actually quite straightforward once you understand the one non-negotiable step. You need a no-wipe gel top coat. Regular top coats leave a sticky (inhibition) layer that allows the chrome powder to stick, but a no-wipe formula cures to a smooth finish and the chrome adheres differently. Cure the no-wipe top coat for 30 to 60 seconds in your LED lamp (following the lamp manufacturer’s instructions), then immediately rub the chrome powder across the nail using a silicone-tipped applicator or a small eyeshadow sponge in firm circular motions. The chrome should transfer and intensify quickly. Seal with another layer of gel top coat and cure fully.
For an Easter look, rose-gold chrome over lavender gel, or a soft pearl chrome over pink, is absolutely stunning. A word worth knowing: the FDA’s overview of nail care product safety notes that chrome powders and metallic pigments used in nail cosmetics are regulated as cosmetics and should be used as directed on the product label. Stick to products specifically formulated for nail use.
Design 12: Stamp Your Way to Easter Florals
Nail stamping is one of the most underrated shortcuts in the beginner nail artist’s toolkit. You paint a stamping plate (a metal plate engraved with designs) with a special stamping polish, scrape off the excess with a scraper, roll a stamper head over the plate to pick up the design, then press it onto your nail. The whole transfer takes about three seconds. Easter stamping plates with bunny silhouettes, egg shapes, tiny florals, and cross-hatch patterns are widely available online for $5 to $10. The results look precision-perfect, which is exactly the point.
The Showstopping Side: Designs 13 to 18 (Worth the Extra Time)
Design 13: Full Speckled Egg with a Matte Top Coat
The speckled egg design from Design 7 gets a serious upgrade when sealed with a matte top coat instead of glossy. Matte finish on a pastel speckled nail looks exactly like a real Easter egg shell. Apply it over your fully dry speckle design, and the transformation is remarkable. The catch: matte top coats are not brushed on with heavy pressure or they streak. Use a light, single-direction stroke and don’t go back over wet areas.
Design 14: Glazed Donut Meets Easter Pastel
The glazed donut nail trend (that sheer, pearlescent, almost-holographic finish popularized in 2022 and still very much alive) gets an Easter makeover when you choose pastel-tinted sheer base colors. Use a sheer pink or lavender as your base, then apply a pearl or aurora shimmer top coat over it. The result is an iridescent, light-catching pastel that reads festive without a single piece of nail art on it. This is a great option for people who love the look of a complex manicure but want zero drawing involved.
Design 15: Pastel Floral with Negative Space Cutouts
This is more of a statement design that requires a liner brush, but it is very achievable with practice. On a lightly buffed natural nail with a clear base coat, use a thin liner brush and your choice of pastel polishes to draw simple floral outlines scattered across the nail. Leave the inside of each “petal” unpainted so the natural nail shows through. Fill the spaces between flowers with a contrasting pastel. The effect looks graphic and editorial but the technique is really just a series of simple curved lines.
Design 16: Bunny Silhouette French Tip
This is a modern twist on the Easter French tip that I genuinely love for how unexpectedly clean it looks. Apply a nude or milky white base. Using a liner brush and white polish, draw your French tip line as usual, but instead of a smooth curve, shape the center of the tip into two pointed bunny ears with a small dip between them. Fill the tips in white. Add two tiny dots for eyes just below where the ears begin, using a dotting tool and a pale pink polish. Seal with top coat. The bunny lives in the silhouette of the tip itself, which is clever and really easy once you see it explained.
Design 17: Multi-Design Easter Egg Nails (Each Nail Different)
This is the approach where every single nail has a different Easter-themed design: one speckled egg nail, one bunny accent, one floral, one pastel French, and one chrome or glazed finish. It’s the maximalist Easter option and it’s more of a full nail session than a quick manicure. Budget at least 60 to 90 minutes for this set if you’re doing it at home. The payoff is a manicure that looks incredibly deliberate and creative, and because each nail is its own small design, there’s no need for every single one to be perfect. They read as a set, not as five individual tests of precision.
Design 18: Pastel Gel Ombre on Natural Nails
If you have an at-home gel kit, a full gel ombre in two Easter pastels is one of the most beautiful things you can do at home for spring. The technique is essentially the same as the sponge ombre in Design 9, but done in gel polish, which requires curing each layer. Because you can cure mid-blend, you have more control over the gradient and the finish is harder and more durable than regular polish. Working in thin layers and curing frequently is the key to a smooth blend without oversaturation.
A note worth including here: if you’re doing gel regularly at home, the AAD recommends several steps to protect your nail health during gel manicures, including applying a broad-spectrum SPF 30 or higher to your hands before placing them under a UV or LED curing lamp, avoiding picking or peeling off gel (which takes layers of your real nail with it), and giving your nails occasional breaks between gel applications. These are habits that make a real difference over time.
A Word on Gel Safety Worth Reading (Not Skipping)
Since several of these designs can be done in gel at home, I want to mention this plainly. A 2025 study published in PubMed Central that assessed the health implications of UV and LED nail lamp radiation found that a 10-minute UV lamp exposure approaches recommended daylight limits for outdoor workers, which is a good reminder that using SPF on your hands before curing is a genuinely sensible habit, not paranoia.
Separately, a 2025 dermatology review also published in PMC found that HEMA and related acrylates in gel products are the primary allergen behind gel-related contact dermatitis. If you notice persistent itching, redness, or swelling beyond the nail area while using gel products, please stop using them and see a dermatologist. Sensitization to these compounds can develop gradually and, once established, tends to be lasting. This doesn’t mean gel is off the table for everyone. It means paying attention to how your skin responds and not ignoring signals your hands are sending you.
Your Easter Nail Color Palette Guide
Not every pastel is equally flattering on every skin tone, and it’s worth knowing which shades tend to work hardest before you commit.
For deeper and medium-brown skin tones, the richest Easter pastels tend to pop the most beautifully: dusty lavender, deep mint, warm peach, and butter yellow with golden undertones all look exceptional. Avoid very pale ice-pink shades, which can look washed out rather than fresh.
For olive and medium skin tones, robin’s egg blue, sage green, coral-pastel, and warm lilac are gorgeous. Cool mints and pale peaches also work well here.
For lighter skin tones, the full Easter palette is very flexible, but powder pink, soft lavender, and sheer white-pearl shades tend to read as most polished. Very yellow-leaning pastels can sometimes look muddy against cool pink undertones, so try them on one nail first.
As a general rule: if you’re not sure which Easter pastel suits you best, a sheer version of almost any shade is more forgiving and flattering than an opaque version, because sheerness softens the contrast.
Your Tool Kit for Easter Nail Art at Home
You do not need a professional setup for any of these designs. Here’s what genuinely matters.
A dotting tool with at least two ball sizes (small and medium) handles most of the dot-based designs and is the best $3 to $5 you will spend on nail art. A thin liner brush or nail art detailing brush handles the bunny ears, floral outlines, and cleanup. A small piece of makeup sponge handles every ombre design on this list. An old stiff toothbrush costs nothing and is the best speckle tool I’ve found. A rubber cuticle pusher and a fine-grit buffer (around 180 to 220 grit) handle prep. A cleanup brush, which is just any thin brush you dip in acetone, handles edge cleanup on every single design and makes the difference between “good” and “salon-looking.”
Keep acetone in a small glass dish rather than a bottle with a brush, because dipping repeatedly into the bottle contaminates it. Keep a roll of tape nearby for color blocking guides and for protecting skin while you practice speckling. That’s genuinely the whole kit for everything on this list.
Safe Removal: Don’t Undo Your Hard Work
After Easter weekend, please, do not peel your polish off. I know it’s tempting. For regular polish, a standard acetone or non-acetone remover on a cotton pad works fine. For gel, the AAD-recommended approach to reducing artificial nail damage includes soaking only your fingertips (not the whole hand) in acetone, using foil wraps to hold saturated cotton pads in place for 10 to 15 minutes, and gently sliding the softened gel off rather than scraping or forcing it. If it isn’t coming off easily, it isn’t ready. Give it more time. Your nail plate is not something you get back once you scrape layers of it away.
After any removal, give your nails a few days with a nourishing cuticle oil and a nail strengthener if they feel thin or bendy. Your nails will thank you for the kindness.
The Honest Beginner’s Pep Talk
I want to close this with something I actually believe: the first time you try any of these designs, it might not look like the Pinterest photo. That is fine. That is normal. That is how it went for me in my internship break room with a wobbly dotting tool and polish I bought from the pharmacy. The gap between the first attempt and the third attempt is usually enormous, and almost nobody sees your first attempt. You do it, you learn something, you try again, and by the time Easter actually arrives you’ve practiced enough that the design you put on your nails on Saturday night will look genuinely good.
If I can do it after a 10-hour workday with stress-tired hands, you can absolutely do it at your kitchen table on a relaxed afternoon. Grab the colors that make you happy, start with the simpler designs, and work your way toward whichever showstopper you’ve been staring at on your Pinterest board. It’s waiting for you.
Happy nail season. 🌸