How to Do Cuticle Care at Home Without Ruining Your Nails
I used to skip cuticle care entirely. For a long time, I told myself it was optional, a bonus step for people who had extra time and a nicer bathroom than me. Then I started doing gel manicures at home and my polish kept lifting at the base of my nails, every single time, within days. I blamed the gel. I blamed my lamp. I blamed the brand.
It was my cuticles all along.
Once I fixed that one thing, my at-home manicures went from lasting three or four days to lasting two to three weeks. And the bonus I didn’t expect? My hands just looked better. Not in a “I just got a salon manicure” way, but in a quiet, put-together way that made me feel like I actually had my life together. All from a step that takes less than ten minutes a week.
If your cuticles are dry, ragged, overgrown, or you genuinely don’t know what you’re supposed to do with them, this is for you. We’re covering what a cuticle actually is, what you should and absolutely should not do with it, a simple routine you can start tonight, and how to keep it up without overthinking it.
First, Let’s Actually Figure Out What a Cuticle Is
Okay, hear me out, because this part is worth understanding. Most people (myself included, for a long time) think the word “cuticle” refers to all the skin around the base of the nail. But there’s a distinction that changes how you care for this area.
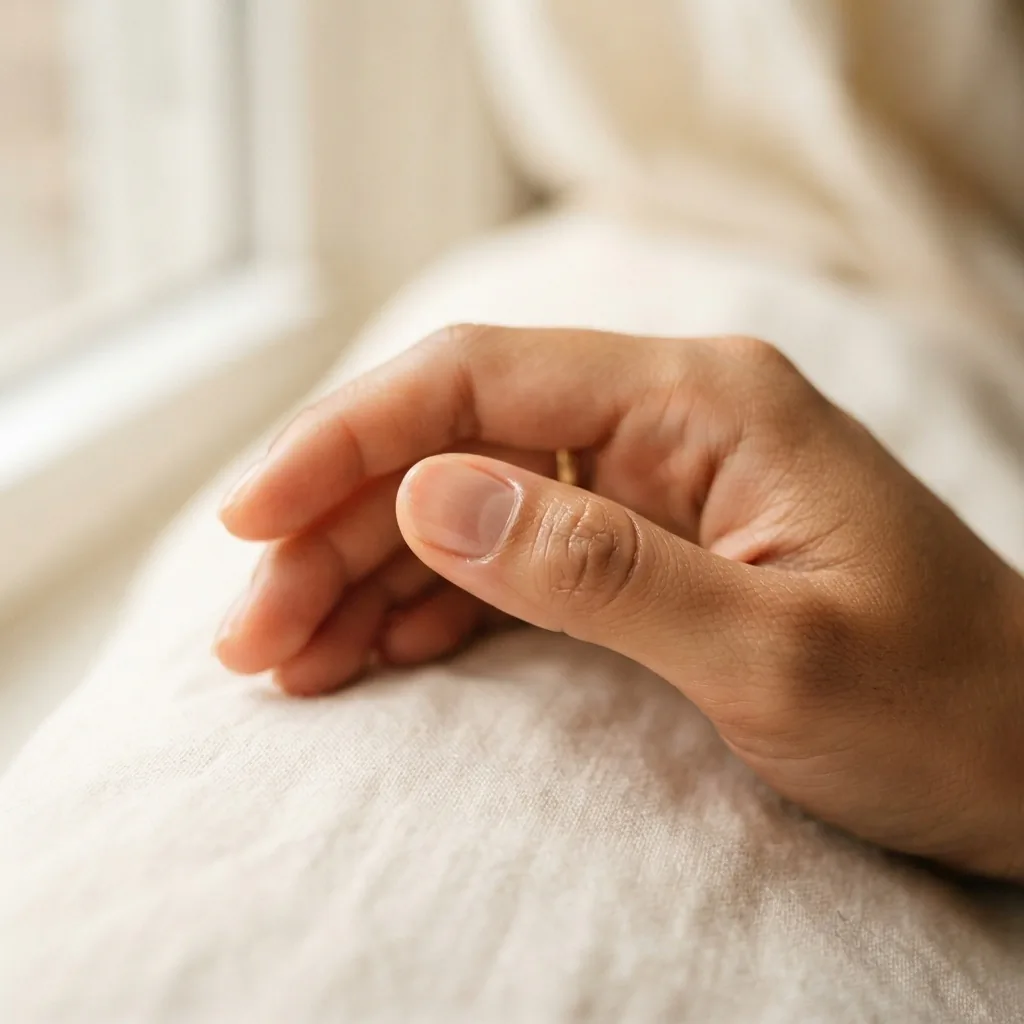
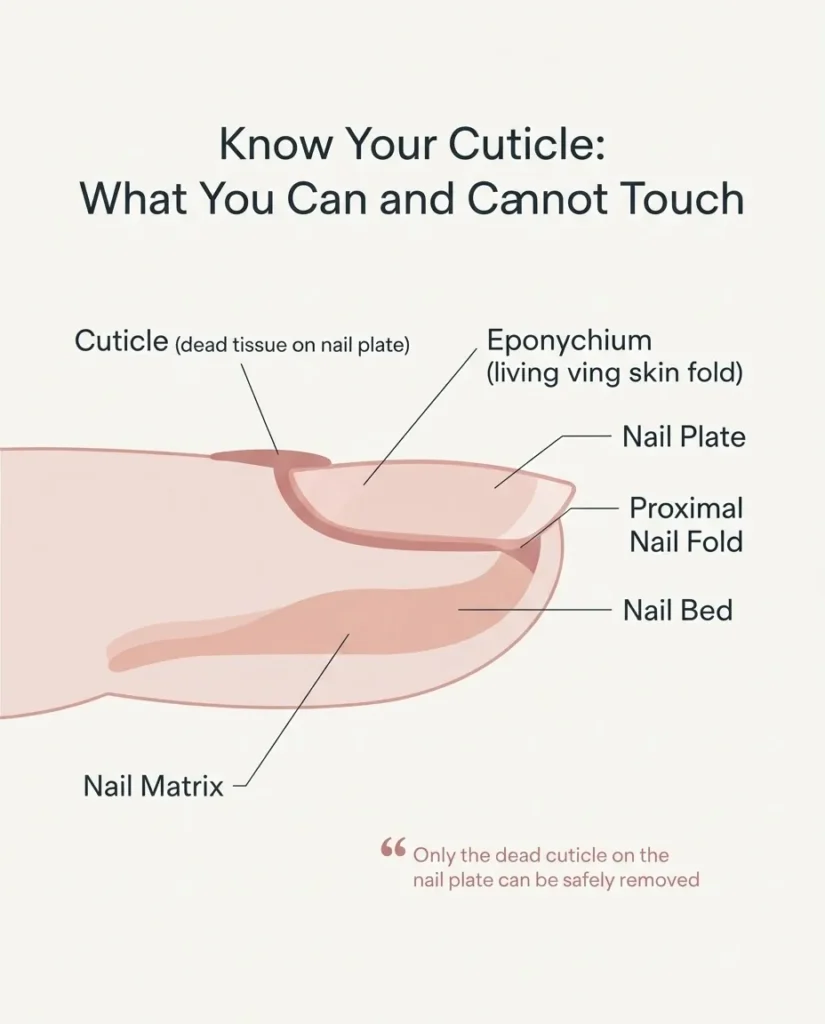
The true cuticle is a thin layer of dead, transparent skin that grows out from the skin fold at the base of your nail and adheres directly onto the nail plate. It is non-living tissue. Right behind it is the eponychium, which is the actual living skin fold that seals the gap between your nail plate and your skin. The eponychium is alive, it has a blood supply, and it is protecting your nail root from bacteria and debris getting in underneath.
Why does this matter? Because a lot of what goes wrong with cuticle care comes from confusing these two things. The dead cuticle tissue sitting on your nail plate can be gently softened and removed. The living skin behind it absolutely should not be cut, pushed aggressively, or disturbed. A 2017 peer-reviewed study published in the National Library of Medicine confirms that the cuticle serves as a physical seal that prevents bacterial and fungal organisms from penetrating the nail unit, so even though that thin film of dead skin looks like nothing, it is actively protecting you.
When you mess with the living skin underneath, you open a pathway for infection.
We’ll talk more about that in a minute.
The Big Question: Should You Cut Your Cuticles?
Short answer: no, and I want to explain why rather than just telling you.
When most people say they “cut their cuticles,” what they are actually cutting is the living eponychium, the fold of protective skin at the base of the nail. Salons often do this with nippers, and it does make the nail look temporarily cleaner and more open. But it also removes the tissue that is literally sealing your nail root from the outside world.
The American Academy of Dermatology (AAD) advises against removing the cuticle because doing so can damage the nail and introduce the risk of infection. Dermatologists at the University of Utah describe the concern directly: cutting this protective layer of skin increases your risk for infection. Repeatedly cutting the same area can also lead to ridges, uneven nail growth, and thickening of the skin over time as it tries to protect itself.
The one thing you can safely trim with a cuticle nipper is a true hangnail. A hangnail is a snag of dead skin that has separated from the nail fold and is catching on things or causing pain. Clip it cleanly at the base, then leave the rest alone.
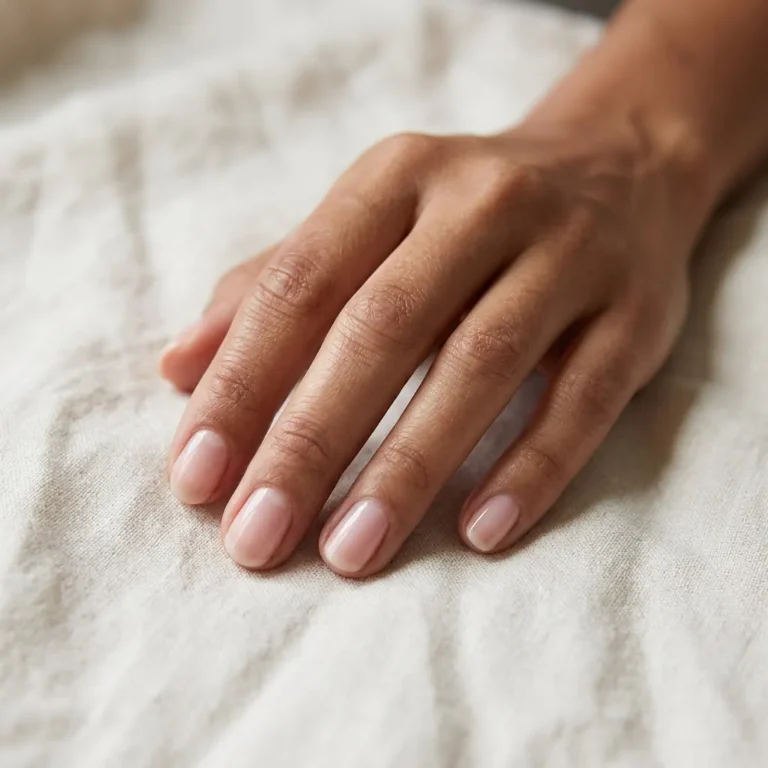
What you can do instead of cutting, which gives you the same clean look without any of the risk, is gently push back the softened dead cuticle tissue from the nail plate. That is the whole routine. And it is a lot more manageable than it sounds.
What Happens When You Never Do Cuticle Care
I want to be real about this because I think it helps to understand the stakes, even though they are not dramatic.
When you skip cuticle care completely, a few things tend to happen. The dead cuticle tissue on your nail plate builds up and grows further onto the nail, giving your nails a shorter, murkier look. Dry skin accumulates around the nail fold, leading to hangnails, which are both annoying and a low-grade infection risk if you pick at them. If you wear gel or dip, that excess cuticle tissue on the nail plate becomes a weak point: gel applied over it will lift as that tissue naturally loosens, taking your manicure with it.
And if you are prone to picking at or chewing the skin around your nails, skipping moisturizing cuticle care makes that habit worse, because dry, ragged skin is harder to leave alone.
None of this is catastrophic. But all of it is avoidable with ten minutes once a week and a little cuticle oil every night.
Your Full Cuticle Care Routine, Step by Step
This routine works whether your nails are bare, whether you are prepping for gel or dip, or whether you are just doing a regular polish manicure. I’ve broken it into the weekly prep steps and the daily maintenance habit, because they are two different things.
The Weekly Prep Routine (10 Minutes)
Step 1: Soften the cuticles first, always.
Never push back dry cuticles. Dry tissue is stiff and you’ll either tear it or you won’t be able to move it at all and you’ll push harder than you should. The easiest way to soften: soak your fingertips in warm water for two to three minutes, or do this step right after a shower when your hands are already warm and the skin is pliable. Some people keep an orange wood stick on the side of the tub for exactly this reason.
If your cuticles are very overgrown or stubborn, this is where a cuticle remover comes in. A cuticle remover is a gel or liquid product, usually containing gentle acids or potassium hydroxide, that chemically softens the dead cuticle tissue so it slides off the nail plate easily. Apply it just around the base of each nail, wait the time the product specifies (usually one to two minutes, not longer), and then gently work the tissue away with an orange stick or rubber-tipped pusher. The FDA’s nail care products page is worth bookmarking if you want to understand how cosmetic nail products are regulated and what to look for on a label before buying.
Use cuticle remover no more than once a week. It’s a softening tool, not something you need daily.
Step 2: Push back with a gentle tool.
An orange wood stick is my go-to for beginners. They cost almost nothing (a pack of 100 runs well under five dollars at any beauty supply store or online), they’re disposable, they won’t scratch your nail plate, and they have a tapered end that works perfectly for this. A rubber-tipped cuticle pusher is another great option and is reusable.
Hold your stick at a low angle, almost flat against the nail, and use small, gentle circular movements to nudge the softened tissue back toward the nail fold. You are not scraping. You are not forcing. If it resists, your cuticles need more softening time. When you can see the full nail plate without a film of dead skin on it, you’re done.
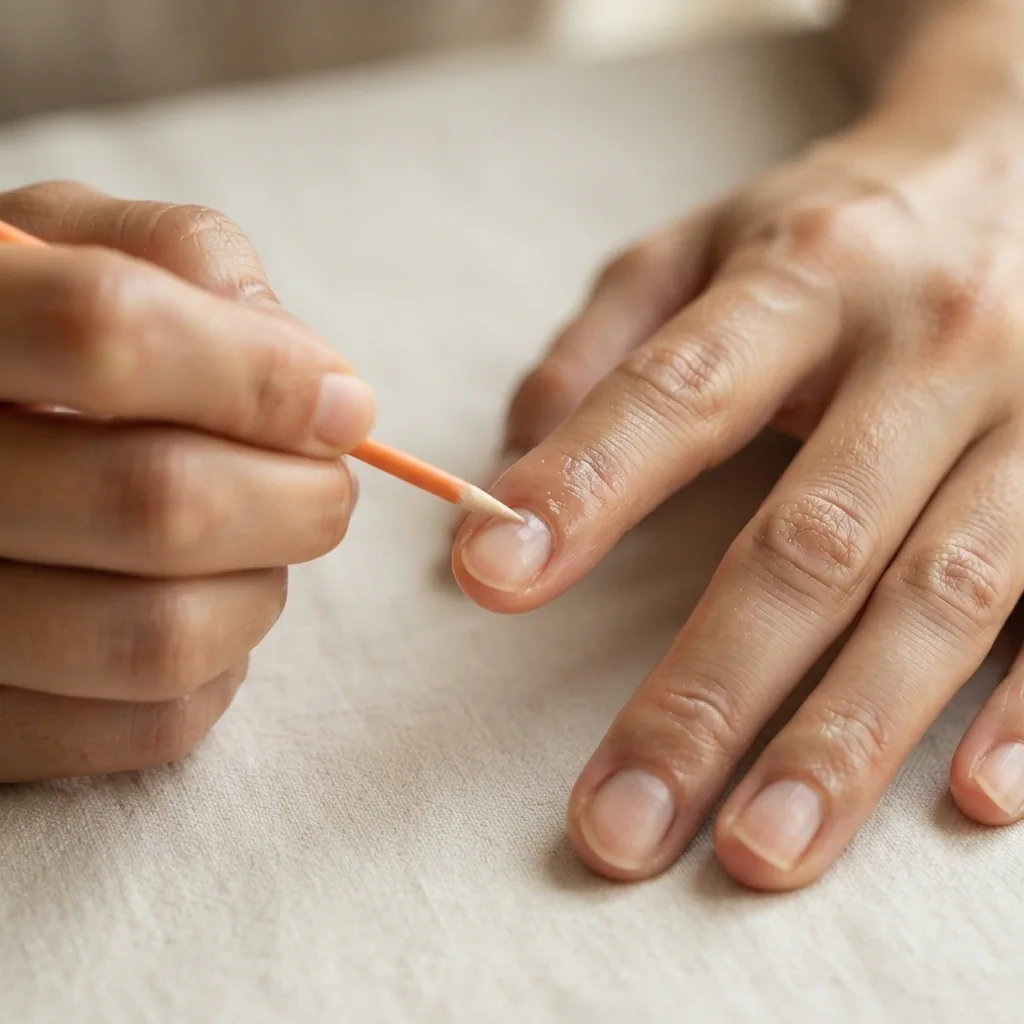
Metal pushers are fine in experienced hands but I honestly don’t recommend them for beginners. They require more control to avoid pressing too hard, and the learning curve means a higher chance of scratching the nail plate or pushing too aggressively into the living skin.
Step 3: Gently clean the nail plate.
After pushing back, use the angled flat end of your orange stick to gently clean under the free edge and along the sides of the nail. This just removes any softened tissue you have loosened. Wipe your nails clean with a dry cloth or cotton pad.
Step 4: Nip hangnails only, if you have them.
If there are true hangnails, little snags of separated dead skin that are catching or pulling, clip them now with a sharp, clean cuticle nipper. Cut at the base, close to the skin, and stop there. Do not use dull nippers because they tear rather than cut cleanly. Clean your nipper with alcohol before and after.
Step 5: Apply cuticle oil now and seal with a hand cream.
This is the step that makes everything else work better. Apply a drop of cuticle oil to each nail and massage it gently into the nail fold, the surrounding skin, and onto the nail plate itself. Then apply a hand cream over the top to lock in the moisture.
If you are doing this as prep for a gel or dip manicure, apply the cuticle oil now, massage it in, and then give it at least 10 to 15 minutes before you apply any product. Wipe the nail plate clean with a lint-free wipe or prep pad before gel application. Cuticle oil on the nail surface will prevent adhesion, so this order matters: oil first, fully absorbed, then clean, then apply your gel.
The Daily Maintenance Habit (One Minute)
Here is the part that makes the biggest visible difference with the least effort: just put cuticle oil on every day. Morning works, before bed works even better.
Apply a drop to each nail or use a cuticle oil pen and massage it in for thirty seconds per hand. That is genuinely all you need. Consistent daily hydration prevents the dry skin buildup that causes hangnails, keeps the skin around the nail looking smooth and healthy, and makes your weekly push-back session much easier because you are maintaining softened, pliable tissue instead of starting from scratch each time.
Cuticle oil works because oils with small molecular structures, like jojoba, sweet almond, and vitamin E, penetrate the layers of the nail plate and surrounding skin to hydrate from within rather than just sitting on the surface. As WebMD explains in their cuticle care guidance, moisturizing the nail and cuticle area consistently is one of the most effective things you can do for nail health overall.
What to Actually Use: Tools and Products on Every Budget
You do not need to spend a lot on this. Here’s what I actually keep in my kit and what the budget alternatives are.
Cuticle Oil: A dedicated cuticle oil pen is convenient for daily use and usually runs between $5 and $15 at the drugstore or beauty supply. The formulas that consistently work well are the ones built around jojoba oil, vitamin E, or sweet almond oil, because these absorb quickly and actually penetrate rather than just sitting on top of the skin.
If you want a true budget dupe? Pure jojoba oil from a health food store or online works extremely well. It absorbs beautifully, doesn’t feel greasy, and a small bottle lasts months. Some people mix it with a drop of vitamin E oil from a capsule. It won’t smell fancy but it genuinely does the job.
Cuticle Remover: Any drugstore cuticle remover gel works fine as a starting point. Follow the directions carefully, don’t leave it on longer than directed, and rinse fully afterward. These typically cost $3 to $8.
Orange Wood Sticks: Buy a pack. Seriously, they are the most underrated nail tool. Use one per session and toss it.
Cuticle Nippers: A sharp pair matters more than an expensive pair. A decent pair runs $8 to $20 and should feel clean and precise when you clip, not tear. Clean them with alcohol regularly.
Cuticle Care When You Wear Gel or Dip
If you do gel or dip at home, your cuticle prep is not optional. It is the single biggest factor in how long your manicure lasts.
Here’s the thing: any gel or dip product that touches the skin around your nail, especially the cuticle/eponychium area, will peel away as that living skin naturally sheds. That peeling creates a lifting point, and once gel starts lifting, the whole manicure follows quickly. Keeping a clean, hair-thin gap between your product and the cuticle line is how you get a manicure that actually lasts.
Beyond longevity, there is a safety consideration worth knowing. Repeated skin contact with uncured gel products, particularly those containing HEMA (hydroxyethyl methacrylate) or other acrylates, can cause sensitization over time. Once someone becomes sensitized to these ingredients, the allergy is often lifelong. Clean prep that keeps gel off the surrounding skin is one of the best ways to protect yourself.
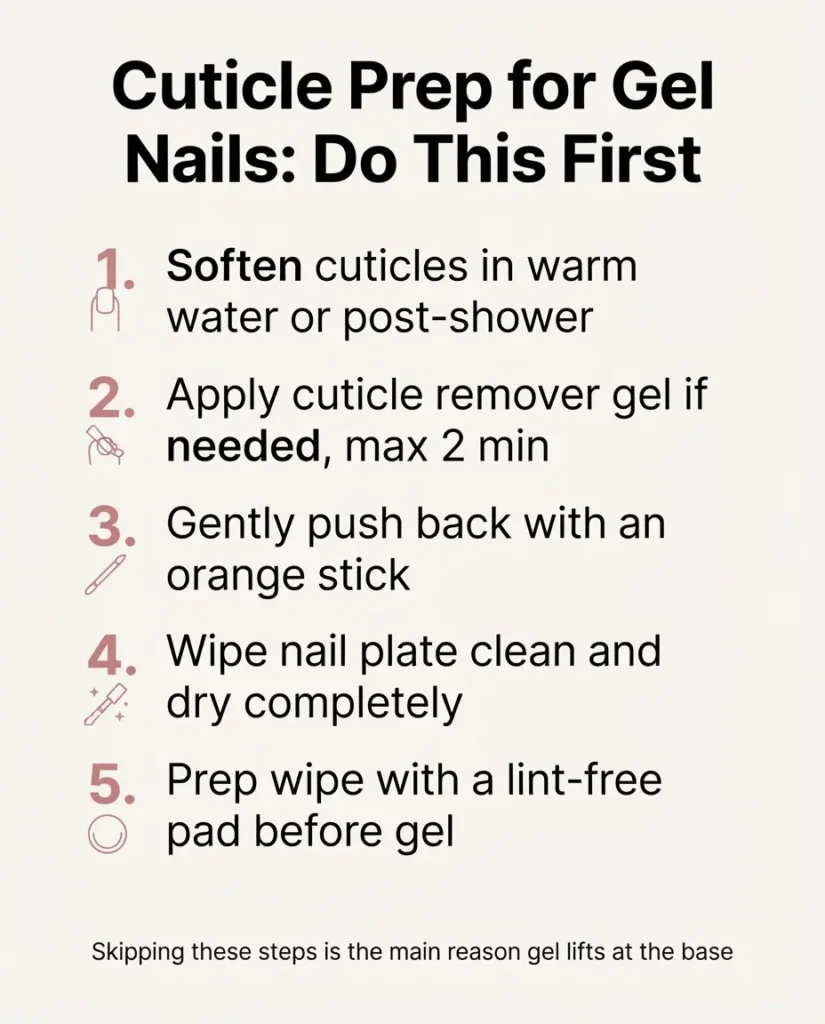
Always cap the free edge with gel, cure each layer fully, and if you notice persistent redness, itching, or swelling around your nails after gel application, stop using the product and speak with a dermatologist.
Warning Signs You Should Not Ignore
Most cuticle care at home is very low risk when done gently. But there are signs that something needs professional attention.
If the skin around a nail becomes red, swollen, warm, and painful, especially if there is any pus or discharge, that is paronychia, which is a nail fold infection. A clinical review of paronychia in the National Library of Medicine describes it as one of the most common hand infections, and while mild acute cases sometimes resolve on their own, anything that is worsening, spreading, or accompanied by fever needs a doctor. Do not try to drain it yourself.
Other signs to flag to a professional: nail lifting combined with discoloration (yellow, brown, or white under the nail, which can indicate a fungal infection), significant pain during any cuticle care step that suggests you have gone too deep, and any persistent allergic reaction after gel product contact.
Healthy cuticle care should never hurt. If it does, ease up or stop.
The Frequency Question, Answered Simply
I know this section seems obvious but I genuinely get asked this constantly, so let me just be direct.
Cuticle oil: Apply it daily. Even twice a day if your hands get very dry or you wash them a lot. There is no such thing as over-moisturizing with a cuticle oil.
Full push-back routine: Once a week is ideal. Once every two weeks is fine for maintenance. More than once a week is unnecessary and can irritate the skin around your nails if you’re also using cuticle remover.
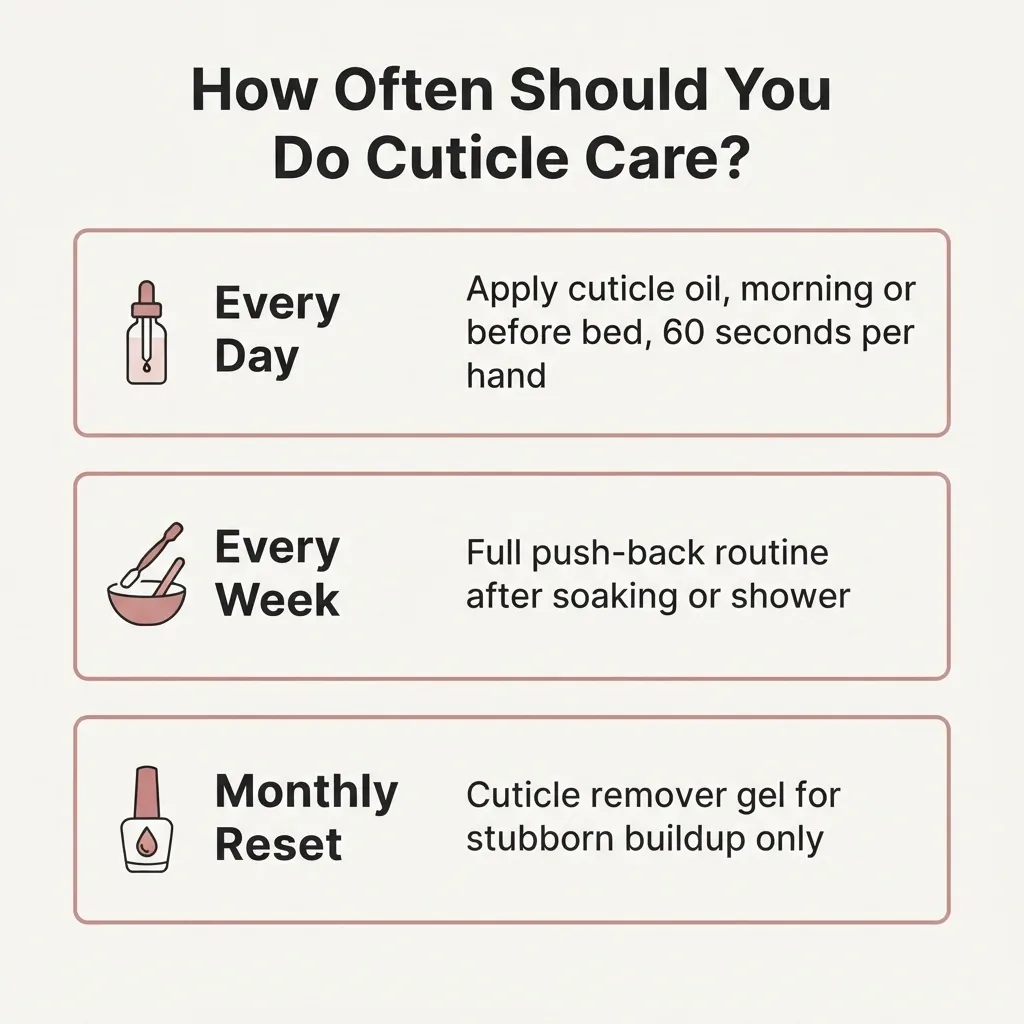
Cuticle remover: Once a week maximum, and only if you have genuine buildup on the nail plate that needs dissolving. Many people do fine with just warm water and a gentle push.
Cuticle nippers: Only when you have an actual hangnail that needs trimming. Not on a schedule.
For Short Nails and Bitten Nails
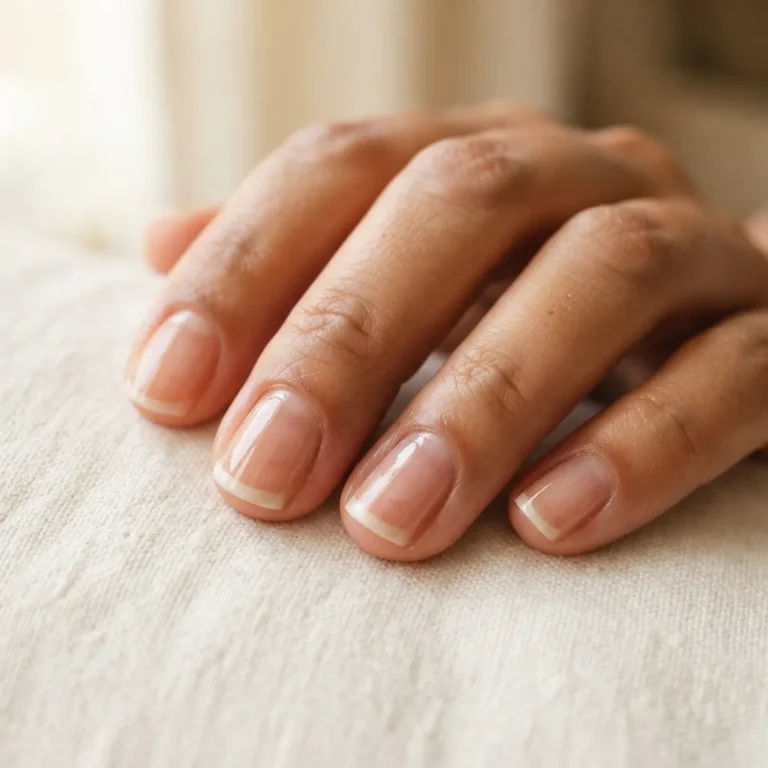
If your nails are very short or you have a habit of biting them, cuticle care still matters, and is actually even more helpful, because short nails with dry, ragged skin around them look much less put-together than short nails with smooth, moisturized cuticles. The routine is the same but gentler. Skip the cuticle remover until your nails and skin are in better condition, focus on daily oil application above all else, and push back only when there is clearly loosened dead skin on the nail plate. Be patient. Consistent daily hydration will make a visible difference within two to three weeks even on the most neglected hands.
The Quick Version for When You’re Tired
Look, I built my whole nail skill set during a boring internship where I had limited time and even more limited energy. I know that sometimes you just cannot do the full routine. So here is the minimum viable cuticle care that still makes a real difference:
Put cuticle oil on every night before bed. Just that. Massage it in for thirty seconds. Do this consistently for two weeks and look at your hands.
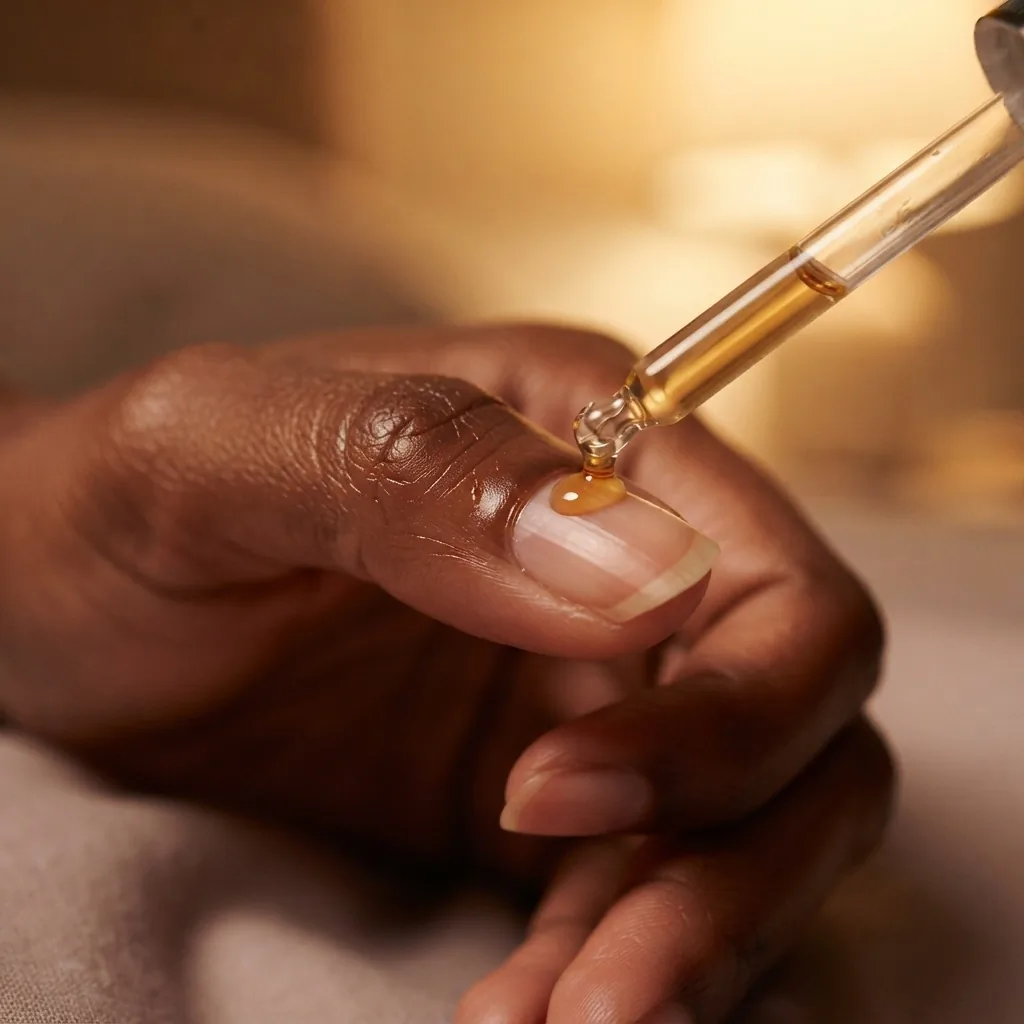
The difference in the skin texture around your nails will genuinely surprise you.
Everything else in this guide is layered on top of that foundation. The push-back routine is maintenance. The cuticle remover is a monthly reset. The nipper is for emergencies. But the oil? That is the thing. Don’t skip the oil.
If I can make this a consistent habit after ten-hour workdays when the last thing I want to do is anything, you can do it too.
Your Starter Shopping List (Budget Version)
You do not need all of this at once. Start with the oil and orange sticks:
- Orange wood sticks (pack of 100, under $5)
- Jojoba oil or a basic cuticle oil pen from the drugstore ($5 to $15)
- Hand cream you already own (any brand, just use it)
- Cuticle remover gel ($3 to $8, optional for first week)
- Cuticle nipper ($8 to $20, buy when you have a hangnail situation)
That is a complete kit for under $30, probably under $20 if you already have a hand cream you like.
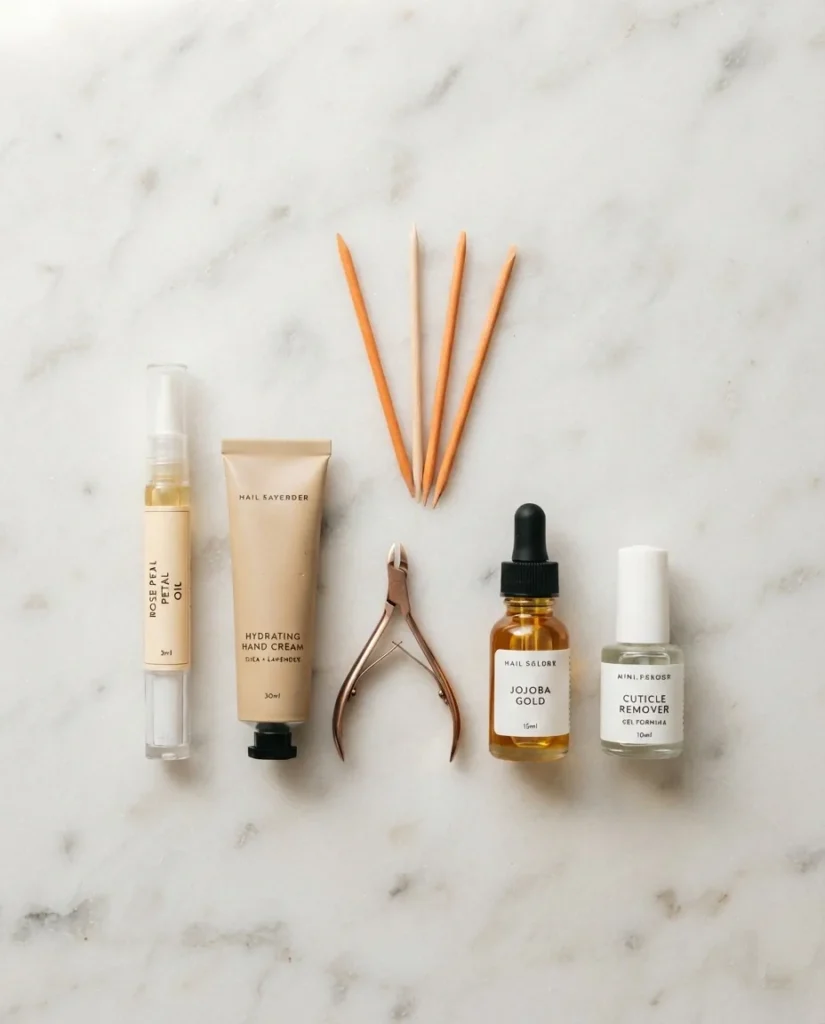
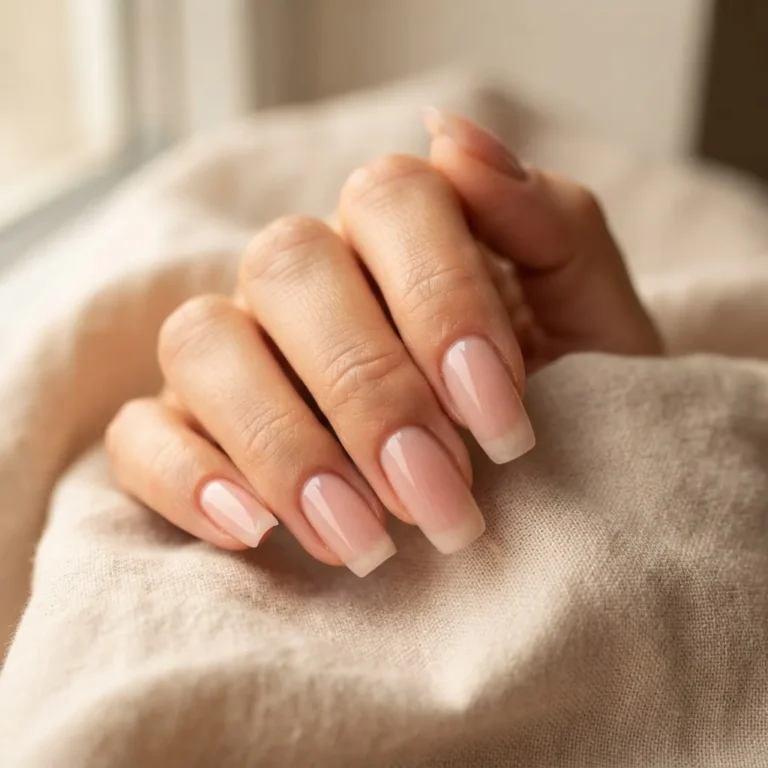
Healthy cuticles are not a luxury step. They are the foundation of every manicure, whether you are doing a simple coat of polish on a Tuesday night or building up to a full gel set. Give them a little attention, and they will give you nails that look cleaner, last longer, and actually feel good to look at.
Start with the oil. Tonight. The rest will follow.