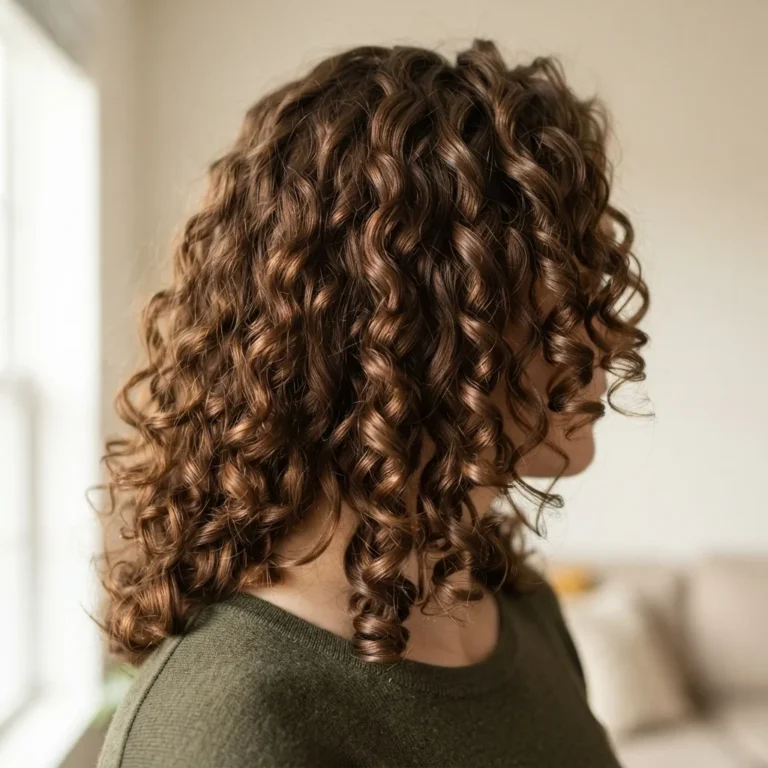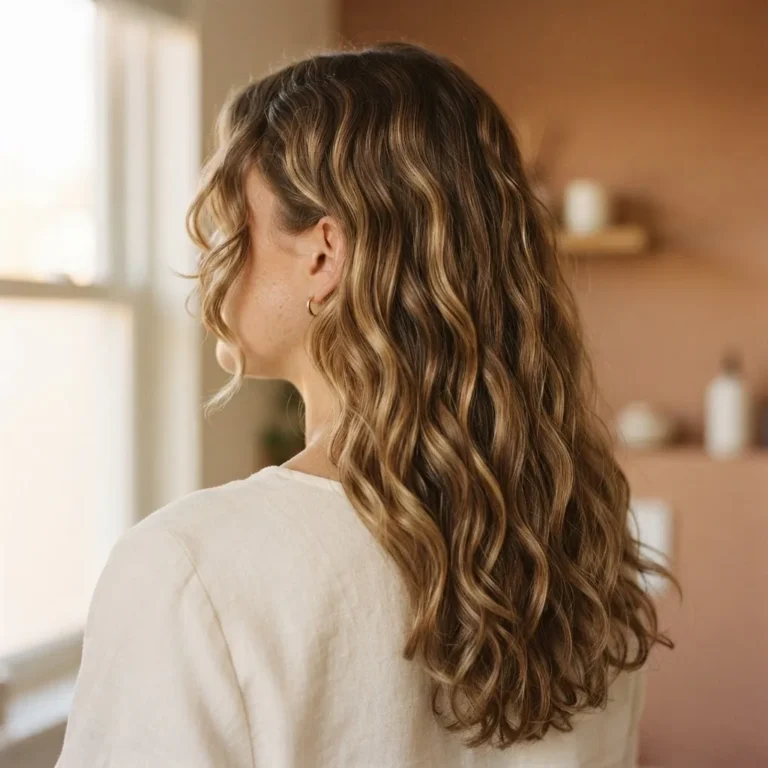
How to Refresh Curls on Day 2 (Without Starting Over)
You spent real time on wash day. You deep-conditioned, you applied your products in the right order, you diffused until your arms ached. Your curls looked genuinely great. And then you woke up the next morning, took one look in the mirror, and thought “well, that’s over.”
It’s not over. That’s the thing nobody tells you clearly enough.
Refreshing curls on day 2 is one of those skills that feels impossible until it suddenly isn’t. I hear from so many of you who tried the spray bottle method once, added too much water, watched your hair go limp and weirdly crunchy at the same time, and decided your hair just can’t do second-day wear. That’s not a hair problem. That’s a technique problem, and technique is fixable.
In this post I’m breaking down 12 real methods to refresh your curls on day 2, with adjustments for hair type, texture, and yes, how many minutes you actually have before you need to leave the house. You do not need to rewash. You do not need an expensive product arsenal. You just need to know what works for your specific hair, and what you’ve probably been doing that’s quietly sabotaging the whole thing.
The Real Reason Your Curls Look Different on Day 2
Before we get into the methods, it helps to understand what’s actually happening overnight. When you sleep on your curls, a few things are working against you at once. Friction from your pillowcase rubs against the hair cuticle, which is the outer layer of each hair strand, and disrupts the smooth, sealed surface that makes curls look shiny and defined. That friction also physically displaces the curl pattern, especially on the side you sleep on. On top of that, cotton fabric pulls moisture out of your strands while you sleep, leaving curls drier than they were the night before.
Then there’s the product situation. The stylers you applied on wash day are still sitting on your hair, but they’ve shifted, flattened under the weight of your pillow, or partially dried out. When you try to add more water or product on top of that existing layer without a plan, things go sideways fast.
Understanding this means understanding the goal of a refresh: you’re not recreating wash day. You’re reactivating what’s already there, smoothing the disruption, and adding back just enough moisture to let your curl pattern spring back. That’s a much smaller job. And it’s absolutely doable.
Start the Night Before: This Is Actually Method 1
I know, I know. The article says “day 2” and I’m already talking about the night before. But I’d be doing you a disservice if I didn’t put this first, because your night-before routine is the single biggest factor in how hard or easy your morning refresh will be.
Swap your cotton pillowcase for a satin or silk one. This is not a luxury thing. It’s a practical friction-reduction move. Cotton is rough on the cuticle and absorbs moisture; satin and silk are smooth and non-absorbent. The difference in how your curls look the next morning is genuinely significant. If a full pillowcase swap isn’t in the budget right now, a satin hair bonnet runs around $10 to $15 and does the same job.
The pineapple method is the other non-negotiable. Gather your hair loosely into a high topknot right at the very top of your head, and secure it with a satin scrunchie (not a tight elastic, which can create a crease and pull at your hairline over time). The idea is that all your curl volume and shape is lifted off your neck and pillow, protected in a loose puff. In the morning, take it down, shake gently, and your curls should be close to their wash-day shape with just minor refreshing needed.

If your hair is shorter or doesn’t reach a pineapple, try the multi-pineapple method: two or three smaller loose buns along the top of your head. Or just use a loose bonnet that covers everything. The AAD has noted that consistently tight hairstyles and tight elastics can pull on the hairline and cause gradual tension damage over time, which is why I always emphasize a loose, relaxed hold for any overnight style. We’re protecting the hair, not stressing it.
Method 2: The Finger-Scrunch with Just Water
This is the starting point for every morning refresh, and for many hair types it’s honestly all you need. Fill a spray bottle with plain water (a fine mist setting is important, a heavy stream will over-saturate), hold it about six inches from your hair, and mist lightly. You want damp, not dripping. Then flip your head forward slightly and use your hands to gently scrunch sections upward toward your scalp, encouraging the curl to spring back into its pattern.
The key that most beginners miss is to work section by section, not all at once. Mist one section, scrunch it, move on. Don’t mist your entire head and then start scrunching, because the first sections you wet will be sitting too long while you work through the rest.
For wavy hair in the 2a and 2b range, this method is often all you’ll need, and adding product on top is frequently what kills the wave. Fine curls in the 2a/2b range can easily be weighed down by excess product, so water-only is a genuinely valid and smart choice if your waves still have some shape from the day before.
Method 3: The Mist-and-Reactivate (For Most Curl Types)
This is the classic full refresh, and it’s the backbone of what most curl educators recommend. After your light water mist, you’re adding a small amount of product to help the existing styler from yesterday “wake up.” The product you reach for here matters a lot.
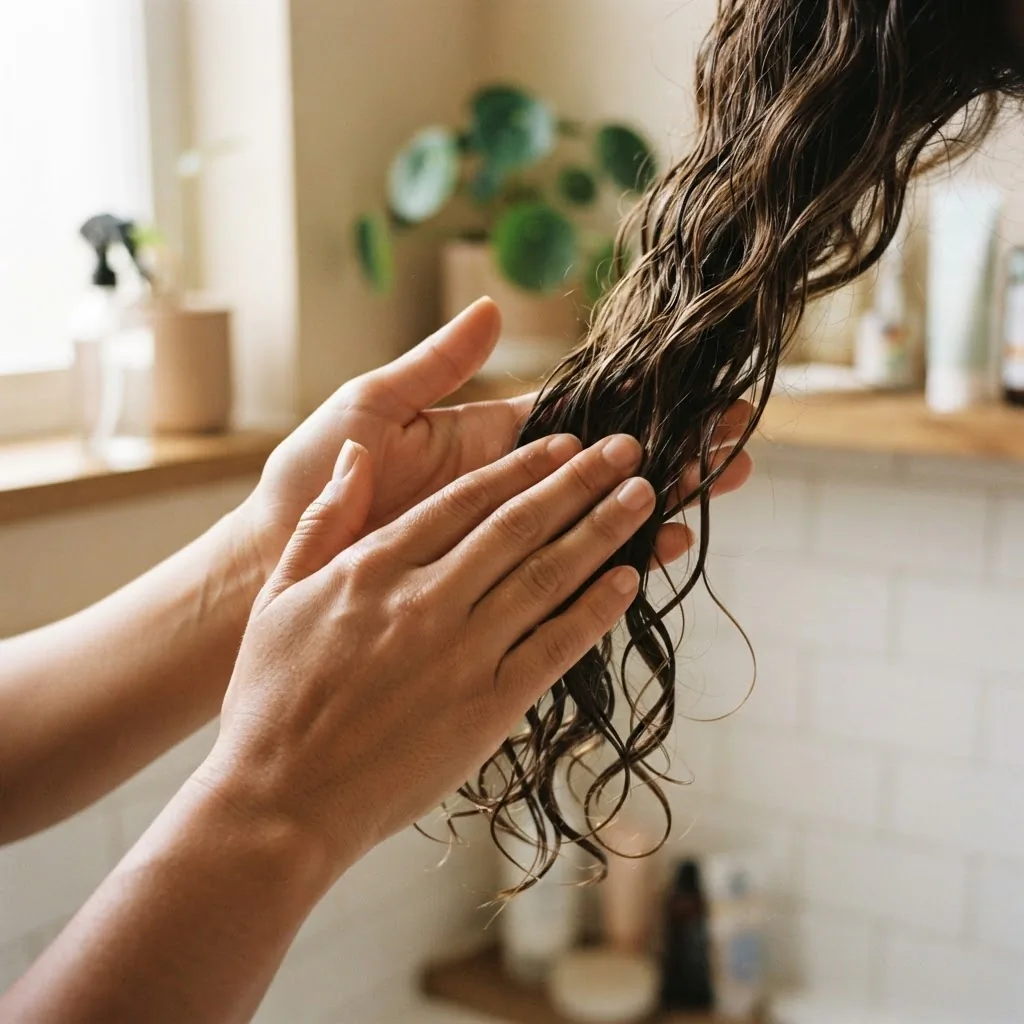
A curl refreshing spray or a very diluted leave-in conditioner is ideal. You’re not applying a full wash-day product load. A dime to a quarter-sized amount, depending on your hair length and density, is typically right. Apply using the praying hands method: smooth the product between your palms, then sandwich a section of hair between your flat hands and run them down the length from root to tip. This distributes product evenly without creating frizz the way scrunching with product sometimes can.
The curl refresh technique experts at Curlsmith recommend finishing with finger curling on any sections that have lost their pattern, which is something I swear by. Pick up a curl that’s gone rogue, wind it gently around your finger in the direction of its natural curl, hold for a second, and release. It resets without adding bulk.
After applying, hands off. Touching damp curls between application and drying is one of the fastest ways to invite frizz.
Method 4: The Dry Scrunch (For Fine, Easily Weighed-Down Hair)
Some curly and wavy hair types do better with zero water on day 2. If you have fine hair, low-density curls, or type 2 waves that go limp the moment they touch moisture, this method is for you.
Instead of misting first, take your hair completely dry and scrunch sections upward with your hands. This can break up any flatness and restore some shape from the previous day’s products. Then you can apply a tiny amount of dry texture spray or even a lightweight mousse by scrunching it into dry hair. The mousse creates hold and some separation without weighing things down.
This is the method that tends to work best for my 2a-wave readers who feel like nothing ever works for them on day 2. Water can actually be your enemy if your hair pattern is loose, because it resets the curl to zero and you don’t have enough texture or grip left in the hair to reform without a full styling session.
Method 5: The Gel-Only Scrunch (For Thick, Frizz-Prone Hair in Humidity)
At the other end of the spectrum, if you have thick, dense, high-porosity curls that drink moisture but also frizz at the first hint of humidity, sometimes adding water is counterproductive. The approach here, which Ouidad describes as the heavyweight method, is to skip water entirely and apply a strong-hold gel directly onto dry hair, scrunching it in. The gel adds definition, controls frizz, and gives your curl pattern something to grip without introducing water that could swell the cuticle and create puff.
This takes some confidence to try the first time because gel on dry hair feels different than gel on wet hair, but for the right hair type it’s genuinely the most effective day-2 option.
Method 6: The Shower Steam Refresh
This one is for the days when your curls are too flat for a light misting but you don’t want to fully rewash. Bring your hair into the bathroom while you shower, but don’t get it wet. The steam from the shower will gently rehydrate your curls without saturating them. After your shower, while your hair has absorbed some steam, add a small amount of leave-in or refresher and scrunch. Air dry or hover diffuse.
This is a slower method because you’re relying on ambient moisture rather than direct application, but it’s incredibly gentle and works particularly well for high-porosity hair that can get overwhelmed by a direct water mist.
Method 7: The Wet Bag Method (Or Damp Towel Refresh)
Similar in idea to the steam method, but more direct. Dampen a microfiber towel (not soaking, just damp), then lightly press and scrunch it against sections of your hair to transfer a controlled amount of moisture. This gives you more precision than a spray bottle and is a great option if you tend to over-mist.
Microfiber is important here. Regular cotton towels create friction and frizz. Microfiber is smooth enough to work with your curl pattern rather than against it.
Method 8: Scrunch Out the Crunch After Your Refresh
This is less its own method and more a step that many beginners don’t know exists, and it’s the thing that makes the difference between curls that look stiff and crunchy versus soft and defined after a gel-based refresh.
Once your hair is fully dry (not just mostly dry, fully dry) after your refresh, take your hands and very gently scrunch sections of hair upward. You’ll feel the gel cast breaking. Your curls will go from crispy-feeling to soft and bouncy underneath. This is completely normal and intentional. The gel cast forms a protective shell while curls dry, and scrunching it out reveals the definition underneath.
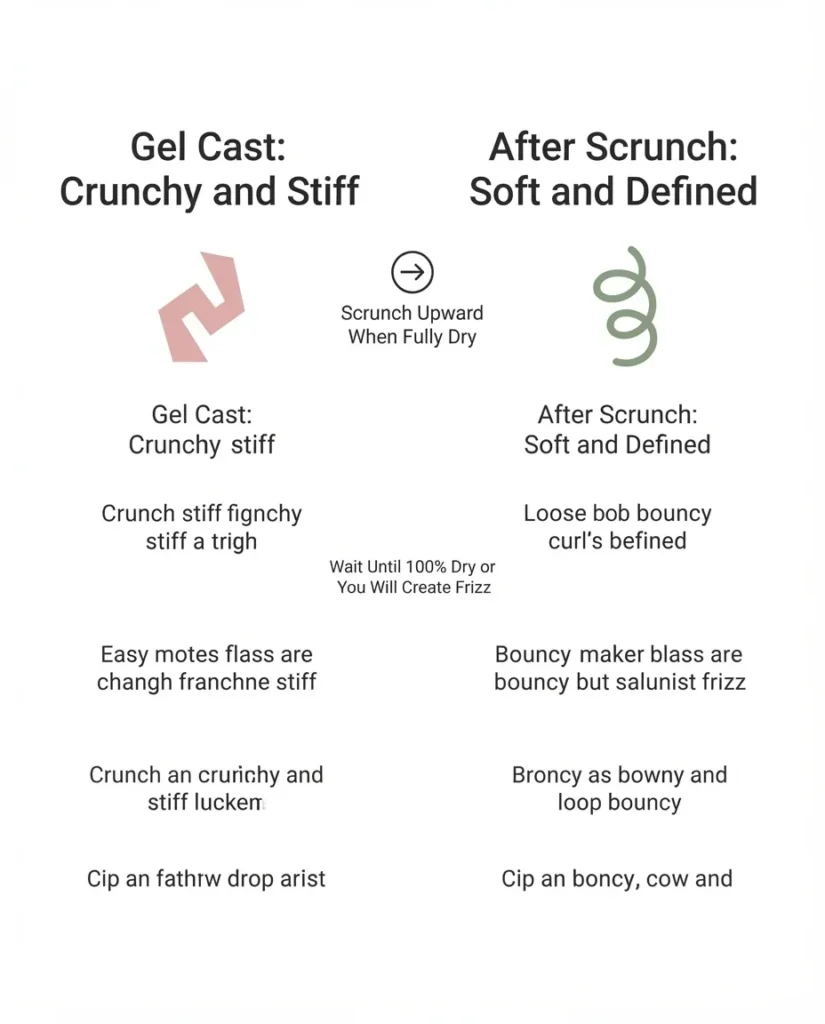
If you’re scrunching out the crunch while the hair is still even slightly damp, you will create frizz. Wait until fully dry. I can’t stress this enough.
Method 9: Quick Diffuse for Volume and Speed
If you’re short on time or your refresh left your hair damper than you wanted, a quick diffuse is the fastest way to finish without sitting around waiting. The technique that works best on refreshed (not wash-day-wet) hair is hover diffusing, where you hold the diffuser close to the hair without the bowl touching the curls. Set your dryer to low speed and low to medium heat. As Curlsmith explains with the hover diffuse method, this approach dries the hair with heat but without the physical manipulation that causes frizz, which makes it ideal for days when you’re working with hair that’s partially set and just needs finishing. Flip your head, hover the diffuser underneath the hair, move it gently, and you can be done in five to eight minutes.
Method 10: The Braid-Out Refresh
This is a great backup plan when refreshing the curl pattern isn’t working, but you still want your hair to look intentional and styled. While your hair is lightly dampened and has product applied, do two loose French braids or four loose sections twisted into twists, and wear them that way for 30 to 45 minutes or until mostly dry. When you take them down, you’ll have a softer, stretched-out wave or curl pattern with lots of natural texture and volume. It’s not your original wash-day curl, but it’s a real look that often photos better anyway.
Method 11: The Refresh-to-Updo Pivot
Some days your curls just do not want to cooperate, and that’s completely okay. The styling options that work beautifully on second-day hair often require far less effort than fighting a refresh that isn’t landing. A loosely gathered bun, a braided half-up, a messy low bun held with a satin scrunchie, or a half-up with your front sections twisted back all look intentional and chic. Slightly imperfect second-day texture actually adds to the casual elegance of these styles rather than taking away from it. I spent years watching clients in the salon come in apologizing for their “second-day hair” and their stylists would genuinely compliment the texture because it had body and movement that freshly washed hair sometimes lacks.
This isn’t giving up on your curls. It’s styling smart.
Method 12: Know When You’ve Hit the Rebuild Day
Refreshing has a limit. By day 3 or day 4, product layered on top of product can start to weigh your hair down, make it sticky, or make your roots look dull. This is a product-buildup situation, not a hair failure. The fix isn’t another refresh layer. It’s a proper wash with a clarifying or gentle sulfate-free shampoo to reset everything.
The way I explain it to people: think of refreshing like topping up a half-full tank, not filling an empty one. If the tank is dirty and full of residue, topping it up doesn’t help. You need to empty and clean it first. Most people can get two to three days of wear between washes with a solid refresh routine, and some curl types can stretch to four or five days depending on hair type, product choice, and how their scalp produces oil. Skipping unnecessary wash days is genuinely healthy for your hair since it allows the scalp’s natural sebum to condition and moisturize your strands, as Royal Locks notes in their breakdown of how natural oils benefit curl health between washes. But layering refresh product indefinitely until your hair is weighed down with buildup is not the same thing as healthy skip-washing.
Adjusting by Hair Type: The Cheat Sheet
I want to make this really concrete because the biggest gap I see in refresh advice is that it treats all curly hair as one thing.
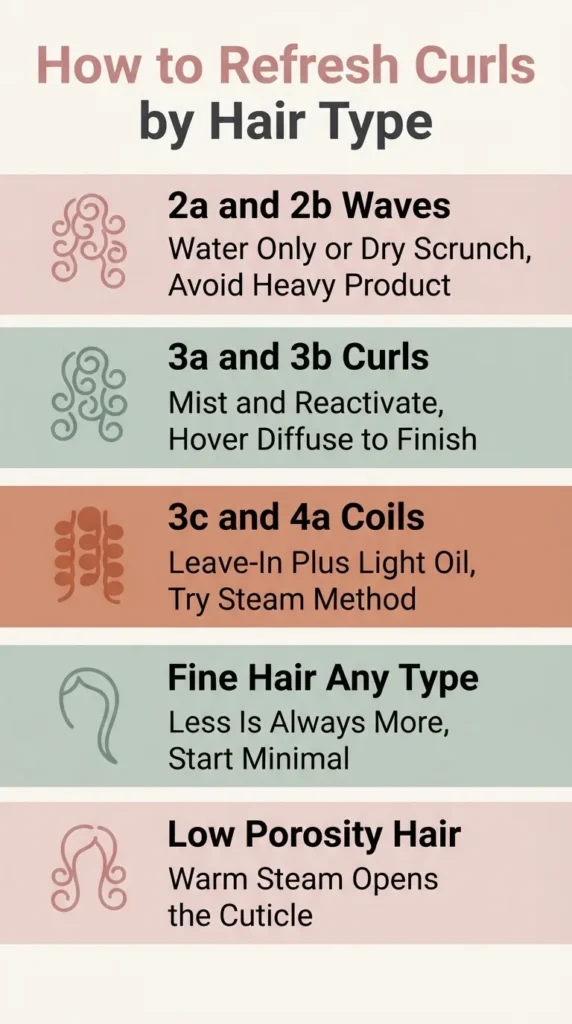
Wavy hair (2a, 2b, 2c): Use the lightest possible touch. Water-only or water-plus-minimal-product is your friend. Avoid layering heavy creams. Your biggest enemy on day 2 is flatness from over-moisturizing. The dry scrunch method (Method 4) is worth trying first. If you want to understand your specific subtype and why product weight matters so much for it, Curlsmith’s guide to type 2 hair breaks it down well in a way I find genuinely useful for product decision-making.
Curly hair (3a, 3b): The mist-and-reactivate method is usually your best starting point. A curl refreshing spray or a small amount of leave-in will reactivate your wash-day products without overloading. Don’t be afraid of the diffuse on day 2. It’s not damaging if you use low heat and hover technique.
Tight curls and coils (3c, 4a, 4b): Your hair is naturally drier and more fragile at the ends, so moisture is more important here than for any other type. A leave-in conditioner and a light oil seal work well on day 2, applied in sections. You may also find that the steam method and the braid-out refresh give you the best results because direct water misting can disrupt the coil pattern more than gently steamed moisture does.
Fine hair, any curl type: Less is more. Every single time. Start with the minimum amount of product and see if it’s enough before adding more. The instinct when curls look flat is to add more product. With fine hair, that instinct is usually wrong.
Low-porosity hair: Your strands have a very tightly closed cuticle, which makes absorbing moisture slow. Plain water sitting on the surface of low-porosity hair doesn’t penetrate quickly, which is why the standard spray-and-scrunch method often leaves people with low-porosity curls feeling like nothing happened. Warm steam, like the shower steam method, is more effective because heat gently opens the cuticle. If you’re misting, warm water in the spray bottle (not hot) is more effective than cold water for this reason.
The Most Common Refresh Mistakes (And Why They Happen)
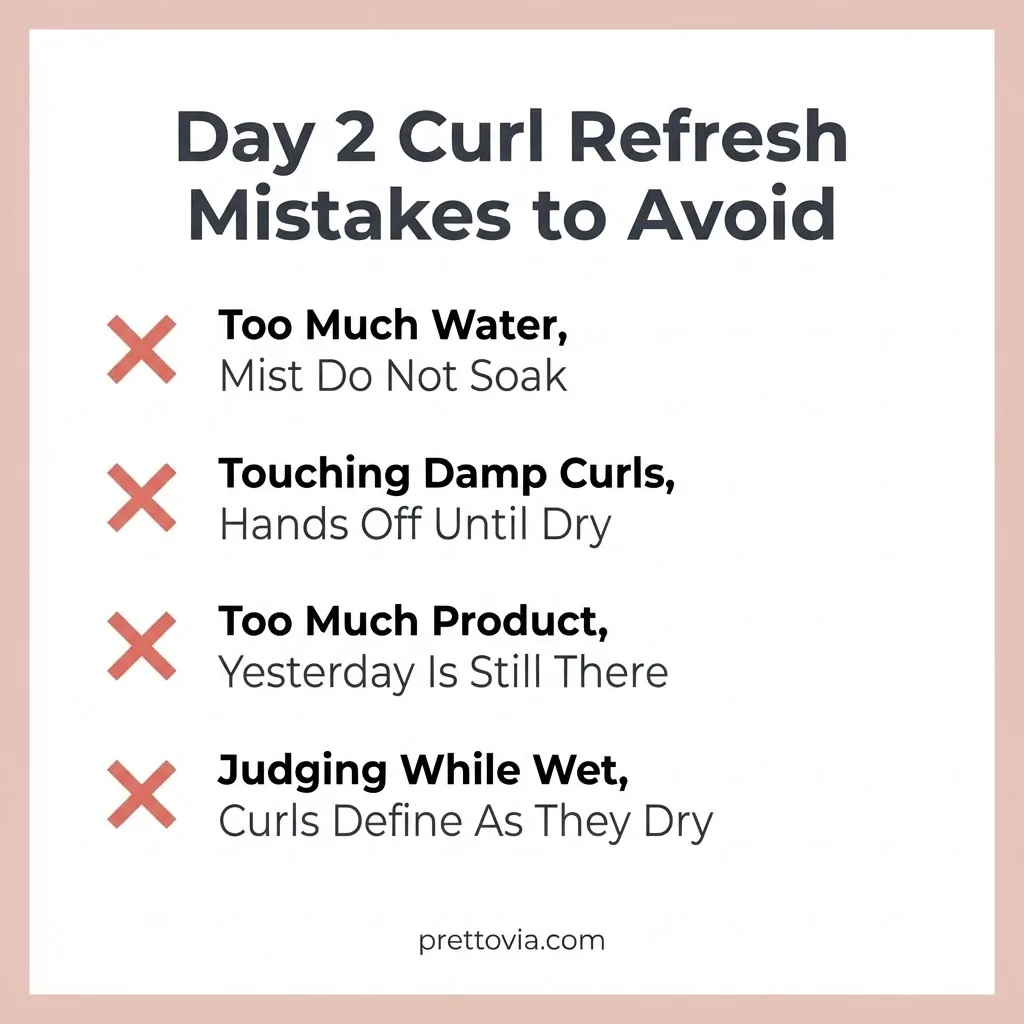
Too much water is the number one mistake. I’ve seen it over and over in questions from readers who say their refresh “ruined” their hair. They soaked their hair instead of misting it, and then either couldn’t get it to dry in time for work or found their second-day curl pattern had no grip left because the existing products were fully diluted. Mist. Don’t soak.
Touching hair while it’s damp is the second most common problem. Any time your hands go into damp curls to adjust, separate, or check, you’re introducing frizz. Apply your product with intention, set it, and walk away.
Adding too much product is closely related. The product from yesterday is still there. You’re adding to it, not replacing it. A dime-sized amount of leave-in or refresher is usually enough for medium-length hair. Go smaller than you think you need, check the result when dry, and adjust next time.
Expecting instant results is the other thing that trips beginners up. Your refresh might look kind of patchy or uneven when wet. That’s normal. Curls define as they dry. Try to resist messing with them while damp and see what you actually have once dry before deciding it didn’t work.
Quick Refresh Toolkit: What You Actually Need
You do not need to spend a lot of money here.
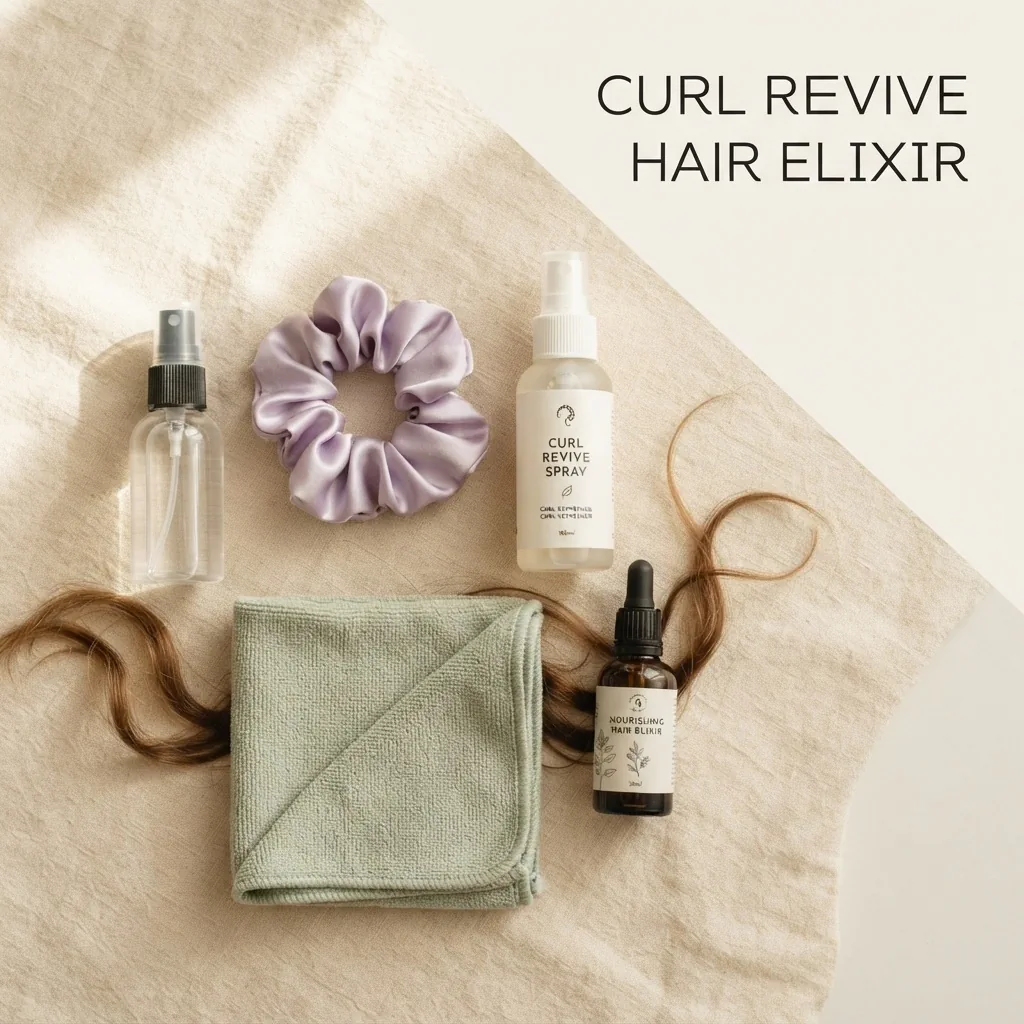
The basics are a fine-mist spray bottle (around $5 to $10 at any drugstore or beauty supply store), a satin scrunchie for the pineapple, and a satin pillowcase or bonnet. For product, a lightweight curl refresher spray or a diluted leave-in conditioner is all you need. Budget-friendly options that reviewers in the curl community consistently reach for include the Cantu Curl Refresher, the SheaMoisture Coconut Custard Make It Last Curl Refresher, and plain old Aussie Miracle Curls Curl Defining Spray, which runs under $8. For those who want something more targeted to their specific curl type, Ouidad’s breakdown of refresh product weight by hair texture is a useful guide without being overwhelming. A diffuser attachment on your existing blow dryer is enough for Method 9. You do not need a special diffuser dryer to start. Work with what you have.
Your day 2 curls deserve more than a ponytail. With the right method for your texture, a little patience while things dry, and a habit of protecting your curls the night before, second-day wear can honestly become your favorite look. The key is starting small, resisting the urge to over-apply, and remembering that a bad refresh attempt is just information, not a disaster. Your curls will wash out and start fresh whenever you need them to.
You’ve got this.