8 Blonde Balayage Looks That Are Easier Than They Look
I’m going to start with something I wish someone had told me before I ever picked up a box of dye in a dorm bathroom in my early twenties: the most beautiful hair colors you see on Pinterest are not as out of reach as they feel. Blonde balayage in particular has a reputation for being this complicated, expensive, salon-only thing that only certain people can pull off. And I understand why it feels that way, especially if you have dark hair, or a tight budget, or you’ve been burned before. But here’s the truth. Balayage is actually one of the more forgiving color techniques out there, precisely because it’s designed to look natural, blended, and imperfect. That sun-kissed “I was at the beach all summer” look? It’s not accidental. It’s a very clever technique that works with your natural hair instead of against it.
This guide walks you through 8 of the most beginner-friendly blonde balayage looks, explains what each one involves, who it works best for, and what to expect in terms of cost and upkeep. Whether you’re booking your first salon appointment and have no idea what to ask for, or just trying to figure out which shade of blonde is actually right for your hair and skin tone, you’re in the right place.
What Is Blonde Balayage, Exactly?
Before we get into the specific looks, it helps to understand what makes balayage different from other color techniques, because this is the question I get asked the most. Balayage (pronounced bah-lee-AHGE, from the French word meaning “to sweep”) is a freehand painting technique. Instead of wrapping every section of hair in foil, your colorist paints lightener or color directly onto the surface of the hair in sweeping motions, concentrating the most color toward the ends and getting lighter and more diffused as they move up toward the roots.

The result is a soft, graduated, dimensional look with no harsh lines and a grow-out that looks intentional rather than neglected.
This is fundamentally different from traditional foil highlights, which saturate the full strand from root to tip for a more uniform, high-contrast effect. As Redken’s professional guide explains, balayage creates softer blending and a more “lived-in” appearance, while foil highlights give you more control over brightness and placement. Neither is better, they’re just different tools for different goals.
The “easier” part I promised in the title refers to two things. First, beginner-friendly balayage styles exist across a wide spectrum, from the tiniest face-framing money piece to a full sun-kissed transformation, so you can start small and go bigger over time. Second, balayage grows out beautifully, which means you’re not under pressure to be in the salon every 6 to 8 weeks the way you might be with traditional root touch-ups.
8 Blonde Balayage Ideas for Beginners
1. The Money Piece: The Lowest-Commitment Start
If you are brand new to color and want to test the waters without going all in, the money piece is the single best place to start. It’s exactly what it sounds like: a few bright, face-framing highlights placed on the two front sections of hair right around your face. The term comes from the idea that these are the “high-value” pieces that frame your features and make you look like you just spent a lot of money at a salon. They’re bold enough to be noticed and subtle enough that if you don’t love them, they grow out in a few months without drama.
For a beginner, this is ideal because it requires the shortest processing time, involves lightening only a small section of hair, and gives you a taste of blonde balayage without committing to a full service. Stylists typically charge between $80 and $150 for a standalone money piece service, making it the most budget-friendly entry point. You can also take it gradually brighter over multiple appointments.
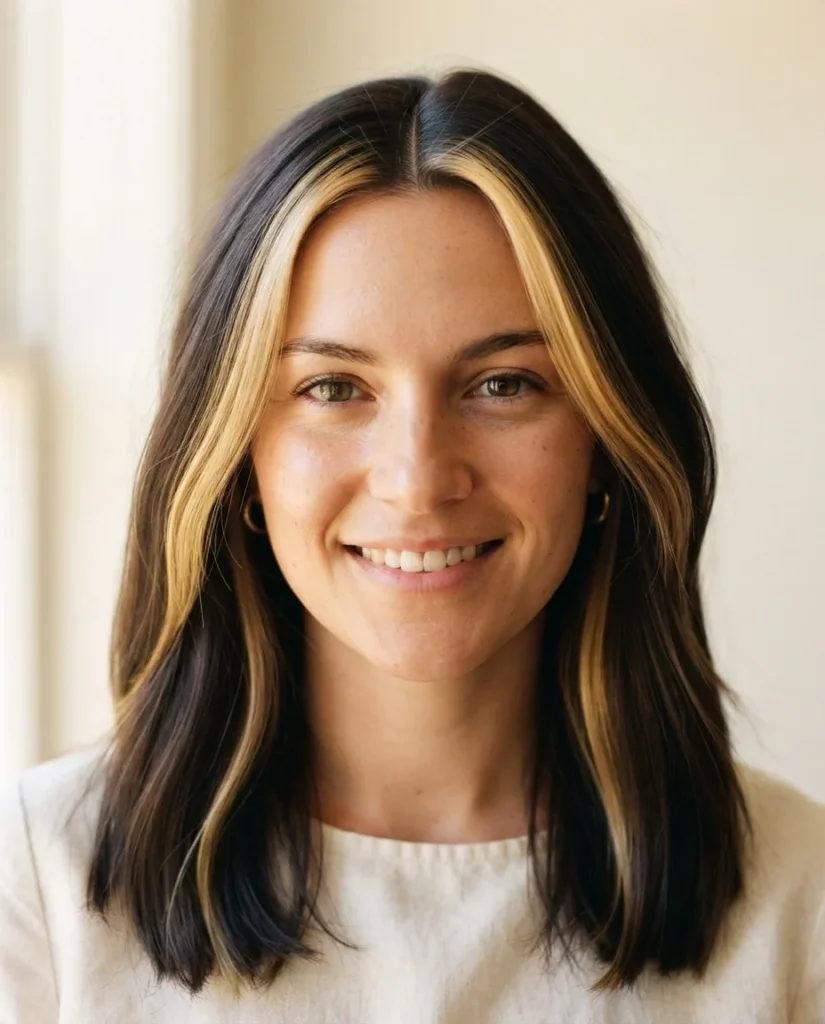
If you have dark hair and want to eventually go lighter all over, starting with a money piece lets your hair adjust to lightening in stages, which is much kinder to the structure of your strands.
2. Sun-Kissed Balayage: The Classic Pinterest Look
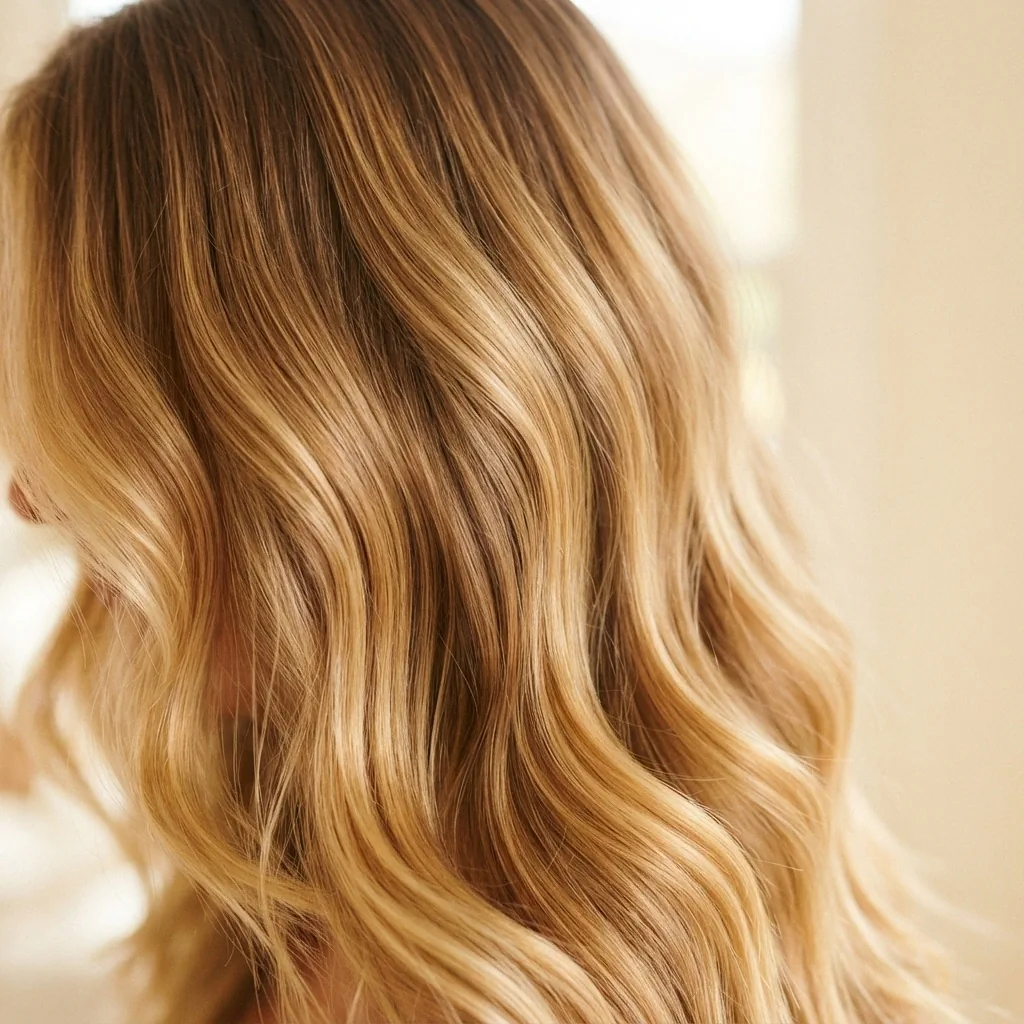
This is the one. The one you have saved seventeen versions of. Sun-kissed balayage is the original, quintessential blonde balayage look: a warm, golden, natural-looking lightening through the mid-lengths and ends that gives the impression you’ve been outdoors all summer. It works on light brown, medium brown, and already-blonde hair, though the amount of lift required varies significantly depending on your starting point.
On light brown or dirty blonde hair, sun-kissed balayage is genuinely achievable in one session and tends to come out beautifully warm and dimensional. On medium brown hair, it may take two sessions to get to the golden tones without crossing into brassiness. The key is not rushing the process. A good colorist will do a strand test and assess your hair’s current health before deciding how much lift to attempt in one go. The American Academy of Dermatology advises waiting adequate time between coloring sessions and paying attention to signs of hair damage like breakage or unusual texture changes, and this is worth genuinely keeping in mind if you’re going lighter for the first time.
Sun-kissed balayage at a mid-range salon generally runs $180 to $300 depending on hair length and thickness.
3. Honey Blonde Balayage: Warm, Rich, and Universally Flattering
Honey blonde balayage sits in that gorgeous warm-golden-amber zone. It’s richer than sun-kissed, deeper than butter blonde, and it works especially well on people with warm or neutral skin undertones, though honestly I’ve seen it flatter cooler complexions too when it’s blended correctly. The warmth comes from the golden and amber tones in the color, and it gives hair incredible depth and dimension because the honey hue sits so naturally against brown bases.
This look tends to hold its warmth longer between toning appointments compared to cooler blondes, which is genuinely helpful for beginners who are still getting used to a maintenance routine. It’s also one of the most photogenic shades in natural light, which, if you’re saving inspiration to Pinterest, is exactly what you want. Honey balayage suits straight, wavy, and curly textures equally well, though on curly hair your stylist will often apply the color to dry hair so they can accurately see where the curl sits and place the color on the correct sections.

4. Butter Blonde Balayage: The Soft, Creamy, Effortless Tone
Butter blonde is the cool sister to honey. Where honey leans warm and golden, butter blonde is softer, creamier, and sits in a pale yellow-gold zone that feels very natural and expensive-looking. It is the “your hair but better” version of blonde balayage, and it is absolutely having a moment right now. Think of it as the everyday neutral blonde, not platinum cold, not brassy warm, just soft, dimensional, and polished.
Because butter blonde is on the cooler side of warm, it does tend to show brassiness more quickly than honey tones if you skip toning maintenance. Purple shampoo is your best friend here. Purple pigment sits opposite yellow on the color wheel, meaning it neutralizes the brassy, yellowy undertones that emerge as color fades.

Using a purple or violet shampoo once or twice a week is a low-effort way to keep butter blonde looking fresh between salon visits.
Redken’s Color Extend Blondage line is what stylists consistently point to for this, and it’s widely available. A drugstore option reviewers frequently return to is Shimmer Lights by Clairol, which is a fraction of the price and has genuinely loyal fans.
5. Ash Blonde Balayage: Cool, Smoky, and Very Pinterest Right Now
Ash blonde balayage is the cool-toned option for people who want a more sophisticated, almost smoky finish rather than warmth. It’s the color that photographs beautifully in moody lighting and always looks deliberate and editorial. On the right person, it looks stunning. But I want to be honest about the commitment, because this is where I see a lot of beginners get surprised.
Ash blonde requires more lift than warm blonde tones and often needs a toner applied on top to neutralize the orange and yellow that bleach leaves behind before the cool, ashy result is possible. This typically means more processing time and, depending on your starting color, potentially more than one session. It also requires more consistent maintenance: ash blonde fades to brassy or yellow faster than warm blondes because the cool tone is built on top of a toning step rather than being the natural underlying warmth. This doesn’t mean don’t do it. It means go in knowing that you’ll likely need a toning gloss or purple shampoo every few washes, and a refresher toner appointment every few months.
6. Caramel Blonde Balayage: The Bridge Between Brunette and Blonde
If you have medium to dark brown hair and you’re not sure you want to go fully blonde, caramel balayage is the look that bridges the gap perfectly. It pulls warm, reddish-amber tones out of brown hair and lifts them to a glowing caramel-blonde that looks completely natural and completely intentional. This is the bronde (brown-blonde) sweet spot.
Caramel balayage is one of the most flattering options for olive skin tones and medium complexions, and it tends to look especially rich on thicker hair textures because the dimension really shows. From a practical standpoint, it’s also one of the more achievable looks for darker starting hair because you don’t need to lift to a very light level. Getting to a true caramel often only requires lifting a couple of levels, which puts less stress on the hair and keeps things manageable even for beginners. For more detail on how the technique is executed and what finishes are possible with different base colors, Revlon Professional’s balayage guide has a solid breakdown of how lift levels affect the final tone.
7. Strawberry Blonde Balayage: Warm, Peachy, and Actually Underrated
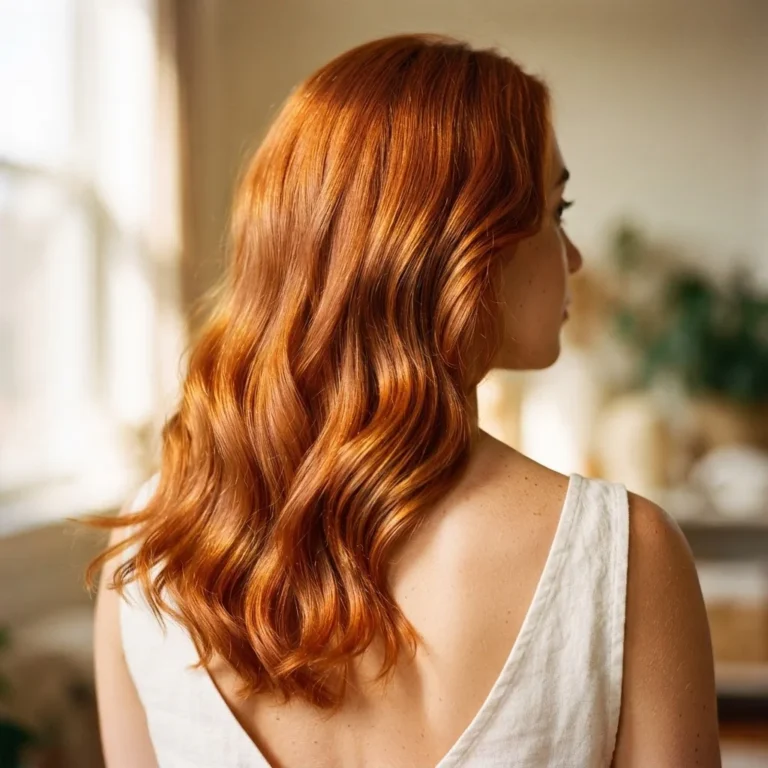
Strawberry blonde balayage is having a genuine resurgence right now on Pinterest and TikTok, and for good reason. It is warm, peachy, a little romantic, and it makes almost everyone look glowy and sun-lit. It works especially beautifully on natural redheads who want to brighten their color, light blondes who want more warmth and dimension, and light brown hair that already has warm undertones.
For true brunettes with cool or very neutral tones, strawberry blonde can be trickier to achieve because it requires very specific warm-golden undertones in the lightening stage. This is a conversation to have with your colorist upfront, because going for strawberry blonde on the wrong base can slide toward brassy orange rather than peachy gold. Show your stylist your Pinterest saves, be specific, and ask them to assess your hair’s natural underlying tone before committing to this shade.
8. Bronde Balayage: The No-Drama Look for Commitment-Phobes
I saved this one for last because it genuinely is the most beginner-friendly full balayage look on this list. Bronde (brown plus blonde) is the result when a colorist keeps the lightening subtle, creates soft, blended highlights that read as “dimension” rather than “color,” and lets the natural base show heavily through. The result is hair that looks naturally lighter and glossier rather than dyed.
This is the look for the reader who loves balayage but is nervous about committing to a dramatic change. It requires the least lifting, the most forgiving grow-out, and the lowest maintenance of any blonde balayage option. Because you’re not going dramatically light, there’s also less chemical stress on the hair structure, which is important if your hair is already compromised from heat styling or previous color. If you’re recovering from damage and still want a little color dimension, bronde balayage is genuinely the safest place to start.
What Your Starting Hair Color Actually Means for Your Results
This section matters more than most articles admit, so let’s get into it. Hair color is measured in levels from 1 (black) to 10 (platinum blonde). The further you are lifting, the more processing is required and the more the hair structure is affected.
If you’re naturally a level 6 or lighter (medium blonde to light brown), most blonde balayage looks are achievable in one session with minimal stress to the hair.

If you’re a level 4 or 5 (medium brown), sun-kissed, honey, and bronde are achievable in one session, but ash or butter blonde may require a second appointment. If you’re a level 3 or darker (dark brown to black), the process requires more lift and almost certainly multiple sessions to avoid breakage or an uneven result. Research published in PMC’s review of hair product allergy and bleaching chemistry confirms that persulfate salts in bleaching products are recognized sensitizers, which is the scientific reason you should always do a patch test 48 hours before a bleach service, no exceptions, even if you’ve colored before. Reactions can develop over time and a previous fine result does not guarantee a future one.
This is not meant to scare you. It’s meant to set you up for success. A good stylist will stage your lightening over multiple appointments if needed, and that’s a sign they’re doing it right, not a sign something is wrong.
What to Say to Your Stylist (So You Don’t Leave Disappointed)
This is the gap I see in almost every other article on this topic, so I want to give it real space. Knowing what look you want is one thing. Communicating it clearly to a colorist in a way that gets you there is a skill.
Come in with three to five saved photos on your phone, a mix of different lighting so your stylist can see the actual tones rather than a filtered version. Tell them your starting hair history: any previous color, any relaxers, any heat damage. Describe the vibe you want, not just the color, for example “sun-kissed and low-maintenance” versus “bright and high-contrast.” Ask them directly: “How many sessions will this realistically take?” and “What do I need to do at home to maintain it?” A colorist who gives you honest answers is worth every dollar.
Maintenance 101: Keeping Your Blonde Balayage Fresh
Let’s talk about the part that Instagram never shows. Blonde balayage is relatively low maintenance compared to traditional highlights, but “low maintenance” does not mean “no maintenance.” Here’s what a simple, realistic routine looks like.
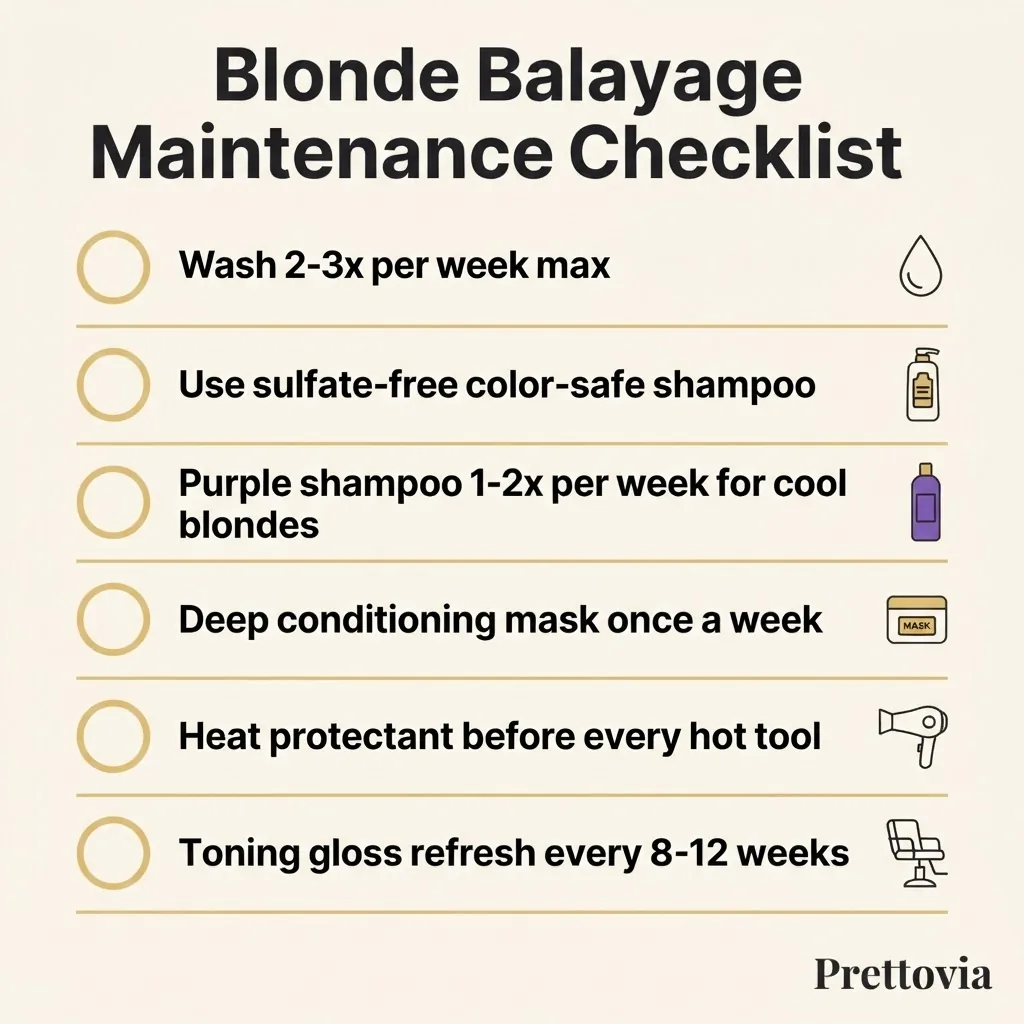
First, the washing frequency. Davines, one of the professional haircare brands stylists consistently recommend for color-treated hair, advises washing balayage hair no more than two to three times per week and always following with a conditioner to keep color-treated strands hydrated and protected. Over-washing fades color faster and strips the moisture that lightened hair needs to stay healthy.
Second, use a sulfate-free, color-safe shampoo for your regular washes. Sulfates are the cleansing agents that make shampoo lather, and while they clean effectively, they are also harsh on color-treated strands and strip natural oils faster. Most drugstores carry sulfate-free options in the $8 to $15 range that work well.
Third, use a purple or violet shampoo once or twice a week if you have a cool or neutral blonde tone. Leave it on for three to five minutes before rinsing. If you have a warm blonde tone like honey or caramel, you may not need it at all, or only once every week or two. Using it too frequently on warm blondes can make the color look dull rather than vibrant.
Fourth, protect your hair from heat. Balayage involves lightening, and lightened hair is more porous and more vulnerable to heat damage than virgin hair. The AAD’s hair damage prevention guidance consistently points to reducing heat tool usage and applying heat protectant before any hot tool as key steps in preventing damage to chemically treated hair. A heat protectant is a non-negotiable in your routine, not a luxury add-on.
Finally, schedule a toning gloss or refresh appointment every eight to twelve weeks if your blonde is on the cooler or more lifted end. This is what keeps the color looking intentional rather than faded, and it’s typically less expensive than a full balayage service.
A Note on At-Home Balayage Kits
I get asked about this constantly, so I’ll be straight with you. At-home balayage kits have improved a lot. Brands like L’Oréal Paris and Garnier make kits specifically designed to create a blended, painted highlight effect at home, and reviewers with light to medium brown starting hair frequently report soft, natural-looking results. If your hair is light brown, already blonde, or you are going for a very subtle bronde effect, an at-home kit can be a reasonable starting point.
However, if you have dark brown or black hair, previously relaxed or chemically treated hair, or you want to achieve a specific cool or bright blonde tone, a professional is the right call. The risk of uneven results, excessive lift, or damage is real on darker or previously processed hair, and fixing a DIY situation at a salon costs significantly more than booking the professional appointment in the first place. I learned a version of this lesson in a dorm bathroom at age nineteen, and I would like you to learn it from reading this instead.
How to Choose Your Blonde Balayage Tone
A quick and genuinely useful cheat sheet: if you have warm skin tones (golden, peachy, or olive undertones), honey, caramel, and strawberry blonde balayage will complement you beautifully. If you have cool or neutral skin tones (pink, rosy, or bluish undertones), ash, butter, and cool sun-kissed blonde tend to be more flattering. If you are unsure of your undertone, look at the veins on your wrist: green-ish veins suggest warm undertones, blue or purple veins suggest cool undertones, and a mix suggests neutral. When in doubt, bring photos to your stylist and ask them to assess. Color theory around undertones is genuinely part of what you’re paying for in a professional consultation.
The Takeaway
Blonde balayage is one of the most beginner-accessible color changes you can make, precisely because it is so forgiving. The blend is designed to look imperfect. The grow-out is designed to be low-pressure. And the range of options, from a tiny money piece to a full caramel transformation, means you can start exactly where your comfort level is and build from there.
The most important thing is going in informed. Know your starting level, know your maintenance commitment, have your photos ready, and ask your colorist the questions that actually matter. You’re not asking for too much. You’re just asking for the right things.