18 Coffin Nail Ideas That Are Easier Than They Look
I’ll be honest with you: the first time I tried to shape coffin nails on my own hands, one of them came out looking like a slightly aggressive spatula. Not my finest hour. But here is the thing, the shape itself is not actually that hard once you understand the logic behind it. The reason coffin nails look intimidating is that they look so deliberate and polished in every photo you see on Pinterest. That finish makes people assume there is some professional secret behind them.
There is no secret. There is just a technique, and once you have it, this shape becomes one of the most versatile, flattering, and genuinely fun canvases you can work with for nail art. Whether you want something minimal and glazed or bold and covered in chrome, coffin nails wear every trend beautifully. This is my deep-dive into how the shape actually works, what you need to pull it off at home, and 18 designs that range from genuinely beginner-friendly to “okay I need a Sunday afternoon for this” gorgeous.
What Are Coffin Nails, and Why Does Everyone Love Them?
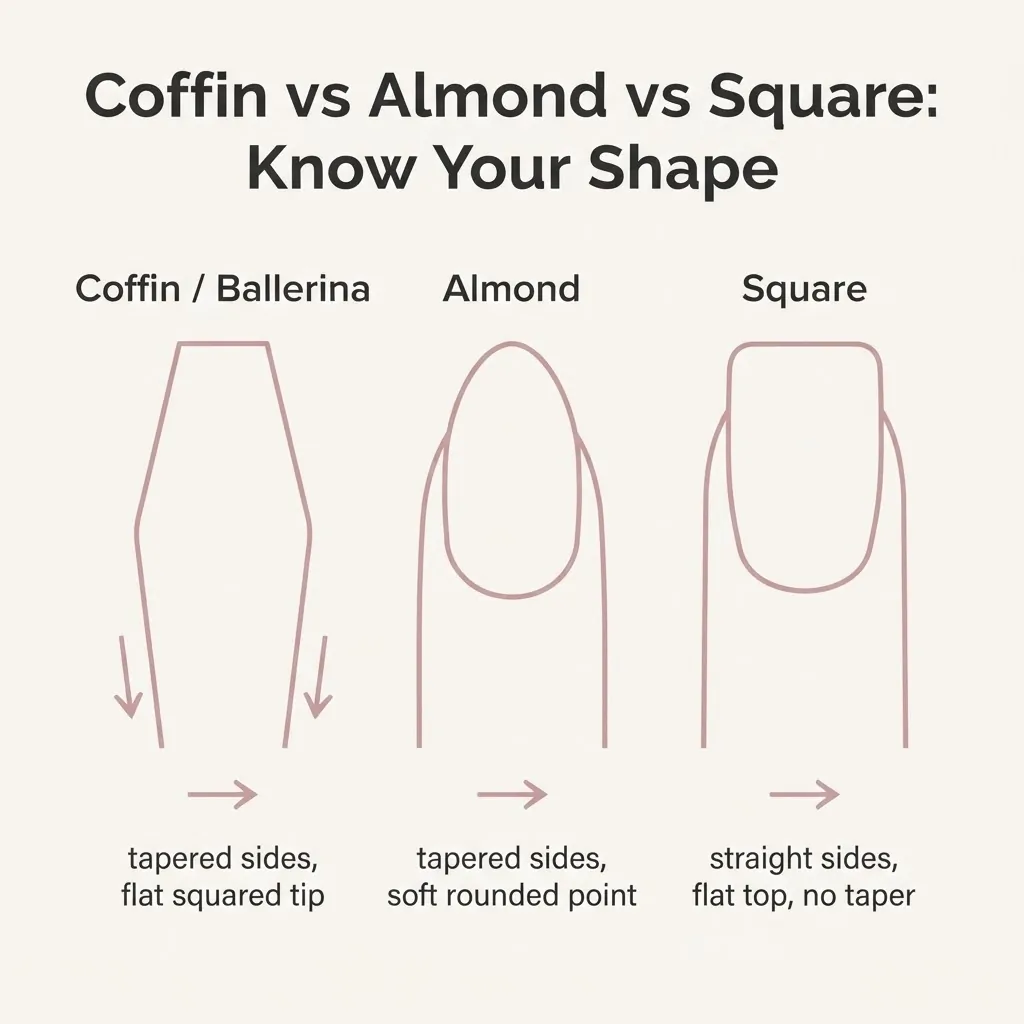
Coffin nails (also called ballerina nails) have a silhouette that is tapered on the sides and flat across the top, like a ballet pointe shoe or, yes, a coffin. The flat tip is what sets them apart from almond nails, which taper to a soft rounded point. According to L’Oreal Paris’s complete nail shapes guide, the coffin and almond shapes both curve inward toward the tip, but the coffin’s flat, squared-off end gives it that bold, editorial quality that almond nails lack.
What makes coffin nails so beloved for nail art? The flat tip is basically a tiny billboard. You can do a crisp French tip, a detailed floral design, a chrome gradient, or a negative space cutout, and it all lands in a way that feels intentional and modern. On longer nails, the tapered sides create that finger-elongating effect everyone is chasing. On shorter nails (yes, we will get to those), a shorter coffin still has that structured elegance that makes a simple nude feel elevated.
The shape also photographs brilliantly, which is a big reason it dominates Pinterest. That flat tip catches light in a way that rounded shapes do not, so chrome effects, glazed finishes, and glitter gradients all look extra dimensional on a coffin.
Do You Need Long Nails for Coffin Shape? The Honest Answer
This is the question I get asked the most, and the answer is: longer helps, but short coffin nails are absolutely a real thing. To file a true coffin shape on your natural nails, you need enough length extending beyond the fingertip to taper the sides and still leave a flat top. A general guide is that your nail needs to extend roughly 5 to 7 mm past the fingertip before the natural curve begins. If your nails break before they reach that, there are three good options.
The first is press-on coffin nails, which have gotten genuinely good in recent years. Many come in a short coffin shape specifically, pre-shaped so you are not doing any filing at all. They last anywhere from a few days to two weeks depending on the glue you use and how much you have your hands in water.
The second is using nail tips with gel or dip powder. You glue a tip onto your natural nail to add length, then apply your gel or dip system over both. This is a step up in complexity from press-ons but gives a more durable and natural-looking result.
The third is simply embracing a shorter coffin shape on whatever length you do have. It is a recognized shape, it is trending, and it works beautifully with minimalist and monochrome designs in particular. Do not let anyone tell you short coffin nails are a compromise. They are their own aesthetic.
How to File the Coffin Shape Without Wrecking Your Nails
Filing is where most beginners go wrong, and specifically, filing too aggressively is the main culprit. The MindBodyGreen coffin nail shape guide confirms the correct sequence: start by filing the top of the nail completely flat to create a square shape, get clean 90-degree edges on both sides, and only then begin tapering the sides diagonally toward the center. You file at an angle from each corner inward, aiming both sides toward the center of the tip until you get that flat platform at the top.
A few things I want you to remember before you pick up a file:
Use a 180-grit file for natural nails. Anything coarser than that can thin the nail plate over time. If you are filing acrylic or hard gel extensions, a 100 or 120 grit is appropriate for the artificial product, but stay at 180 or finer for any area near the natural nail surface.
File in one direction. Sawing back and forth creates micro-tears in the nail edge that weaken it and cause splitting. One smooth stroke in one direction, lift, repeat.
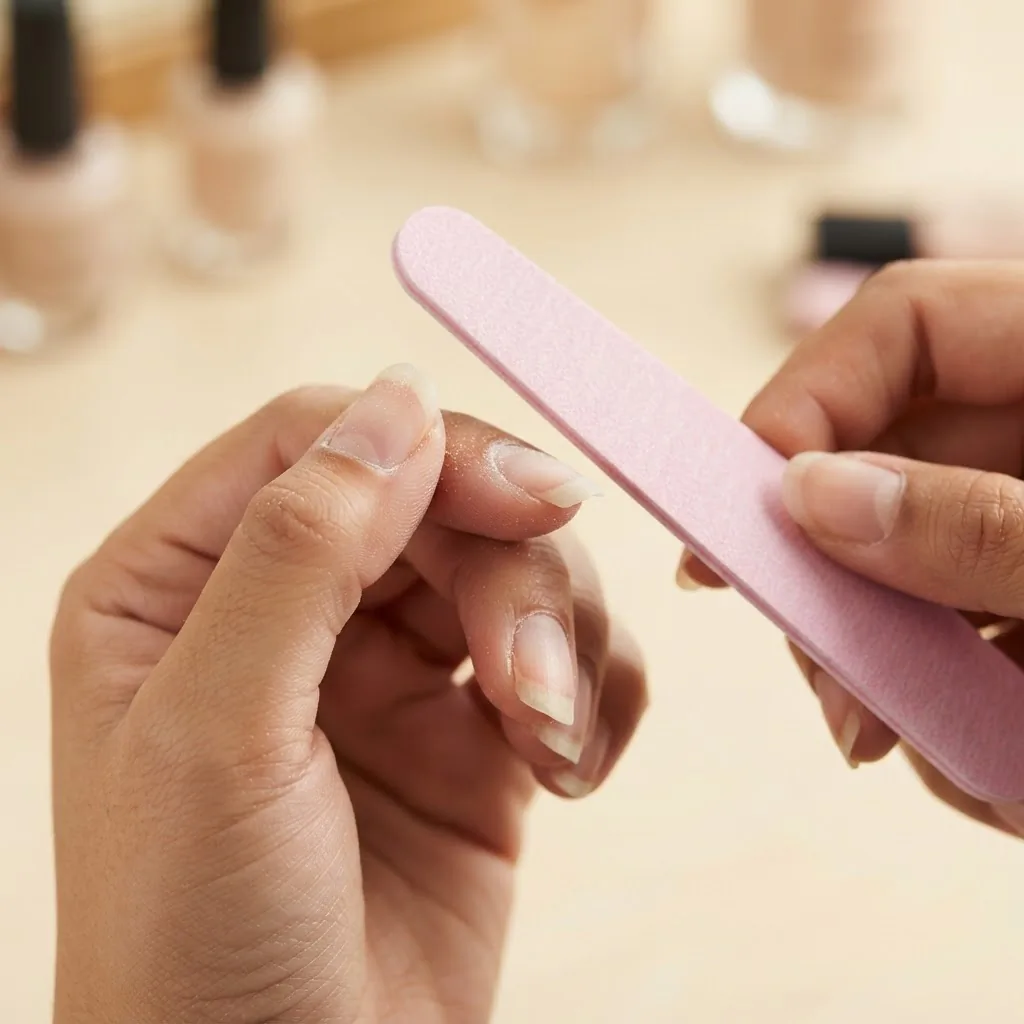
Take it slow on the sides. The tapered sides of the coffin shape are where people get impatient and file too deep. If you file the side walls too far down toward the nail bed, you weaken the nail’s structural support significantly. Aim for a gentle taper, not a severe one.
Check your symmetry often. Hold your hand flat and look straight down at your nails after every few strokes to compare both sides. What looks even from the side often looks wildly uneven from above.
Nail Prep: The Part That Actually Decides Whether Your Design Lasts
I cannot overstate this: every beautiful coffin nail design you see on Pinterest is built on top of good prep. If you rush prep, you will deal with lifting, bubbling, or peeling within a day or two, no matter how carefully you applied the color.
Push back your cuticles gently with a wooden or rubber cuticle pusher. Do not cut them. The American Academy of Dermatology advises against cutting the cuticle because it removes the seal that protects the nail matrix from bacteria and infection. Pushing back is plenty.
Buff the surface of the nail lightly with a 220-grit buffer to remove shine and help product grip. Do not over-buff. A few light passes is the goal.
Wipe the nail with a lint-free pad soaked in isopropyl alcohol or your gel’s prep solution before applying anything. This removes oils and residue that cause lifting.
Apply your base coat or gel base coat thin and carefully, staying just off the cuticle. Flooding the cuticle is one of the most common causes of early lifting.
18 Coffin Nail Ideas (Organized From Beginner to Statement)
The Beginner-Friendly Tier: Minimal Effort, Maximum Payoff
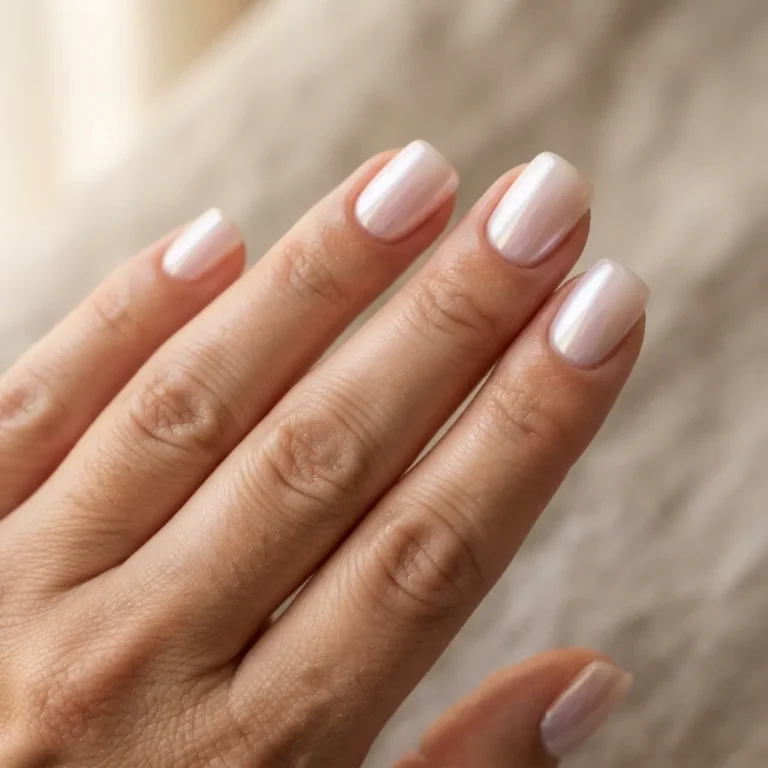
1. Milky White Coffin Nails A sheer, milky white polish applied in two thin coats is one of the most wearable and forgiving coffin nail looks you can do.
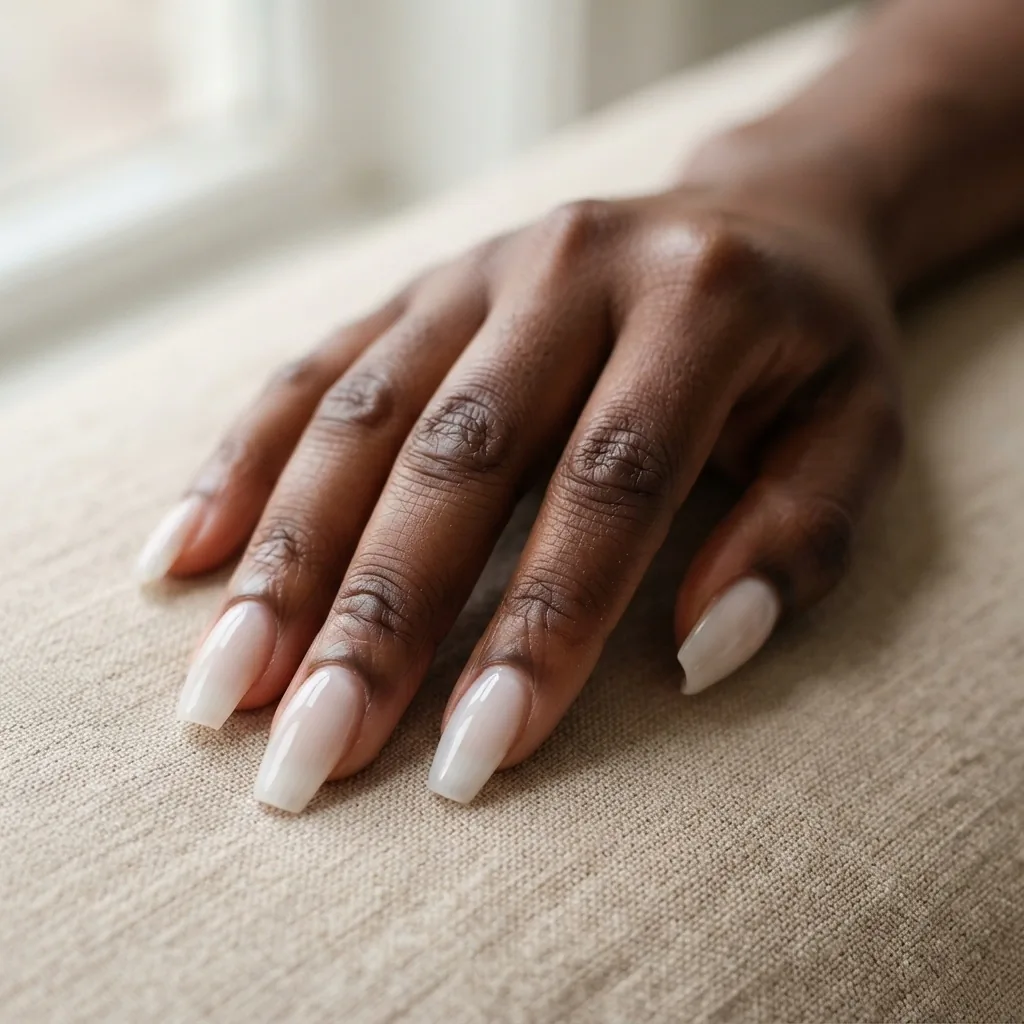
The translucency means brush strokes are nearly invisible, there is no color flooding to stress about, and the result looks intentional and clean on every skin tone. Finish with a high-shine top coat and you have a set that looks genuinely polished. This is the design I recommend to people who have never done their own coffin nails before.
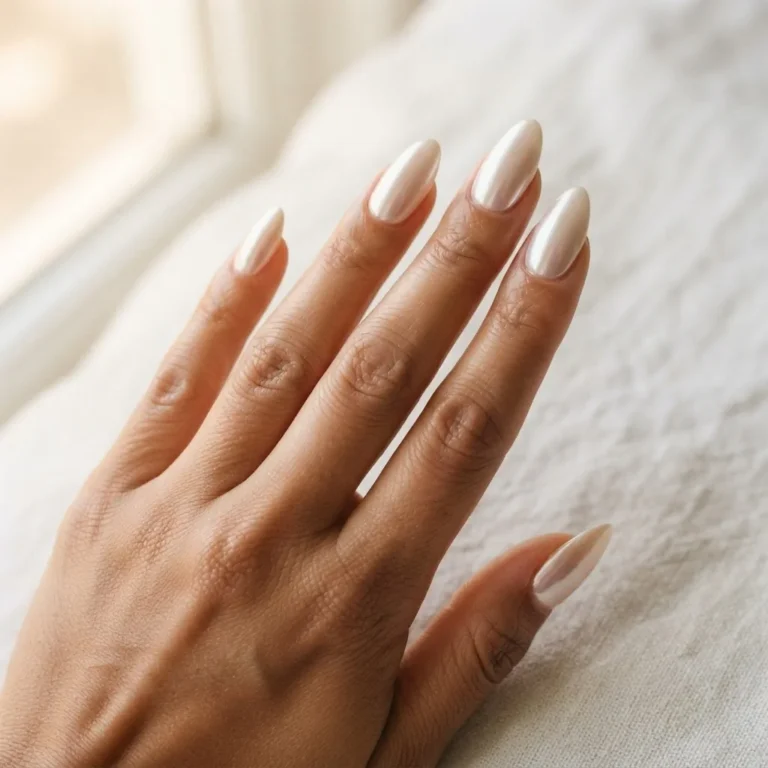
2. Glazed Donut Coffin Nails This look is simply a sheer base (milky, peachy, or barely-there pink) with a chrome or mirror powder buffed on top. The chrome powder is rubbed onto cured gel polish using a small silicone applicator or even a sponge eyeshadow brush, and it creates that glassy, reflective finish.
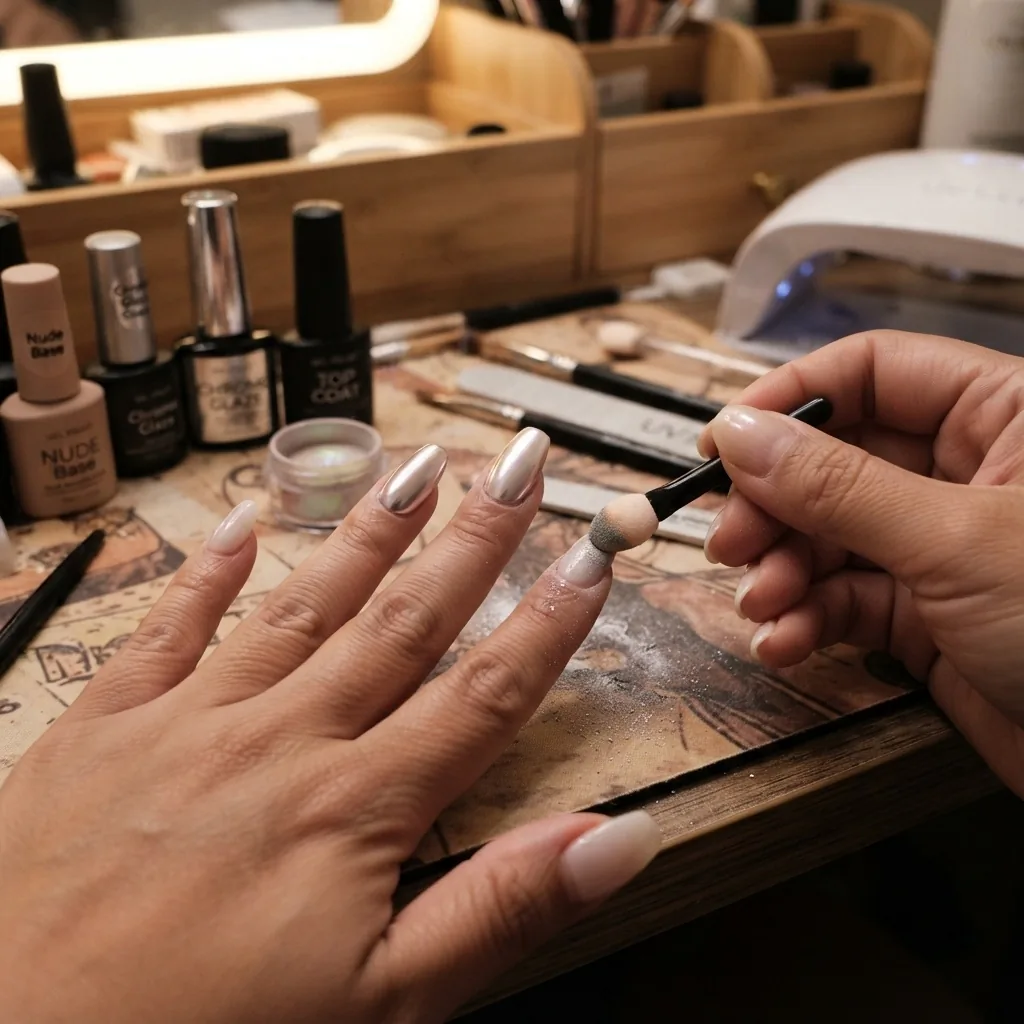
The key to the glazed donut effect is using a gel polish base that is fully cured and then applying a no-wipe top coat afterward to seal the chrome. It sounds technical, but it is genuinely one of the most beginner-friendly finishes because imperfections are almost invisible under the reflection.
3. Nude with a Single Accent Nail Paint all nails in a soft nude and leave one nail per hand (typically the ring finger) for a simple design like a thin gold line, a tiny rhinestone row, or a smudge of silver chrome. This gives you a designed set without the pressure of repeating a design across all ten nails. Excellent for building confidence.
4. Classic French Tip The flat tip of the coffin shape is perfectly made for a French tip. Use nail guides or a thin liner brush to paint a clean white or off-white smile line across the top of each nail. If your lines are slightly wobbly, that is what the clean-up brush with acetone is for. Dip a thin brush into acetone and run it along the edge of the French tip to sharpen the line. Nobody’s first French tip is perfect, but this trick closes the gap fast.
5. Solid Moody Color (Black, Burgundy, or Deep Navy) A full-cover deep polish on a coffin shape is so dramatically beautiful it needs no additional art. Black coffin nails feel gothic and editorial, burgundy reads autumn glamour, and deep navy has a quiet luxury feel. Apply two thin coats for even opacity and seal with a glossy top coat. These solid looks are genuinely forgiving to apply because the darkness hides minor imperfections.
6. Soft Pink Ombre A gradient from a light pink at the base to a deeper rose or coral at the tip. You can achieve this with a small makeup sponge: paint two colors onto the sponge where they meet, dab it onto the nail, and blend. It takes a few tries to get the hang of the sponge pressure, but the fuzzy, soft finish of ombre actually hides the imprecision of the technique, which makes it more beginner-friendly than it looks.
The Trend-Forward Tier: Viral Looks That Are Still Very Doable
7. Aura Nails Aura nails use the same sponge-gradient technique as ombre, but the color is dabbed into the center of the nail rather than along the tip, creating a soft, diffused halo of color over a neutral or white base. Dusty pink, lavender, and peachy coral are the most popular colorways. It looks like an art installation on your fingers and the technique forgives imprecision beautifully.
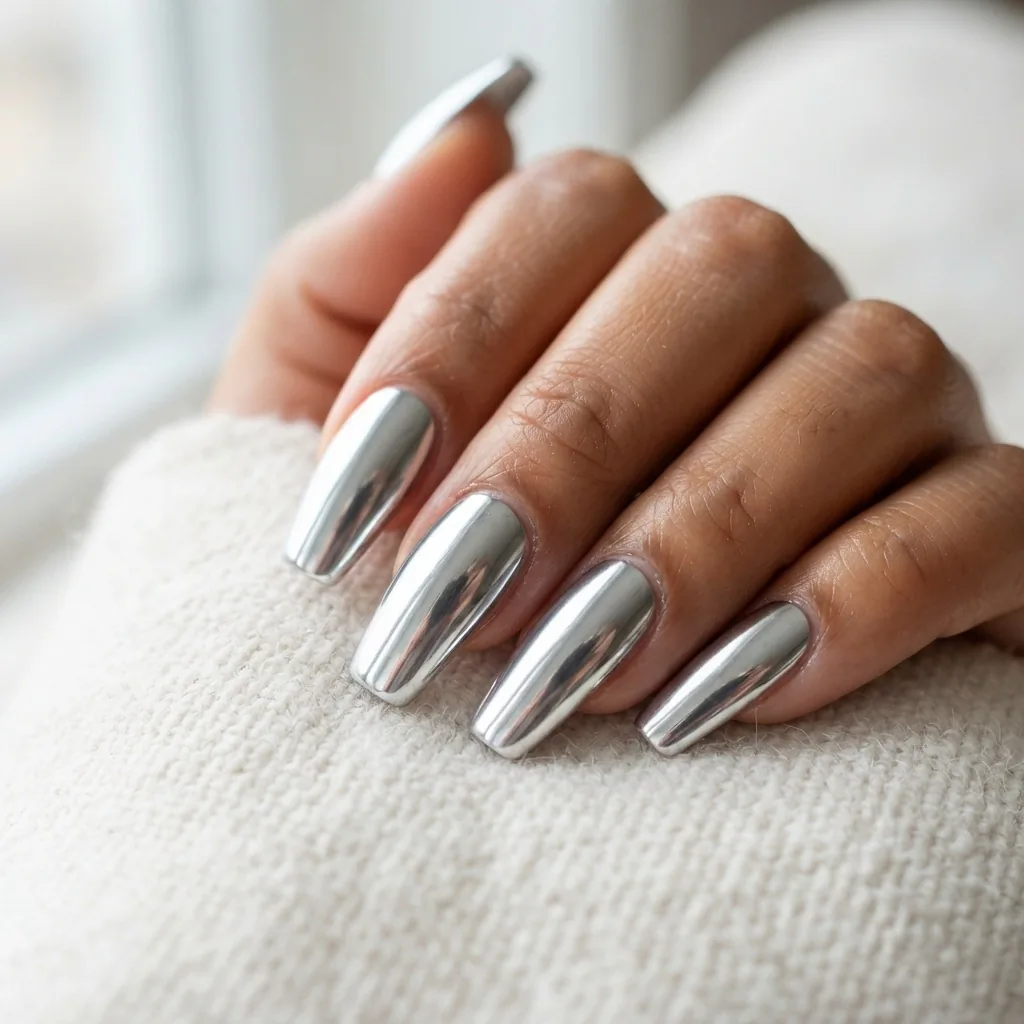
8. Chrome Mirror Coffin Nails This is the full mirror chrome effect, more opaque and reflective than the glazed donut. Apply a black or dark gel base, cure it fully, then buff chrome powder over the surface. The dark base is what creates the intense mirror reflection. Silver chrome over black is the classic, but gold chrome over burgundy and blue chrome over deep green are both stunning on coffin shapes. The technique requires patience on the first try, but once you feel the powder transferring correctly, it clicks fast.
9. Cat-Eye Gel Nails Cat-eye gel uses a magnetic powder or magnetic gel polish that contains tiny metalite particles. After applying a thin coat of the magnetic gel, you hold a magnet above the wet polish (without touching it) for about 10 seconds and the particles align into a wave that mimics the slit of a cat’s eye. The effect looks wildly expensive. The learning curve is mainly timing: you need to apply the magnet before the gel sets, so you work one nail at a time.
10. Modern Diagonal French Tip Instead of the classic smile-line French, this version runs the tip color diagonally across the nail in a straight line, creating a sharp geometric cutoff. It looks sleek and contemporary on coffin shapes. Use a strip of tape as a guide for the diagonal line, apply your tip color, peel the tape before it dries, and then clean up the edge with a liner brush. White is the classic choice, but a nude diagonal on a milky base or a black diagonal on a pearl base are both beautiful.
11. Marble Coffin Nails Marble is more accessible than it looks. Apply a white or cream base, cure it, then use a thin nail art liner brush or even a toothpick to draw thin, slightly uneven veining lines in gray, gold, or blush across the nail. Blur the lines very lightly with a clean brush or your fingertip while the polish is still wet. No two marble designs look alike, which means there is no “wrong.” Seal with a matte top coat for a more realistic stone effect or a glossy coat for a polished quartz look.
12. Glazed Tortoiseshell This is an amber base with swirls of deep brown, caramel, and a touch of black applied with a thin brush or toothpick while the base is still tacky. Seal with a high-gloss top coat. The organic, irregular nature of the tortoiseshell pattern means it genuinely improves when it is imperfect.
13. Negative Space Coffin Nails Negative space designs leave sections of the bare natural nail (or a clear gel base) intentionally exposed as part of the design. A popular version is a thin stripe of color down the center of the nail with bare nail visible on either side. Another is a colored half-moon at the cuticle with a clear tip. These look architectural and intentional, and the lack of full coverage means fewer opportunities for uneven application to be visible.
The Statement Tier: A Sunday Afternoon Well Spent
14. Rhinestone Accent Row A clean nude or gel color base with a horizontal row of rhinestones near the tip of each nail. Apply a tiny dot of nail glue or thick gel to the nail, then use a damp cuticle stick to pick up each rhinestone and place it. This takes time and patience, but it is not technically difficult, it is just fiddly. The result is worth every minute.
15. Floral Nail Art Coffin Nails Simple five-petal flowers made with a dotting tool are one of the first designs I practiced during that internship. Press the dotting tool into polish and place five dots in a circle, then add a small center dot in a contrasting color. On coffin nails, placing a small cluster of florals near the cuticle with empty space toward the tip looks particularly elegant.
16. Milk Bath Nails A semi-transparent gel in a sheer white or milky base with dried flowers or foil pieces embedded inside before the final top coat is applied. The pressed flowers sit under the gel and create a preserved, ethereal look. Most at-home systems can achieve this by embedding the flowers between gel layers and curing each layer. It is painstaking but absolutely stunning on long coffin nails.
17. Ombre Chrome French Coffin Nails This is the French tip but applied as a chrome gradient. Apply a sheer or neutral base across the full nail, then buff a silver or gold chrome powder only into the tip area using a small applicator, building intensity toward the edge. It looks like your French tip is made of liquid metal. Requires clean execution, but the chrome powder is forgiving of slight imprecision because the metallic shine commands all the attention.
18. Foil Swirl Coffin Nails Nail foil (the kind that comes in thin crinkled sheets, not the soak-off kind) is applied to a sticky gel layer before curing. Press the foil sheet onto the uncured gel, rub gently, then peel it away. The foil deposits a crinkled metallic finish in whatever pattern the wrinkles create. No two are exactly the same, and the irregular organic crinkle looks intentional and interesting on coffin nails. Silver, gold, and holographic foils all work brilliantly.
At-Home Gel on Coffin Nails: What You Actually Need
If you want your coffin nail designs to last more than a few days, a gel system is your best friend. A basic at-home gel setup for coffin nails includes a gel base coat, color gel polishes, a gel top coat, and an LED or UV curing lamp. LED lamps are faster (most colors cure in 30 to 60 seconds rather than the two minutes a UV lamp often requires) and emit a narrower UV spectrum, which many users and dermatologists note as preferable to broad-spectrum UV lamps.
The AAD recommends requesting an LED curing light rather than a UV curing light when possible and applying a broad-spectrum SPF 30 or higher sunscreen to the hands before placing them under any nail lamp as a sensible precaution.
A word about gel chemistry that I want every reader to know: many gel polishes contain a monomer called HEMA (2-hydroxyethyl methacrylate). HEMA is the molecule responsible for most gel-related allergic contact dermatitis cases. A 2024 peer-reviewed study published in PubMed Central (Dascalu et al., 2024) confirmed that HEMA was the primary sensitizing molecule in approximately 85% of nail acrylate allergy cases identified in the study population. Sensitization typically builds gradually with repeated skin exposure to uncured gel, which is why nail technicians (with daily exposure) are more commonly affected, but at-home users who frequently get uncured product on their skin are also at risk. If you notice redness, itching, or swelling around your nails or fingers that does not resolve, see a dermatologist before continuing. HEMA-free gel options are widely available now and are a sensible choice for anyone with sensitive skin or a history of reactions. The FDA’s nail care products page also notes that nail products contain potentially harmful ingredients that are safe when used as directed, which is a good reminder that reading and following the directions on your gel system actually matters.
Avoid skin contact with uncured gel throughout the process. Cure every layer fully. Cap the free edge (run the gel brush across the very tip of the nail) to help prevent lifting.
Removing Coffin Nails Without Destroying the Ones Underneath
Safe removal is part of the design, not an afterthought. The way you take your coffin nails off determines how your natural nails feel and look for the next three weeks.
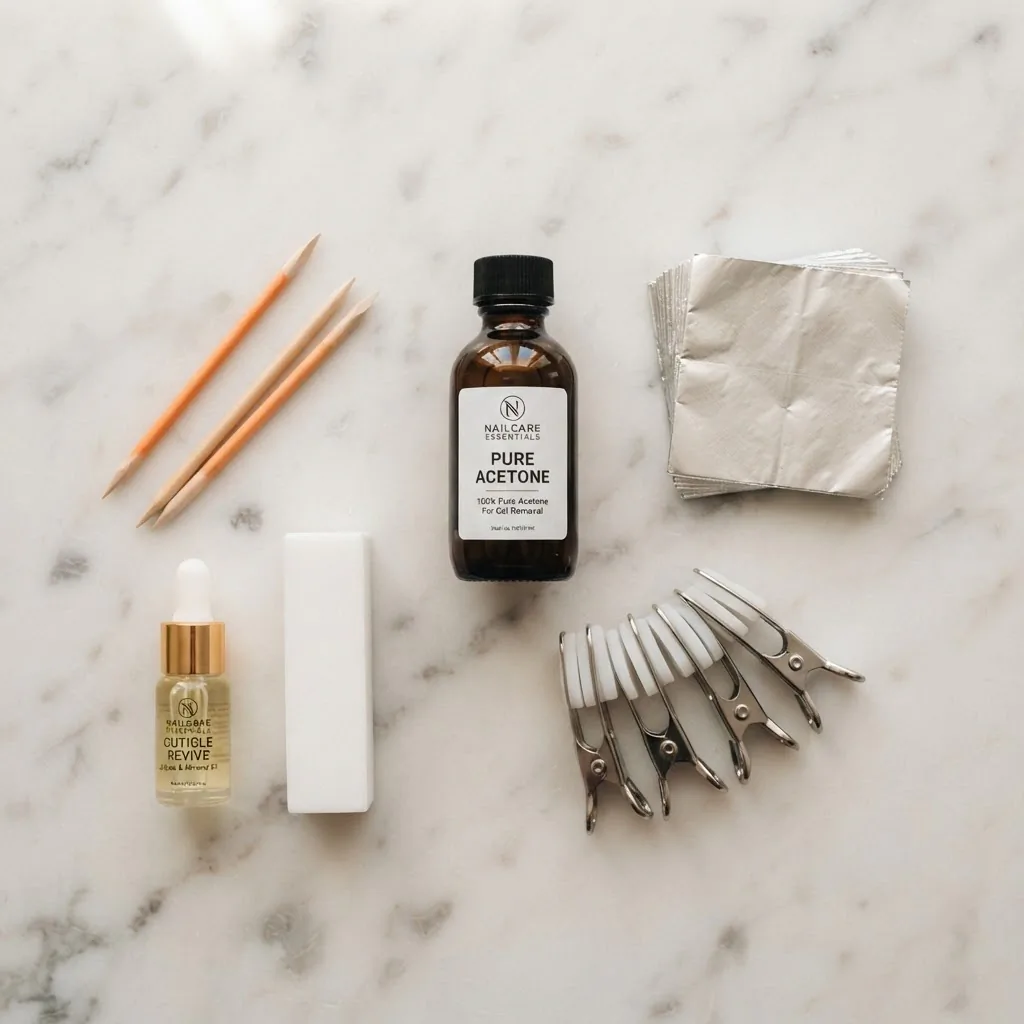
For gel polish, the soak-off method is standard: apply pure acetone to a cotton pad, place it against the nail, and wrap with foil for 10 to 15 minutes. The gel should slide off with very gentle pressure from an orange-wood stick. If it resists, wrap for another five minutes rather than forcing it. Scraping or peeling gel polish off is the primary cause of the thin, peeling, and weakened natural nails that people blame on gel itself, when the culprit is almost always improper removal.
For gel extensions or press-ons, the process is the same: patience and soaking, never force.
The AAD has a dedicated gel manicure safety resource that includes tips like moisturizing your nails and hands immediately after removal and avoiding gel manicures if your nails are already thin or peeling.
After removal, apply cuticle oil generously and let your nails breathe. If you notice any nail lifting from the nail bed (onycholysis), white patches that are not growing out, pain during removal, or any signs that look like an infection, please see a dermatologist rather than applying another set and hoping for the best.
A Few Honest Notes Before You Start
The coffin shape takes most people two or three attempts to file evenly across all ten nails. That is not a failure. That is the learning curve, and it shortens fast. My first set had three nails that were genuinely excellent and seven that were varying degrees of not quite. My current sets are consistently even because I slowed down and checked symmetry more often.
Budget tools genuinely work for this shape. A glass nail file (which you can find for under $10 and which is more gentle on natural nails than metal or coarse emery boards), a good 180-grit file, and a basic LED lamp are the only non-negotiables. Chrome powder, foil sheets, dotting tools, and liner brushes are all available for a few dollars each from nail supply retailers or online.
If your hands are not steady, the designs in the beginner tier are your starting zone, not because they are lesser, but because they are designed to make unsteady hands look precise. The sponge techniques, the chrome finishes, and the solid moody colors all work with imprecision rather than against it.
And when you post your coffin nails? Tag them. I genuinely love seeing what people create when they stop waiting to be “ready” and just start.