Almond Nails for Beginners: Shapes, Designs, and Tips
I have a confession. The very first nail shape I ever actually practiced was not almond. It was square, because square is forgiving. You file straight across, call it a day, move on. Almond felt like something you had to earn, like a shape reserved for people with long, graceful fingers and an enviable amount of free time.
Then I sat with my cheap glass file during a particularly slow afternoon at that internship and thought: what’s the worst that can happen? I’ll file unevenly, start over, and learn something. That is exactly what happened. The first attempt was lopsided. The second was closer. The third time, I looked at my hand and thought, oh, I see it now. That feeling, the moment the shape clicks, is why I am writing this.
Almond nails have a reputation for being high-maintenance or difficult to achieve at home. That reputation is mostly undeserved. Yes, the shape takes a little more attention than a blunt square. But it is absolutely doable on natural nails, even shorter ones, and the design possibilities it opens up are genuinely some of the prettiest in nail art. Let me walk you through all of it.
What Makes the Almond Shape Different (and Why It’s So Flattering)
Before we talk designs, let’s sort out the shape itself, because “almond” gets used loosely online and I want you to know exactly what you’re going for.
An almond nail has a wider base that tapers gradually on both sides toward a softly rounded, slightly pointed tip. Think of an actual almond kernel: narrow at the top, fuller in the middle, and with a gentle peak rather than a sharp spike. The taper is the key. If the sides stay parallel and only the tip rounds, that is an oval nail. If the taper continues past the rounded peak to a sharp point, that is a stiletto. A good breakdown of all these shape differences, including how free-edge length factors into each, is over at Byrdie’s nail shape guide, which is a solid reference to bookmark. Almond sits in the middle of that spectrum, and it is the most wearable of the three elongated shapes because the tip is not sharp enough to snag everything you touch.
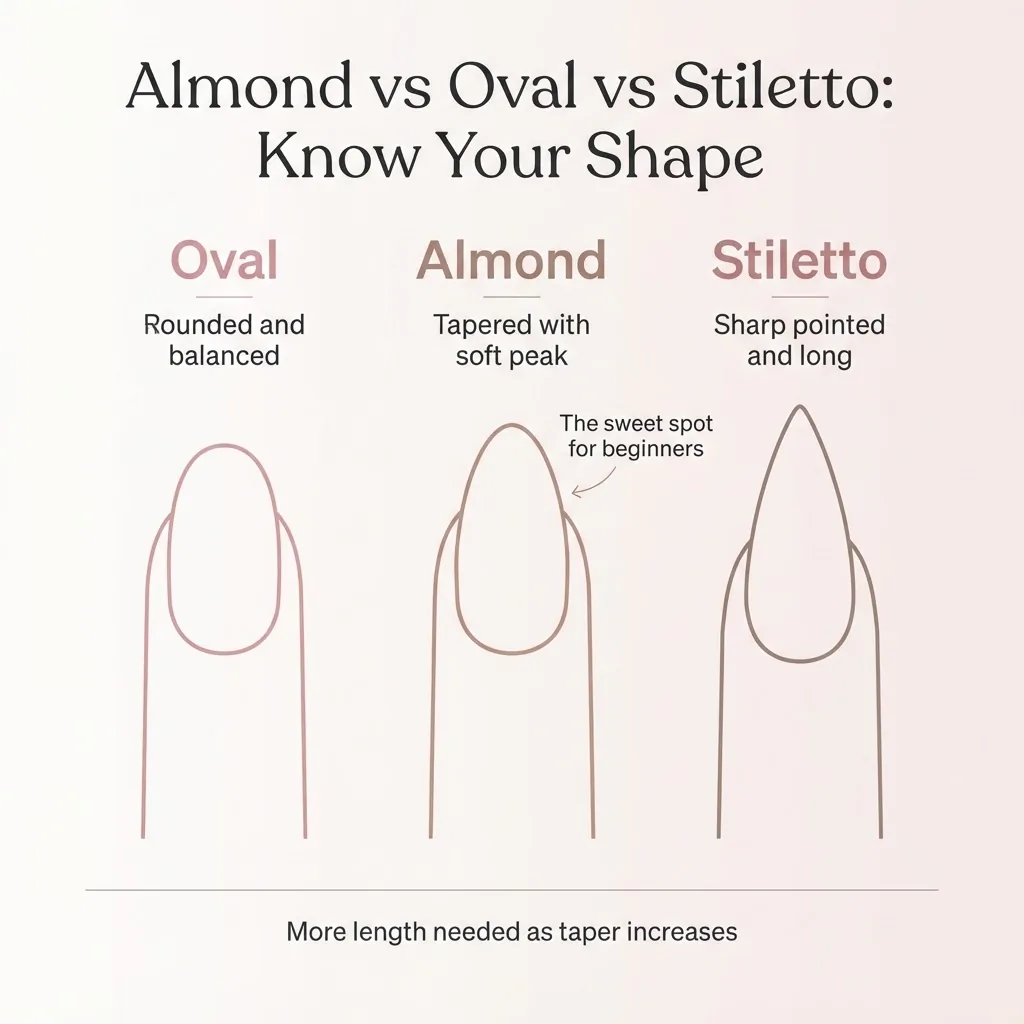
Why does the almond shape look so good? The gradual taper creates an optical illusion that lengthens the finger. It softens wide nail beds and makes short fingers appear more slender. It also gives nail art more canvas to work with compared to round or square shapes, especially for designs that travel up the nail like ombre gradients or vertical florals.
Can You Get Almond Nails on Short Natural Nails?
This is the first question I get every time I post an almond set, and I want to answer it honestly: yes, with some real-world caveats. You need enough free edge (the part of the nail that extends past your fingertip) to actually taper. If your nails are bitten down to the quick or barely visible above the fingertip, the shape is not achievable on natural nails without an overlay or tip extension. But if you have even a small amount of free edge, roughly two to three millimeters or more, you can file a soft almond that reads clearly as the shape. It will be a shorter, daintier version, and honestly some of my favorite almond sets have been on nails that people told me were “too short.” Short almond nails look incredibly chic with minimalist or monochrome designs.
If your nails are not quite there yet, keep them clean and protected with a strengthening base coat, give them two to three weeks of growth, and resist the urge to pick or peel any polish you’re wearing. That is the fastest legitimate path to almond-worthy length.
How to File the Almond Shape: Step by Step
Filing is where most people go wrong, and it is almost never about skill. It is about grit, direction, and patience.
What you need: a 180-grit file for natural nails (240 grit is even gentler if your nails are thin or prone to splitting). Do not use a 100-grit file on natural nails. That coarseness is designed for acrylics and will tear through your natural nail plate. A glass nail file is a worthy investment because it is gentler and seals the nail edge as it files.
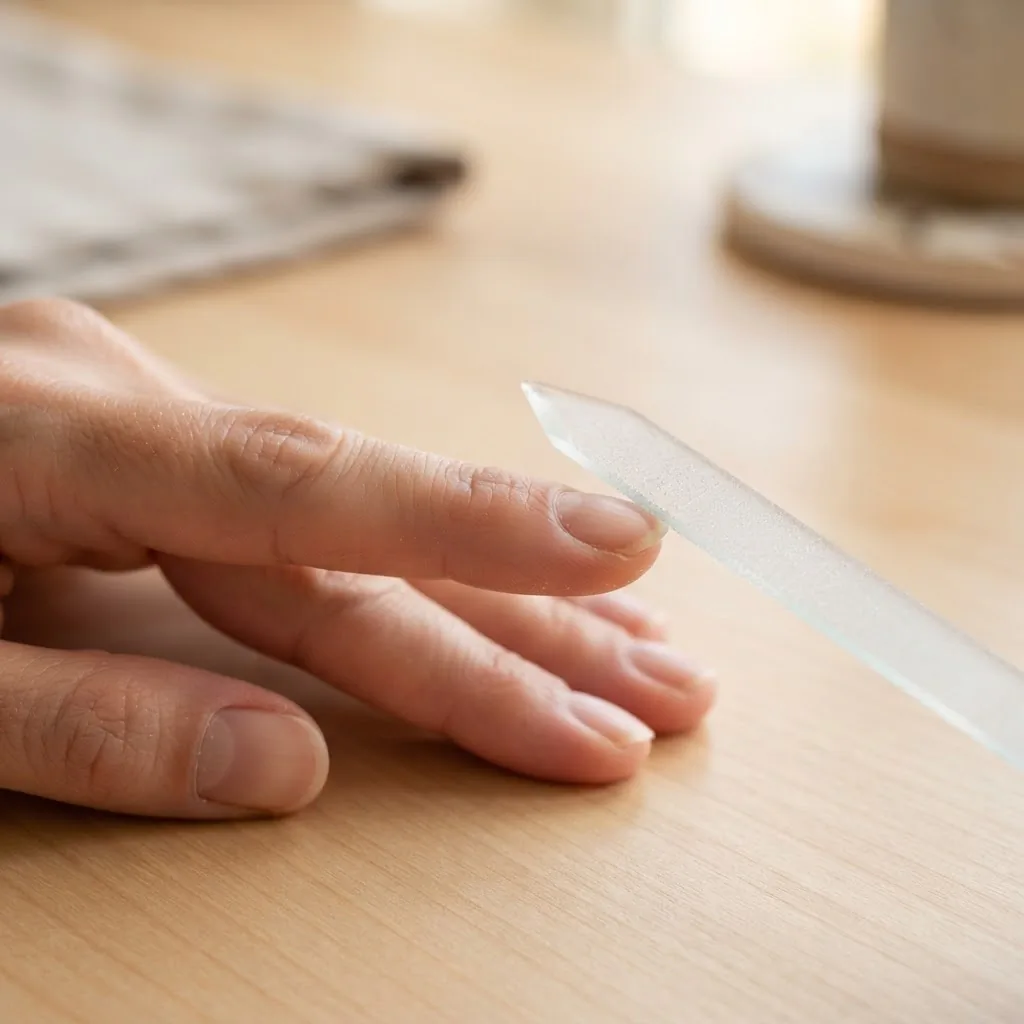
The technique: Start by finding the center point of your nail tip. That center is your target peak. Hold the file at roughly a 45-degree angle under the nail on one side, and file in one direction from the outer corner toward the center. Then repeat on the other side, always filing toward that center point. Never saw back and forth. Back-and-forth filing frays the nail layers and causes splitting, which is one of the main reasons people end up with peeling nails after shaping. The American Academy of Dermatology’s nail care tips specifically note that keeping nails shaped with an emery board and filing in one direction, rather than sawing, is essential for healthy nail maintenance. That guidance is as relevant at your kitchen table as it is anywhere.
Work slowly and check both sides after every few strokes. The most common beginner mistake is filing one side significantly more than the other and ending up with a crooked peak. Hold your hand out flat and look at the nail straight on periodically. Both side tapers should be roughly symmetrical.
Once the sides are tapered, very gently round the tip. You are not trying to make a point like a stiletto. You want a soft, blunted peak that still looks intentional. A few light strokes across the very tip usually does it. Finish by buffing the free edge lightly to remove any roughness, and you are done.
For short nails, the process is nearly identical but more conservative. Take off less from the sides so you preserve nail length. The taper will be subtler, which is exactly right for a shorter almond.
12 Almond Nail Designs to Try (From Genuinely Easy to Looks-Hard-But-Isn’t)
Now for the fun part. I have organized these by approximate skill level so you can meet yourself where you are.
The Classics (Great Starting Points)
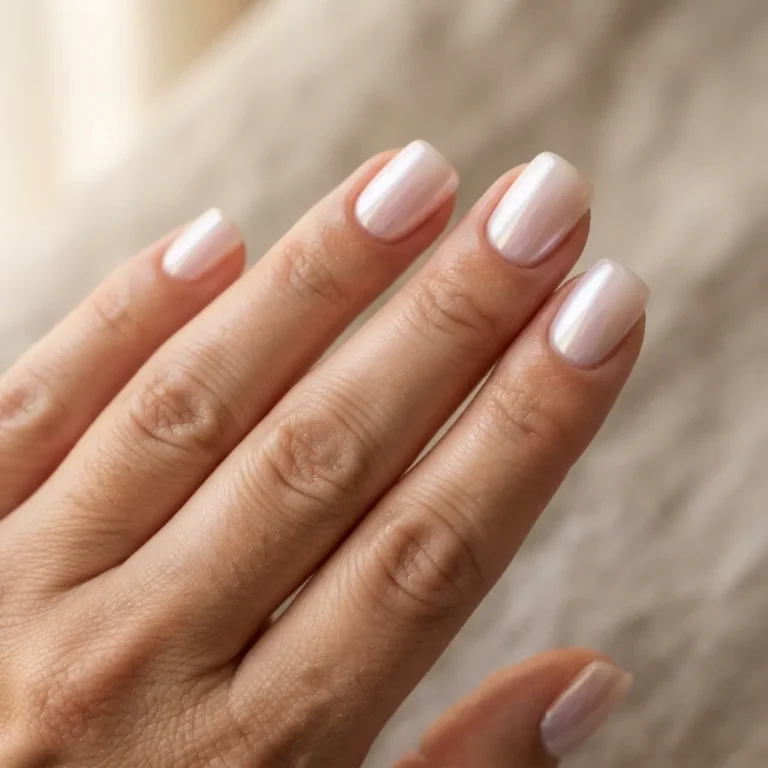
Sheer Milky Nude. This is the design I recommend to every single beginner, and I practiced it myself more times than I can count. A sheer, milky or jelly-style nude polish on an almond shape is effortlessly expensive-looking. The almond shape does all the work. Apply two thin coats of a sheer pinkish-beige or soft white for that slightly translucent, barely-there finish. Add a glossy top coat and your nails will look like you spent $80 at a salon.
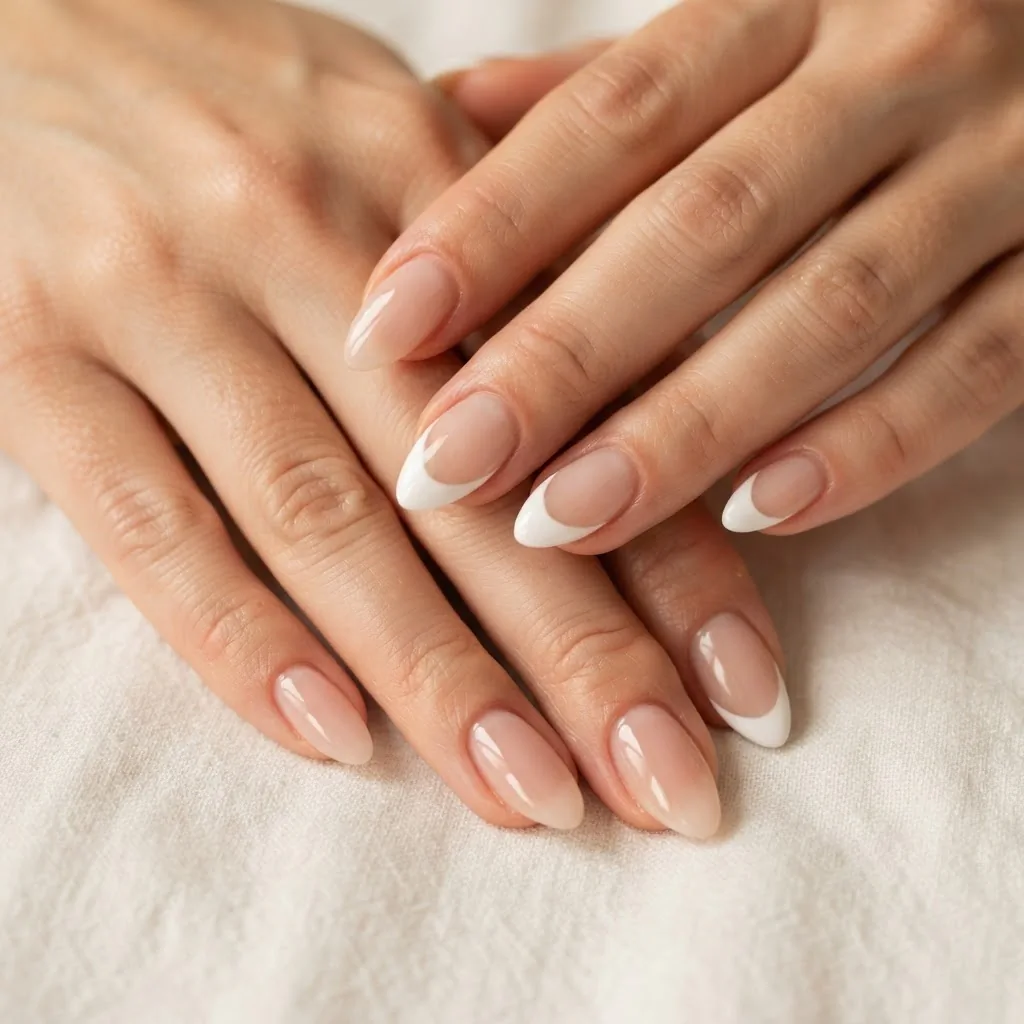
Zero nail art skills required.
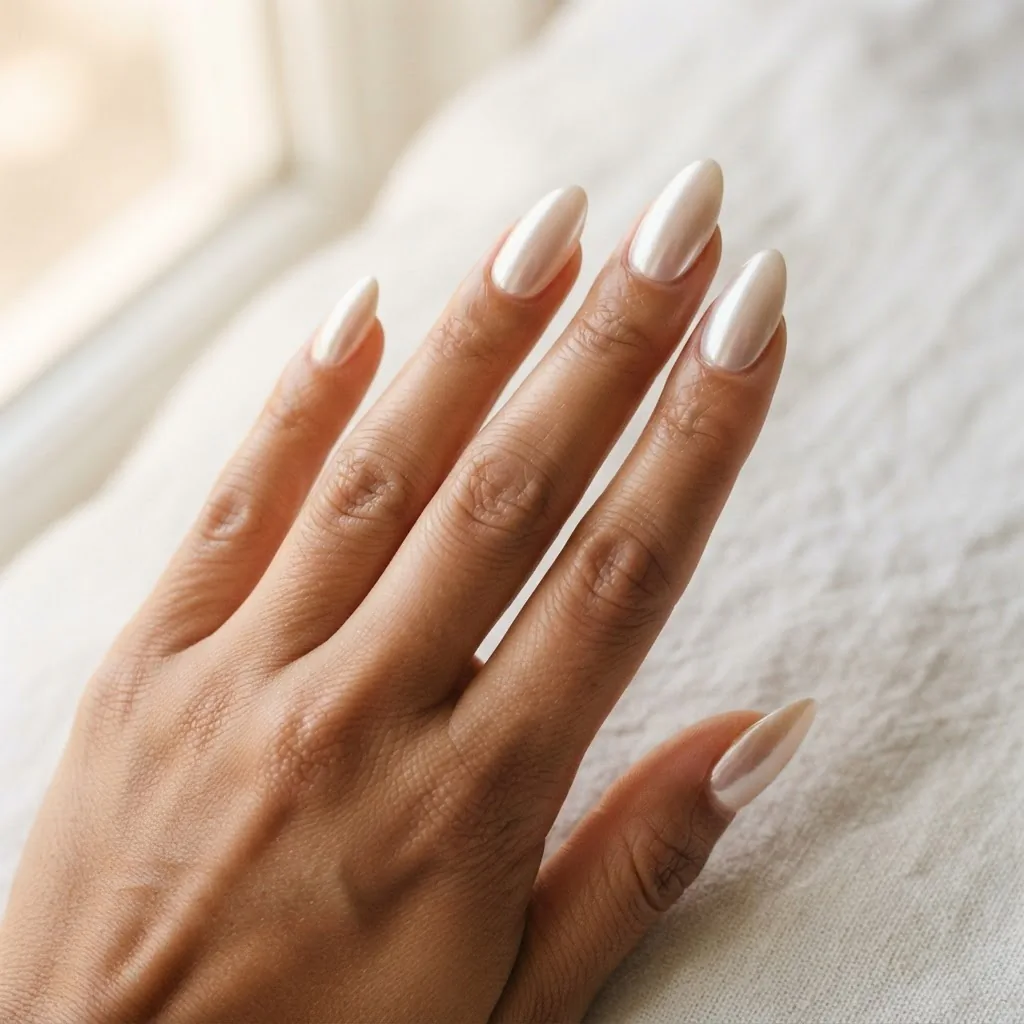
Classic Glazed Donut. A sheer nude or blush base, fully cured, then a light chrome powder buffed on with an applicator sponge. The chrome powder catches the light and gives that mirror-like pearl sheen that Hailey Bieber made famous. The almond tip catches the light differently as you move your hand, which makes this look especially good on this shape.
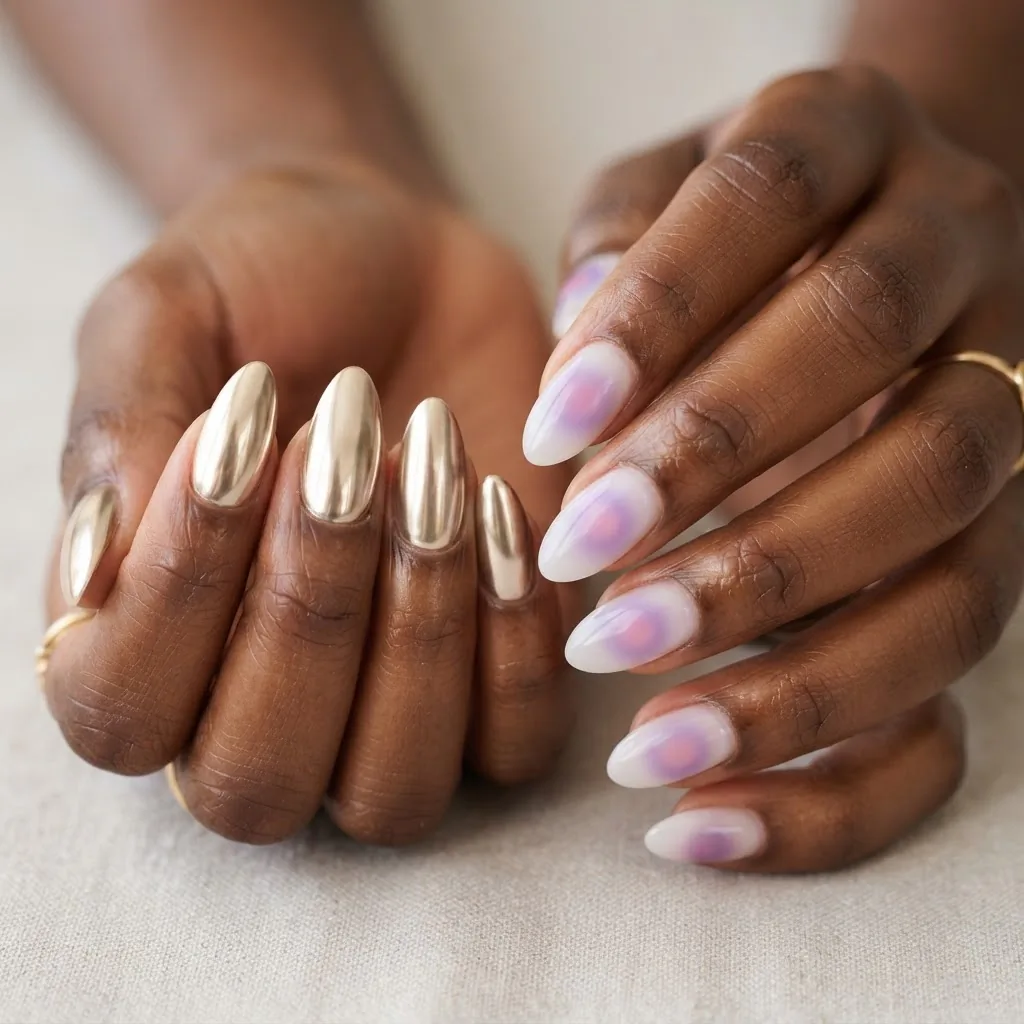
I’ll cover the chrome application steps in more detail below.
Solid Bold Color. One clean, opaque color in a rich shade, applied perfectly. Bordeaux, midnight navy, sage green, warm terracotta. Bold solids on almond nails look intentional and graphic in a way they do not quite achieve on rounder shapes. The key here is two thin layers rather than one thick one, and capping the free edge (running the brush across the tip of the nail) to prevent early chipping.
Modern French Twists
Thick White Tip French. The traditional French manicure has a thin, slightly curved white tip. The modern version that keeps showing up on Pinterest is bolder: a thicker white band, almost like a color-block moment at the tip, that follows the almond’s natural curve. It is more striking and more beginner-friendly because you have more room for the brush. Use a thin liner brush and a sheer natural base, or just use white strips as a guide.
Colored French Tips. Everything about the classic French but the tip color swapped. Lilac, dusty rose, bright coral, sheer black for a moody take. Colored tips on almond nails photograph beautifully because the tapered shape makes the tip area look intentional rather than accidental. You can also try a micro-French: a very thin line of color at the very tip only, which is softer and suits shorter almond nails.
Ombre French. A sponge-blended gradient that transitions from a sheer nude at the base to a milky white or soft color at the tip. The technique involves dabbing a small cosmetic sponge loaded with two polishes (the base shade and the tip shade) in an overlapping pattern, building up the blend gradually. It takes two or three practice runs to get the feathering right, but the result looks like a professional soft-focus gradient. A little acetone on a brush to clean the skin around the cuticle after is the finishing trick that makes this look clean.
Trending Viral Looks
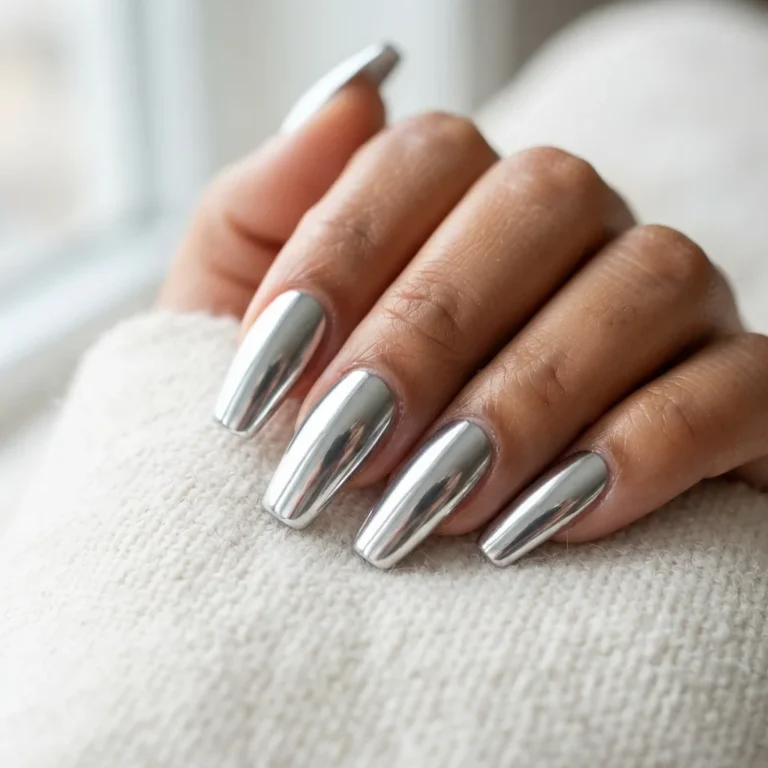
Chrome Powder Nails (Glazed Chrome / Mirror Effect). Chrome powder is genuinely one of the most beginner-accessible “wow” techniques in nail art once you understand the sequence. The powder only adheres to an uncured no-wipe top coat, so the steps are: apply your gel color and cure it fully, apply a no-wipe top coat and cure for 30 to 60 seconds per your lamp’s instructions, then immediately (while the surface is still tacky-free but the chrome can grip the micro-texture) rub the chrome powder in circular motions with the applicator sponge that comes with the powder. Work from the center of the nail outward to the edges and tip. Seal with another layer of no-wipe top coat and cure again. On the almond shape, pay extra attention to capping the tip with both your base gel and your final top coat, because chrome tends to peel first at the free edge if the tip is not sealed properly.
Aura Nails. This is the blurry, ethereal circular gradient that looks like a watercolor halo in the center of the nail. It is done with a small cosmetic sponge or your finger, honestly, dabbing a concentrated dot of color in the center of the nail and then lightly diffusing it outward. The sheer, hazy result contrasts beautifully with the clean almond outline. Lilac on white, terracotta on nude, teal on sheer black, all stunning. The almond canvas gives the aura room to breathe.
Cat-Eye Gel. Cat-eye gel polish contains magnetic particles that you pull into a line or shape using a magnet held close to the wet gel before curing. The effect is a 3D shimmer streak, like a cat’s iris. It looks extremely difficult and is actually one of the easiest wow-factor techniques because the magnet does all the work. Apply one coat of cat-eye gel, hold the magnet close to the nail (the manufacturer instructions will specify the distance) for 10 to 15 seconds to pull the particles, then cure. On the almond shape, the linear streak runs beautifully along the taper.
Beginner Nail Art (Light Skill Required)
Dots and Swirls. A dotting tool (or a toothpick, honestly) dipped in contrasting polish and pressed to the nail creates clean dots that look deliberate and artistic. Dots at the cuticle edge in a scattered row, a single oversized dot as an accent, dots graduating in size from tip to base: all easy to do, all visually interesting on the almond shape. Swirls done with a thin liner brush are the next step up, essentially one slow continuous stroke of the brush.
Negative Space Designs. Nail tape or striping tape placed on the nail before you apply polish, then removed while the polish is still wet, leaves a clean unpainted stripe. The bare nail showing through a colored design is called negative space, and it is one of the most graphic, editorial looks in nail art. It requires no painting skill whatsoever, just patience with the tape placement.
Soft Florals. A small five-petal flower made with a dotting tool (five dots arranged in a circle around a central dot of a contrasting color) is genuinely one of the first designs I learned, during those internship breaks with my wobbly dotting tool. On almond nails, a single floral accent on one or two fingers against a sheer or solid base is delicate and romantic. It is also more forgiving than it looks because the dots do not need to be perfect circles.
Choosing Your Medium: Regular Polish, Gel, or Dip on Almond Nails
You can wear the almond shape with any of the three main systems, and each has honest pros and cons.
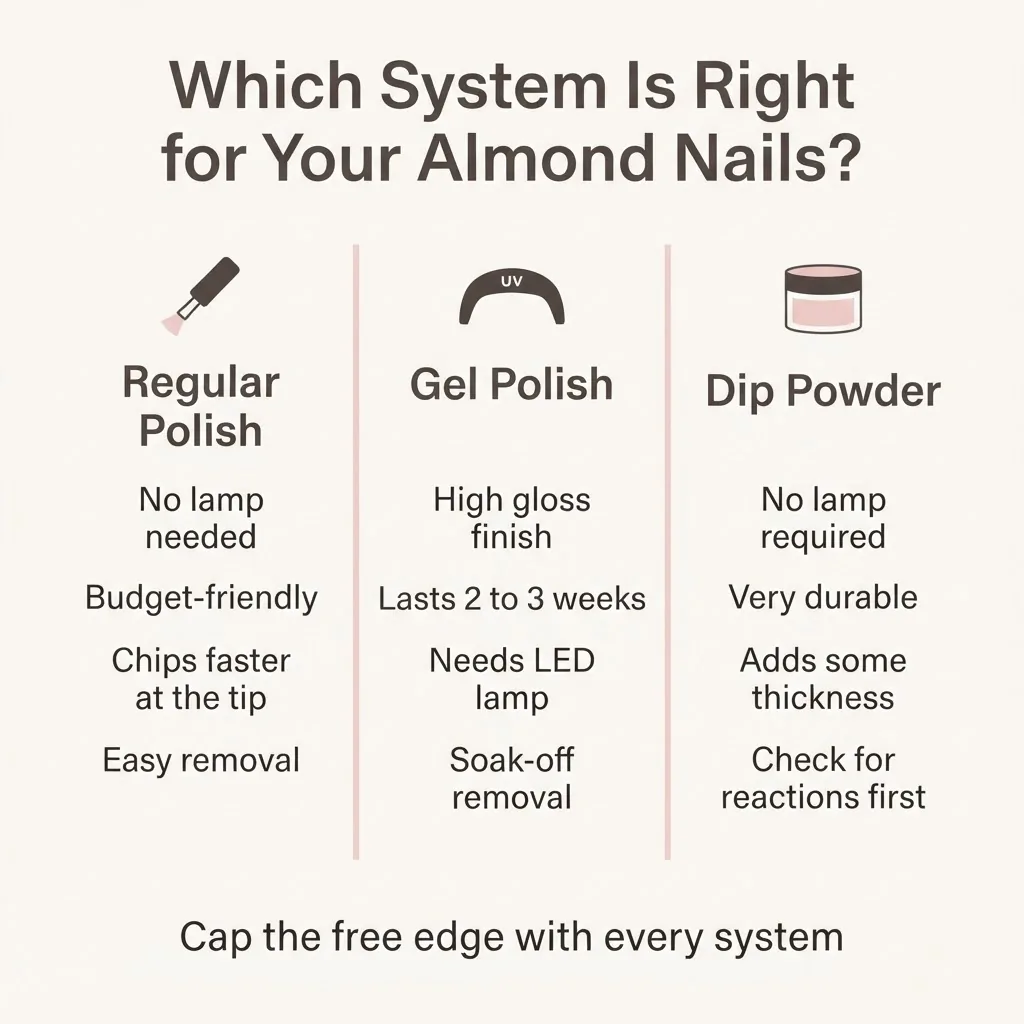
Regular polish on natural almond nails is the most accessible and the least commitment. The shape looks beautiful and you are not dealing with chemicals, lamps, or involved removal. The trade-off is wear time: regular polish on a filed almond tip will chip at the free edge faster than it would on a shorter, square nail, simply because the tip has more exposure. A quality base coat and a thick top coat with regular reapplication every couple of days at the tip helps significantly.
Gel on almond nails gives you the glossy, chip-resistant finish that makes the designs really pop. The key with gel on almond nails is capping the free edge, meaning you run the brush along the actual tip of the nail at every layer (base coat, color coat, top coat) to seal it. This is the step most home gel users skip and the reason almond nails get tip wear faster. For gel removal, always use the foil-wrap acetone soak-off method rather than peeling or prying. The AAD’s guidance on reducing artificial nail damage is clear that picking gel nails off is one of the most direct paths to damaged, thinned natural nails. Soak ten to fifteen minutes in acetone-soaked cotton secured with foil, then gently push off the softened gel with an orange stick. Never force it.
If you are considering a gel kit for home use, be aware that gel polishes contain acrylate monomers, and the FDA’s nail care products page outlines that traces of these reactive monomers can cause allergic reactions, particularly with repeated skin contact before curing. This is why you should avoid flooding your cuticles with uncured gel and cure each layer fully under your lamp. If you notice any itching, redness, or swelling around the nail area, stop use and see a dermatologist.
Dip powder on almond nails is worth mentioning because it gives excellent durability and skips the UV lamp step. The AAD’s guide to healthy dip powder manicures recommends applying the powders to one nail first and waiting to check for a reaction before doing all ten, which is smart advice for any first-time user of a new system. Dip on the almond shape does work, though it does add some thickness at the free edge that can make the taper look slightly blunter over time.
A Note on UV and LED Lamp Safety
If you are doing gel at home, this is worth understanding without panicking about. UV nail lamps emit primarily UVA radiation. A 2025 scoping review published in PubMed synthesizing 17 studies concluded that UV nail lamp exposure does not significantly increase the lifetime risk of skin cancers when lamps are used as directed at typical manicure distances and durations. The research could not establish a definitive causal link between regular gel manicure use and skin cancer development. That said, several studies in the review noted that some lamps can emit levels exceeding outdoor worker exposure limits within 10 continuous minutes, and the same review recommended applying a broad-spectrum SPF 30 or higher sunscreen to your hands before curing as a simple, low-cost precaution. I do this now. A quick application of whatever SPF hand cream I have around, avoiding the nails themselves, takes 30 seconds and gives me peace of mind.
Colors That Sing on Almond Nails by Skin Tone
The almond shape flatters all skin tones, but some color pairings are especially gorgeous depending on your undertone.
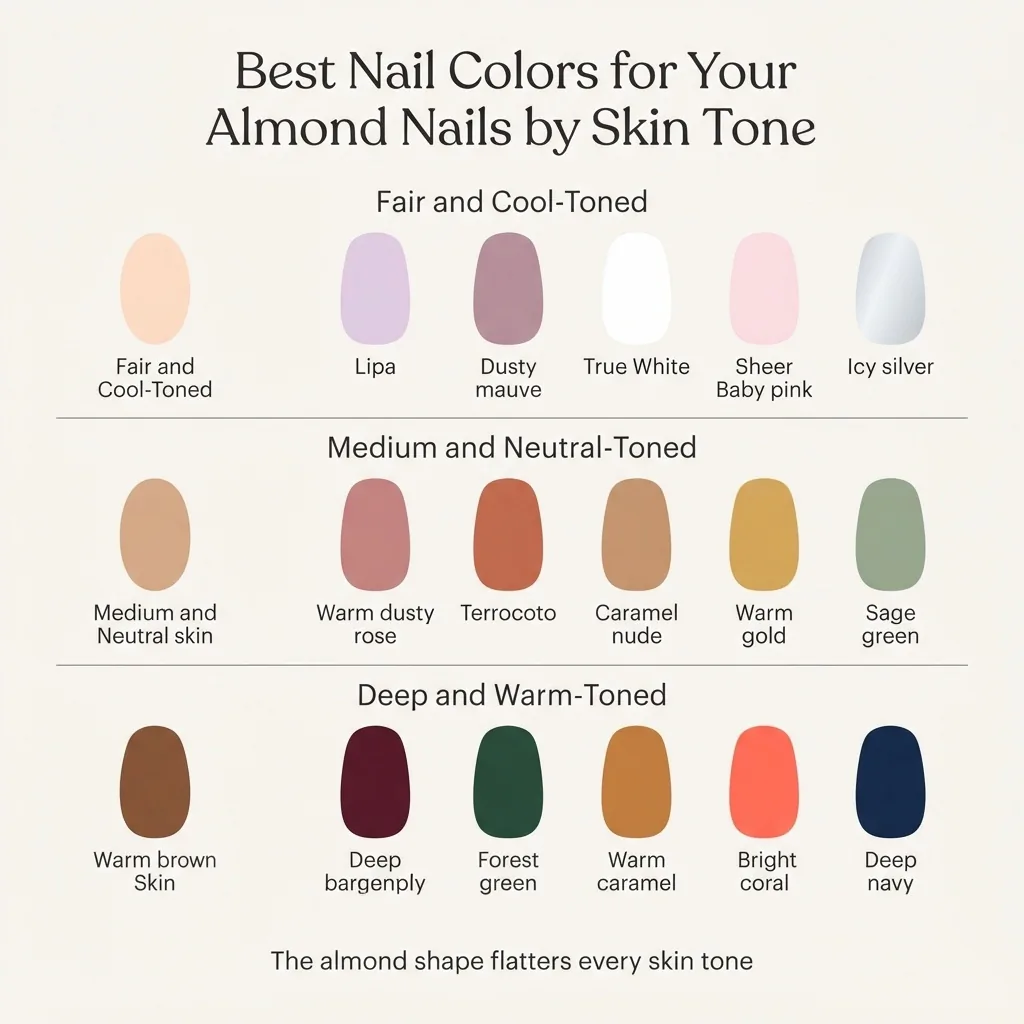
For fair and cool-toned skin, soft lilac, dusty mauve, true white, sheer baby pink, and icy chrome silvers tend to pop without washing out. Avoid overly warm orangey nudes, which can read muddy against lighter cool undertones.
For medium and neutral-toned skin, the almond shape is incredibly versatile. Warm dusty rose, terracotta, caramel nude, warm gold chrome, sage green, and milky beige all look stunning. Sheer glazed finishes in warm pinks look especially good here.
For deeper and warm-toned skin, rich jewel tones, deep burgundy, forest green, warm caramel, bright coral, and deep navy all look incredible against the almond’s elongated silhouette. Chrome in gold or copper finishes on deeper skin tones is one of my favorite pairings in nail art right now. Avoid pale, grayish nudes that can look chalky.
Common Beginner Mistakes (and How to Fix Them)
Uneven taper. One side filed more than the other, leaving the peak off-center. Fix: next time, check symmetry every few strokes. If you’ve already over-filed one side, gently even out the other side to meet it rather than trying to add length back.
Filing back and forth. Creates a frayed, split free edge that feels rough and looks ragged. Fix: one direction only, always. If the edge feels rough after filing, a very gentle pass with a 240-grit buffer smooths it.
Cuticle flooding during nail art. Getting polish or gel on the skin around the nail. Fix: go back with a fine detail brush loaded with acetone to clean edges before curing or before the polish dries. Cleaning edges is not cheating. Every professional does it.
Chrome powder not sticking or looking patchy. Almost always means the no-wipe top coat was not cured correctly, or you waited too long between curing and applying the powder. The powder needs the micro-texture of the freshly cured (but not yet hardened by air) top coat surface. Work quickly and in sections if needed.
Gel lifting at the tip. Not capping the free edge at every layer. Go back to your base coat application and make sure you are sealing the tip before curing. A dehydrator applied before the base coat also helps the gel grip the natural nail.
Keeping Your Natural Nails Healthy While Wearing Almond
The almond shape does file the sides of your nail, which is worth being thoughtful about over time. I keep my natural nails in good shape by taking off any enhancement or polish every four to six weeks, applying cuticle oil daily (even during a gel set, around the cuticle edge where the gel does not cover), and keeping a nail strengthener as my base coat during natural nail breaks. Staying hydrated and taking a biotin supplement are common recommendations, though I will be honest and say results with supplements vary from person to person.
If you notice any white patches, unusual discoloration, separation of the nail from the nail bed, or persistent pain or swelling around the nail, do not keep filing and applying products over it. Those are signals to see a dermatologist. The same goes for any allergic reaction to a gel or dip product: stop the product, document what you used, and talk to a doctor.
The goal of all of this is pretty nails that you feel good wearing, on a nail plate that stays healthy enough to keep enjoying this for years.
Filing Your First Almond: Go Slowly
The thing about almond nails is that they reward patience more than skill. You do not need a steady hand trained by years of practice. You need five minutes, a good file, and the willingness to check your work as you go. I spent that whole internship learning this one wobbly dot, one lopsided taper at a time, and now shaping almond nails is one of the most satisfying things I do at my nail lab. If I could do it between stress-eating granola bars at a corporate desk, you can absolutely do it at your kitchen table.
Pick one design from this list, something that matches your confidence right now, not your aspirations, and start there. The aspirational sets will come. They always do.