30 Easy Updos for Long Hair, Ranked from Beginner to Wow
I have a very clear memory of the first time I tried to copy an updo I found online. I was twenty-two, I had just started my salon-assistant days in Austin, and I thought watching stylists all day meant I was basically a professional. I attempted some kind of twisted low bun that looked absolutely gorgeous in the thumbnail. What I produced looked like a bird’s nest that had survived a light hurricane. I wore it to work anyway because I was running late.
Here’s what nobody told me then: the reason it fell apart within ten minutes had nothing to do with talent. I was using the wrong tools for my hair type, I had freshly washed slippery hair that had zero grip, and I didn’t understand a single thing about why the technique worked before I tried to copy it. That’s the gap I want to close for you today.
This list is organized honestly. The styles at the beginning are genuinely quick and nearly foolproof. The ones toward the end take a little more practice. I’ll tell you what you need, what to watch out for by hair type, and exactly what to do when the style starts falling apart. No fluff. Just hair.
Before You Start: Your Quick-Win Toolkit
You do not need a drawer full of products or professional tools. For almost every updo on this list, the only things you need are a few hair elastics, some bobby pins, and something to add a little texture so your hair has something to grip. That third item is the one most beginners skip and then wonder why their style slides right out by noon.
A light texturizing spray is your best friend here. For context on what to look for, Allure’s tested roundup of the best texturizing sprays highlights options ranging from around ten dollars to thirty, and the community favorite for a budget pick is consistently the Kristin Ess Working Texture Spray, which is widely available at drugstores. A dusting of dry shampoo at the roots does almost the same job if you already have it. Either one adds grip so your pins actually hold.

One more thing: second-day hair is genuinely better for most updos than freshly washed hair. The natural oils in your scalp give your strands a light texture that helps everything stay put. If you want to do an updo on wash day, let your hair air dry fully and run a little texturizing spray through it before you start. You’ll notice a real difference.
Tier One: You Can Do These Right Now (No Practice Required)
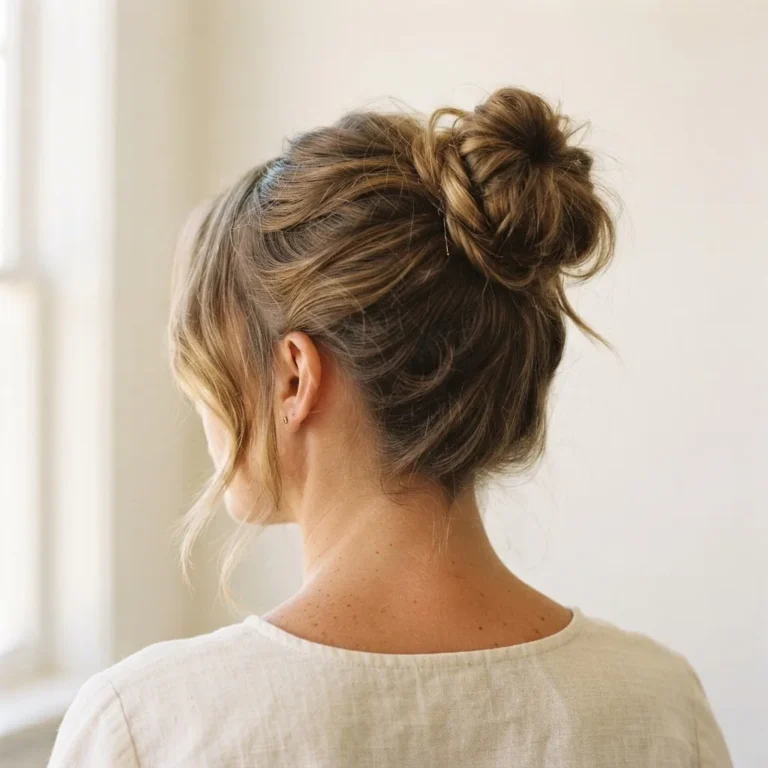
The Messy Bun (The One That Actually Holds)
The messy bun has a reputation for being careless, but the ones that look effortless are actually built with a little intention. Pull your hair into a ponytail at whatever height feels right for your vibe, high for playful, mid for casual, low for something that leans a little more sophisticated. Then instead of pulling the hair all the way through your elastic on the last wrap, leave a loop. That loop is your bun.

Spread it out a little with your fingers, pull a few pieces loose at the front to frame your face, and go.
The failure point for beginners with thick hair: using one elastic and fighting with it for five minutes. Use two elastics wrapped in a figure-eight pattern around the bun. For fine hair, the opposite problem applies. Your bun might look too small or flat. Try pulling the loop apart more aggressively with your fingertips to create more volume, and don’t smooth it down. Messy is the point.
The Claw Clip Updo
This is the style that has genuinely taken over Pinterest and TikTok and for good reason. It takes about thirty seconds once you understand the twist-and-clip motion, and it can look surprisingly polished. Gather all your hair like you’re going to make a ponytail, twist the length a few times (not tight, just a loose rope), then bring that twist upward and fold it against the back of your head. Clip the claw clip over the folded section, catching the twist and any loose ends underneath the clip.
The key that most tutorials skip: twist before you clip. A lot of beginners just grab hair and shove it into the clip, which is why it falls out. The twist creates a stable structure the clip actually holds.

For long hair, use a large or jumbo claw clip. A small clip will not have enough grip to hold the weight. Check the L’Oreal Hair.com editorial roundup of trending updos for visual reference on how different claw clip placements hit at different heights on the head, which also changes how formal or casual the result looks.
Hair type note: if you have very fine hair, add a spritz of texturizing spray before you twist. If you have very thick or heavy hair, you may need two claw clips or a clip with a tighter bite mechanism.
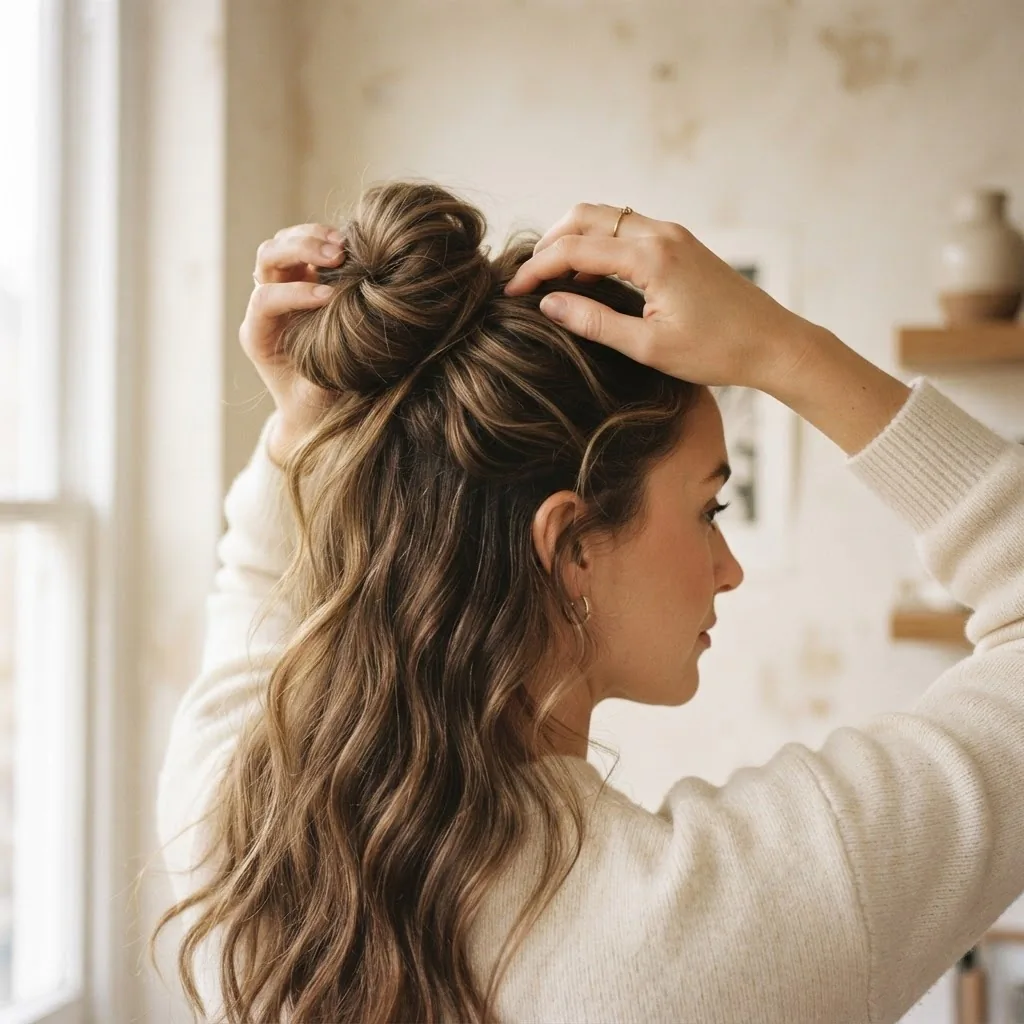
The Half-Up Knot
This is the style I reach for when I genuinely have three minutes and zero energy. Take the top third of your hair, the section you’d put in a half ponytail, and tie it with a fabric-covered elastic. On the last pass through, don’t pull the whole tail out. Leave a loop. Done. Loosen it with your fingertips until it looks relaxed rather than tight. It works on every hair type, every texture, and every face shape. It is completely beginner-proof.
The Knotted Low Pony
Split your ponytail into two sections and tie them in a simple overhand knot, then secure the ends under with a couple of bobby pins. It sounds almost too simple, and that’s exactly why it works. It looks intentional, it holds extremely well because the knot acts as its own anchor, and there’s nothing to fall apart. This one gets consistently good results for people who have very straight, silky hair that normally slides out of everything.
Tier Two: A Little Technique, Big Payoff
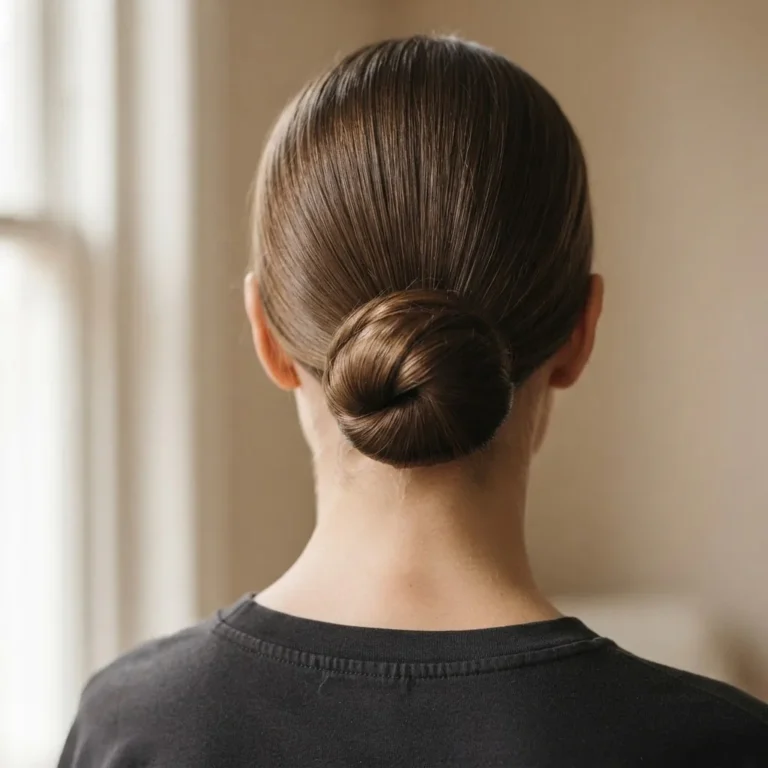
The Low Chignon
The chignon sounds fancy but it’s really just a low bun with better posture. Pull hair into a low ponytail and loosely twist it. Then coil the twist around the base of the ponytail and pin it flat against your head with bobby pins. The difference between a chignon and a messy bun is tension: a chignon is smoother, flatter, and more intentional.
One thing I want to make sure you know about bobby pins, because this was genuinely news to me when I first started in the salon: the wavy ridged side of a bobby pin should face down toward your scalp, not up. That’s how the pin grips your hair. If you flip it over with the flat side down, the pin just slides. Cosmopolitan’s complete bobby pin guide breaks this down clearly with technique detail for different hair types if you want to go deeper on pin mechanics. It genuinely changed how my updos held.

For a chignon on thick hair, you may need four to six bobby pins instead of two. Slide them in crisscrossed for extra hold: one going left, the next going right over the same section. For fine hair, use fine-pin bobby pins (they are smaller gauge and grip delicate strands better than standard size) and anchor them into the elastic underneath rather than just into the outer hair.
The Twisted Half-Up Half-Down
Take two sections from your temples, twist each one back toward the center of your head, overlap them, and secure with a bobby pin or a small elastic. Let the rest of your hair fall loose. That’s the whole thing. Where beginners get stuck is twisting too tightly and getting that pinched look. Twist loosely, more like a casual rotation than a tight spiral, and you’ll get the pretty relaxed version that photographs so well.
On wavy or curly hair, this style is especially gorgeous because the texture of the loose bottom half does a lot of the visual work for you. On straight hair, you might want to quickly curl or wave the bottom section beforehand so it doesn’t look like two different hairstyles on the same head.
The Braided Low Bun
Put your hair in a low ponytail and braid it. Wrap the braid around the base of the ponytail and pin it. That’s the whole move. The braid makes the bun look more intentional and interesting without actually requiring you to know any complex techniques. If your three-strand braid is a little sloppy, gently tug the edges of the braid slightly wider after you finish it. This “pancaking” trick makes even an imperfect braid look more full and styled.
If braiding feels challenging, I have a whole piece on how to actually learn braids from scratch, but for this version a slightly messy braid honestly just adds texture. The low bun is forgiving.
The High Pony with a Covered Elastic
This sounds too simple to make the list, but hear me out. A high ponytail on long hair is genuinely one of the most versatile easy updos long hair styles if you do one thing differently from the casual version: take a small section of hair from the underside of the ponytail, wrap it tightly around the elastic to hide it, and pin the end underneath with a single bobby pin. That one detail takes the whole look from gym-ready to intentional and polished. Add a little texture to the ponytail itself by gently tugging sections of the wrapped hair wider, and you’ve got something that holds all day.
Tier Three: These Take a Try or Two (Worth It, Promise)
The French Twist
I will be honest with you: the French twist has a small learning curve. Not a steep one, but it will probably take a couple of tries before it stays put. Gather all your hair toward one side, twist it upward, then fold the twist against the back of your head and tuck the ends under. Pin along the fold with bobby pins pointing in toward the center of the twist.
What trips beginners up is letting go of the twist while you pin it. The trick is to press the twist firmly against your head with one hand while you pin with the other, and start pinning from the bottom third upward. Once that first set of pins holds, you can relax your hand grip. Hair with a little texture or second-day natural oils holds this much better than fresh slippery hair.
The Milkmaid Braid
Two braids. Pin them across the top of your head like a crown. That’s genuinely all this is. Braid each side, pull each braid up and across the top of your head, and pin with bobby pins. The challenge is getting the braids to sit flat and natural rather than sticking up like antennas. The fix: very gently tug the braid loops slightly wider (the pancaking move again) and pin the braid by weaving the bobby pins through the braid itself rather than just stabbing into the surface. This one is a legitimately impressive style and beginners get there faster than they expect.
The Low Twisted Updo (The “Looks Like You Paid for It” One)
This is the style people save on Pinterest and immediately feel intimidated by, but the construction is usually a sequence of simple twists that are pinned and layered. The basic structure: section out the bottom half of your hair, twist it upward and pin it flat against the back of your head. Take the upper half, divide it roughly in two, twist each section, wrap them over and into the pinned base, and tuck the ends under. The result looks complicated from the outside because it has multiple layers, but each step is just a twist and a pin. Take your time on the first attempt. It will feel slow and unsteady, and the second attempt will be twice as fast.
Quick Updos by Face Shape: A Rough Guide
Face shape is one of those things that tutorials almost never mention, and it genuinely matters for figuring out which placement looks most flattering on you.
For round faces, high updos draw the eye upward and create vertical length, which tends to be flattering. High buns, high pony styles, and anything with volume at the crown work well. For long or oblong faces, low placements and styles with width (low buns with loose sections at the side, or half-up styles that keep volume at the sides) balance the length. For square faces, soft and loose updos with wispy pieces framing the face soften a strong jaw, so avoid very slick tight updos. For heart-shaped faces with a wider forehead, low to mid placements and updos that don’t add much crown height tend to be the most balanced.
These are guidelines, not rules.

Wear what makes you feel good.
A Note on Keeping Your Hair Healthy While Wearing Updos
I want to talk about this because I watched clients in the salon deal with it, and it’s something no updo list ever mentions. Wearing updos frequently is great for your hair health overall, since it protects your ends from friction and breakage. But there is one real risk: wearing updos that are too tight, too often, at the same spot on your scalp.
The American Academy of Dermatology notes directly on their page about hairstyles and hair loss that buns, ponytails, and updos can cause traction alopecia when they are pulled too tightly. Traction alopecia is hair loss from repeated tension on the follicle. A 2018 clinical review published in PMC found that the frequent use of tight buns or ponytails are among the highest-risk hairstyles for this condition, and that the damage can in advanced cases become permanent.
The practical takeaway is not scary. Wear your updos comfortably. If your scalp feels sore, the style is too tight. Vary your updo placement so you’re not pulling at the exact same point every day. Use fabric-covered elastics instead of bare rubber bands, which catch and break hair much more. And give your hair some down days.

That’s genuinely all it takes.
If you also wear chemical relaxers or heat process frequently, extra gentleness with your updo tension is worth it, as the combination increases the risk. When in doubt, check in with a dermatologist.
The “Why Is This Falling Apart” Troubleshooting Section
This is the thing I wish every tutorial included. Here are the most common failure points I hear about and the actual fixes.
“My updo falls apart within an hour” usually means one of two things: you started with too-clean hair that has no grip, or you aren’t using enough anchor points. Add texturizing spray or dry shampoo before you start. And remember that bobby pins work in pairs: place them crisscrossed so they hold each other.
“The bun at the back looks flat from the side” is a thick-hair problem. Your hair is heavy and compresses the bun. Try the looped bun method where you leave the loop intentionally large, then pull the outer edges gently wider and away from the center before you pin.
“My pins show and I can’t hide them” is usually about pin direction. For invisible pinning, angle the pin so it dives under a layer of hair and the wavy side presses against the scalp below the visible surface. It takes a little practice but once you feel the right angle, it clicks.
“The whole thing droops to one side over time” often comes from an uneven anchor point at the start. Make sure your initial elastic or the base of your gathered section sits centered and evenly before you build anything on top of it. Fixing the base prevents almost all the drooping problems.

The 30 Looks at a Glance
Here is the full list organized by tier so you can see the range and find your entry point:
Beginner (Tier One): Messy bun (high), messy bun (low), claw clip twist, claw clip straight fold, half-up loop knot, knotted low pony, half-up with scrunchie, ribbon tie pony, bubble pony, tucked-under low pony.
A Little Technique (Tier Two): Low chignon, textured chignon, twisted half-up half-down, braided low bun, braided chignon, high covered-elastic pony, looped low bun, braid-wrapped pony, twisted crown half-up, simple barrel roll updo.
A Try or Two (Tier Three): French twist, milkmaid braid, low twisted updo, pinned-back bouffant pony, diagonal French twist, braided crown, rope twist bun, knotted French twist, stacked barrel rolls, double-loop chignon.
Each of these is doable on your own. The Tier One styles you can do in under five minutes on attempt one. The Tier Three styles might take two or three tries to feel confident, but they are absolutely achievable at home without any professional training. I have seen complete beginners in the salon chair learn the French twist in under fifteen minutes once someone explained the finger placement. You will get there.
Start wherever you are. The goal is a style that makes you feel good when you walk out the door, not a perfect replication of a professionally shot photograph. Imperfect and done beats perfect and never tried, every single time.