10 Prom Hairstyles for Long Hair That Actually Stay All Night
Let me be honest with you about something: prom hairstyle content on the internet is mostly just photo galleries. You scroll through sixty beautiful pictures, feel inspired for about four minutes, and then close the tab because nobody told you how to actually do any of it, which tools you need, whether your hair type works for the style, or how to keep the whole thing from sliding out by the second slow dance.
That gap is exactly what this post is for.
Long hair is genuinely one of the best starting points for prom hairstyles. You have options that shorter lengths simply don’t. But “options” only matters if you know which ones you can realistically pull off yourself, which ones need a few hours of practice beforehand, and which ones will hold through a full evening of dancing, outdoor photos, and the occasional hug from someone who grabs a little too enthusiastically. I’ve got all of that sorted below.
Before we get into the actual styles, though, there are a few things to know that will make every single one of these work better.
Before You Even Pick Up a Curling Iron: Prep That Actually Changes Everything
The single biggest secret to prom hair that lasts? It starts the day before, not the morning of. Freshly washed hair is actually harder to style. It’s too smooth, too clean, and gives pins and curls nothing to grip onto. If you’re planning any kind of updo or curl situation, skip washing your hair the day of prom. Wash it the evening before, or even two days before. Use a volumizing shampoo, and skip conditioner on the ends if you can manage it, because heavy conditioner makes hair silky in a way that sounds great but actively works against hold.
The morning of prom, before you even touch a hot tool, work a lightweight texturizing spray or dry shampoo through your lengths. This gives your hair that slight “grip” texture that makes curls hold, pins catch, and braids stay put. Think of it like setting the stage before the performance starts.
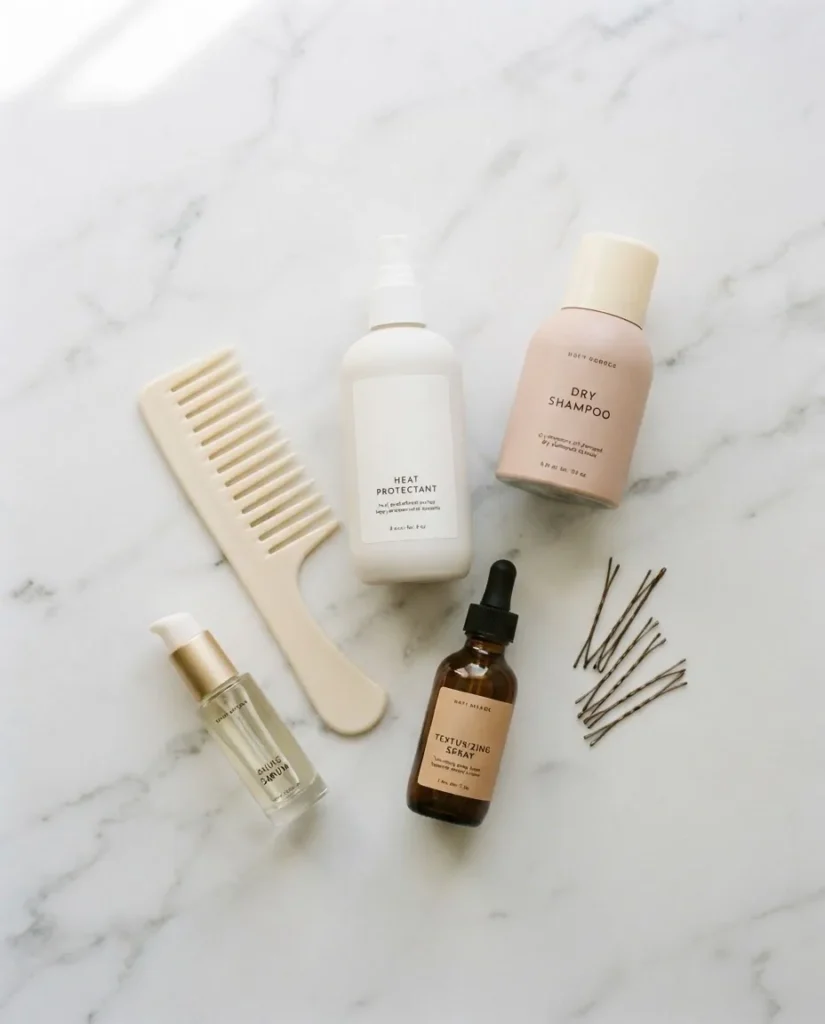
And on the subject of heat, this is important: always use a heat protectant before any hot tool touches your hair. The American Academy of Dermatology recommends using the lowest effective heat setting and applying a heat protectant product before styling. For fine, color-treated, or damaged hair, keep your curling iron or flat iron at or below 300°F. For average healthy hair, 325 to 350°F is the range that most stylists work in. Hotter than that adds risk without adding much benefit, especially if you’re working on hair that isn’t totally fresh and thick.
Now, the styles.
The 10 Prom Hairstyles for Long Hair
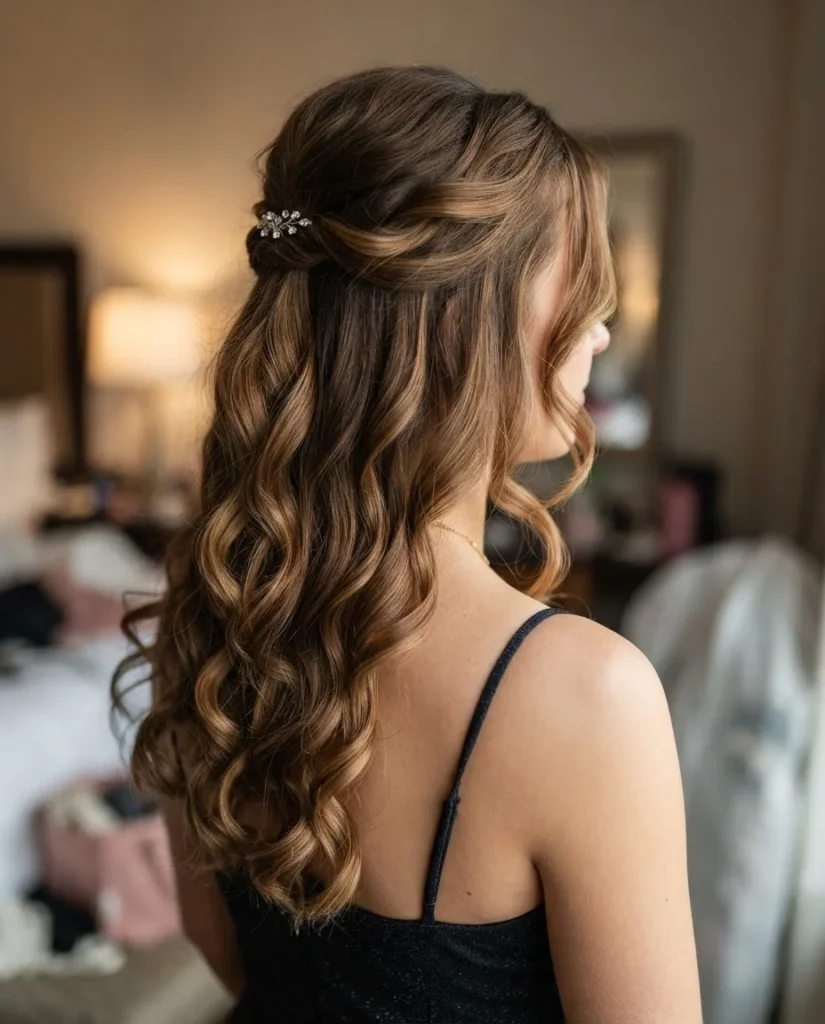
1. The Classic Half-Up, Half-Down with Curls
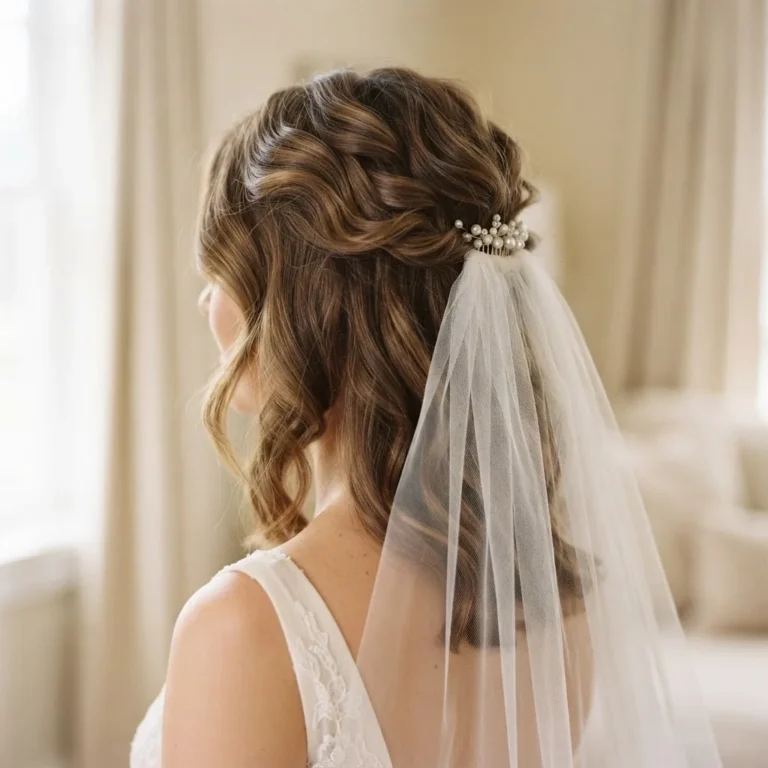
This is probably the most universally flattering prom hairstyle for long hair, and it’s genuinely one of the most beginner-friendly on this list. The idea is simple: you curl your full head of hair first, then gather the top section (from roughly temple to temple) and secure it at the back of your crown with pins or a claw clip, leaving the rest to flow down.
Start by curling your whole head in sections, curling away from your face for a look that opens up your features. Use a 1.25-inch barrel for soft, romantic waves. Let each curl cool before you release it from the iron. This is not optional if you want them to last. The moment you release a hot curl, the heat is still actively setting it, and touching or tossing it immediately breaks that process. After releasing each section, gently hold the curl coiled in your hand for 10 to 15 seconds before letting it drop, or pin it up to cool.
Once everything is curled, take the top section of hair, gently tease it just slightly at the roots for a little lift, and pin it back with bobby pins or a jeweled clip. That’s it. The half-up look is also incredibly forgiving if your curls aren’t perfectly even, because the volume and movement disguise inconsistencies beautifully.
Hair-type note: If your hair is on the fine or slippery side, spray a little dry shampoo or texturizing spray into the roots of your top section before pinning. It gives the pins something to hold onto.
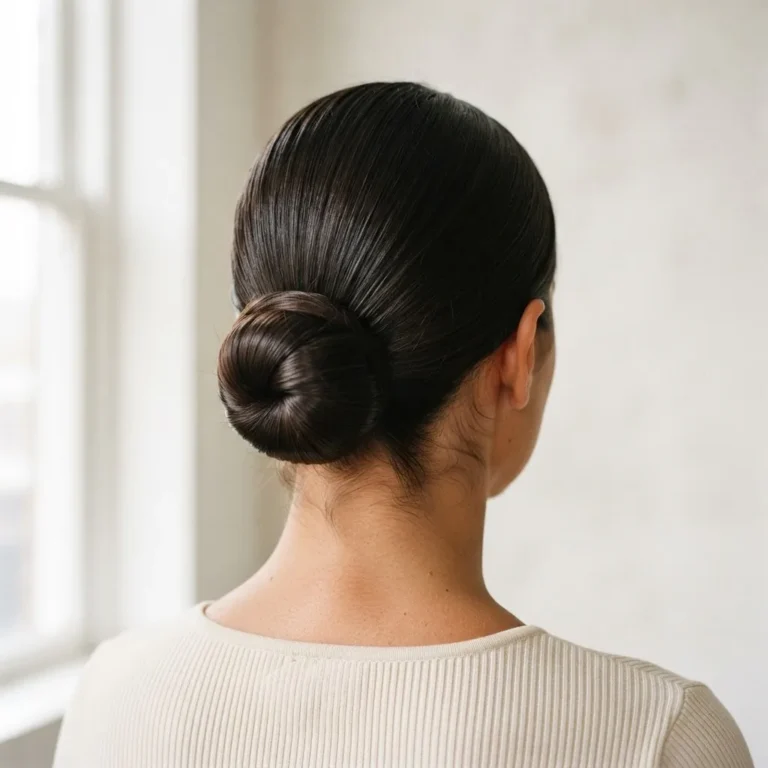
2. Sleek Low Bun
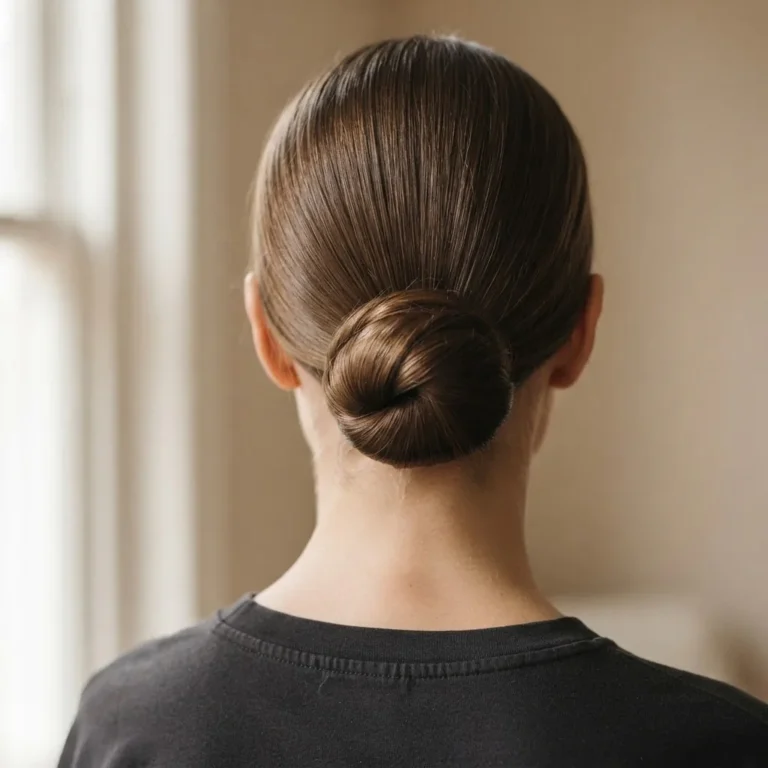
The sleek low bun is having a major moment right now, and I completely understand why. It’s polished, it’s elegant, it looks like you spent a long time on it (you didn’t), and it works especially well with strapless or low-back dresses because it shows off your shoulders and neck.
Smooth your hair back with a paddle brush and a smoothing cream or gel, gather it at the nape of your neck, and twist it into a bun. The trick to making this look expensive instead of rushed is to wrap the tail around the base tightly and pin it from every direction, rather than just tucking the end under. Use at least eight to ten bobby pins, crossing two of them in an X over any sections that feel loose. Finish with a shine serum or a small amount of hair oil smoothed over the surface for that glossy, intentional finish.
A quick word on bobby pins, because this is where most DIY updos fall apart: the wavy side of the pin always faces down into your hair. This is the side that grips, and spraying the pin itself with dry shampoo or a light texture spray before inserting it reduces slippage significantly. Also, insert the pin against the direction of the hair, then rotate it and push it the opposite way. That cross-grip is what keeps it locked in for hours.
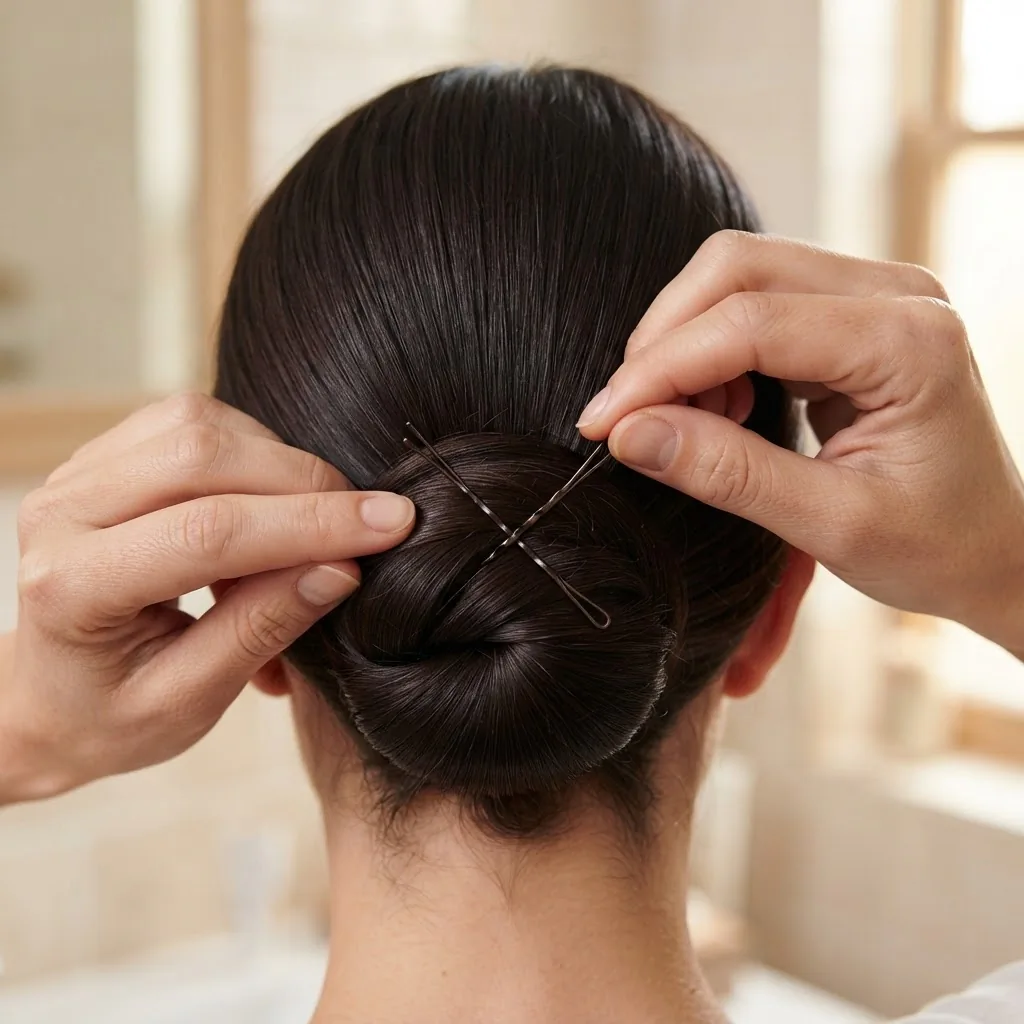
Hair-type note: Thick hair will need more pins and potentially a strong-hold gel at the roots to keep the surface flat. Fine hair can use a slightly looser, more twisted version, which actually shows off the texture more and requires less product to hold.
3. Romantic Loose Curls (Worn Down)
Wearing your hair completely down for prom is an underrated choice. It sounds low-effort, but done well, it looks stunning and it is absolutely a valid, gorgeous option. The key is making sure the curls are intentional and hold their shape all evening.
Curl your hair using a 1- to 1.25-inch wand or curling iron, alternating the direction of each curl (some toward your face, some away) for a more natural, lived-in result that still reads as styled. After curling, resist the urge to run your fingers through it immediately. Let everything cool and set for at least 20 to 30 minutes, then gently separate the curls with your fingers and mist with a flexible-hold hairspray.
For curls that hold all night, the most consistent tip from stylists and long-time curl enthusiasts is to start with “dirty” hair that’s a day or two old, add texture with dry shampoo before you begin, and let each curl set before touching it. Freshly washed, over-conditioned hair is genuinely the enemy of lasting curls, which is a fact nobody tells you until your curls have already fallen flat at 8 PM.
Beginner tip: If your hair has never held a curl well, try the “pin curl” method: curl each section, then coil the finished curl against your scalp and clip it with a duckbill clip while it cools. Release and shake out at the end.
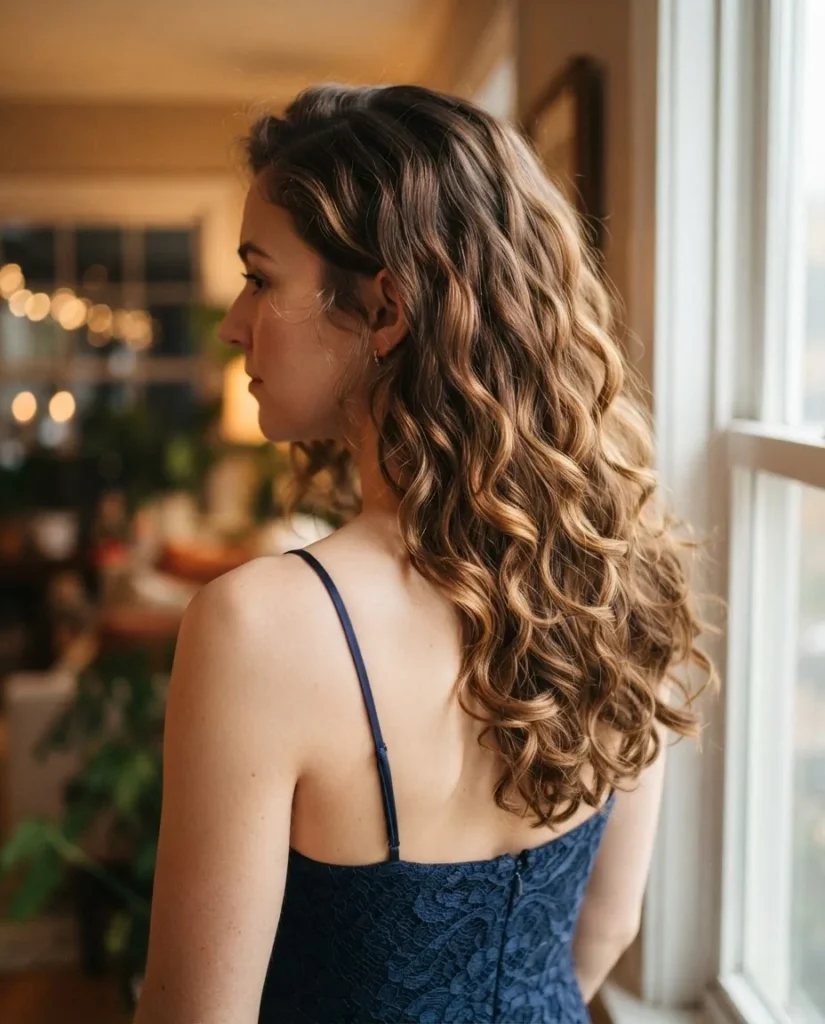
This sets a much more defined curl that lasts noticeably longer.
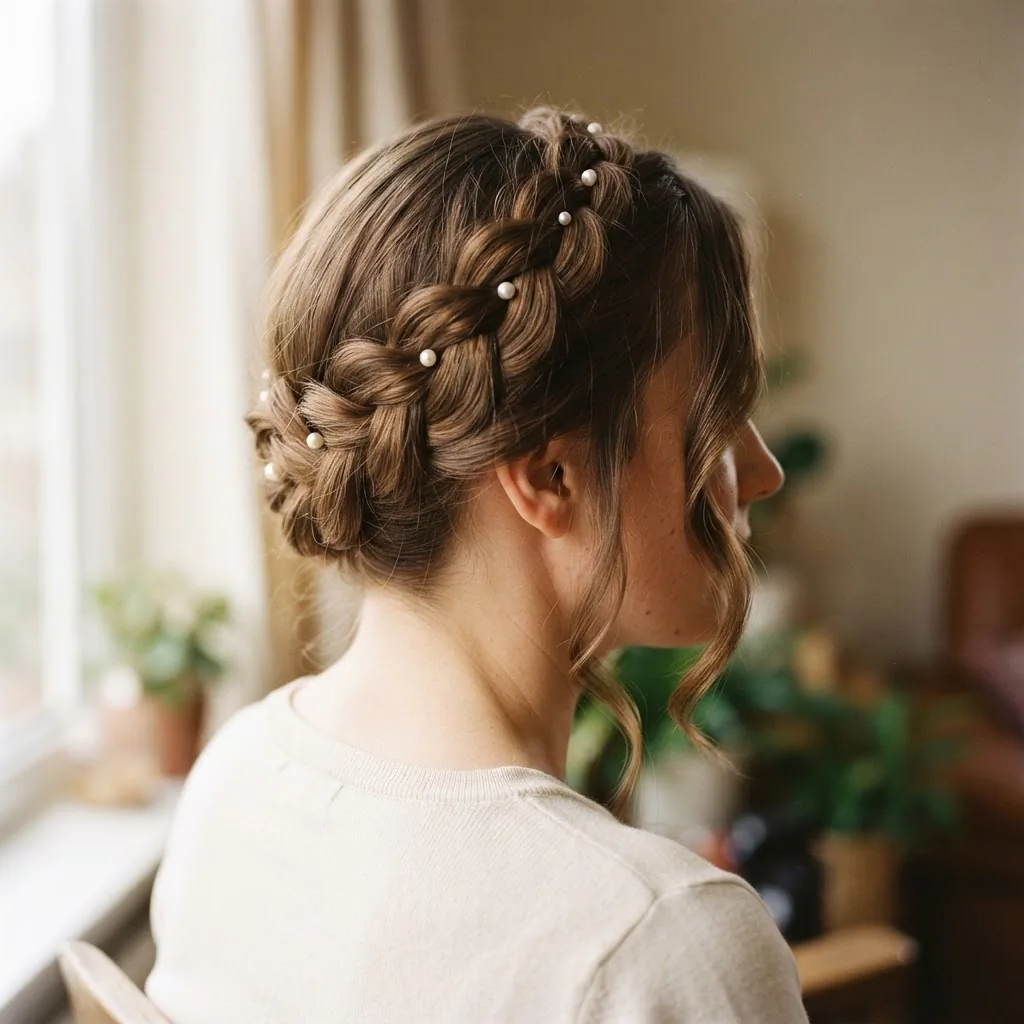
4. Braided Crown (Milkmaid Braid)
The braided crown is one of those styles that looks incredibly intricate in photos but is actually made from two simple three-strand braids. You split your hair into two sections, braid each side, then wrap one braid over the top of your head and pin it, and repeat with the other. The two braids meet in the middle and create that full, wreath-like crown effect.
If you can do a basic three-strand braid, you can do this style. It takes maybe 20 minutes once you’ve practiced it once. The detail that elevates it is pulling gently on the braid sections to widen and loosen them after braiding (this is called “pancaking” the braid), which makes it look fuller and more intentional.
Secure the braids with small elastics at the ends and hide those ends under the opposite braid when you wrap them across. Bobby pins every inch or so along the back will keep everything anchored. Finish with small floral pins or pearl clips tucked into the braid for a prom-worthy touch.
Hair-type note: This style works beautifully on medium-thickness and thick hair. If your hair is very fine and limp, tease the crown section gently before starting and use texturizing spray so the braid has some grip and the crown doesn’t sit flat.
5. Twisted Rope Braid Low Bun
This is a personal favorite of mine for anyone who wants something that looks more complex than a standard low bun but is genuinely easy to achieve. Divide your hair into two large sections. Twist each section tightly in one direction, then twist the two sections around each other in the opposite direction (this is the “rope braid” technique, no separate strand weaving needed). Coil the resulting rope around itself into a bun at the nape of your neck and pin it.
The twisted texture catches light beautifully and gives the whole thing an editorial quality. If you want to dress it up, pull a few short face-framing pieces out at the front before you start, curl those separately, and let them hang. It changes the whole vibe from simple to romantic.
6. Sleek High Ponytail with a Wrapped Base
The high ponytail is having a serious fashion moment, and it translates beautifully to prom, especially with a fitted or minimalist dress. The secret to making it look polished rather than gym-ready is two things: smoothness at the roots (no bumps, no flyaways) and a wrapped base that covers the hair tie.
Brush all of your hair straight up to the crown, secure it with a strong elastic, then take a small section of hair from underneath the ponytail, wrap it tightly around the elastic, and pin the end underneath with a bobby pin. That one detail makes the whole thing look intentional and elevated. Finish the ponytail itself with a light mist of shine spray and smooth any flyaways with a soft bristle brush or a light dab of pomade.
For volume, lightly tease the ponytail at the base with a fine-tooth comb before smoothing the outside layer. This gives the ponytail that full, bouncy look without visible frizz.
7. Waterfall Braid with Loose Waves
The waterfall braid is a face-framing partial braid that runs along one side of your head while dropping sections of hair through it as you go, which creates a cascading, “waterfall” effect where strands flow down through the braid. It sits along the side of your head like a headband made of your own hair, and it is genuinely one of the prettiest prom-specific styles for long hair.
It looks advanced, and I won’t pretend it requires zero practice. But once you understand the technique, which involves a standard three-strand braid where instead of crossing the bottom strand up, you drop it and pick up a new section from above, it clicks pretty quickly. I’d strongly recommend watching a tutorial video and practicing on a dry run a week before prom so you’re not learning it for the first time on the day.
Pair the finished braid with soft waves in the rest of your hair for a look that reads as romantic and polished. The combination of structure at the side and flowing movement elsewhere is what makes this one so consistently gorgeous in photos.
8. Floral-Pinned Twisted Updo
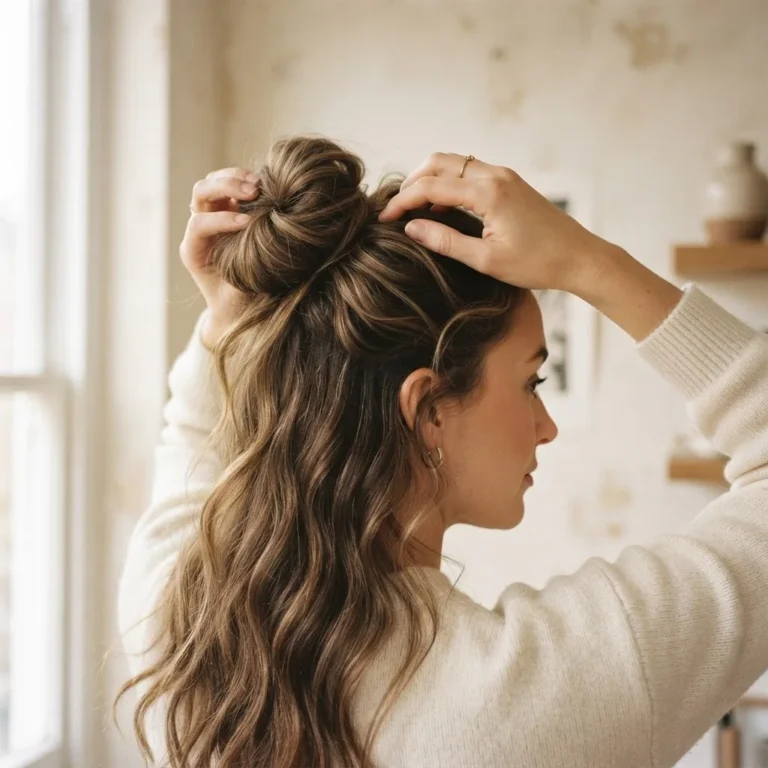
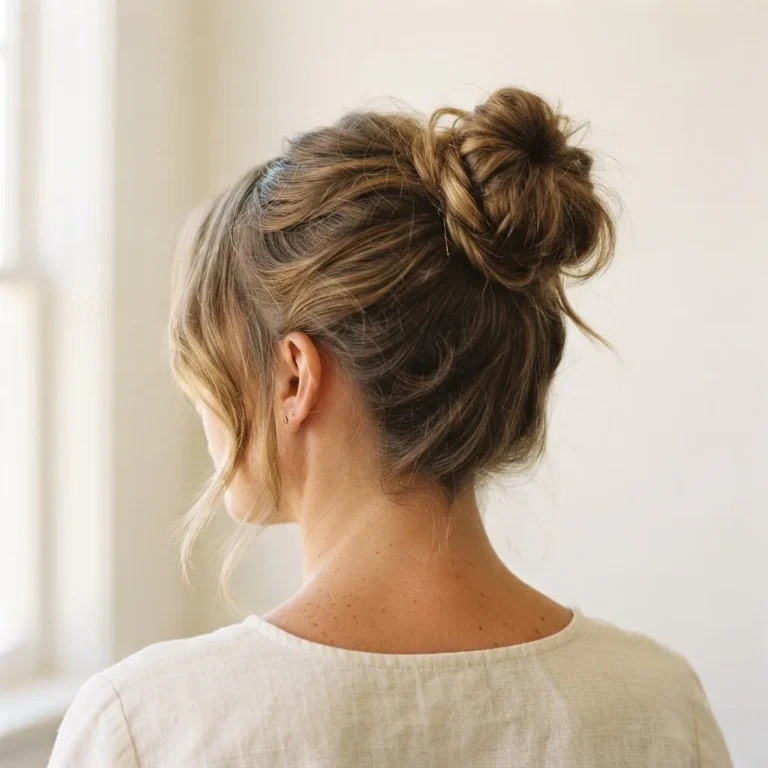
This one is for the girls who love a more ethereal, cottagecore-adjacent vibe, and it’s far simpler than it appears. Take all your hair and twist it into a loose, somewhat messy high bun, then tuck the tail under and pin it to create a soft, rounded shape at the back of your crown. The key word is “loose” because a too-tight version looks like a topknot, and a relaxed, slightly undone version looks intentionally beautiful.
Then, the part that makes it a prom hairstyle: tuck small floral hair pins, pearl clips, or decorative hairpins all around the bun, staggered so they look scattered rather than lined up. Fresh flowers (bobby-pinned in individually) or high-quality fabric flowers both work. This is the style where accessories do the heavy lifting, and it genuinely photographs beautifully.
9. The Hair Bow Bun
This is the trend that has been all over Pinterest and TikTok for the past year, and it is an absolutely gorgeous prom option. The Bardot bow bun involves putting your hair into a half-up ponytail, then looping the tail back through without pulling it all the way through, so it forms a large bow shape made entirely of your own hair. The remaining tail hangs down underneath.
Hair.com by L’Oreal has a straightforward ribbon-bow variation if you want to incorporate an actual satin or velvet ribbon into the look, which works beautifully with prom styling. A black velvet ribbon tied around a sleek bun, for example, is extremely polished and very on-trend right now.
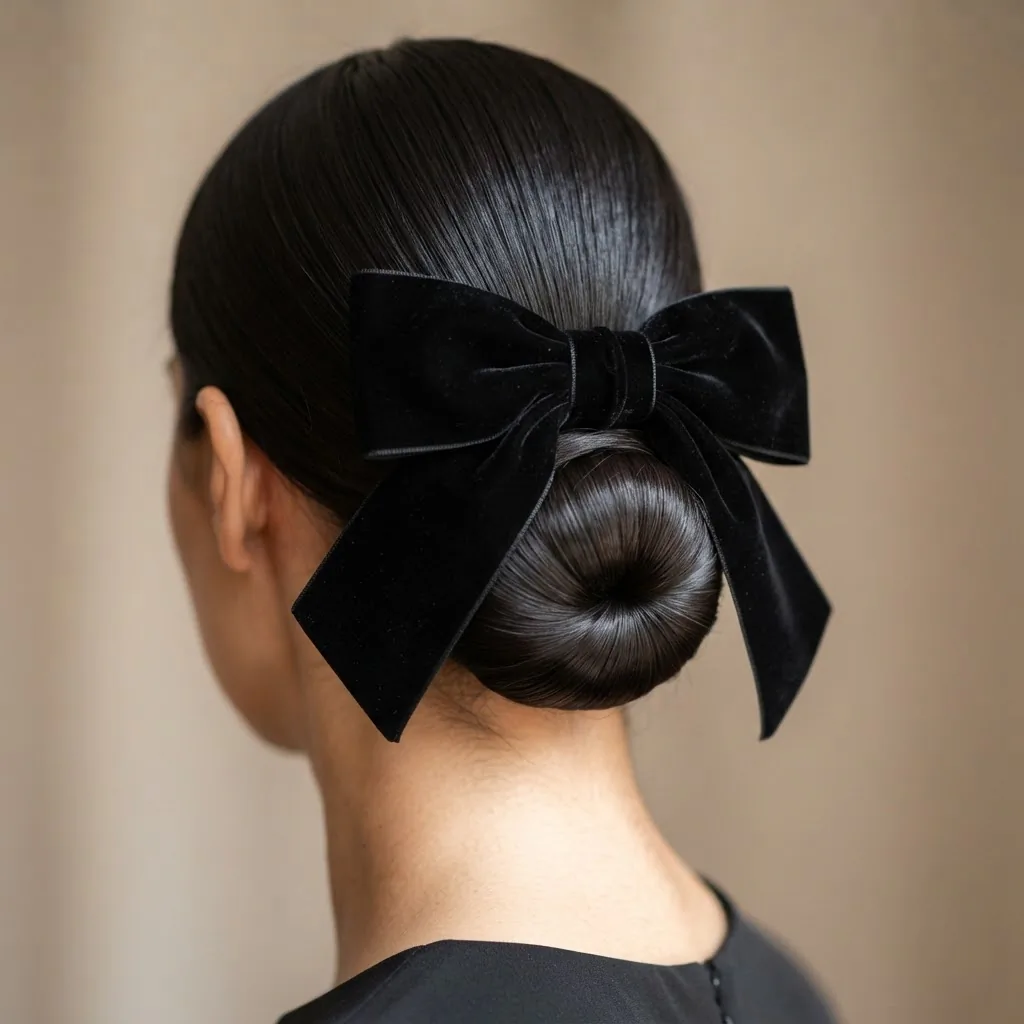
The ribbon bow approach is also more forgiving for beginners than trying to manipulate your actual hair into the bow shape, so if you’re not confident in the DIY hair bow technique, grab a ribbon and tie it around a clean low bun.
This style looks especially stunning with sleek, smooth hair rather than curls, which is actually great news if your hair naturally holds a straight style better than it holds waves.
10. Face-Framing Braid into Textured Half-Up
This is a hybrid style that’s incredibly adaptable. You take a small section from the front at one or both temples, braid it back (a simple three-strand braid works, or a rope twist braid), pin it back behind your head, and then let the rest of your hair fall in soft waves or a casual half-up style. The braid(s) give structure and visual interest without requiring you to do anything elaborate with the whole head of hair.
It’s a great option if you’ve practiced braiding and are comfortable with it, but you don’t want to commit to a full updo or a fully “done” style. The braided sections around the face also draw the eye upward and frame your features in a really flattering way regardless of face shape. This style also works particularly well with hair that’s slightly wavy or textured naturally, because the “undone” quality of the rest of the hair complements the intentional braid perfectly.
Keeping Everything in Place: The Longevity Rules
Whatever style you choose, a few practices will genuinely extend how long it holds. Hairspray is your best friend, but the technique matters. Spray in short bursts from about 10 to 12 inches away, and always let the hairspray dry for a few seconds before touching the hair. One layer of hairspray before pinning and one light layer after finishing is usually enough for most styles without creating that stiff, crunchy feel.
For updos, do not be shy about the number of bobby pins. Most beginners use far too few. A secure updo often needs 15 to 25 pins depending on your hair’s thickness. That sounds like a lot, but when they’re placed correctly, you won’t see them.
One note on really tight styles like slicked-back high ponytails worn very tightly against the scalp: the AAD cautions that hairstyles that consistently put tension on the hair follicle can cause a type of hair loss called traction alopecia over time. For a single night like prom, this isn’t a concern, but it’s worth knowing for your everyday styling habits. For prom itself, comfortable tension is the goal, not painfully tight.
Quick Cheat Sheet: Match the Style to Your Hair
Fine or slippery hair does best with braids (the texture of the braid weave grips itself), the sleek low bun with gel, and the half-up style with plenty of texture spray. Avoid relying on curls alone without significant product prep, because fine hair needs that friction layer to hold.
Thick or coarse hair has the advantage in volume-heavy styles and has enough natural grip for most updos without heavy product. The braided crown and rope braid bun look especially full and impressive on thick hair. Just make sure your pins are heavy-duty and plentiful.
Naturally wavy or curly hair is honestly the easiest starting point for most of these styles. Your texture does a lot of the work. Embrace it rather than fighting it. The waterfall braid and the floral twisted updo look incredible on natural texture.
Damaged or chemically processed hair needs a slightly gentler approach.
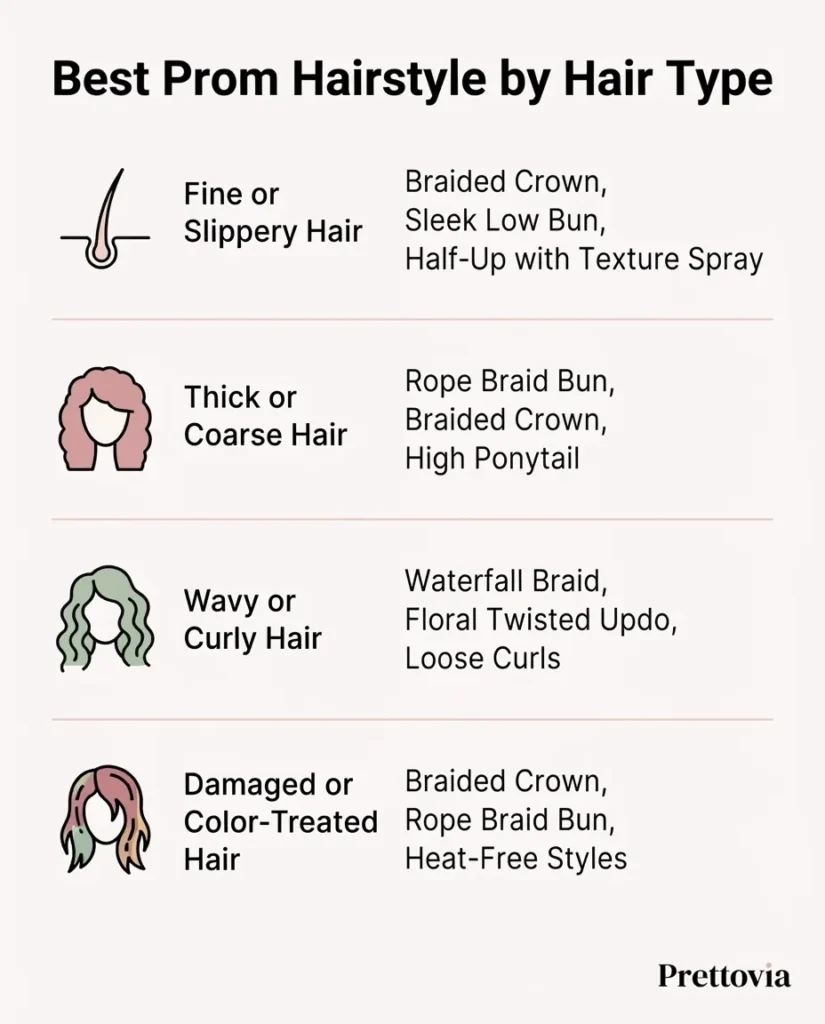
Keep your heat tools at 275 to 300°F, never skip the heat protectant, and opt for styles that don’t require as much heat, like the braided crown or the rope braid bun, which can be done on straight or slightly wavy hair with minimal heat.
A Note on Practice Runs
I know practice runs sound boring when prom is still weeks away and you’re in full Pinterest-fantasy mode. But I promise you: doing a trial run of your chosen style at least once, a week before prom, is the single thing that will make the difference between feeling confident on the actual day and feeling frantic in front of the mirror at 5 PM. It shows you exactly where the style is tricky, which tools you’re missing, how long it actually takes, and what adjustments you need to make for your specific hair. Back in my salon-assistant days, I watched stylists do consultations for this exact reason, and clients who came in having practiced at home consistently had better results. The same applies to doing it yourself.
Pick your style, try it once this week, and take a photo so you can remember what worked. You’ve got this.