Messy Bun Tutorials That Actually Look Good on You
I’ve lost count of how many times I’ve tried to recreate a dreamy, effortless messy bun from Pinterest and ended up with something that looked more like a sad, deflated donut on the back of my head. If that sounds familiar, you are absolutely not alone, and I promise the problem is almost never your hair. It’s the technique, and more specifically, the fact that most tutorials were written for one specific hair type and never told you that.
The messy bun is one of those looks that feels like it should be simple, and once you know your version of it, it really is. But getting there involves understanding why the standard method might not work for you, what to adjust based on your texture and length, and which tiny details make the difference between “chic and intentional” and “I gave up and used a pencil.” Let me walk you through all of it.
Why Your Messy Bun Probably Isn’t Working (And It’s Not Your Fault)
Before we get into tutorials, I want to talk about the three most common reasons a messy bun fails, because if you don’t address the root cause, no amount of steps will help.
The hair is too clean and slippery. This is the number one reason buns fall out within twenty minutes. Freshly washed, conditioner-smooth hair has almost no grip, which means your hair tie has nothing to hold onto and your bun unravels from the inside out. The messy bun was practically invented for second-day or third-day hair, and this is not a workaround, it is genuinely the best foundation for this style.

If you want to do it on freshly washed hair, you will need to add some texture first, and I’ll cover that.
The hair tie is doing all the work instead of the technique. A lot of beginners pull their bun too tight and too neat trying to get it to “stay,” and then wonder why it either falls apart as soon as they let go or looks stiff and weird. The structure of a messy bun actually comes from how you wrap and tuck the hair, not from cranking the elastic as hard as possible.
The bun is placed in the wrong spot for your head shape. This one surprised me when I first started really paying attention to it in the salon. A bun placed at your crown can look incredible or completely off depending on your face shape and head proportions. I’ll get into specifics in a later section, but placement is one of the most underrated variables in this whole equation.
What You Actually Need (Tools and Products, Honest Breakdown)
You do not need a lot. In fact, one of the things I always told clients in my salon days is that over-tooling a casual style is how it starts to look overdone. Here’s what genuinely helps.
A good hair tie. This matters more than people think, and not in the way you’d expect. A traditional tight elastic, the thin kind that comes in multipacks, is actually one of the harder tools to use for a messy bun because it grips too aggressively, causes breakage at the tie point, and doesn’t give you the adjustability you need when you’re tugging the bun into shape. Fabric-covered elastics, Teleties, and soft scrunchies all give you a slightly looser, more forgiving anchor. Scrunchies in particular are having a serious style moment right now and they double as part of the look. Save the sharp elastics for the gym.
Spin pins (optional but worth knowing about). If you’ve ever used a fistful of bobby pins to anchor a bun and still had it slide by noon, spin pins are the thing you’ve been missing. They look like oversized corkscrews and you simply twist them into the bun from two different angles. Two pins hold more securely than six regular bobby pins, and they cause less mechanical friction on your strands. You can find them at most drugstores for a few dollars.
Texture spray or dry shampoo. For clean hair, a light texturizing spray gives your strands the grip and body they need to actually form a bun and hold it. Reviewers and stylists consistently point to the Kristin Ess Hair Dry Finish Working Texture Spray (around $15 at Target) as one of the best drugstore-accessible options, and Byrdie’s tested roundup of texturizing sprays is a solid resource if you want to compare a few before buying. Dry shampoo at the roots works similarly and has the added bonus of absorbing any oil if you’re styling second-day hair.
A light-hold hairspray. Just for the flyaways around your face, not for sealing the whole bun into a helmet. A quick mist around the hairline is all you need.
That’s honestly it.

You don’t need a special bun-maker tool (those foam donut things), you don’t need a specific brand of bobby pin, and you definitely don’t need to spend $40 on a styling product to make this work.
The Foundation Method: How to Actually Build a Messy Bun
This is the technique that works for most hair types as a starting point. I’ll give you the adjustments for specific textures and lengths right after.
Start by flipping your head upside down if your hair is fine or medium thickness.

This is not strictly necessary for thick hair, but for everyone else it adds volume to the base of the bun that you simply cannot get when you gather hair while standing upright. Gather your hair into a loose ponytail at the height you want your bun to sit. Don’t smooth it flat, don’t run a brush through it, just gather it with your fingers. That texture and the little bumps are what give the bun its body.
Secure the ponytail loosely with your elastic, but on the last loop, pull the hair only halfway through so you create a loop rather than a full ponytail. This is the move most tutorials skip explaining, and it’s probably the most important part. That loop becomes the bun. From here, fan the loop out slightly so it looks full rather than narrow.
Now take the tail of hair hanging below the loop and wrap it loosely around the base of the bun. You don’t need to cover every inch perfectly. Tuck the end under the elastic or pin it with a spin pin. Then comes the step that makes it look intentional: use your fingers to gently pull the edges of the bun outward and upward. Not dramatically, just enough to give it volume and that soft, lived-in shape. Pull a few face-framing pieces loose from the front. These should feel casual, not precise.
Mist lightly around the hairline with a flexible-hold spray if you want to tame flyaways without making it stiff. Done.
For more details on how L’Oreal’s hair stylists break down this same method by texture, their guide to messy buns across all hair types is worth a read alongside this one.
Messy Bun by Hair Type: The Adjustments That Actually Matter
Fine and thin hair: The biggest issue with fine hair is that the bun ends up looking small and flat, or it falls out before you even leave the house. The fix has two parts. First, add texture before you even start. A light coating of texture spray or dry shampoo at the roots and mid-lengths will give your hair something to grip onto. Second, after you form your bun, use your fingers to gently “pancake” the loop by pulling it wider and flatter rather than trying to make it round and full. A flat, wide bun actually reads as fuller on fine hair than a tight little knot. You can also tease the ponytail gently before forming the bun for extra body at the base.
Thick and coarse hair: Lucky you in some ways, but thick hair creates its own challenges: the bun can get enormous and unwieldy, and the elastic has to work overtime. The key is to use a stronger, wider hair tie and to actually split your hair into two sections before putting it up. Gather one section into the base ponytail, then add the second section and wrap it around the first before securing. This distributes the bulk more evenly and keeps the bun from immediately developing that rounded-mushroom shape. Two spin pins are your best friend here.
Wavy hair: Wavy hair is honestly the ideal messy bun texture because the natural wave pattern adds dimension without any product. If your waves have gone flat by day two, scrunch a tiny amount of light-hold mousse through the length before gathering. Let the bun be imperfect. The pieces that escape and form soft waves around your face are a feature, not a flaw.
Curly hair (3a to 4c): The standard “dry and gather” method often creates frizz and disrupts curl pattern in a way that looks unintentional rather than relaxed. The approach that consistently works better for curly and coily textures is to style on damp or refreshed hair. Dampen your hair lightly with a spray bottle of water, apply a small amount of gel or curl cream from roots to mid-lengths, and then gather into the bun while still slightly damp. This keeps the curl pattern intact in the gathered sections and reduces the halo frizz that the dry-gathering method causes. For 4c natural hair specifically, edge control along the hairline gives the front of the look a polished contrast to the intentionally loose bun at the back.
Short hair and lobs: This is the question I get most often from readers who assume messy buns aren’t for them, and the good news is that a lob (long bob, roughly chin to shoulder length) is absolutely long enough for a version of this style. The key is to stop trying to do a full high bun, which just won’t work with shorter lengths, and lean into either a half-up version or a low, slightly messy knot at the nape. For a half-up messy bun on a lob, take just the top two-thirds of your hair, gather it into a loose ponytail at the crown, and use the half-pull loop method described above. Leave the bottom layer down. It looks deliberate, it works with the length, and it is genuinely very cute. The pieces that are too short to make it into the bun become your face-framing layers.
Find Your Placement: High, Mid, or Low?
Bun placement is the single most personal variable in this whole process, and most tutorials completely ignore it. Here is the rough guide I use when thinking about what works for different face shapes.
A high bun, sitting right at or above the crown of your head, adds visual length and draws the eye upward. This tends to be flattering on rounder face shapes because it elongates the overall silhouette. It also has that effortlessly cool energy that reads well in pictures.
A mid bun, roughly at the back of the crown where a natural ponytail sits, is the most universally flattering placement because it does not dramatically alter your face’s proportions in either direction. If you’re not sure where to start, start here.
A low bun, sitting at or near the nape of your neck, balances out longer or more rectangular face shapes by adding visual width at the lower part of the head rather than height. It also reads as the most elegant and polished of the three placements, which is why it’s the choice when people want to take a casual messy bun somewhere that actually requires looking like you tried.
Do not stress too much about this.

These are loose guidelines, not rules, and the most important thing is that it feels comfortable and looks like you on a good day.
7 Messy Bun Looks to Actually Try (From Easiest to More Adventurous)
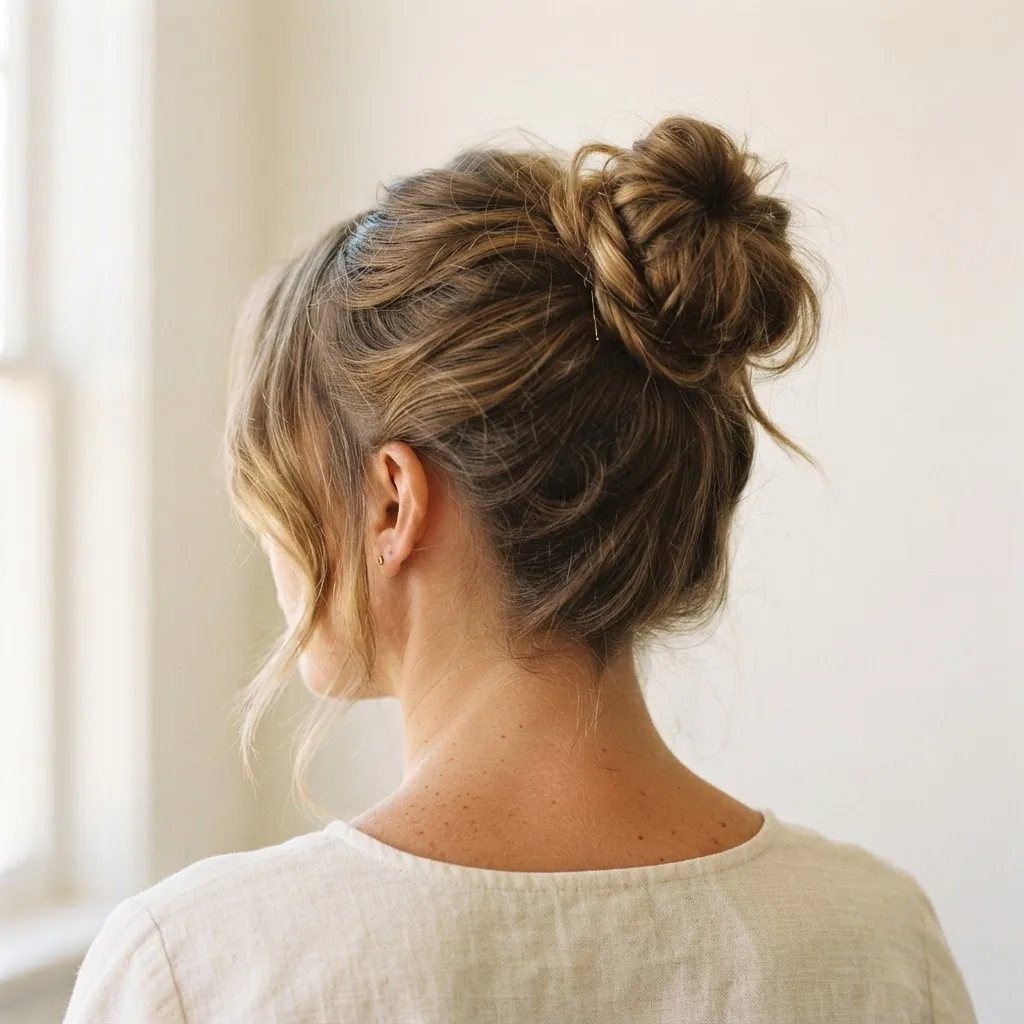
1. The Classic High Messy Bun. The one described in the foundation method above. Flip, gather, loop, fan, tug, done. This is your three-minute school run, gym, or WFH bun. Start here if you’ve never nailed it before.
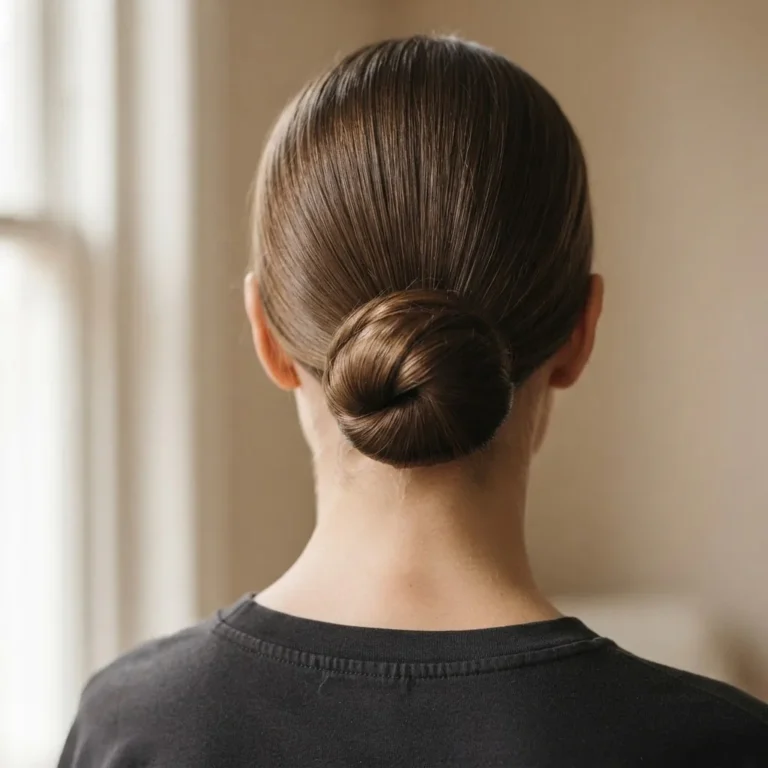
2. The Low Romantic Bun. Same technique, different placement. Gather your hair at the nape, let the bun be loose and a little undone, and pull out more pieces than you think you should around your face and temples. A few pins holding it together from underneath is all you need. This is the one for dates, low-key events, and days when you want to look like you “just did something simple with it.”
3. The Second-Day Bun. Not really its own technique so much as its own circumstance, and it deserves to be named because it’s genuinely the best possible foundation for a messy bun. Hair that’s one or two days old has natural texture and oil distribution that gives the bun volume and grip that freshly washed hair simply can’t replicate. If you wake up with second-day hair and no time to style it, this is your look. Add a touch of dry shampoo at the roots, scrunch, gather, and go.
4. The Braided Messy Bun. Before you gather your hair into the bun, split your ponytail in half and do one loose three-strand braid down each section. Then wrap both braids around the base of the bun and pin. The braids add texture, dimension, and a little bit of an editorial quality that makes the whole thing look more intentional without being more complicated.

This is very popular on Pinterest right now and the kind of thing that gets saved.
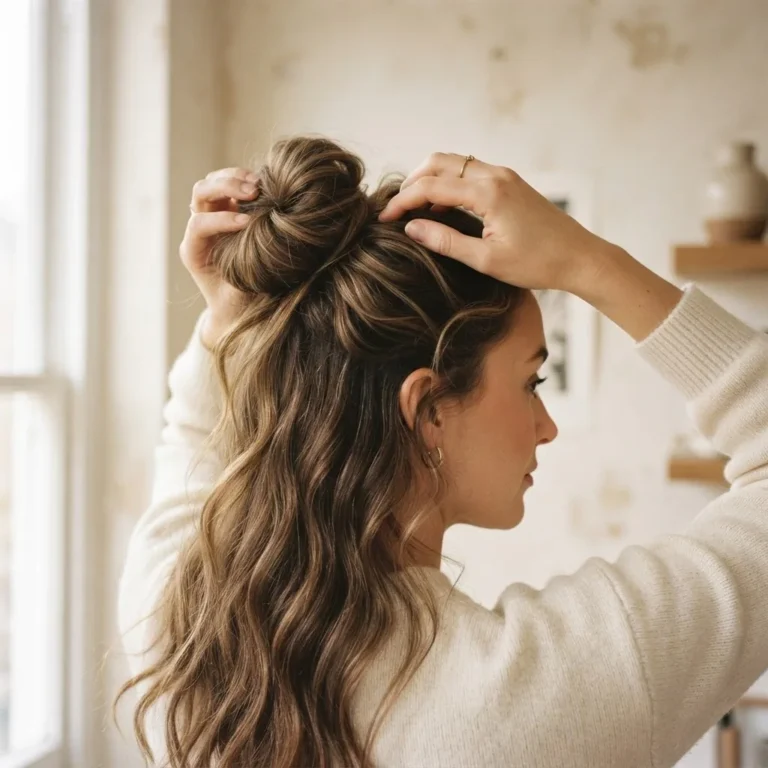
5. The Half-Up Messy Bun. Take just the top section of your hair (from temples to crown), gather it, and create the bun using the loop method. Leave everything below it down. This works on literally every hair length and is one of the most requested looks I see saved and pinned. It’s also genuinely great for fine hair because the bottom layer adds perceived volume.
6. The Wispy Face-Framing Bun (the “Delaney Childs” style). This variation, named after the creator who made it go viral, is essentially the classic high messy bun with a very specific emphasis on the loose pieces around the face. Before you gather your hair, pull out two sections from each side of your face, roughly the sections your curtain bangs would occupy if you had them. After the bun is formed, curl or wave those pieces loosely with a wand or let them air dry wavy. The contrast between the gathered bun and the soft, flowing face-framers is what gives this its romantic, lived-in quality.

7. The Textured Knot (for a more polished messy bun). This one leans slightly more intentional and slightly less chaotic, which makes it work in settings where you want to look pulled together but still relaxed. Apply a small amount of hair wax or smoothing cream to your hands and rake it lightly through your hair before gathering. This controls frizz and keeps flyaways minimal while still allowing for the looseness and volume in the actual bun. The result is a bun that reads as “I absolutely styled my hair and it just looks this effortless.”
A Note on Your Hair’s Long-Term Health
I want to say this because it’s something that genuinely doesn’t come up enough in hair tutorials: wearing your hair in a tight bun every single day, pulled hard at the roots, can cause a real problem over time. The American Academy of Dermatology has documented that tight hairstyles including buns and ponytails can lead to traction alopecia, a type of gradual hair loss caused by repeated tension on the hair follicle. This is not a scare tactic, it’s something I think about whenever I talk about updos because I watched clients in the salon deal with it and it takes a long time to recover from.
The solution is not to avoid buns, it’s to keep them loose enough that there’s no pulling sensation at the hairline. If your scalp feels tight or your edges look stretched, the bun is too snug. A messy bun by definition should have some give. Rotate your placement occasionally so the tension point on your follicles changes. And give your hair some down days.
While we’re on the topic: the AAD’s guide to habits that damage hair is a really straightforward read if you use heat tools regularly and want to understand what actually matters for keeping your strands healthy. They recommend keeping heat on the lowest effective setting and limiting how often hot tools contact your hair directly, which tracks with everything I learned watching stylists work over the years.
The Products That Actually Help (With Budget Alternatives)
I’ve mentioned a few of these already, but here is a concise breakdown of what stylists and reviewers consistently recommend for messy bun success, along with their price reality.
For texture and grip: Dry texturizing spray is the workhorse of this style. The Kristin Ess Dry Finish Working Texture Spray is roughly $15 at Target and turns up on tested lists from multiple editorial outlets as a top budget pick. If you already have dry shampoo, that works as a substitute in a pinch and doubles as a root refresh.
For hold without stiffness: A light-hold or flexible-hold hairspray is all you need for flyaways. Anything labeled “flexible finish” or “light hold” will do the job without that crunchy, fixed feeling.
For securing the bun: Spin pins are a genuinely underrated tool. A pack of Goody spin pins runs under $5 at most drugstores and gives you a more secure hold than a handful of bobby pins with less damage.
For the hair tie itself: Skip the thin elastics for this style. A soft scrunchie, a fabric-covered elastic, or a coil-style hair tie (like Teleties) gives you adjustability and reduces the breakage point that thin elastics create.
It is worth noting, and this is backed up by published research on heat and hair shaft damage, that even low-level repeated heat exposure contributes to structural weakening of the hair over time. The messy bun’s biggest gift to your hair health is that it’s a heatless style. You can absolutely choose to curl the face-framing pieces with a wand, but if you’re doing this look daily, keeping those pieces air-dried or using a heatless method is genuinely kinder to your strands in the long run.
The Mistakes I See Most Often (And How to Fix Each One)
The bun immediately falls to one side. This usually means the anchor ponytail was too loose before you formed the bun. Tighten the base ponytail first, then loosen the bun shape after. The base should be secure; the bun itself should be soft.
The bun looks flat and empty. You pulled the hair through the elastic too fully on the loop step. Go back, loosen the elastic, and pull the loop back out to be fuller. Then use your fingers to fan it sideways, not just upward.
The bun is too big and shapeless. This happens most often with thick hair. Try gathering with only two-thirds of your hair and wrapping the remainder around the base rather than including it in the loop. A little structure goes a long way.
The bun falls out completely within an hour. The hair is too clean and slippery. Add texture spray or dry shampoo before starting, and use a spin pin through the bun rather than relying solely on the elastic to anchor it.
The edges and flyaways look unruly in a bad way. There’s a difference between effortless flyaways and just frizzy. The fix is a tiny amount of light wax or a quick mist of hairspray at the hairline only. Don’t touch the bun itself if it already looks good.
Quick Reference: Which Bun for Which Day?
Some days you have three minutes. Some days you have ten and want to look like you tried. Here’s a loose cheat sheet.
Three minutes, no mirror, just go: Classic high messy bun, second-day hair, texture spray at roots, loop method, pull, done.
Ten minutes, want to look nice but casual: Low romantic bun with face-framing pieces, or the wispy Delaney Childs-style high bun with some waves in the front pieces.
Want something a bit more interesting for a photo or event: Braided messy bun, or the textured knot with smoothed edges.
Short hair or lob: Half-up messy bun, every time.
Final Thought
The messy bun has this deceptive reputation for being easy, which makes every person who can’t seem to nail it feel like they’re missing something obvious. You’re not. It’s genuinely a learned technique, and it looks different on everyone because it should. The version that looks incredible on you might not be a high bun, it might be low at the nape with a few wavy pieces framing your face. It might require texture spray instead of nothing. It might need a lob-friendly half-up approach instead of a full gather.
The only rule is that it should feel relaxed when you wear it, both on your head and in how you feel about it.

Give yourself permission to try a few versions before deciding which one is “your” bun. And when you find it, it will genuinely take you three minutes.